Stop Buying Cardboard! Your Guide to Soft, Fluffy, Whole Wheat Bread
Let’s face it, Whole Wheat bread gets a bad rap. It’s the healthy option, which usually translates to “dense,” “dry,” and “tastes like sadness.” I’m talking about those pale, oddly sweet bricks you find shrink-wrapped at the grocery store—they are a lie! But I’m here to tell you that homemade whole wheat bread is a completely different animal. It’s nutty, deeply flavorful, and shockingly soft. Why settle for bland, store-bought cardboard when you can bake a loaf so good it actually makes you want a sandwich? Seriously, your inner baker (and your digestive system) deserves this upgrade.
Why This Recipe Is Awesome (It’s the Healthy Flex)
You need to make this, not just for the flavor, but for the inherent smugness of eating something genuinely nutritious and delicious.
- Fluffy, Not Brick-Like: We use a few sneaky tricks (like extra liquid and a quick rest) to combat the notorious density of whole wheat flour. The result is a high, soft loaf that won’t give you jaw fatigue.
- Fiber Power: Unlike white flour, whole wheat flour contains the entire wheat berry—bran, germ, and endosperm. That means fiber, vitamins, and minerals. You get a sandwich that actually works for you. Talk about a health flex!
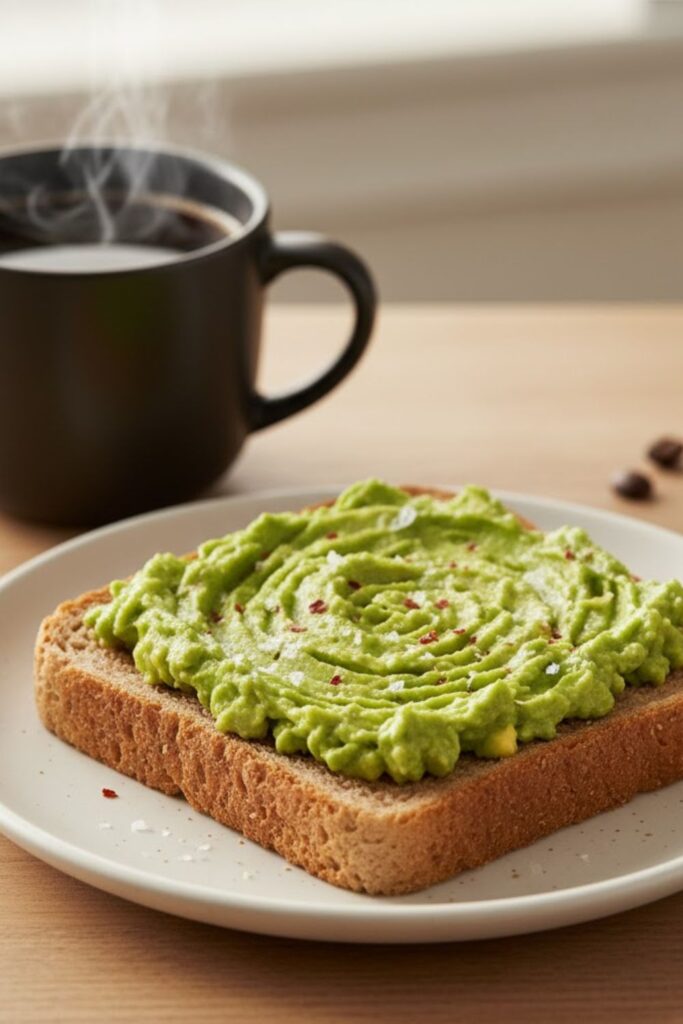
- Complex Flavor: The natural oils in the wheat germ give this bread a deep, satisfyingly nutty and earthy flavor that white bread can only dream of. It’s perfect for everything from peanut butter to a fancy BLT.
Ingredients: The Nutty Essentials
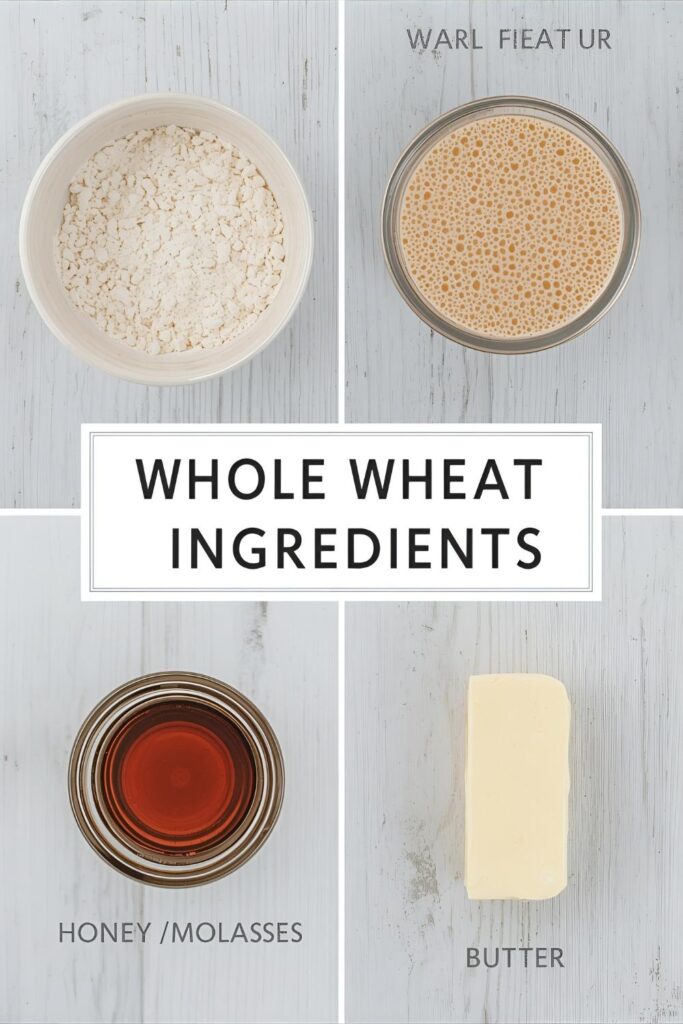
Don’t let the simplicity fool you; proper measurements are key when dealing with fibrous whole wheat flour.
- 2 cups (480ml) Warm Water (105-115°F / 40-46°C): Must be warm to activate the yeast! Whole wheat flour drinks a lot of water, so we use more than in a white bread recipe.
- 2 ¼ teaspoons (1 packet) Active Dry Yeast or Instant Yeast: Our fluffy power source.
- ¼ cup Honey or Molasses: Adds flavor depth and sweetness, and feeds the yeast beautifully. Honey is the soft choice; molasses gives a deeper, darker color.
- 3 cups Whole Wheat Flour: The star! Use 100% whole wheat flour for maximum benefit.
- 1 cup All-Purpose Flour (or Bread Flour): This is our gluten insurance. It helps the loaf rise higher and softer.
- 1 ½ teaspoons Salt: Flavor balance and structure control.
- 4 tablespoons Unsalted Butter (Melted and Cooled): Adds tenderness and keeps the bread soft for days.

Key Substitutions:
- Whole Wheat Flour: You can substitute up to 1/2 cup of the AP/Bread flour with more whole wheat flour, but the loaf will be slightly shorter and denser. You might need an extra tablespoon of water!
- Honey/Molasses: Use maple syrup or brown sugar if that’s all you have, but honey or molasses deliver the best moisture.
- AP Flour: Bread flour is a great substitute here; its high protein content provides even more structure.
Tools & Kitchen Gadgets Used: Your Baking Squad
You don’t need a fancy bakery setup. These are the workhorses that make the job simple.
- Large Mixing Bowl: For combining ingredients and the first rise.
- Measuring Cups and Spoons: For liquid and dry ingredients.
- Kitchen Thermometer: Non-negotiable for the water! Too hot kills the yeast; too cold puts it to sleep.
- Stand Mixer with Dough Hook (Optional, but a massive help): Saves your arm muscles during the long knead.
- Rubber Spatula: For scraping down the bowl.
- 9×5-inch Loaf Pan: The classic size for sandwich bread.
- Plastic Wrap or Clean Kitchen Towel: For covering the dough during rising.
- Wire Cooling Rack: Absolutely essential for cooling.
Step-by-Step Instructions: The Ascent to Whole Grain Greatness
We move quickly, but we respect the yeast. Pay attention to the sticky stage—it’s crucial!
Step 1: Activate the Yeast & Hydrate (10 Minutes)
- In your large mixing bowl, combine the warm water, honey/molasses, and yeast. Give it a quick stir.
- Let it sit for 5-10 minutes. You must see a nice layer of foam—the yeast is alive! If it’s not foamy, your yeast is dead or your water was a tragedy. Restart!
- Add the melted and cooled butter, salt, and 1 cup of the whole wheat flour to the foamy mix. Stir well to form a thick batter. This is the sponge and it helps the whole wheat hydrate thoroughly.
Step 2: Mix, Knead, and Embrace the Stickiness (8 Minutes)
- Add the remaining whole wheat flour and all-purpose/bread flour to the bowl.
- Mix everything until a shaggy dough forms.
- Knead the dough on a lightly floured surface or using your stand mixer (with the dough hook) for 5-8 minutes. The key here is a tender knead! Whole wheat flour’s bran flakes can shred gluten strands, so handle it gently.
- The final dough should feel soft, elastic, and just slightly sticky. Resist the urge to add more flour unless the dough is a total disaster.
Step 3: The First Rise (The Nap Time) (60-90 Minutes)
- Place the dough in a lightly oiled bowl, turning it once to coat.
- Cover the bowl tightly with plastic wrap or a kitchen towel.
- Let it rise in a warm, draft-free spot for 60-90 minutes, or until it has doubled in size. Whole wheat rises faster than white flour, so don’t take a full two-hour nap!
Step 4: Shape and The Second Rise (45 Minutes)
- Gently punch down the dough to release the air. We don’t want to overwork the gluten we just lovingly developed.
- Turn the dough out and shape it into a neat log that fits your 9×5-inch loaf pan. Create surface tension by tightly rolling and pinching the seam shut.
- Place the log, seam-side down, in the greased loaf pan.
- Cover loosely and let it rise again for 30-45 minutes, or until the dough crests about an inch above the rim of the pan.
Step 5: Bake the Beauty (35-40 Minutes)
- Preheat your oven to 375°F (190°C) while the dough finishes its second rise.
- Bake for 35-40 minutes. The top should be a rich, deep brown, and the loaf should sound hollow when you tap the bottom.
- Pro Tip: If the crust starts browning too fast (around 20 minutes in), loosely tent a piece of aluminum foil over the top to slow the browning.
- The internal temperature should read 200-210°F (93-99°C).
Step 6: Cool Down (The Hardest Part) (60 Minutes)
- Immediately remove the loaf from the pan and place it on a wire cooling rack.
- DO NOT SLICE IT! Seriously, resist! Cooling lets the starches set, preventing a gummy interior. Wait at least 60 minutes before slicing. What’s another hour when you’ve done all this?
Calories & Nutritional Info: Guilt-Free Greatness (Estimated)
Eat your bread and feel good about it. These are estimates for one slice.
- Calories per serving (1 slice): ~120-150 calories
- Carbohydrates: ~20-25g
- Protein: ~5-7g (Solid plant protein!)
- Dietary Fiber: ~3g (Hello, whole grain goodness!)
- Nutritional Note: Whole wheat is higher in Vitamin E, B vitamins, iron, and magnesium than white bread. Enjoy the fact that your sandwich is actually a health food.
Common Mistakes to Avoid: From Fluff to Failure
You worked too hard to mess this up. Steer clear of these common whole wheat errors.
- Skipping the Sponge: Whole wheat bran is thirsty. Skipping the initial sponge (or autolyse) leads to unhydrated bran, which results in a dry, dense loaf. Give the flour time to soak!
- Over-Kneading (or Under-Kneading): You need enough kneading to build structure, but over-kneading shreds the gluten due to the bran. Look for the soft, elastic, slightly tacky texture and stop!
- Using Cold Liquids: Cold milk or water puts the yeast into a deep slumber. Use that thermometer for the perfect 105-115°F water temperature every single time.
- Adding Too Much Flour: Whole wheat dough is naturally stickier than white dough. If you keep adding flour to stop the sticking, you get a dry brick. Use a light spray of oil or a dough scraper instead.
- Impatience During Cooling: Cutting a hot loaf releases steam, traps moisture, and leads to a dreaded gummy texture. Wait the full hour!
Variations & Customizations: Your Loaf, Your Rules
Ready to go beyond the basic loaf? Whole wheat is a great base for customization.
- Honey Oat Crunch: Replace ½ cup of the AP flour with old-fashioned rolled oats. Sprinkle the top of the loaf with oats before the final bake. Adds great chew and flavor!
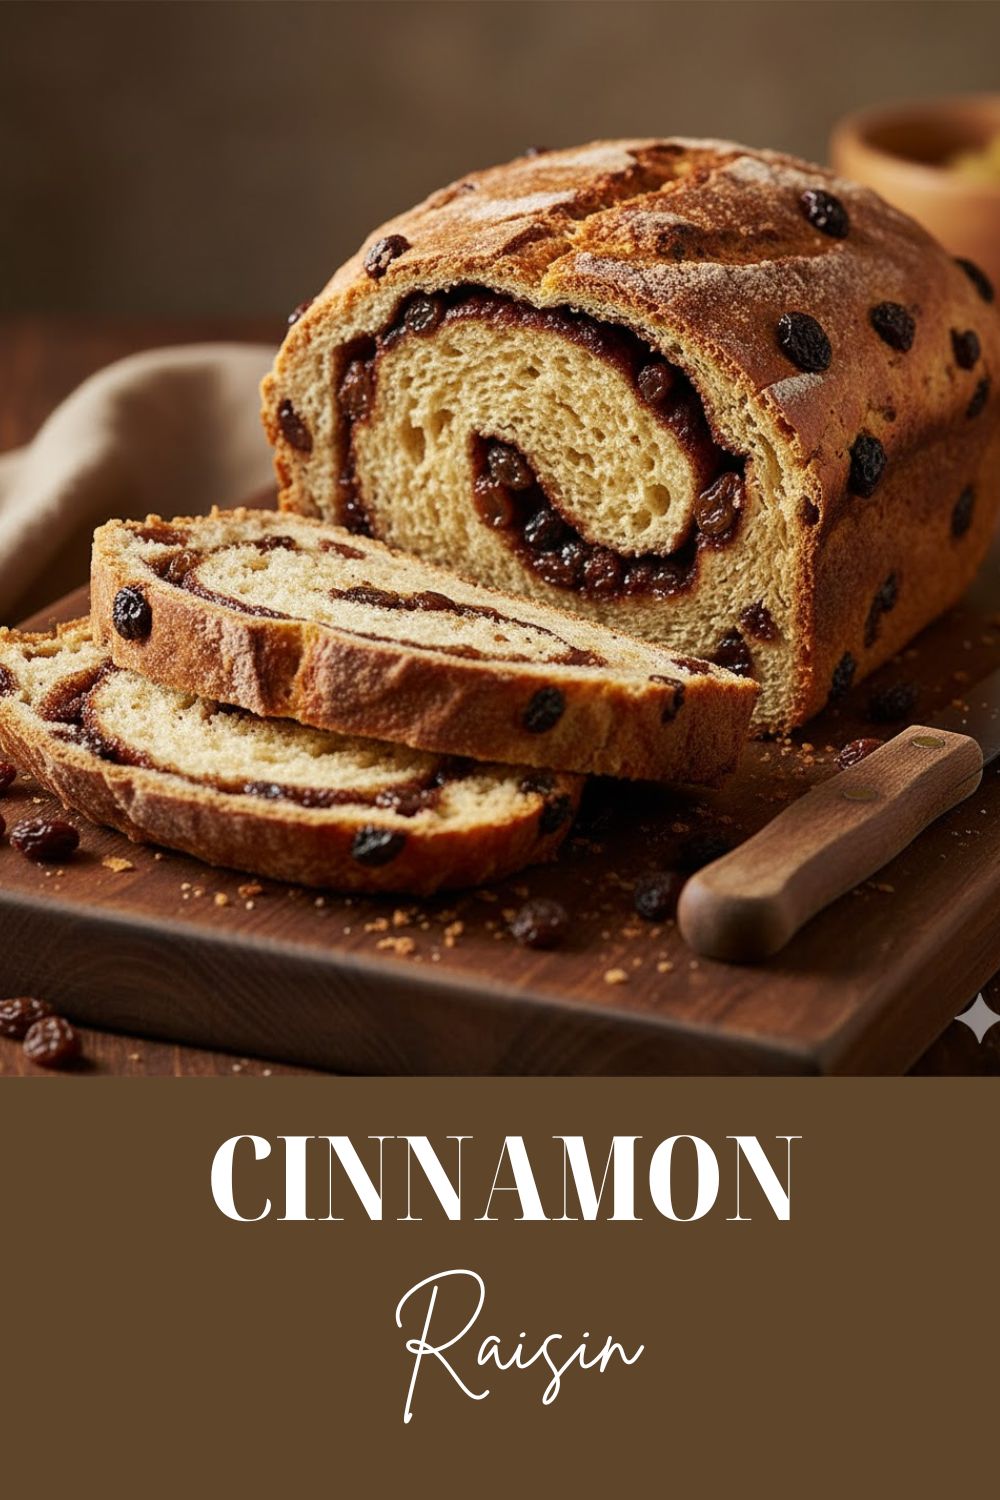
- Cinnamon Raisin Swirl: Add 1 teaspoon of ground cinnamon to the dry ingredients. Once the dough is kneaded, gently fold in ½ cup of plump, dried raisins.
- Savory Seeded Loaf: Add ¼ cup of mixed seeds (sunflower, flax, sesame) to the dough during the final knead. Top the loaf with an egg wash and a sprinkle of flaky salt and seeds before baking.
FAQ Section: All Your Burning Bread Questions
You’re a whole wheat wizard now. Here are the questions people ask when they start this journey.
Q1: Why is my whole wheat bread always dense?
A: Whole wheat flour has less gluten structure because the bran shreds the strands. Combat this by using extra liquid, adding some white bread flour for strength, and ensuring you don’t over-knead.
Q2: Do I have to use vital wheat gluten?
A: You don’t have to for this recipe (that’s why we use some AP flour), but adding 1-2 tablespoons of vital wheat gluten gives a fantastic protein boost that helps a 100% whole wheat loaf rise much higher and achieve a lighter texture.
Q3: Why does whole wheat dough seem stickier than white dough?
A: The bran and germ in whole wheat flour absorb more moisture, but they don’t form strong gluten bonds right away. Give it a rest (like the sponge step!) to fully hydrate before judging its stickiness.
Q4: How do I store homemade whole wheat bread?
A: Once completely cool, store the bread in a plastic bag or airtight container at room temperature for up to 3-4 days. You can also slice and freeze it for up to 3 months.
Q5: Can I substitute oil for butter?
A: Yes, you can. Use a neutral oil (like canola or vegetable) for the same volume. Butter is preferred because it adds a rich flavor and tenderness that oil doesn’t quite match.
Q6: How can I prevent the crust from getting too dark?
A: Tent the loaf with aluminum foil around the 20-minute mark if it’s browning too quickly. This shields the top while allowing the inside to continue baking.
Q7: Should I use instant or active dry yeast?
A: Both work well! Instant yeast is easier—you just mix it right in with the dry ingredients. Active dry yeast needs to be “proofed” first in the warm liquid (as we do here) to confirm it’s alive.
Final Thoughts: You Are Now a Whole Grain Hero
Look at that beautiful, high-rising loaf! You conquered the supposed “difficulty” of whole wheat and produced a bread that’s both delicious and actually good for you. No more sad, dusty loaves for you! You are now a whole grain hero. Go ahead, slice that perfect bread (after it cools!), slather it with butter, and contemplate all the amazing, fiber-rich sandwiches your future holds.