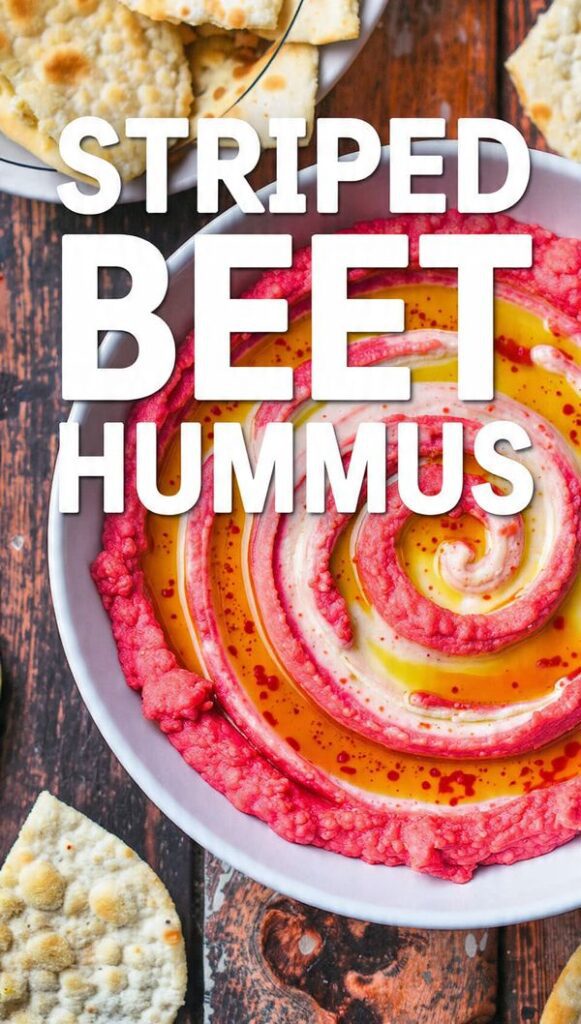
Striped Beet Hummus: The Easiest Way to Serve a Viral, Pink-Swirled Dip
Let’s be real, regular beige hummus is fine. It’s reliable. It’s also completely boring. If your appetizer isn’t aggressively photogenic, did you even make it? We’re fixing the beige problem by harnessing the vibrant magic of beets to create Striped beet hummus, a swirled, pink-and-white dip that looks like edible art.

This isn’t about complicated food coloring; it’s about separating your ingredients and blending them strategically to create that gorgeous, viral swirl. The beets add a subtle, sweet earthiness that complements the tangy lemon and tahini perfectly. Get ready to ditch the bland chickpea mush and serve a dip that truly deserves a close-up. Seriously, why be boring when you can be beautifully pink?
Why This Striped Beet Hummus Is Awesome (Aesthetics, Health, and Tang)
This hummus is an upgrade in flavor, nutrition, and, most importantly, visual flair.
First, the Jaw-Dropping Aesthetics. The vibrant pink from the beet, swirled into the creamy white of the plain hummus, creates a stunning, mesmerizing effect. It’s instantly eye-catching on any platter. It looks like you spent hours crafting an edible masterpiece, but it takes 15 minutes. Why serve plain dip when you can serve a kaleidoscope?
Second, the Health Boost. Adding beets loads this dip with vitamins, fiber, and potent antioxidants, turning a basic chickpea spread into a nutritional powerhouse. Plus, beets are naturally slightly sweet, which balances the sharpness of the lemon and tahini beautifully. IMO, sneaking vegetables into snacks is the peak of adult strategy.
Third, The Perfect Earthy Tang. Striped beets (like Chioggia) are generally sweeter and milder than traditional red beets, meaning the hummus avoids that overwhelming “dirt” taste sometimes associated with beets. You get a perfect blend of sweet, sour, and savory. TBH, this is my favorite way to eat beets.
The Goods: Ingredients You Need
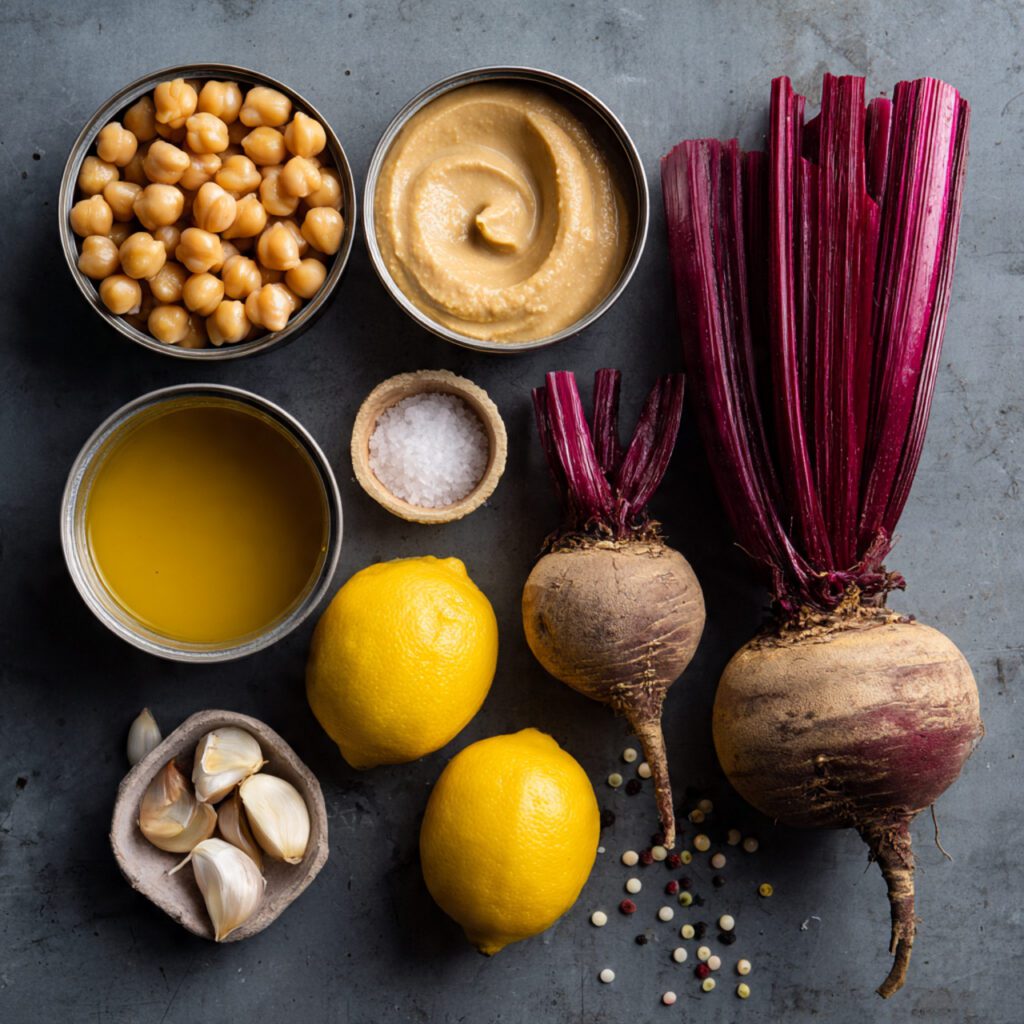
We use Chioggia (striped) beets for their milder flavor, but the vibrant color of regular red beets works just as well for the visual pop!
- For the Plain Hummus Base:
- 1 (15-ounce) can Chickpeas, rinsed and drained (reserve the liquid—aquafaba!).
- 1/4 cup Tahini (high-quality, smooth tahini is best).
- 2 tablespoons Fresh Lemon Juice.
- 2 tablespoons Extra Virgin Olive Oil.
- 1 clove Garlic, minced.
- 1/2 teaspoon Salt.
- 2-3 tablespoons reserved Aquafaba (chickpea liquid, for creaminess!).
- For the Beet Puree:
- 1 medium Striped Beet (or red beet), roasted until tender and peeled.
- 1 tablespoon Lemon Juice.
- 1/4 teaspoon Salt.
- 1 tablespoon Olive Oil.
H3 Key Substitutions (The Mix-Up)
- No Tahini? Use cashew butter or sunflower seed butter (for a nut-free option) for the necessary creaminess and nutty flavor.
- Beet Swap: Use 1/4 cup of well-drained canned beets for convenience, but the flavor won’t be as fresh or earthy as roasted beets.
- Lemon Juice Swap: Use lime juice for a slightly brighter, more acidic flavor (great for a spicy variation).
Tools & Kitchen Gadgets Used (The Blender Blitz)
A good food processor or high-speed blender is essential for achieving that ultra-smooth, creamy texture we all crave in hummus.
- Food Processor or High-Speed Blender: CRUCIAL! For pulverizing the chickpeas and creating the silky base.
- Rubber Spatula: For scraping down the sides of the bowl during blending.
- Small Saucepan: For roasting or boiling the beets (or wrapping in foil for oven roasting).
- Measuring Cups and Spoons: Precision helps achieve the perfect hummus texture.
- Spoon and Ramekins: For plating and serving.
- Microplane Zester: For adding lemon zest (optional, but awesome!).
Step-by-Step Instructions (Blend, Separate, Swirl)
The secret to the Striped beet hummus is in the separation and strategic blending of the colored component after the base is complete.
H3 Step 1: Roast the Beet (The Flavor Base)
- Preheat your oven to 400°F (200°C).
- Wash and trim the beet. Wrap it tightly in aluminum foil and roast for 45–60 minutes until fork-tender. Let it cool slightly, then peel off the skin (it should rub off easily).
- Roughly chop the roasted beet and set aside.
H3 Step 2: Create the Classic Hummus Base
- In the food processor, combine the chickpeas, tahini, 2 tablespoons lemon juice, garlic, and 1/2 teaspoon salt.
- Blend for 1 minute. While the processor is running, slowly drizzle in the 2 tablespoons of olive oil and the 2-3 tablespoons of reserved aquafaba.
- Blend on high for 3–4 minutes, scraping down the sides occasionally, until the hummus is ultra-smooth and creamy. Taste and adjust seasoning.
H3 Step 3: Separate and Blend the Pink Swirl
- Remove 2/3 of the plain hummus and transfer it to a serving bowl. This is the white portion.
- Add the chopped roasted beet, 1 tablespoon lemon juice, 1 tablespoon olive oil, and 1/4 teaspoon salt to the remaining 1/3 of the plain hummus in the food processor.
- Blend for 1–2 minutes until the mixture is completely smooth and a vibrant pink/magenta color.
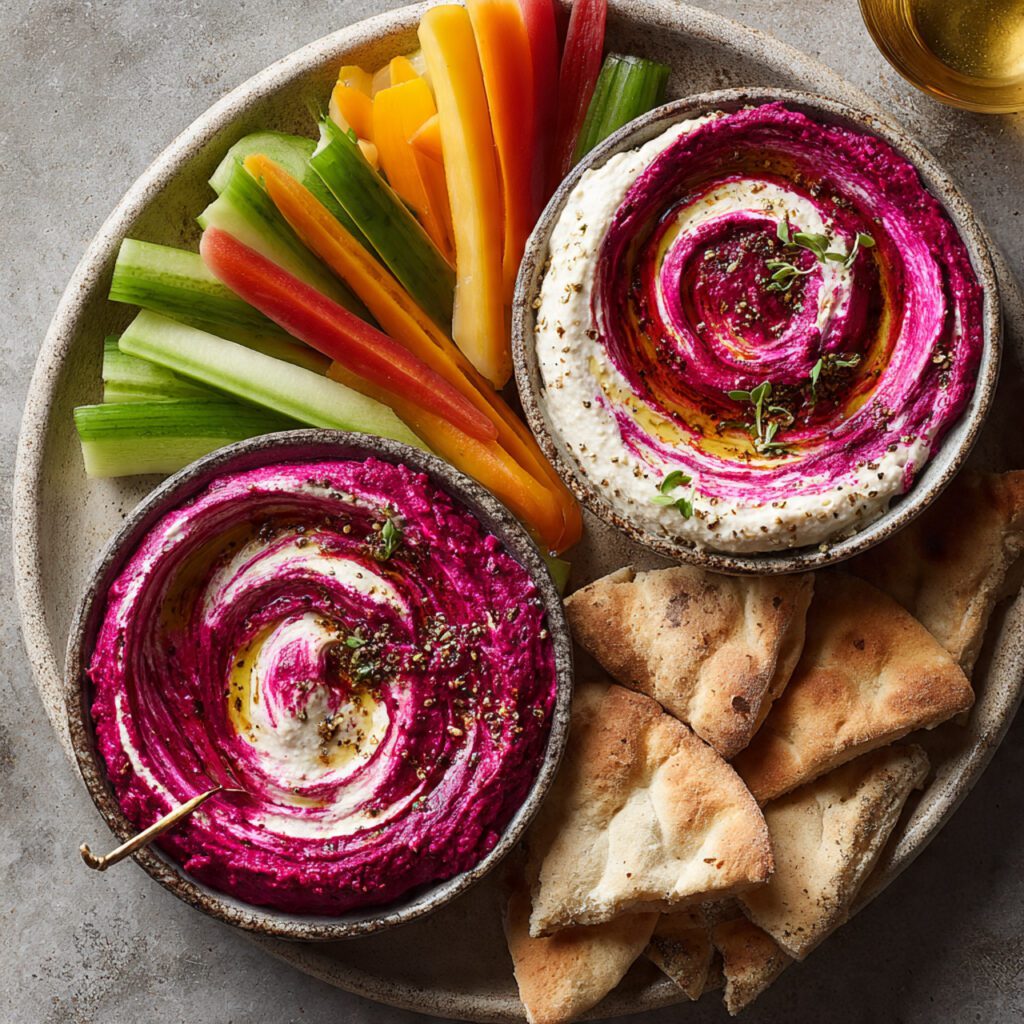
H3 Step 4: Swirl and Serve (The Grand Reveal)
- Take the serving bowl with the plain (white) hummus. Dollop the pink beet hummus generously across the surface of the white hummus.
- Use a knife, chopstick, or spoon handle to gently swirl the pink into the white. Don’t overmix! You want distinct ribbons of color.
- Drizzle the surface with a little extra virgin olive oil. Garnish with a pinch of black pepper, pine nuts, or fresh herbs. Serve immediately with pita chips and veggies.
Calories & Nutritional Info (Healthy, High-Fiber Dip)
Hummus is an inherently healthy dip, and adding beets boosts the micronutrients and fiber even further. This estimate is for a 1/4 cup serving.
- Estimated Calories Per Serving (1/4 cup): ~120–150 calories. (Mostly from the tahini and olive oil).
- High in Fiber: Chickpeas and beets provide excellent dietary fiber.
- Good Source of Plant-Based Protein: Chickpeas are a fantastic protein source.
- Rich in Folate and Manganese: Beets are powerhouse vegetables for these minerals.
- Vegan & Gluten-Free: Naturally fits both dietary plans.
Common Mistakes to Avoid (The Beige Disaster)
You want vibrancy and silkiness, not a dull, grainy, or overly earthy dip.
- Using Canned Beets (if available): While convenient, canned beets can give a slightly metallic flavor. Roasting fresh beets maximizes the sweetness and earthiness needed for balance.
- Forgetting the Aquafaba: The reserved chickpea liquid (aquafaba) is the secret ingredient for achieving ultra-silky, fluffy hummus. Don’t discard it! Add it slowly during blending.
- Overmixing the Swirl: The goal is distinct ribbons of pink and white. Swirl gently 3-4 times with a spoon handle. Too much blending results in a uniform, pale pink color (a tragedy).
- Blending the Beet Too Early: Adding the beet at the beginning colors the entire batch, defeating the purpose of the beautiful swirl. Blend the plain base first!
Variations & Customizations (Color and Spice)
Once you master the base technique, you can substitute the beet with other vibrant additions for different colors and flavors.
- Spicy Sriracha Swirl (Spicy Version): Use the plain hummus base. In the final step, instead of beet puree, blend 1/4 cup of the hummus with 2 teaspoons of Sriracha sauce and 1/2 teaspoon of smoked paprika. Swirl for a red-and-white, spicy dip.
- Bright Yellow Curry Hummus: Omit the beet. Instead, blend 1 teaspoon of curry powder and 1/2 teaspoon of turmeric powder into 1/3 of the plain hummus for a vibrant yellow swirl. Top with toasted shredded coconut.
- Keto/Low-Carb Swap: Skip the chickpeas entirely. Use the same technique with a blend of blanched cauliflower florets and 1/4 cup of cream cheese (instead of chickpeas) for a lower-carb dip.
FAQ Section (The Dip Deep Dive)
People always ask about achieving that perfect restaurant-quality hummus texture.
- Q: Do I really need to use tahini?
- A: Yes! Tahini (sesame seed paste) provides the essential nutty flavor and fatty emulsion that makes hummus, hummus. Without it, it’s just seasoned chickpea paste.
- Q: How can I peel the chickpeas for the smoothest hummus?
- A: You can rub the cooked chickpeas between two paper towels or blanch them briefly with a dash of baking soda. While time-consuming, peeling chickpeas results in the absolute silkiest texture.
- Q: How long does homemade beet hummus last?
- A: Store it in an airtight container in the refrigerator for 4–5 days. The color may deepen slightly, but the flavor remains great.
- Q: Can I use raw beets?
- A: You can, but roasting the beet is highly recommended. Roasting brings out the sweetness and mellows the raw, earthy flavor, making the hummus taste better.
- Q: Why does my hummus taste grainy?
- A: You likely didn’t blend it long enough. Blend on high for at least 3 minutes (up to 5!) and ensure you add the aquafaba/liquid slowly to achieve an emulsion.
- Q: What should I serve with Striped Beet Hummus?
- A: Serve it with pita chips, fresh vegetable sticks (cucumbers, carrots), or spread it on rye crackers. Its sweetness pairs well with salty, plain flavors.
- Q: Can I freeze hummus?
- A: Yes! Freeze it in an airtight container for up to 3 months. When thawing, the texture might change slightly; blend it again with a splash of olive oil and lemon juice to restore the creaminess.
Final Thoughts (The Swirl Savant)
You faced the beige boredom of basic hummus and defeated it with a burst of color and flavor. You mastered the gentle blend and the perfect ribbon swirl. That Striped beet hummus is proof that healthy snacks can look like they belong in an art gallery.
Go ahead, dip that crispy pita chip. Did you realize homemade hummus could be this smooth and gorgeous? I bet you’ll never buy a plain container again. Now, what color are you swirling next time—yellow turmeric?