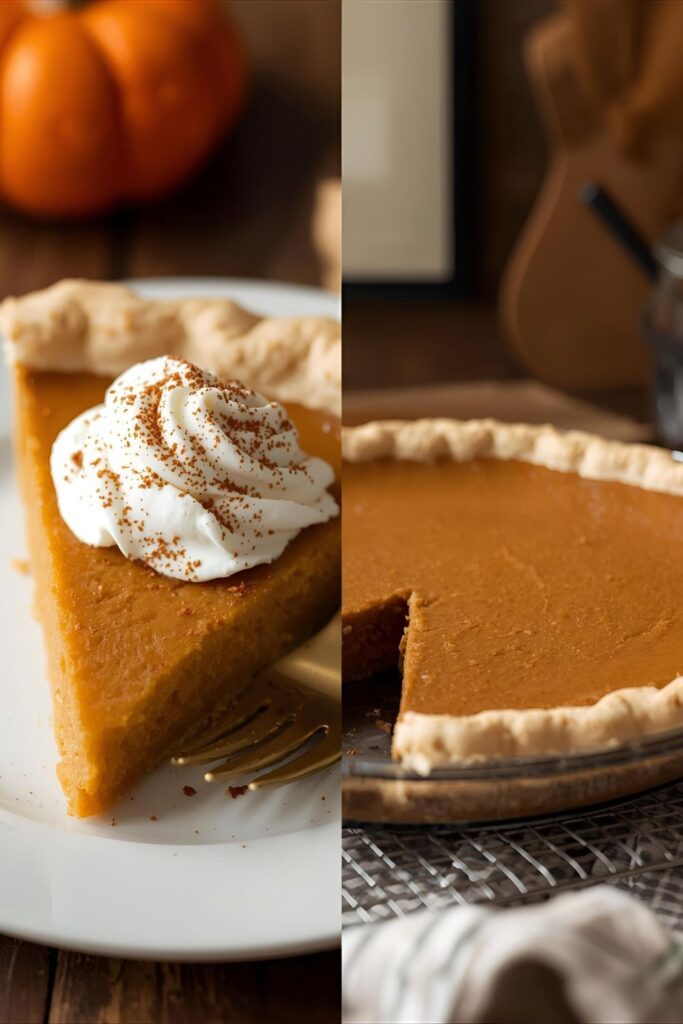
The Best Classic Pumpkin Pie Recipe for Holiday Perfection
You’ve seen it on every holiday table, haven’t you? The pumpkin pie. Sometimes it’s a glorious, perfectly baked slice of heaven. Other times… it’s a sad, cracked, jiggly mess with a soggy crust. We’ve all had that moment of polite disappointment. But what if I told you there’s a simple, foolproof way to make a pumpkin pie that’s creamy, perfectly spiced, and holds its shape? This pumpkin pie recipe is your ticket to pumpkin pie glory. No cracks, no sogginess, just pure, unadulterated holiday perfection.
Why This Recipe Is a Total Game-Changer
This recipe is awesome because it solves all the common pumpkin pie problems. We use a secret ingredient that gives the filling an unbelievably silky smooth texture. We also bake it at two different temperatures to prevent cracking, a little pro tip that will make you look like a baking genius. And let’s not forget the spice blend! It’s the perfect balance of warm spices that will make your kitchen smell like a cozy autumn day. It’s so easy, you’ll wonder why you ever considered buying one from the store.
Ingredients
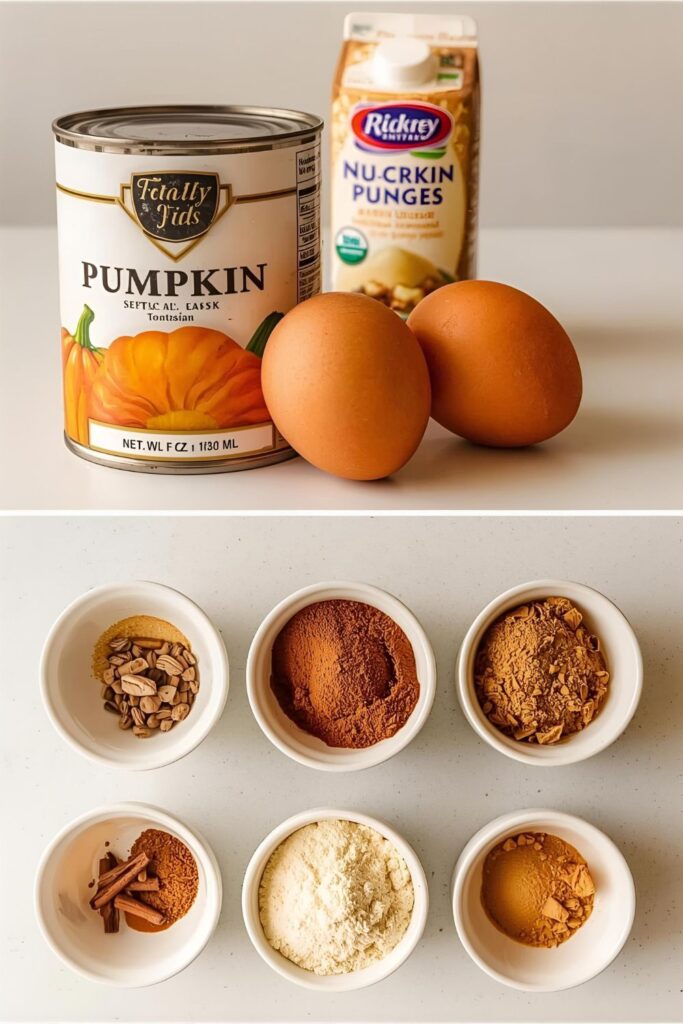
- 1 (15-ounce) can Pumpkin Puree: Make sure it’s 100% pumpkin puree, not pumpkin pie filling. That’s a common mistake!
- 1 1/4 cups Heavy Cream or Evaporated Milk: Heavy cream gives it a richer, creamier texture.
- 2 large Eggs: For binding the filling.
- 3/4 cup Granulated Sugar: Adjust to your sweet tooth.
- 1/2 tsp Salt: Don’t skip this! It balances the sweetness and brings out the flavor.
- 1 tsp Ground Cinnamon: The star of the show.
- 1/2 tsp Ground Ginger: Adds a little warmth and kick.
- 1/4 tsp Ground Nutmeg: For that quintessential pumpkin pie flavor.
- 1/8 tsp Ground Cloves: A little goes a long way.
- 1 (9-inch) unbaked pie crust: You can use a store-bought one (no shame!) or make your own.
Substitutions:
- Pumpkin Puree: You can roast your own pumpkin (like a Sugar Pie pumpkin) and make your own puree.
- Heavy Cream: Evaporated milk or even half-and-half works, but the texture won’t be as rich.
- Sugar: Brown sugar can be used for a deeper, molasses flavor.
Tools & Kitchen Gadgets Used
- 9-inch pie dish: The standard for most pies.
- Large mixing bowl: For whisking all the ingredients together.
- Whisk or electric mixer: A whisk works perfectly fine, but an electric mixer makes it super fast.
- Measuring cups and spoons: Essential for accuracy.
- Oven mitts: Because ovens are hot.
- Wire rack: For cooling the pie completely.
- Aluminum foil or pie shield: To protect the crust from burning.
Step-by-Step Instructions
- Get Your Crust Ready: Place your unbaked pie crust in the pie dish. Crimp the edges however you like—a fancy pattern, or just with a fork. It’s your pie, you’re the boss.
- Make the Filling: In a large mixing bowl, whisk the pumpkin puree, heavy cream (or evaporated milk), and eggs until it’s smooth and perfectly combined.
- Add the Dry Stuff: In a separate small bowl, whisk together the sugar, salt, cinnamon, ginger, nutmeg, and cloves. This ensures the spices are evenly distributed and you don’t get a huge clump of cinnamon in one bite. No one wants that.
- Combine Everything: Pour the dry mixture into the wet pumpkin mixture. Whisk it all together until it’s perfectly smooth and has no lumps. It should smell absolutely amazing right about now.
- Pour and Bake: Carefully pour the pumpkin filling into the unbaked pie crust. Place the pie on a baking sheet to catch any potential spills. This makes cleanup a breeze. Put the pie into a preheated oven at 425°F (220°C).
- The Two-Step Bake: Bake the pie at 425°F for 15 minutes. Then, without opening the oven door, reduce the temperature to 350°F (175°C) and bake for another 45-55 minutes. You’ll know it’s done when the edges of the filling are set and firm, but the center still has a slight jiggle. This is the secret to a perfect top!
- Cool It Down: This is the hardest part: patience. Let the pie cool completely on a wire rack for at least 2 hours. Seriously, don’t even think about cutting it. Cutting a warm pumpkin pie is a recipe for a sloshy, sad slice.
Calories & Nutritional Info
Disclaimer: These are estimated values and will vary based on your specific ingredients and serving sizes.
- Serving Size: 1 slice (1/8th of the pie)
- Calories: ~300-350 kcal
- Fat: ~15-20g
- Carbohydrates: ~40-45g
- Sugar: ~25-30g
- Nutritional Notes: While delicious, this is a treat. It contains sugar and fat from the crust and filling. The pumpkin puree does offer some Vitamin A and fiber, which is a small win, right?
Common Mistakes to Avoid
- Using Pumpkin Pie Filling: A rookie mistake! Pumpkin pie filling already has sugar and spices added. Make sure you get 100% pumpkin puree to control the flavors yourself.
- No Pie Shield: The edges of your crust will burn long before your pie is cooked. Wrap the edges of the crust with aluminum foil or a pie shield after the first 15 minutes of baking.
- Over-baking: A dry, cracked pie is a sign of over-baking. A little jiggle in the center is exactly what you want when you pull it from the oven. It will continue to cook as it cools.
- Soggy Crust: This usually happens from not preheating the oven hot enough or over-filling the pie. You can also try pre-baking (par-baking) your crust for 10-15 minutes before adding the filling.
Variations & Customizations
- Ginger Snap Crust: For a spicy twist, use a crushed ginger snap cookie crust instead of a traditional pastry crust. It’s fantastic!
- Boozy Pumpkin Pie: Add a splash of dark rum or bourbon to the filling. Just a tablespoon or two adds a lovely, warm complexity.
- Chocolate Swirl Pumpkin Pie: Melt a handful of white or dark chocolate chips. Before baking, drizzle the melted chocolate over the top of the filling and use a knife or skewer to create a beautiful swirl.
FAQ Section
1. How do you know when pumpkin pie is done? The edges will be firm and the center will still have a slight jiggle when you gently shake the pie. A knife inserted near the center should come out clean.
2. Why does my pumpkin pie crack? It’s usually because you over-baked it or the oven temperature was too high. The two-stage baking method in this recipe helps prevent cracking.
3. Can I make pumpkin pie ahead of time? Yes, you can! You can bake it up to two days in advance. Let it cool completely, then cover and refrigerate.
4. Can you freeze a pumpkin pie? You can, but it’s best to freeze it without the whipped cream topping. Wrap it tightly in plastic wrap and then foil. Thaw it in the fridge overnight.
5. Why is my pumpkin pie crust soggy? A soggy bottom can be caused by a few things: an under-baked crust, an oven that isn’t hot enough, or a filling that’s too watery. Make sure your oven is preheated, and don’t skimp on the cream.
6. Do you have to blind-bake the crust for pumpkin pie? You don’t have to, but it can help prevent a soggy bottom. For this recipe, the initial high-heat bake helps set the crust without a full blind-bake.
7. How long can a pumpkin pie sit out? The FDA recommends that a pumpkin pie containing eggs or dairy should not sit at room temperature for more than two hours. It’s best to keep it refrigerated.
Final Thoughts
So, that’s it. You’re now armed with the ultimate pumpkin pie recipe. No more store-bought pies that taste like sad, sugary goo. You’ve got the power to make something truly incredible and memorable. Go forth, bake this pie, and prepare for the oohs and aahs. Just don’t let anyone catch you eating the last piece in the middle of the night. Or do, I don’t judge. Enjoy your perfect slice!