
Seriously, Stop Buying That Pre-Made Garbage
I get it. You’re busy. You see that tub of “pulled pork” at the grocery store, and the convenience whispers sweet, empty promises to your soul. But let’s be real, you wouldn’t feed that stuff to your enemies, so why inflict it on your family? It’s time to realize the sheer, unadulterated joy that is homemade Pulled pork. Seriously, I once served this at a party, and a grown man cried happy tears. No cap. That’s your viral hook right there.

I’m here to tell you something controversial: making killer pulled pork isn’t hard; it just takes commitment—the commitment to do absolutely nothing for many, many hours. It’s the culinary equivalent of putting a post-it note on your fridge that says, “Don’t mess with this until it’s falling apart.” Honestly, you spend more brain cells figuring out which streaming service to watch. This recipe? It’s pure, delicious laziness.
Why You Need This Recipe in Your Life, Like, Yesterday
You need this recipe because it’s the definition of flavor-to-effort ratio. You spend 20 minutes prepping, and then your oven (or smoker, bless its heart) does all the heavy lifting. Does it get any better? IMO, no.

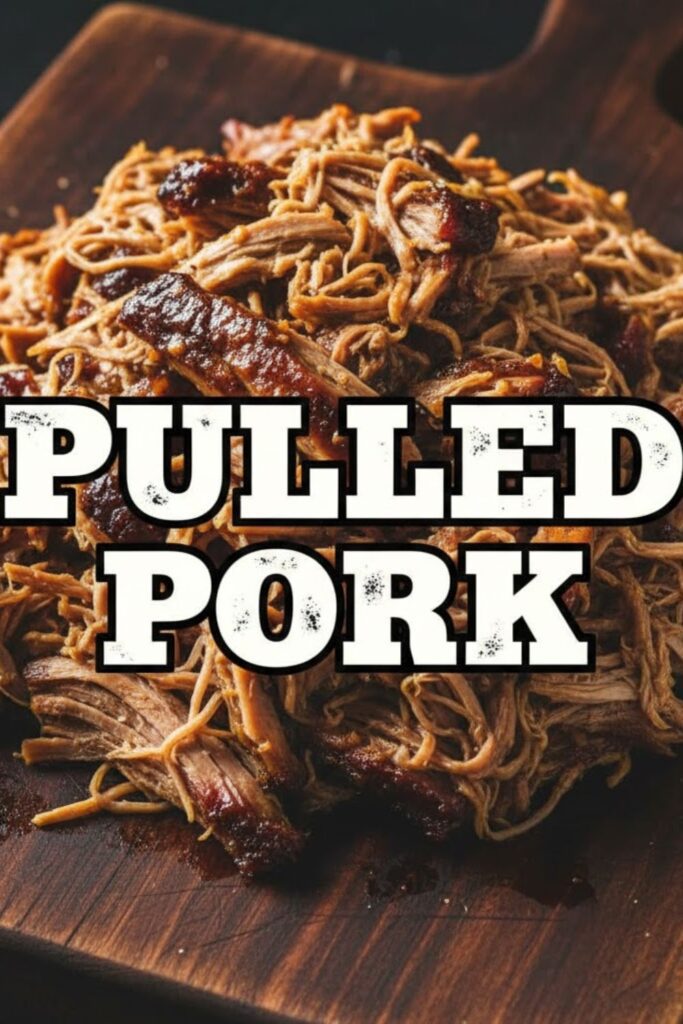
The payoff is huge. You get a smoky, unbelievably tender pork shoulder, perfectly seasoned, swimming in its own glorious juices. It’s a culinary masterpiece that will make your guests wonder if you quit your job to become a pitmaster. Spoiler alert: you didn’t, you just followed these simple steps. Plus, the leftovers are the gift that keeps on giving. Think tacos, nachos, shepherd’s pie—you name it. You basically just cooked a week’s worth of dinners. You’re welcome.
The Lineup: What You’ll Need

Listen, keep the ingredients simple. We want the pork to be the star, not some sad, overly complicated spice blend trying too hard. Quality pork shoulder (also called Boston Butt) is the non-negotiable hero here.
The Pork and the Magic Rub
- 1 (6-8 lb) Pork Shoulder (Boston Butt), bone-in or boneless. (Bone-in adds more flavor, but boneless cooks a touch faster. Your call.)
- 3 tablespoons Smoked Paprika. (Don’t skimp on the smoke!)
- 2 tablespoons Kosher Salt. (Salt is your friend, don’t be shy.)
- 1 tablespoon Black Pepper. (Freshly ground is best, duh.)
- 1 tablespoon Brown Sugar. (Just a kiss of sweetness to balance the smoke.)
- 1 tablespoon Garlic Powder.
- 1 tablespoon Onion Powder.
- 1 teaspoon Cayenne Pepper. (Optional, if you like a little kick.)
- 1/2 cup Apple Cider Vinegar. (For spritzing, or just generally making things better.)
Substitution Note: If you don’t have all those individual spices, don’t panic. A good quality, pre-made BBQ rub works in a pinch. Just ensure it’s heavy on paprika and brown sugar. We’re aiming for a deep, earthy flavor.
Tools & Kitchen Gadgets Used
You don’t need a fancy million-dollar smoker, FYI. This recipe works great in a standard oven or a trusty slow cooker. Here are the bits and bobs you’ll need to look like a pro:
- Large Roasting Pan or Heavy-Duty Slow Cooker/Crock-Pot. (Or an actual smoker, if you’re living the dream.)
- Basting Brush or Spray Bottle. (Essential for keeping things moist.)
- Meat Injector (Optional but highly recommended). (Seriously levels up the moisture game.)
- Digital Meat Thermometer. (The single most important tool. Don’t eyeball it; you’re not a wizard.)
- Heavy-Duty Aluminum Foil. (For the “Texas Crutch”—more on that later.)
- Shredding Claws or Two Forks. (Unless you want to pull it apart with your bare hands, which, you do you.)
- Small Mixing Bowl. (For mixing the rub. High-tech, I know.)
Step-by-Step Instructions: The Path to Pig Perfection
This process is so chill, you’ll wonder why you waited this long. We’re keeping it low and slow—that’s the secret sauce, friends.
H3: Prep Like a Boss
- Pat it Down: Take your pork shoulder out of the fridge. Use paper towels to thoroughly pat the pork dry. Moisture is the enemy of a good crust (or “bark”).
- Mix the Rub: In your small mixing bowl, combine all the rub ingredients: paprika, salt, pepper, brown sugar, garlic powder, onion powder, and cayenne (if using).
- Rub it in: Liberally cover the entire pork shoulder with the rub. Don’t be shy. Get it into every crevice. You want a thick, beautiful layer. Pro-Tip: If you’re feeling fancy, inject the pork with a mix of apple cider vinegar, a little salt, and maybe some apple juice.
- The Chill Out: Place the rubbed pork in your roasting pan or slow cooker. If you have time (and patience), let it sit uncovered in the fridge for at least 4 hours, or ideally overnight. This helps the rub form a better crust.
H3: The Long, Delicious Wait
- Heat Things Up: Preheat your oven to a nice, gentle 225°F (107°C). If you’re using a slow cooker, set it to “Low.” Low and slow, remember?
- Start the Cook: Place the pork shoulder in the preheated oven. Now you wait. Don’t open the door for at least 6 hours. Seriously, leave it alone.
- The Spritz (Optional, but Fun): After about 4 hours, you can start spritzing the pork every hour with a little apple cider vinegar using a spray bottle. This adds flavor and keeps the outside moist.
- Monitor the Temp: Insert your digital meat thermometer into the thickest part of the meat, avoiding the bone. You’re aiming for an internal temperature of 195°F to 205°F (90°C to 96°C). This is the temperature where the collagen melts and magic happens.
- The Stall (Where Everyone Panics): Around the 150°F to 160°F mark, the temperature will stop rising—sometimes for hours. This is called “the stall.” Don’t fret; it’s just physics (evaporative cooling). You have two choices:
- The Texas Crutch: Wrap the pork tightly in two layers of heavy-duty foil and put it back in the oven. This pushes it through the stall.
- Patience: Just wait it out. It’ll get there.
H3: The Grand Finale
- The Wiggle Test: Once the meat hits 200°F (or your thermometer slides in with zero resistance, like butter), you did it! Remove the pork from the oven.
- The Rest (Crucial!): This is arguably the most important step. Leave the pork wrapped (or wrap it now if you didn’t do the “crutch”) and let it rest for 1-2 hours on the counter. This lets the juices redistribute. Skip this, and you get dry, sad pork. Don’t be sad.
- Shred It: Unwrap the pork (carefully—there will be a glorious amount of juice). Use your shredding claws or two forks and pull the meat apart. It should fall away effortlessly. Discard any large pieces of fat.
- Dress to Impress: Toss the pulled pork with some of the remaining cooking juices to keep it moist. Now, add your favorite BBQ sauce to taste. Don’t drown it; let the meat shine.
Calories & Nutritional Info (The Stuff We Ignore While Eating)

Look, you’re eating a chunk of slow-cooked pork shoulder. It’s not a salad. But knowledge is power, right? TBH, this is a rough estimate for a 4oz serving of the cooked, unsauced meat.
- Estimated Calories Per Serving (4oz unsauced): ~250-300 calories.
- Protein: ~25-30g. (Hello, gains!)
- Fat: ~15-20g. (The good kind that makes it juicy.)
- Carbohydrates: <1g. (Before the BBQ sauce, that is.)
- Key Nutrient: Excellent source of B vitamins (like B12) and Zinc.
- A Note on Fat: A lot of the initial fat renders out during the long cook, but it’s still a relatively high-fat cut. Embrace the flavor!
Common Mistakes to Avoid (Or How Not to Ruin Dinner)
We’ve all been there. You thought you could wing it, and now you’re chewing on a dry leather boot. Avoid these rookie moves.
- Don’t Skimp on the Cook Time: Pulling the pork early because you’re hungry is a capital offense. Tough, un-shredable pork means you didn’t cook it long enough. Remember, it’s done when it’s done, not when the recipe says. Use that thermometer!
- Don’t Over-Sauce Before Shredding: Wait until the very end to add sauce. Dousing the roast early just burns the sugar in the sauce, creating a burnt, black, bitter crust. Add sauce to the pulled meat, or better yet, serve the sauce on the side.
- Don’t Skip the Rest: Seriously, I can’t stress this enough. Resting the meat is mandatory. If you pull it straight from the oven, all those glorious juices will pour out onto your cutting board, leaving you with dry pork. Let it chill.
- Don’t Use Pork Loin: Pork loin is lean. Pulled pork requires fat and connective tissue to break down into that mouth-watering tenderness. Boston Butt/Pork Shoulder is the only acceptable cut.
Variations & Customizations (Because You’re an Artist)
You’ve mastered the classic. Now, let’s get weird. Or, you know, slightly different.
H3: The Spicy Kick Pulled Pork
Ramp up the heat by increasing the Cayenne Pepper in the rub to 2-3 teaspoons, and then add 1 teaspoon of Chili Powder. For the final toss, mix your BBQ sauce with a little Sriracha or Chipotle hot sauce. You like to live dangerously, don’t you?
H3: Carolina-Style Vinegar Pulled Pork
Forget the thick, sweet tomato-based sauce. Carolina BBQ is all about the tang. After shredding, skip the traditional BBQ sauce and toss the meat with a mixture of 1 cup Apple Cider Vinegar, 1/4 cup brown sugar, 1 tablespoon red pepper flakes, and 1 teaspoon salt. It’s bright, vinegary, and fantastic with a creamy coleslaw.
H3: Vegetarian “Pulled” Jackfruit
Hey, we love our vegetarian friends! To get a similar texture and smoky flavor, swap the pork for canned, green jackfruit in brine. Drain and rinse the jackfruit well. Toss it with the dry rub, and then braise it in a little vegetable broth and your vinegar/water spritz mix in the slow cooker until fork-tender (about 3-4 hours on low). Shred and sauce exactly like the pork. It’s shockingly good.
FAQ Section: You Asked, I Answered
Got questions? Of course, you do. This is a journey!
H3: What is the best cut of meat for pulled pork?
The Boston Butt, or Pork Shoulder, wins every time. It has the perfect ratio of fat and connective tissue (collagen) that melts over the long cook, making the meat incredibly tender and juicy.
H3: How long does it take to cook a 7 lb pork shoulder?
Plan for about 1.5 to 2 hours per pound at 225°F (107°C). So, a 7-pounder will take roughly 10-14 hours. Seriously, start it early!
H3: What internal temperature is pulled pork done?
The pork is truly done, meaning the collagen has fully broken down, when it reaches an internal temperature of 195°F to 205°F (90°C to 96°C). Forget what you know about regular pork temps; this one needs to go higher.
H3: Can I make pulled pork in a slow cooker?
Yes, you absolutely can! It’s super easy. After rubbing, cook it on low for 8-10 hours or on high for 4-6 hours. It won’t have the same smoky “bark” as an oven or smoker cook, but it will be incredibly tender.
H3: Why is my pulled pork dry?
You pulled it too early! The two main culprits for dry pulled pork are not cooking it to the right internal temperature (195°F-205°F) or skipping the all-important resting period. Go low and slow, and give it a long rest.
H3: How do I store and reheat leftover pulled pork?
Store it in an airtight container in the fridge for up to 4 days. To reheat, the best way is to place it in an oven-safe dish, toss it with a little extra cooking liquid or apple juice, cover it tightly with foil, and warm it in a 300°F (150°C) oven until hot.
H3: What should I serve with pulled pork sandwiches?
The classics are classic for a reason. Go for creamy coleslaw, baked beans, macaroni and cheese, and cornbread. The cool crunch of the slaw is the perfect foil for the rich, warm pork.
Final Thoughts
So, there you have it. You just made the most insanely delicious Pulled pork your friends will ever eat. You didn’t break a sweat, and you definitely didn’t spend three days tending a smoker (unless you wanted to, you grill master!). Go ahead, revel in the compliments. When your friends ask for the recipe, just give them a knowing nod and whisper, “It’s all in the rest.”
Now, please promise me you will never, ever buy that weird, soggy store-bought stuff again. Your taste buds—and your reputation—deserve better. Send me a pic of your masterpiece! 🙂

