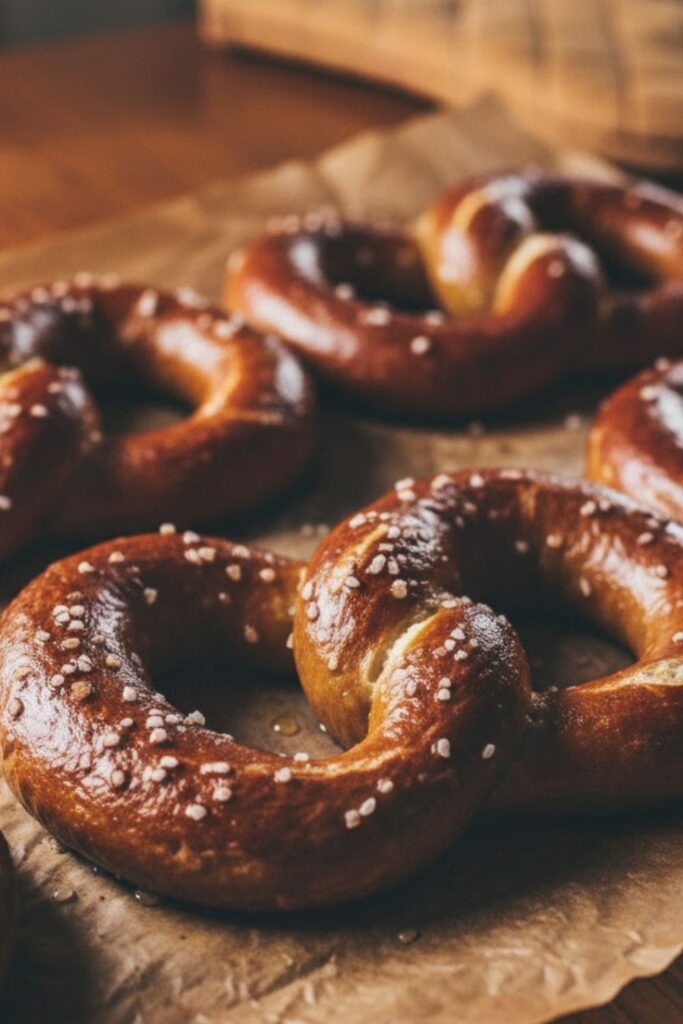
Soft, Salty, and Perfect: The Only Homemade Pretzels Recipe You’ll Ever Need
Raise your hand if you’ve ever paid $7 for a giant, buttery knot at the mall, only to have a moment of intense regret when you realized you could have bought five bags of chips for the same price. Yeah, me too. The soft pretzel is a simple pleasure, but it always feels like something only vendors with little carts can master, right? Wrong.
I’m here to tell you that making incredible, fluffy-on-the-inside, deeply browned, and salty Pretzels at home is easier than parallel parking. It involves dough, a quick boil (yes, boiling!), and a little oven time. Once you smell that yeasty, baked dough aroma filling your kitchen, you will officially become an evangelist for homemade soft pretzels. Forget the mall; you’re opening your own stand.
Why Baking Your Own Pretzels Is the Ultimate Flex
A homemade soft pretzel isn’t just a snack; it’s a mood. You get that perfectly crisp, caramelized crust thanks to the alkaline bath (more on that later, it’s cool science), contrasting beautifully with the pillowy, chewy interior. Store-bought frozen versions? Those are sad, pale imitations.
This recipe is awesome because it truly delivers that authentic flavor and texture. It’s the kind of thing you can make for game day, a cozy movie night, or just because you woke up craving carbs and salt. Plus, nothing impresses guests more than saying, “Oh, these? I just whipped up some homemade Pretzels.” You instantly become the cool friend.
Ingredients: The Simplicity of the Salty Knot
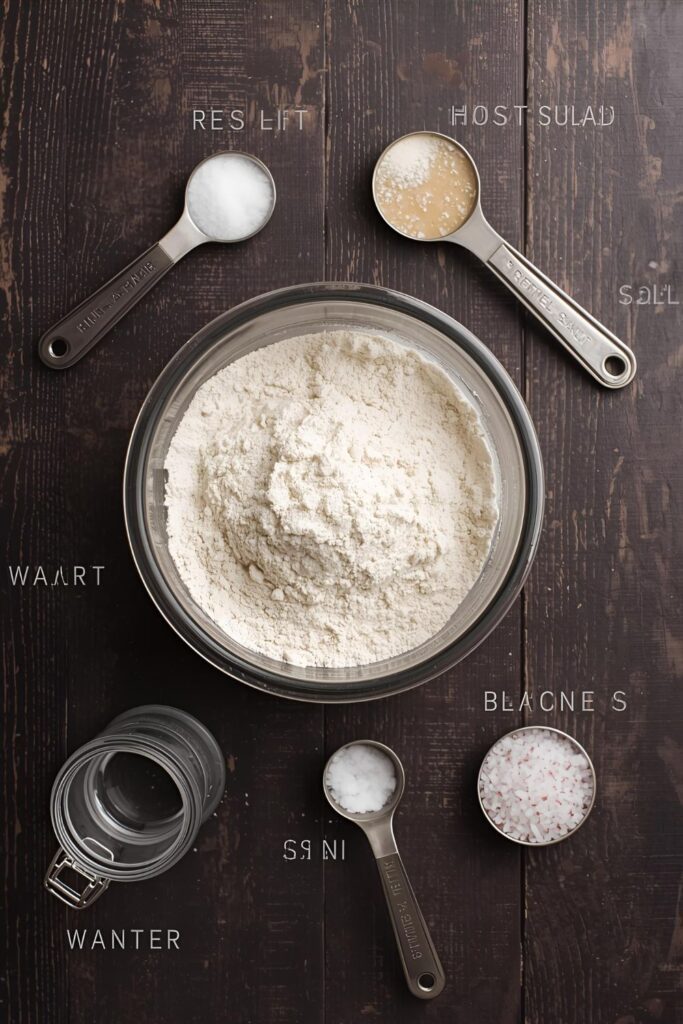

The ingredient list is minimal, which means you have zero excuses not to try this. Just make sure you get the right flour!
- 1 1/2 cups Warm Water (About $105^{\circ}F$ to $115^{\circ}F$. Check your temperature; don’t murder the yeast!)
- 1 tablespoon Granulated Sugar (Feeds the yeast and aids browning.)
- 2 teaspoons Active Dry Yeast (The bubbles are coming!)
- 4 cups Bread Flour (The high protein is crucial for that chewy texture! All-purpose works, but the chew factor drops.)
- 1 1/2 teaspoons Fine Sea Salt (For flavor balance in the dough.)
- For the Boiling Bath:
- 8 cups Water
- 1/2 cup Baking Soda (The alkalinity is the real MVP here.)
- For Topping:
- 1 Large Egg Yolk (For the beautiful shine.)
- 1 tablespoon Water (To create the egg wash.)
- Coarse Pretzel Salt or Kosher Salt (The bigger the crystals, the better.)
Key Substitution Note: Do not substitute the Bread Flour with all-purpose flour if you want an authentic, chewy pretzel. If you truly want a deep, authentic mahogany color, substitute the baking soda in the bath for food-grade lye—but seriously, only attempt that if you know how to handle lye safely! Stick with the baking soda for excellent, safer results.
Tools & Kitchen Gadgets Used
You need a few specialized items for the boiling step, but otherwise, standard kitchen gear will do the trick.
- Stand Mixer with Dough Hook Attachment (Saves your arm strength for the shaping.)
- Large Mixing Bowl (For the initial rise.)
- Measuring Cups and Spoons (Precision is key.)
- Kitchen Scale (Optional, but helps make uniform dough balls for consistent sizes.)
- Large Pot or Dutch Oven (Must be wide enough to comfortably submerge the pretzels.)
- Slotted Spoon or Spider Strainer (Essential for lifting the pretzels from the hot bath.)
- Two Large Baking Sheets
- Parchment Paper or Silicone Baking Mat (Non-negotiable—the alkaline bath makes them sticky!)
- Small Bowl and Pastry Brush (For the egg wash.)
Step-by-Step Instructions: The Knead, the Knot, and the Krunch
This recipe moves quickly, especially once the dough is kneaded. Get ready to embrace the alkali!
H3: Mixing and Rising (The Zen Part)
- In the stand mixer bowl, combine the warm water, sugar, and yeast. Let it sit for 5 minutes until foamy. Say hello to your active yeast!
- Add the bread flour and sea salt to the mixture. Use the dough hook and mix on low speed until a shaggy dough forms, then increase to medium-low.
- Knead for 5-7 minutes. You want a smooth, relatively stiff dough that pulls away from the sides of the bowl.
- Form the dough into a ball, place it in an oiled large bowl, and cover it. Let it rise in a warm spot for 1 to 1.5 hours, until it doubles in size.
H3: Shaping the Classic Knot (The Fun Part)
- Gently punch down the risen dough and divide it into 8 equal pieces. Roll each piece into a small ball.
- Roll each ball into a long rope, about 24-30 inches long and slightly thinner at the ends.
- Form the pretzel shape: Make a U-shape with the rope. Cross the ends over each other once, then cross them over a second time. Bring the twisted ends down and press them firmly into the bottom of the U to create the classic knot. Press hard so they don’t unravel in the boil!
- Place the shaped pretzels on your parchment-lined baking sheets. Freeze them for 15 minutes—this firms them up for the bath and helps them hold their shape.
H3: The Alkaline Bath (The Magic Step)
- Preheat your oven to $450^{\circ}F$ ($230^{\circ}C$).
- Bring the 8 cups of water and 1/2 cup of baking soda to a full, rolling boil in your large pot. Be careful, the baking soda can make it foam up!
- Using the slotted spoon, gently drop the pretzels into the boiling bath, 1 or 2 at a time.
- Boil each pretzel for 30 seconds total (15 seconds on each side). Don’t boil longer, or they will taste metallic and get too tough. The goal is a quick bath to set the crust and add alkalinity.
- Carefully remove the pretzels with the slotted spoon and place them back on the parchment-lined tray.
H3: Egg Wash and Bake (The Golden Finish)
- In a small bowl, whisk the egg yolk with 1 tablespoon of water to create the egg wash.
- Brush the tops of the boiled pretzels generously with the egg wash. This gives them that deep, golden color.
- Immediately sprinkle the wet pretzels with coarse salt. Press the salt gently so it sticks.
- Bake for 12-15 minutes, or until they reach a deep, rich brown color. Serve them warm. Don’t even try to wait!
Calories & Nutritional Info (The Salty Facts)
This recipe yields 8 large soft pretzels.
- Estimated Calories Per Pretzel (Dough Only): Approximately 220-250 calories (Before adding melted butter post-bake, obviously.)
- Macronutrients Per Serving (Estimated):
- Carbohydrates: 45-50g (Mostly complex carbs from the flour.)
- Protein: 7-9g (Thanks, bread flour!)
- Fat: <1g (A very lean snack until you add dipping cheese!)
- Key Nutritional Note: Pretzels are naturally low-fat and vegan (before the egg wash/butter). They are high in sodium due to the salt topping, so keep an eye on that if you have dietary restrictions.
Common Mistakes to Avoid (The Pretzel No-Nos)
Sidestep these pitfalls to ensure your knots are knot-ty for disappointment!
- Killer Mistake #1: Using Fine Salt in the Dough: Fine table salt or fine sea salt works great in the dough, but do not use it on top! It dissolves during the bake and ruins the visual and textural crunch. Use coarse salt only for the topping.
- Killer Mistake #2: Not Using the Egg Wash: The egg wash does two things: it helps the salt stick, and it gives the pretzel that deep, rich, beautiful brown sheen. Without it, they’ll be pale and lack visual appeal.
- Killer Mistake #3: Not Boiling Long Enough: The short 30-second boil is absolutely essential. It’s what sets the crust and allows the baking soda to work its magic. Skipping it or doing a quick dunk results in a pale, bready texture—not a pretzel.
- Killer Mistake #4: Skipping the Parchment Paper: The alkaline bath makes the pretzels incredibly sticky. Do not put boiled pretzels directly on a baking sheet, even if it’s greased! You’ll never get them off. Use parchment or a silicone mat.
Variations & Customizations
Tired of plain salt? Get adventurous!
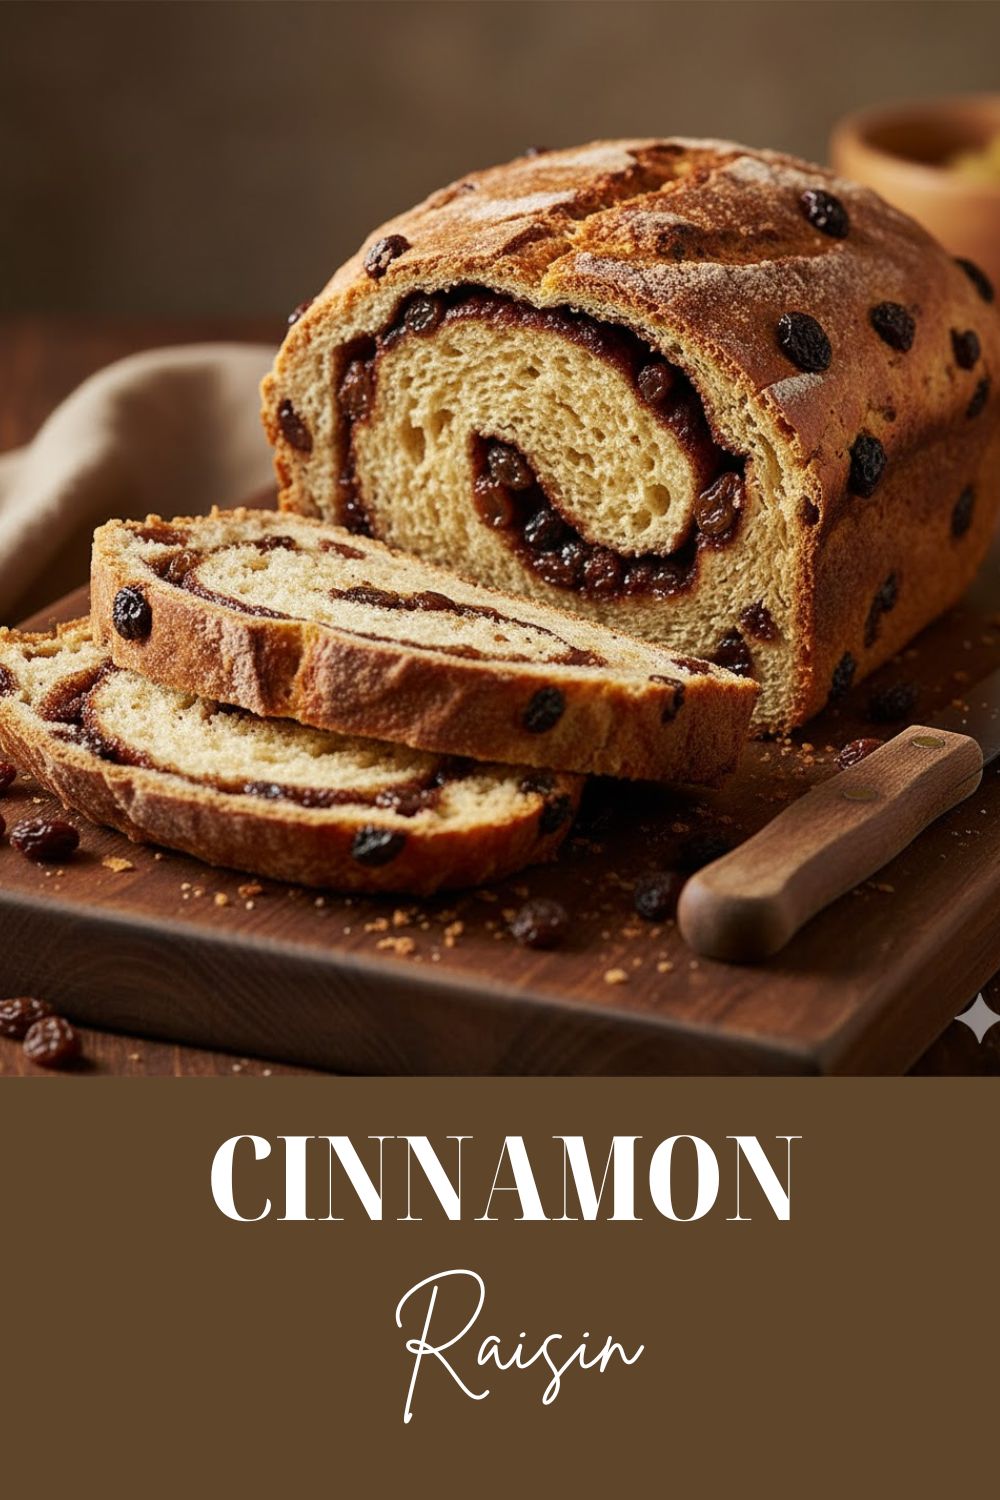
- Cinnamon Sugar Sweetness: Skip the egg wash and coarse salt. After the boil, brush the warm pretzel with melted butter and immediately toss in a mixture of $1/2$ cup granulated sugar and 2 teaspoons of cinnamon. Serve with a cream cheese icing dip.
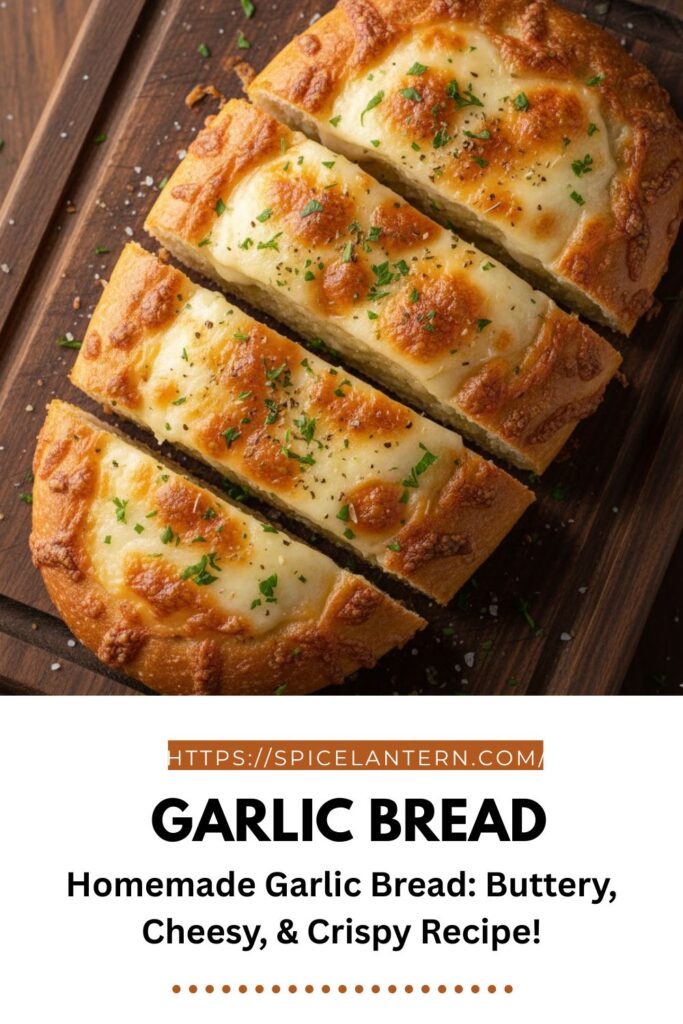
- Cheesy Garlic Knots: After the egg wash, sprinkle the pretzels with a mix of grated sharp cheddar or Parmesan and a teaspoon of garlic powder. Bake as directed. Serve with marinara sauce for dipping.
- Soft Pretzel Bites: Instead of rolling into ropes and twisting, cut the risen dough into 1-inch pieces. Boil and bake them just like the knots. Perfect for dipping and great for parties! IMO, they’re easier to shape, too.
FAQ Section: Pretzel Power Questions
H3: Why do you put baking soda in the water for pretzels?
The baking soda creates an alkaline solution. When the dough is boiled in this solution, it rapidly increases the $\text{pH}$ of the dough’s exterior. This $\text{pH}$ increase allows the Maillard reaction (browning) to happen much faster and more intensely in the oven, giving the pretzel its deep color and unique, crisp crust.
H3: Can I skip the boiling step?
No, you cannot skip the boiling step! Skipping the alkaline bath means you bake a regular bread dough, resulting in a pale, soft roll rather than a true pretzel. The boil is the defining step for the unique texture and flavor of a pretzel.
H3: What is the best kind of flour for soft pretzels?
High-protein bread flour is the best kind of flour for soft pretzels. The higher protein content (and thus higher gluten) helps develop the elasticity and strength necessary to create that signature dense and chewy interior that contrasts with the crust.
H3: How do I get my pretzels to be shiny and dark brown?
To get a shiny, dark brown color, follow two steps: first, use the baking soda bath, and second, apply a whisked egg yolk and water egg wash immediately before sprinkling the salt and baking. This combination ensures maximum browning and shine.
H3: How long do homemade soft pretzels last?
Homemade soft pretzels are definitely best served fresh and warm on the day you bake them. If stored in an airtight container at room temperature, they will last about 1-2 days. Reheat them quickly in a $350^{\circ}F$ oven for a few minutes to restore crispness.
H3: Can I freeze soft pretzel dough?
Yes! After the first rise, shape the dough into pretzels. Place them on a baking sheet and freeze until solid. Transfer them to a freezer bag. When ready to bake, thaw them in the fridge overnight, then proceed with the boiling, egg wash, and baking steps.
H3: Can I use all-purpose flour for pretzels?
You can use all-purpose flour, but your pretzels will be less chewy and denser, tasting more like a soft breadstick than an authentic pretzel. Use bread flour for the best results and that classic chewy pretzel texture.
Final Thoughts: Knot Today, Store-Bought!
You faced the dough, you survived the boiling bath, and you emerged victorious with a basket full of perfect, salty Pretzels! Feel that power? You just made something that tastes 100 times better than anything you can buy at the mall. Go grab some mustard, beer cheese, or cinnamon-sugar dip, and celebrate your win. Are you planning on making a sweet or savory batch next?