🥚 The Kitchen Myth Debunked: How to Master Perfect Poached Eggs Every Time
Let’s talk about the culinary Everest: the perfect poached eggs. This is the one thing that separates the brunch novices from the brunch masters. Too often, people end up with sad, watery, stringy messes that look like they fought a losing battle with the kitchen sink. You know the look—wispy whites trailing off into the abyss. It’s depressing. But what if I told you the secret to a neat, tight, perfect poached egg—that glorious orb with the trembling yolk—is actually ridiculously simple? Today, we are putting an end to the poaching panic and mastering the poached eggs technique. Get ready for that viral yolk flow on command!
Why Mastering the Poach is Your Next Power Move

Poached eggs are basically the little black dress of breakfast. They’re elegant, versatile, and instantly elevate anything you put them on—avocado toast, hash, salad, even leftover pizza (don’t judge, it works). When you slice into that perfectly set white and the warm, golden yolk oozes out and coats your dish? That’s not just breakfast; that’s a culinary experience.
You need this recipe because it gives you maximum return for minimal ingredients. Seriously, we’re talking water, vinegar, and an egg. That’s it! Plus, once you nail this technique, you unlock the ability to make classic dishes like Eggs Benedict (which, BTW, is mostly just poaching plus sauce) whenever you want. Why should you pay $18 at a café for something you can master in your own kitchen in four minutes?
It’s also the healthiest way to cook an egg, requiring no added butter or oil. It’s pure protein perfection. This technique takes a little patience and a lot of confidence, but trust me, the payoff is huge. You’ll be the person everyone asks to make brunch, and frankly, you deserve that kind of recognition.
Essential Ingredients (It’s Not Rocket Science, But It’s Science)
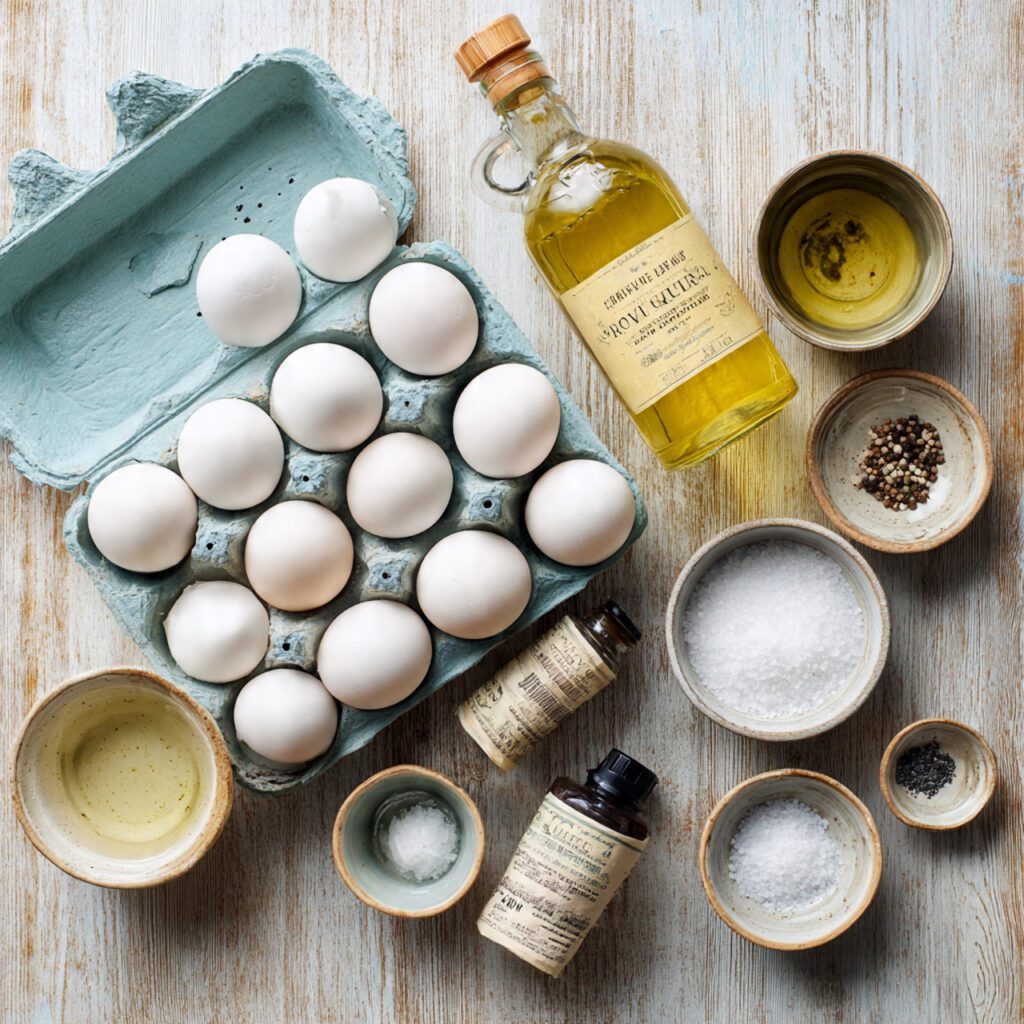
You need fresh eggs and a simple acid. That’s the entire ingredient list, folks!
- 4 Large Eggs: Use the freshest eggs you can find! Fresh eggs have thicker whites that stay together better in the water.
- 1 tbsp White Vinegar: This is non-negotiable. The acid helps the egg whites set faster and hold their shape.
- Pinch of Salt and Pepper (to taste): For seasoning the final product.
Key Substitutions:
- White Vinegar: Use white wine vinegar or apple cider vinegar if that’s all you have. Lemon juice works in a pinch, but vinegar is definitely superior for setting the whites.
- Water: You must use water, but never use oil in the water—it prevents the whites from setting properly.
Tools & Kitchen Gadgets Used
You don’t need fancy poachers—just the basics, and one vital tool.
- 2-Quart Pot or Small Saucepan: A high-sided pot is best. You need enough water depth (at least 4 inches) for the egg to fully submerge.
- Slotted Spoon: Essential! For gently lifting the egg out of the water without tearing it and for draining excess liquid.
- Small Ramekins or Bowls (4 total): For cracking the egg into before it hits the water. This is crucial for maintaining shape.
- Plate lined with Paper Towels: For resting the poached eggs after removing them from the water.
Step-by-Step Instructions: The Poaching Playbook
Follow these steps exactly. This is where patience and precision pay off.
H3 Water Prep and Egg Drop
- Prep the Water: Fill your pot with about 4 inches of water. Bring it to a gentle simmer over medium heat. You want tiny bubbles occasionally breaking the surface, NOT a rolling boil. Boiling water destroys eggs.
- Add the Acid: Stir in the 1 tbsp of white vinegar. Don’t worry, you won’t taste it! It works scientific magic on the egg protein.
- Crack and Strain: Crack each cold egg individually into a small bowl or ramekin. Pro Tip: Gently tilt the bowl and let the very watery outer layer of egg white run off slightly. This dramatically improves the final shape.
- The Whirlpool (Optional but Recommended): Use a wooden spoon to swirl the water to create a gentle whirlpool. This motion helps wrap the egg white neatly around the yolk.
H3 The Perfect Timing
- Drop and Time: Gently slide the egg into the center of the whirlpool. If you’re doing multiple eggs, skip the whirlpool and just drop them in gently, one at a time, spaced apart.
- Cook Time: Cook for 3 minutes for a very runny yolk, 4 minutes for a beautifully velvety, slightly set yolk (my favorite, IMO), or 5 minutes for a softer set yolk. Use a timer!
- The Lift: Use the slotted spoon to gently lift the egg from the water. If the egg white feels firm, it’s done. If it feels too soft, drop it back in for 30 seconds.
- Drain and Trim: Dab the bottom of the egg on the paper towel-lined plate to soak up excess water. If you have any straggly bits of egg white (the dreaded “angel wings”), use scissors to gently trim them off for a perfect orb. Season with salt and pepper immediately and serve!
Calories & Nutritional Info (The Good News)
Poached eggs are basically a health food celebrity. Enjoy!
- Estimated Calories Per Serving (1 large egg): Approximately 70–80 calories.
- Protein: Excellent source! Around 6g of complete protein per egg.
- Carbohydrates: Zero. Seriously.
- Fat: Moderate, depending on the yolk size. About 5g per egg, mostly healthy monounsaturated fats.
- Key Nutritional Note: High in Choline (essential for brain health) and Vitamin D. FYI, this is the perfect macro-friendly breakfast.
Common Mistakes to Avoid (The Anti-Wisping Guide)
Don’t let your eggs turn into aquatic ghosts. Follow this advice.
- Rolling Boil vs. Simmer: Do not boil the water! The aggressive bubbling will tear the whites apart. Use a gentle simmer where the water is barely moving.
- Skipping the Acid: Vinegar is your friend. It helps the proteins in the egg whites coagulate (set) faster, preventing those awful feathery wisps. Always add vinegar!
- Old Eggs: Older eggs have runnier whites that spread out uncontrollably. Use the freshest eggs possible for the neatest shape.
- Dropping from High: Dropping the egg from a height breaks the yolk and scatters the white. Use a small ramekin and gently slide the egg right onto the water’s surface.
Variations & Customizations
Bored of just plain eggs? Spice it up!
H3 Tea-Poached Eggs
Want a subtle, smoky flavor? Replace 1/4 of the poaching water with strongly brewed black tea (like Earl Grey or Lapsang Souchong). The tannins in the tea add a gorgeous, delicate color and flavor.
H3 Savory Stock Poach
Ditch the water and use low-sodium chicken broth or vegetable stock for poaching. The egg white absorbs a hint of the savory flavor, making it perfect for serving on top of rice or sautéed greens. Add a dash of soy sauce to the poaching liquid for an umami hit!
H3 Poach in a Pouch (The Lazy Perfectionist)
Cheating, but effective. Line a small bowl with plastic wrap and grease the wrap lightly with oil. Crack the egg into the pouch, gather the edges, and tie it shut. Poach the plastic packet in simmering water for 4 minutes. You get a perfect, leak-proof egg every time.
FAQ Section: All Your Poaching Quandaries Answered
We know you have questions about the mystical egg water.
1. Should I salt the poaching water?
No! Salt makes the proteins in the egg white break down faster, leading to more wisps and a messier shape. Salt the egg after it’s poached.
2. Can I poach more than two eggs at once?
You can, but limit it to four eggs maximum in a standard pot to prevent the water temperature from dropping too drastically. Also, overcrowding makes them stick together.
3. What is the trick to making the yolk runny?
Time and temperature! Keep the water at a gentle simmer and pull the egg after exactly 3 to 4 minutes. Any longer and the yolk will start to set.
4. Can I reuse the poaching water?
Yes, you can! You might need to add a splash more vinegar for subsequent batches, as the acid can dissipate slightly. Just skim off any leftover wispy bits of egg white before dropping in the next egg.
5. Why do my eggs still have stringy whites?
Usually, it means your eggs are not fresh. Fresh eggs have thicker whites. Try cracking the egg into a sieve first to let the watery outer white drain away, then slide the remaining thick white into the water.
6. How do I keep the eggs warm while I poach the rest?
Fill a bowl with warm (not hot!) water and place the poached eggs gently in it using the slotted spoon. They stay perfectly warm for about 10–15 minutes without overcooking.
7. Can I use a special egg poacher cup?
Yes, but that’s basically boiling the egg in a cup, not true poaching (which is cooking directly in the liquid). Poaching cups are fine for beginners but don’t give the beautiful, pure texture of the water-poached method.
Final Thoughts
You’re no longer intimidated by the simple act of putting an egg in water. You now possess the sacred knowledge to produce perfect, gleaming poached eggs on demand. Go forth and scatter that golden yolk goodness over everything you eat. Doesn’t that feel incredibly empowering? Now, if you’ll excuse me, I need to find something to put my perfectly poached egg on. Maybe just my hand.