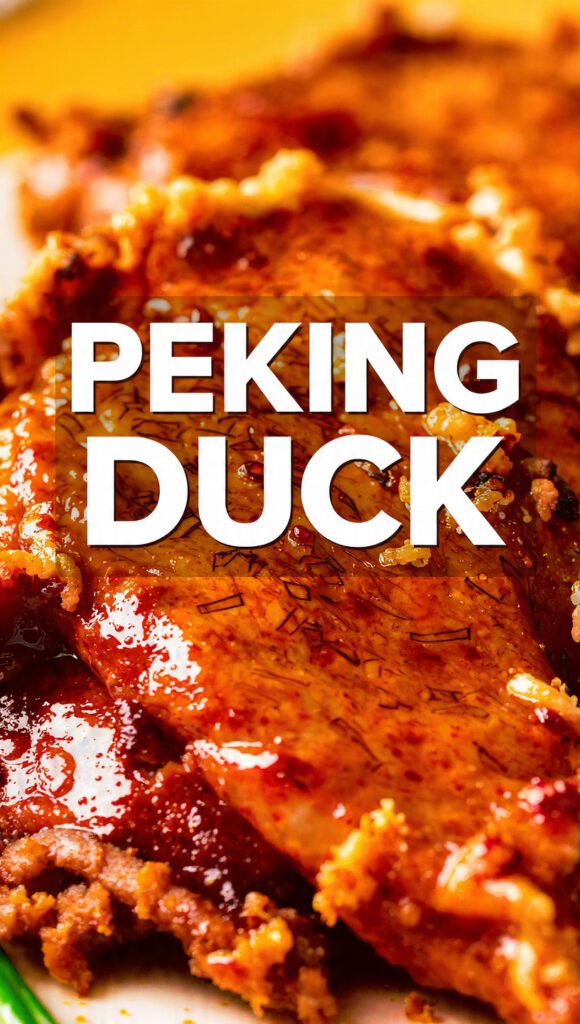
The Ultimate Authentic Peking Duck Recipe: Master the Crisp in Your Own Kitchen
We have all been there. You are sitting at a fancy white-linen Chinese restaurant, and the waiter wheels out a cart with a glistening, mahogany-hued bird. You watch him carve that skin—so thin it shatters like glass—and you think, “I could never do this at home without a specialized industrial air pump and a brick oven.” Well, friend, I am here to tell you that you’ve been lied to. You don’t need a bicycle pump to separate duck skin from meat, though it certainly makes for a great conversation starter at parties.

I remember the first time I tried to make peking duck in my tiny apartment. I ended up hungering for that lacquer-like finish so badly I tried to dry the bird with my roommate’s high-end hair dryer. Let’s just say the kitchen looked like a crime scene involving a very greasy bird and a lot of hot air. But after years of trial and error (and minimal property damage), I found the secret to getting that restaurant-quality crunch without the professional ventilation system. Do you want to be the legend who serves a five-star roast at your next dinner party? Or do you want to keep settling for that soggy, take-out duck that tastes like a damp sponge?
Why This Peking Duck Recipe Is the Absolute GOAT
Why should you bother spending two days prepping a single bird? Because this recipe produces a level of flavor that is bordering on spiritual. We aren’t just roasting poultry; we are creating a textural masterpiece. This method focuses on the “dry-brine-and-scald” technique which ensures the fat renders out completely, leaving you with skin that is essentially a savory candy shell.

Beyond the crunch, this dish is a total social flex. Serving a whole, beautifully glazed duck is the ultimate power move. It impresses guests like nothing else, primarily because it looks incredibly difficult to pull off. In reality, once you understand the timeline, the actual “work” takes about 30 minutes. The rest is just letting the duck hang out and contemplate its delicious destiny. Ready to reclaim your kitchen throne?
The Ingredients: The Royal Bird and Its Court
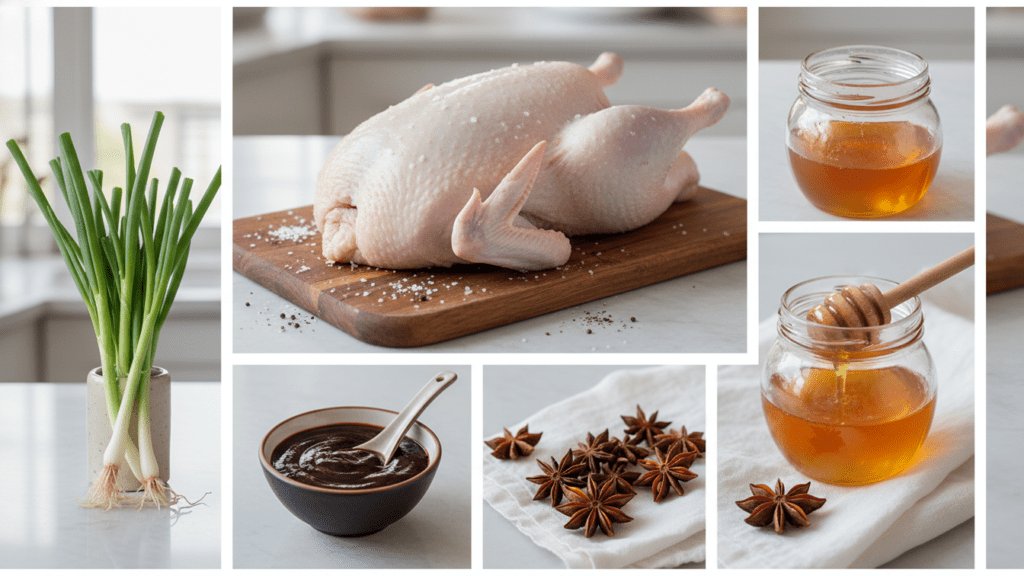
Don’t let the bird intimidate you. If you can’t find a whole duck at your local shop, hit up an Asian grocery store—they usually have the good ones with the head still on (which, FYI, is the secret to a better roast).
- 1 Whole Duck (approx. 5 lbs): Look for one with plenty of skin and not too many tears.
- Boiling Water: About 2 liters. This is for the “facelift” stage.
- The Glaze: 1/2 cup Honey (or Maltose if you’re fancy), 1/4 cup Soy Sauce, 2 tbsp Rice Vinegar, and a splash of Shaoxing wine.
- Aromatics for the Cavity: 3 slices Ginger, 2 Star Anise, 1 Cinnamon Stick, and 2 Green Onions.
- For Serving: Thin Mandarin pancakes (store-bought is a valid life choice), Hoisin sauce, julienned cucumber, and slivered leeks.
The Arsenal: Tools & Kitchen Gadgets
You don’t need a blowtorch, but a few specific items make the difference between a crispy dream and a greasy nightmare.
- S-Hook or Kitchen String: For hanging the duck (the back of a chair or a tall pot works!).
- Large Roasting Pan with a Rack: Crucial for airflow. If the duck sits in its own juice, it will be soggy.
- Pastry Brush: To paint on that liquid gold glaze.
- Meat Thermometer: To ensure you aren’t serving “duck tartare.”
- Electric Fan: To speed up the drying process. Seriously, trust me on this.
Step-by-Step Instructions: The Long Game
Step 1: The Cavity Stuffing
Start by cleaning your duck and patting it bone-dry. Bold move: don’t skip the drying part. Stuff the ginger, star anise, cinnamon, and green onions into the cavity. Sew it shut with a skewer or string so the aromatics can perfume the meat from the inside out.
Step 2: The Scalding Ritual
Place the duck on a rack over the sink. Pour the boiling water all over the skin. You will see the skin tighten and turn a pale, opaque color instantly. TBH, this is the most satisfying part of the process. This step helps the fat start to separate from the skin.
Step 3: The Paint Job
Whisk your honey, soy sauce, vinegar, and wine in a small pot and bring to a simmer. Use your pastry brush to coat the entire duck in this dark, sticky glaze. Do it once, let it dry for 10 minutes, and do it again. We want that bird looking like it just stepped out of a mahogany tanning booth.
Step 4: The Great Hang-Dry
Here is the secret: hang the duck in a cool, breezy place (or in front of a fan) for at least 6 hours, preferably 24. The skin needs to feel like parchment paper. If it’s still tacky, it won’t get crispy. IMO, the longer you wait, the better the crunch.
Step 5: The Low and Slow Roast
Place the duck breast-side up on the roasting rack. Slide it into a 350°F oven. Roast for about 60-90 minutes. Pro tip: if the wings or legs start to char, wrap them in tiny foil mittens. You are looking for an internal temp of 165°F and a skin color that makes you want to take a picture of it.
Step 6: The Final Carve
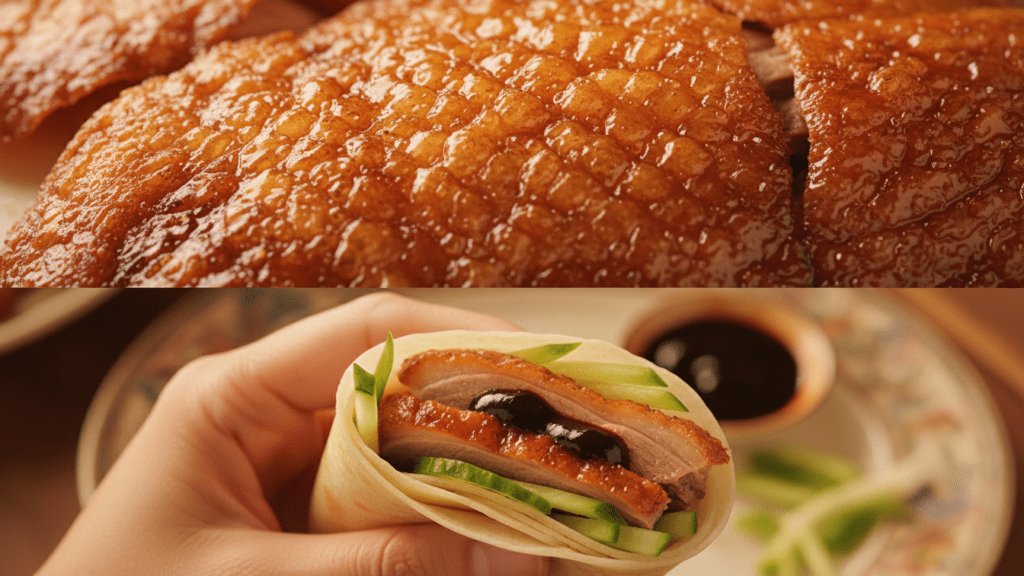
Let the bird rest for 15 minutes. This is mandatory! If you cut it early, all the juices will run away and leave you with dry meat. Carve the skin off in large shards first, then slice the meat. Serve with warm pancakes, a smear of hoisin, and your veggies. Congratulations, you just won dinner.
Calories & Nutritional Info
I’m going to be honest with you: duck is fatty. That is why it’s delicious. Let’s look at the stats for a typical serving:
- Calories: ~420 kcal per serving.
- Protein: 25g (Pure, succulent power).
- Total Fat: 35g (The “good” kind… mostly).
- Carbohydrates: 5g (without the pancakes).
- Vitamins: Iron and B12 are through the roof.
Common Mistakes to Avoid (The Cheeky Guide)
- Rushing the Dry Time: If you roast a wet duck, you are making “boiled duck with a tan.” Dry that bird!
- Skipping the Rack: If the duck touches the bottom of the pan, the bottom half will be a greasy swamp.
- Over-glazing: If the glaze is too thick, the sugar will burn before the skin crisps. Thin and even is the goal.
- Touching with Bare Hands: Once the skin is dry, try not to touch it too much; the oils from your fingers can mess with the crisping.
Variations & Customizations
Feeling a little adventurous with your bird? Try these three spins:
- The Spicy Szechuan: Add 1 tbsp of toasted Szechuan peppercorns to the cavity and a dash of chili oil to the glaze. It’ll give you that signature “numbing” heat.
- The Citrus Flex: Swap the rice vinegar for orange juice and zest. Duck and orange are basically soulmates, FYI.
- The Keto-Friendly Wrap: Skip the pancakes and serve the duck inside large butter lettuce leaves or thin slices of daikon radish.
FAQ: Everything You’re Dying to Know
Why is Peking Duck so expensive?
Because of the time! You are paying for 24 hours of a chef’s patience and a lot of specialized drying space. At home, it’s basically free (minus the duck).
Do I really need to hang it?
You can leave it on a rack in the fridge uncovered, but hanging ensures 360-degree airflow. It’s the difference between “good” and “life-changing.”
Can I use a regular duck from the grocery store?
Yes, but look for a Long Island or Pekin duck. They have the highest fat-to-meat ratio, which is what we need for that crispy skin.
What do I do with the bones?
Do not throw them away! Boil them with ginger and cabbage to make the most incredible duck bone soup for the next day.
Is the skin supposed to be that dark?
Yes! The honey and soy sauce caramelize to a deep mahogany. If it looks like a dark wood cabinet, you’ve nailed it.
Can I make this in an air fryer?
If you have a massive air fryer, maybe. But the traditional oven allows for better fat rendering over time.
How do I reheat leftovers?
Use an oven or air fryer at 350°F for 5 minutes. Never use a microwave unless you want rubbery skin and sadness.
Final Thoughts
There you have it—a peking duck recipe that will make everyone forget you once struggled to boil an egg. It is a commitment, sure, but the sound of that first shard of skin cracking is worth every second of waiting.
Go ahead, buy the bird and clear some space in your fridge. Just don’t blame me when your friends start inviting themselves over every time they see a duck in your grocery cart. And hey, if the skin doesn’t shatter on the first try, just call it “artisanal roast duck” and everyone will still love you. Happy roasting! 🙂