
Bright & Bold: The Creamy Pea Pesto Pasta Recipe That Will Save Your Weeknight
Let’s be real: sometimes dinner needs to be delicious, healthy, and on the table before you completely lose the will to live. I used to rely on sad, jarred pesto, but then I discovered the brilliance of Pea pesto pasta. It’s the brightest, freshest, and creamiest twist on a classic, and it takes less time to make than it takes to scroll through your ex’s Instagram.

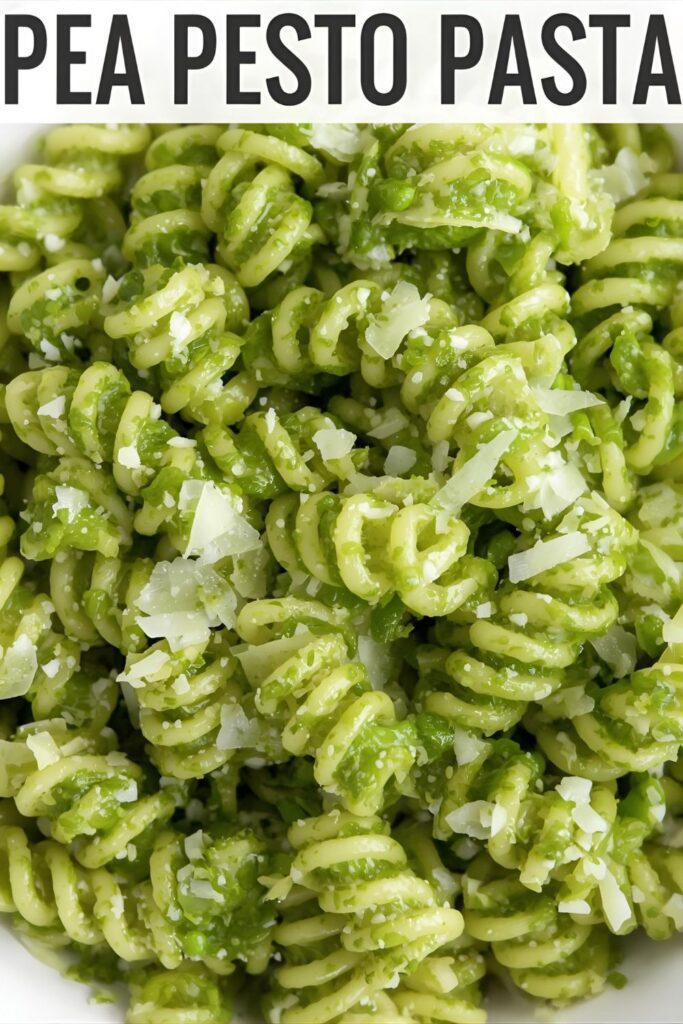
Seriously, if you think peas are just a sad, mushy side dish, prepare to have your mind blown. They transform into a vibrant, velvety pesto that clings beautifully to the pasta. This is your new secret weapon for making a weeknight meal feel like a sunny spring afternoon in Italy.
Why This Recipe Is Your Kitchen MVP
Why swap basil for peas? Because peas are affordable, they are often sitting in your freezer, and they give your pesto an incredible, naturally creamy texture that basil alone can’t touch. Hello, extra fiber and protein!

This recipe is awesome because it’s a one-pot wonder if you time it right, and it delivers that deep, savory garlic and Parmesan flavor you crave, but with a lighter, brighter finish. You get a dinner that’s ready in under 20 minutes, looks stunningly green, and makes you feel like you won the week. Who knew a humble legume could deliver such glory?
The Ingredients: The Green Dream Team

We’re keeping the ingredients simple and leveraging the power of frozen peas for maximum convenience. Don’t worry, you don’t even have to defrost them first.
- 1 Pound Pasta: Any shape with ridges or holes works best—penne, fusilli, or rotini are great for catching the sauce.
- 1 1/2 Cups Frozen Peas: The star! No need to thaw.
- 1/2 Cup Fresh Basil Leaves: Basil still adds a necessary layer of classic pesto flavor.
- 1/3 Cup Pine Nuts or Walnuts: Toasted is better, but raw works too. This adds depth and texture.
- 1/2 Cup Grated Parmesan Cheese: Freshly grated, please! The stuff in the shaker bottle tastes like sawdust.
- 2-3 Cloves Garlic: Peel them. Fresh garlic is crucial here.
- 1/2 Teaspoon Salt (Plus more for the pasta water): Seasoning is everything!
- 1/2 Cup Extra Virgin Olive Oil: Good quality is important since you aren’t heating it much.
- 2-4 Tablespoons Reserved Pasta Water: The magic binder! Don’t forget to scoop it out before draining.
H3: Key Substitutions for When You’re Feeling Creative
- No Basil? Use fresh spinach or a blend of parsley and mint for a fresh, herbaceous flavor.
- Nut-Free? Substitute the pine nuts with sunflower seeds or simply skip them. The peas and cheese still provide enough body.
- Vegan Swap: Use nutritional yeast instead of Parmesan and swap the pasta for a lentil or chickpea variety for an extra protein punch!
Tools & Kitchen Gadgets Used
You need three main tools for this to work. One pot for the pasta, one container for the sauce, and a spoon. Easy peasy.
- Large Stock Pot: For boiling the pasta (and the peas!).
- Food Processor or High-Speed Blender: Essential! This is what pulverizes the peas and basil into a creamy, smooth sauce.
- Colander: For draining the pasta.
- Measuring Cups and Spoons: Baking (or sauce-making) requires precision.
- Slotted Spoon or Measuring Cup: For reserving that starchy pasta water.
Step-by-Step Instructions: The Blended Brilliance
This recipe is fast, so read ahead! Multitasking is your friend here.
- Boil the Pasta (and Peas!): Bring a large pot of heavily salted water to a rolling boil (it should taste like the ocean, FYI). Add your pasta and cook according to package directions, subtracting about 2 minutes from the total time (we want it al dente). Two minutes before the pasta is done, dump the frozen peas directly into the boiling water.
- Reserve the Magic Water: Just before draining the pasta, scoop out about 1 cup of the starchy water and set it aside. This water emulsifies the pesto and makes it velvety smooth.
- Drain and Cool: Drain the pasta and peas immediately. Rinse them quickly with cold water to stop the cooking and preserve that vibrant green color. Drain well.
- Blend the Pesto Base: Add the blanched peas, basil, nuts, garlic, salt, and half the olive oil to your food processor. Pulse a few times to start breaking everything down.
- Emulsify the Sauce: With the motor running, slowly stream in the remaining olive oil until the pesto looks thick and cohesive. It should look like a bright green puree. Stop the motor.
- Add the Cheese and Binder: Stir in the Parmesan cheese and start with 2 tablespoons of the reserved pasta water. Pulse a few times until the pesto is perfectly smooth and creamy. Does it look too thick? Add another splash of the reserved water.
- Toss and Serve: Add the drained pasta and peas back to the empty pot. Dump the fresh pea pesto over the pasta. Toss everything quickly until the pasta is evenly coated and glowing green. Serve immediately with extra Parmesan and maybe a sarcastic comment about how easy it was.
Calories & Nutritional Info (Green Light to Indulge)

This pasta dish is a nutritional powerhouse compared to its basil-only counterpart. Peas pack a serious punch! This estimate is for a generous 1.5-cup serving.
- Estimated Calories Per Serving (1.5 cups): Approx. 450–520 calories. Pasta accounts for a lot of this, obviously.
- Protein: A solid 18–22g per serving! Peas are high in protein, making this a satisfying meal.
- Fiber: Excellent source, around 8–10g per serving, thanks to the peas. Good for the gut!
- Fat: Around 20–25g, mostly healthy unsaturated fats from the olive oil and nuts.
- Nutritional Notes: Peas are rich in Vitamin K, Vitamin C, and Manganese. You get a surprisingly healthy meal disguised as comfort food.
Common Mistakes to Avoid (The Fast Track to Pesto Sadness)
Don’t mess up this simple dish. Avoid these pitfalls unless you enjoy subpar pasta experiences.
- Forgetting to Reserve the Pasta Water: Critical mistake! The starchy water is what emulsifies the pesto, preventing it from separating and making it creamy without using heavy cream. Save it!
- Using Cold Oil: When blending the pesto, use room temperature or slightly warmed olive oil. Cold oil causes the pesto to separate, resulting in a thin, oily texture rather than a creamy sauce.
- Overcooking the Pasta: We want that classic Italian al dente texture—cooked but firm to the bite. Overcooked pasta turns mushy and loses its structural integrity, making it a sad vehicle for the beautiful pesto.
- Skipping the Blanch/Rinse Step: Blasting the frozen peas with a minute or two of boiling water, followed by a cold rinse, is necessary. The quick cold rinse locks in that incredible, bright green color and stops them from getting mushy.
Variations & Customizations
Bored with perfection? Fine. Here are three amazing ways to tweak this glorious green sauce.
- The Spicy Kick: Sauté a pinch of red pepper flakes in a tablespoon of olive oil for 30 seconds before adding it to the blender. The heat gives the pesto a wonderful depth.
- The Lemon Zest Brightener: Add the zest of one whole lemon and a splash of fresh lemon juice to the blender. The citrus brightens the flavor profile, making it feel extra summery.
- The Protein Boost: Stir in 1/2 cup of crumbled goat cheese, feta, or a can of drained tuna after tossing the pasta. The tangy cheese or savory fish makes this a heartier, more complex meal.
FAQ Section: All Your Pea Pesto Inquiries, Answered
This is a new twist on an old favorite, so naturally, you have questions. Let’s tackle the most common ones.
H3: Is Pea Pesto Healthier Than Basil Pesto?
Yes, generally! Pea pesto typically contains significantly more fiber and plant-based protein than traditional basil pesto, making it more filling and nutrient-dense.
H3: Can I Use Fresh Peas Instead of Frozen?
Absolutely! Fresh peas work beautifully. Just boil them for about 2-3 minutes until bright green and tender before draining and adding them to the food processor.
H3: Can I Make Pea Pesto Ahead of Time?
Yes, you can. Store the finished pesto in an airtight container in the fridge for up to 4 days. Pour a thin layer of olive oil over the top before sealing—this prevents oxidation and keeps that vibrant green color.
H3: What is the Best Pasta to Use with Pea Pesto?
Use any pasta shape with a good surface area for the sauce to cling to, like penne, rotini, farfalle (bow ties), or linguine.
H3: Why Did My Pesto Turn Brown?
Your pesto turned brown because it oxidized. The basil and peas reacted with the air. You can prevent this by adding a small splash of lemon juice when blending and covering the pesto’s surface with a layer of olive oil when storing.
H3: Can I Freeze Pea Pesto?
Yes! Pesto freezes wonderfully. Portion it into ice cube trays, freeze until solid, then transfer the cubes to a freezer bag. Do not add the Parmesan cheese until you thaw it to maintain the best flavor and texture.
H3: Can I Add Other Vegetables to This Pasta?
Definitely! Stir in blanched asparagus, roasted broccoli, or sun-dried tomatoes when you toss the pasta with the pesto. This adds great color and texture.
Final Thoughts
You just made a dinner that looks gourmet, tastes incredible, and secretly snuck vegetables onto your plate. You’re basically a ninja chef. Your Pea pesto pasta is proof that the best recipes are often the simplest. Go ahead, bask in the glory of your vibrant, creamy, 20-minute masterpiece. Now, the only thing left to decide is: are you having a glass of wine with that? 🙂

