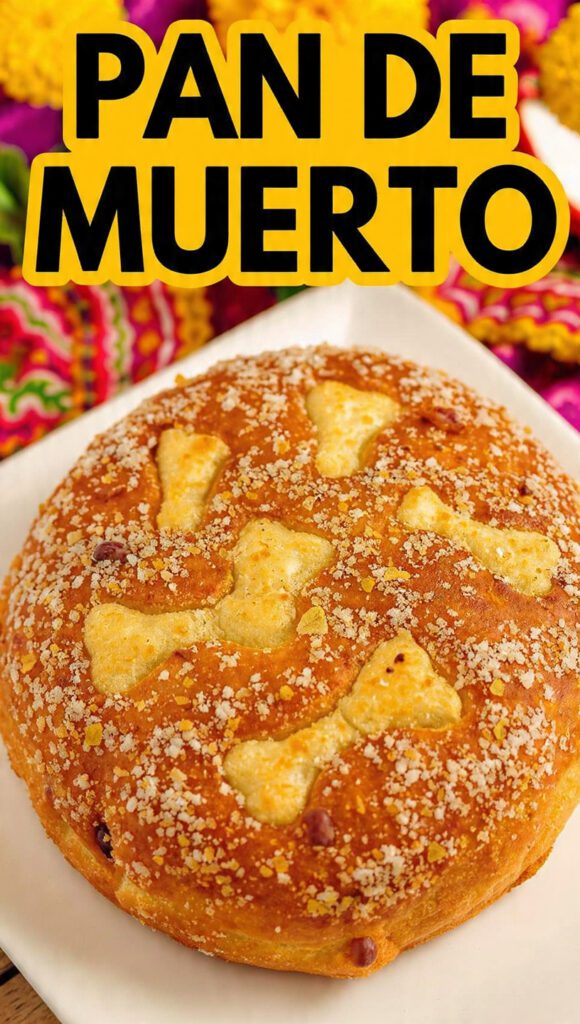
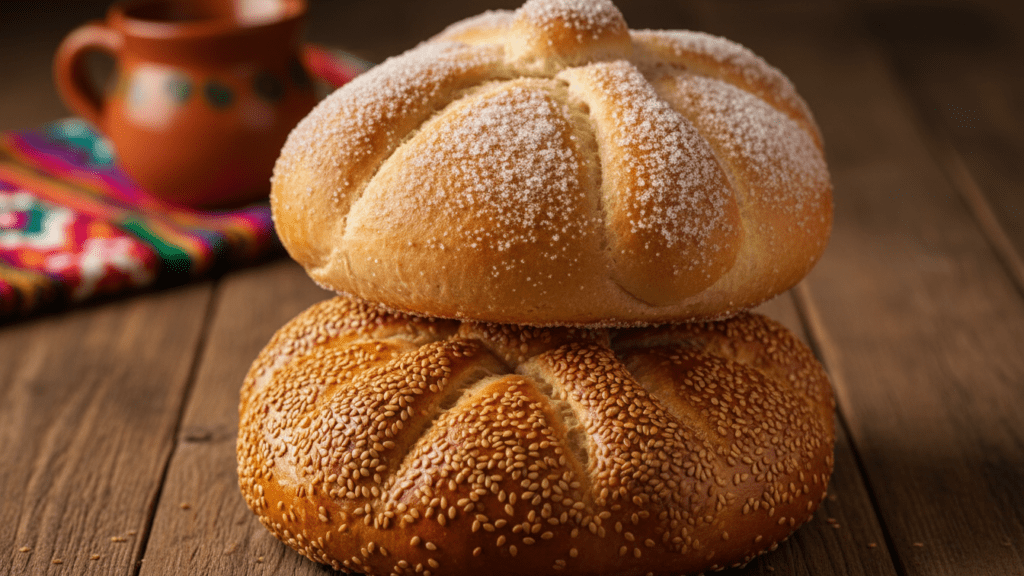
The Ultimate Authentic Pan de Muerto Recipe: A Sweet Bread to Die For
Have you ever walked past a Mexican bakery in late October and wondered why all the bread looks like it has skeletal remains on top? Welcome to the wonderful world of pan de muerto, the orange-scented, sugar-dusted crown jewel of the Day of the Dead. If you think this is just ordinary brioche, you clearly haven’t experienced the life-changing magic of orange blossom water and anise.

I remember the first time I tried to bake this; I accidentally used enough anise to flavor a small village’s supply of black licorice. My house smelled like an old-timey pharmacy for a week, and my cat looked personally offended. But after a few more “learning experiences” (let’s call them delicious failures), I finally mastered the cloud-like texture that makes this bread legendary. Do you want to be the person who brings the best bread to the ofrenda? Or do you want to keep buying those dry, plastic-wrapped supermarket versions?
Why This Pan de Muerto Is the GOAT
Why should you bother kneading dough for twenty minutes when you could just eat a donut? Because this recipe is a total sensory flex. It combines a rich, buttery crumb with the floral high notes of orange blossom and the subtle warmth of anise. It’s not just bread; it’s a cultural masterpiece that symbolizes the cycle of life and death.

Beyond the deep meaning, it impresses guests like nothing else. The “bones” and “tears” on top make it look like you spent hours at a professional culinary school, even if you’re actually wearing your pajamas and listening to a true-crime podcast. It’s light, it’s fluffy, and it pairs perfectly with a cup of thick Mexican hot chocolate. Ready to ruin store-bought bread for your entire family forever?
The Goods: What You Need

Don’t let the “bones” scare you; the ingredient list is actually quite friendly. Just make sure you don’t skip the orange blossom water—that’s where the soul of the bread lives.
- 4 cups All-Purpose Flour: Use a high-quality brand; your bread’s structure depends on it.
- 1/2 cup Granulated Sugar: For the dough, plus extra for the “shimmer” on top.
- 1/2 cup Unsalted Butter: Make sure it’s softened to room temperature, or you’ll be fighting lumps all day.
- 3 Large Eggs: Plus one extra for an egg wash if you want that golden glow.
- 1/2 cup Whole Milk: Lukewarm is the goal here—not boiling, not cold.
- 2 tsp Active Dry Yeast: Check the expiration date; dead yeast is a real buzzkill.
- 2 tsp Orange Blossom Water: You can find this at specialty shops or online. IMO, it’s the most important ingredient.
- 1 tbsp Orange Zest: Freshly grated for that citrus punch.
- 1 tsp Anise Seed: Crushed slightly to release the oils.
- 1/2 tsp Salt: To balance the sweetness.
The Arsenal: Tools & Kitchen Gadgets
You don’t need a professional bakery setup, but a few specific tools make this process a lot less messy. If your current “mixing bowl” is just a large Tupperware, it might be time for an upgrade.
- Stand Mixer with Dough Hook: This dough is sticky! Save your wrists and let the machine do the heavy lifting.
- Digital Kitchen Scale: Baking is a science; stop “eyeballing” the flour if you want a perfect crumb.
- Silicone Basting Brush: For that buttery finish that makes the sugar stick.
- Bench Scraper: Essential for handling the dough without it becoming a permanent part of your hands.
- Large Baking Sheets: Line them with parchment paper so you don’t have to scrub burnt sugar off your pans later.
Step-by-Step Instructions: The Resurrection of the Dough
Step 1: Bloom the Yeast
Start by whisking your yeast and a teaspoon of sugar into the lukewarm milk. Let it sit for about 10 minutes until it looks like a frothy, beige cappuccino. If it doesn’t bubble, your yeast is probably expired, and you should start over before you waste the expensive butter.
Step 2: Mix the Foundation
In your stand mixer bowl, combine the flour, salt, sugar, orange zest, and anise. Add the bloomed yeast mixture, the eggs, and the orange blossom water. Mix on low until a shaggy dough forms. Bold move: resist the urge to add more flour! This dough is supposed to be tackier than a 70s disco.
Step 3: The Butter Incorporation
Turn the mixer to medium and add the softened butter one tablespoon at a time. Wait for each piece to disappear before adding the next. This takes about 10 minutes, but it develops the gluten and creates that silky, brioche-like texture. Your dough should eventually pull away from the sides of the bowl.
Step 4: The First Rise
Move the dough to a greased bowl, cover it with a damp cloth, and find it a warm, draft-free home. Let it rise for about 2 hours or until it doubles in size. This is the perfect time to catch up on your favorite show or pretend to be productive.
Step 5: Sculpting the Bones
Divide your dough. Save about 1/4 of it for the “bones” and the “skull” (the little ball on top). Shape the main dough into smooth mounds. For the bones, roll small pieces of dough into ropes and use your fingers to create “knobs” on the ends. Lay two bone shapes in an “X” over each mound and place the “skull” in the center.
Step 6: The Final Proof and Bake
Let the shaped loaves rise for another hour. Brush them with a light egg wash and bake at 350°F for 20-25 minutes. Once they are golden brown, pull them out and brush them with melted butter while they are still hot. Immediately toss a generous amount of sugar over them. Congratulations, you’ve cheated death and made a masterpiece.
Calories & Nutritional Info
I’m going to be honest with you: this is a buttery, sugary holiday treat. It’s not a kale salad, but it’s 100% worth it.
- Calories: ~310 kcal per serving (one slice/roll).
- Protein: 6g (Thanks, eggs!).
- Total Fat: 14g (The butter is the main character here).
- Carbohydrates: 42g.
- Vitamin C: A tiny hit from the orange zest—we’ll take it!
Common Mistakes to Avoid (The Cheeky Guide)
- Killing the Yeast: If your milk is too hot, you will cook the yeast to death. Always use lukewarm milk.
- The Flour Trap: If you add too much flour because the dough is sticky, your bread will be as dense as a brick. Trust the mixer.
- Skipping the Second Rise: If you don’t let the bones rise after shaping, they will burst and look more like “pudgy fingers” than skeletal remains.
- Sugaring Too Late: If the bread cools down before you apply the butter and sugar, the sugar won’t stick, and you’ll just have a sad, dusty loaf. Sugar it while it’s hot!
Variations & Customizations
Feeling adventurous? Try these three spins:
- The Chocolate Filled: Inject Mexican chocolate ganache into the center after baking for a “lava” effect that will make your guests faint with joy.
- The Savory Twist: Skip the sugar topping and the orange blossom water. Add rosemary and sea salt to the dough for a sophisticated dinner roll vibe.
- The Vegan Swap: Use vegan butter and flax eggs. It won’t be quite as rich, but FYI, it still tastes incredible with a cup of almond milk hot cocoa.
FAQ: Everything You’re Dying to Know
Why is it called Pan de Muerto?
It translates to “Bread of the Dead.” It’s a traditional offering (ofrenda) made during Día de los Muertos to nourish the souls of the departed as they return to the world of the living.
What do the shapes on top mean?
The circle on top represents the skull, and the long pieces represent bones. They are often arranged in a cross to represent the four directions of the universe.
Can I make this ahead of time?
Yes! You can let the first rise happen in the fridge overnight. This actually develops a deeper flavor. Just let it come to room temperature before shaping.
Why is my bread dry?
You likely overbaked it. Every oven is different, so start checking the bread at the 18-minute mark. It should be golden, not dark brown.
Where do I buy orange blossom water?
Check the “International” aisle of your grocery store or a Middle Eastern market. If all else fails, the internet is your best friend.
Can I use vanilla instead of orange blossom?
You could, but it won’t be authentic. If you must, use a mix of vanilla and extra orange zest to keep that citrus spirit alive.
How do I store leftovers?
Keep it in an airtight container for up to 3 days. TBH, it makes the best French toast you’ve ever had on day four.
Final Thoughts
There you have it—a pan de muerto recipe that will make you the star of the season. It’s a bit of a process, sure, but the smell of that orange-scented dough baking in your oven is worth every minute of kneading.
Go ahead, invite your friends over, set up an ofrenda, and enjoy the best bread of your life. Just don’t blame me when you can never go back to the store-bought version again. Happy baking! 🙂