
Overnight Cinnamon Rolls: Bake-Ahead Bliss for the Ultimate Weekend Brunch
Let’s be honest. Nobody wants to wake up at 6 AM on a Saturday to knead dough. But that feeling when you pull a pan of warm, gooey, cinnamon-swirled rolls from the oven? Priceless. We are bridging that gap between laziness and indulgence with overnight cinnamon rolls, the genius recipe that lets you do all the hard work the day before.

This isn’t cheating; it’s smart cooking. You mix, roll, and slice the dough on Friday, let the slow, cold proofing work its magic in the fridge overnight, and then you just bake them fresh on Saturday morning. The result is a deeper flavor, an impossibly soft dough, and zero morning stress. Get ready for warm, gooey perfection without setting an early alarm. Seriously, why bake a roll when you can just assemble one while watching Netflix?
Why These Overnight Cinnamon Rolls Are Awesome (Softness, Flavor, and Time-Travel)
This recipe is a must-have for holidays, weekend brunch, or any time you need morning perfection with zero morning effort.
First, Unbelievable Softness. The secret to soft, fluffy rolls is the long, cold proofing overnight in the refrigerator. This process slows the yeast, allowing the dough to develop elasticity and flavor slowly, resulting in a lighter, more tender crumb. Why eat a dense roll when you can have a cloud?
Second, Deepened Flavor. The slow fermentation process dramatically enhances the natural yeast and dairy flavors, giving the rolls a more complex, almost bakery-quality taste. The cinnamon and sugar also have more time to infuse into the dough. IMO, a slow-proofed dough is a happy dough.
Third, Zero Morning Stress. You pop the pre-assembled rolls into the oven while you brew your coffee. The aroma of baking cinnamon wakes up the house, and you look like a domestic god/goddess. TBH, the best part of these rolls is the aroma therapy.
The Goods: Ingredients You Need
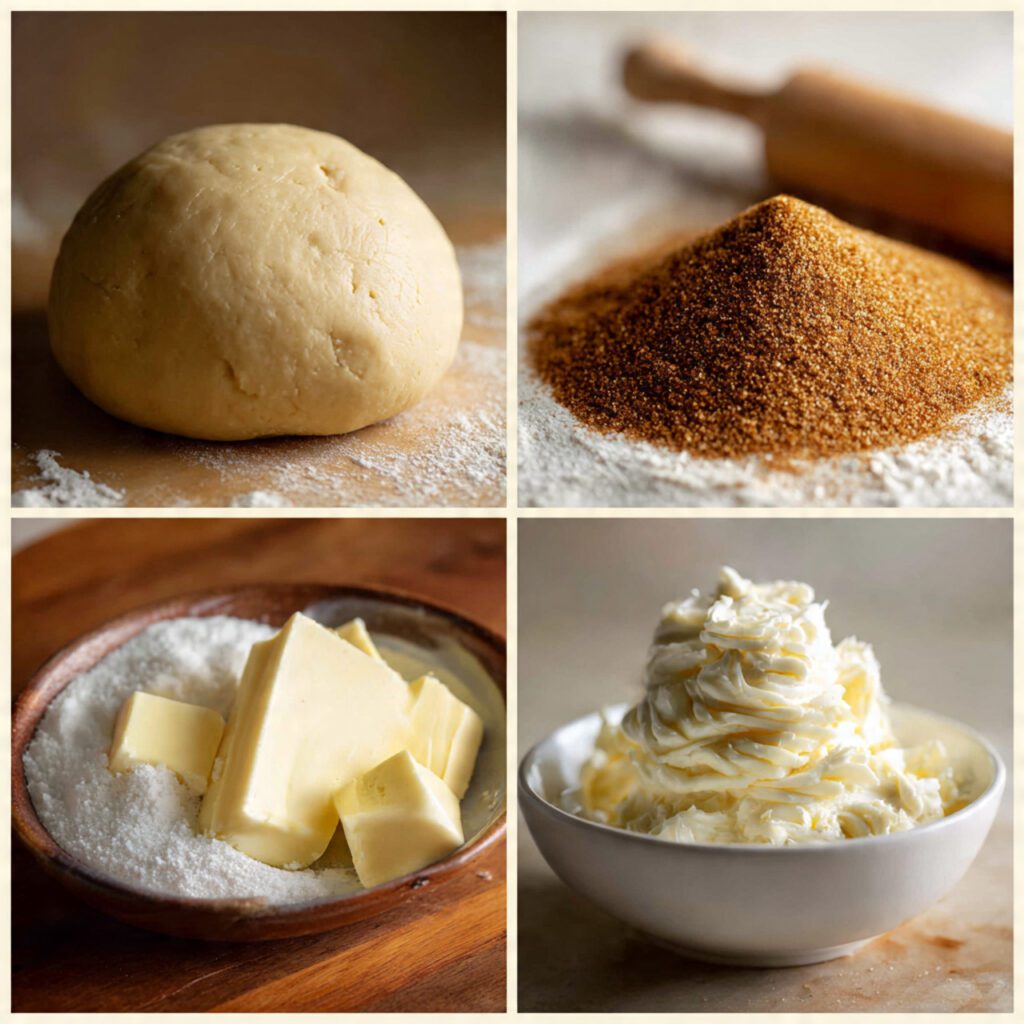
Cinnamon rolls require simple ingredients, but temperature control (especially for the yeast and butter) is vital for the overnight process.
- For the Dough (The Cloud):
- 1 cup Milk (warmed to 105–115°F / 40–46°C).
- 2 1/4 teaspoons Active Dry Yeast (one standard packet).
- 1/4 cup Granulated Sugar.
- 1 large Egg (room temperature).
- 4 tablespoons Butter, melted and cooled (not hot!).
- 3–3 1/2 cups All-Purpose Flour.
- 1/2 teaspoon Salt.
- For the Filling (The Gooey Swirl):
- 1/2 cup (1 stick) Unsalted Butter, softened (room temperature).
- 1 cup Brown Sugar, packed.
- 2 tablespoons Ground Cinnamon (use high-quality cinnamon!).
- For the Cream Cheese Icing (The Finish):
- 4 ounces Cream Cheese, softened (room temperature).
- 1/4 cup Unsalted Butter, softened.
- 1 1/2 cups Powdered Sugar.
- 1 teaspoon Vanilla Extract.
- 1 tablespoon Milk or Cream (for thinning).
H3 Key Substitutions (The Baking Swap Guide)
- Yeast Substitute: Use Instant Yeast instead of Active Dry Yeast. You can add it directly to the flour (skip the warm milk proofing step).
- Buttermilk/Milk Swap: Use nut milk (warmed) for a dairy-free dough. The roll will be slightly less rich.
- Flour Substitute: Use a high-quality gluten-free 1:1 baking blend for a GF version, but you may need to add Xanthan Gum (per GF blend instructions) for structure.
- Filling Swap: Use coconut sugar instead of brown sugar for the filling, but the texture might be slightly less sticky.
Tools & Kitchen Gadgets Used (The Dough Work)
A stand mixer is ideal for kneading, but you can certainly achieve fluffy rolls with a sturdy mixing bowl and some muscle.
- 9×13 Inch Metal Baking Pan: CRUCIAL! A metal pan conducts heat best for even baking.
- Stand Mixer with Dough Hook (Highly Recommended): For effortless, thorough kneading.
- Large Mixing Bowls (2): One for the dough, one for the icing.
- Rolling Pin: For rolling the dough into a perfect rectangle.
- Measuring Cups and Spoons: Baking requires precision!
- Bench Scraper or Dental Floss: For neatly slicing the dough logs (floss gives the cleanest cut!).
- Plastic Wrap: Essential for covering the rolls during the overnight proof.
Step-by-Step Instructions (Mix, Roll, Sleep, Bake!)
Do all the heavy lifting (Steps 1-4) the night before, and wake up to easy baking (Step 5).
H3 Step 1: Activate the Yeast and Mix the Dough (Night Before)
- In the stand mixer bowl, combine the warmed milk (105–115°F) and the Active Dry Yeast. Let it sit for 5 minutes until foamy (this confirms the yeast is alive).
- Add the sugar, egg, melted butter, salt, and 3 cups of flour. Knead with the dough hook on low speed for 5-8 minutes, or knead by hand for 10 minutes, until the dough is smooth and slightly tacky. Add the remaining flour if the dough is too sticky.
H3 Step 2: First Rise and Roll (Night Before)
- Place the dough in a lightly oiled bowl, cover with plastic wrap, and let it rise in a warm place for 1 hour (or until doubled).
- Punch down the risen dough gently. Turn it out onto a lightly floured surface and roll it into a large 12×18 inch rectangle.
H3 Step 3: Fill, Roll, and Slice (Night Before)
- In a small bowl, mix the softened butter, brown sugar, and cinnamon for the filling.
- Spread the butter mixture evenly over the dough rectangle, leaving a 1/2-inch border at the top long edge.
- Starting at the bottom long edge, roll the dough up tightly into a log.
- Use dental floss or a sharp knife to slice the log into 12 uniform rolls (about 1 1/2 inches thick).
H3 Step 4: The Overnight Chill (Time Travel!)
- Place the rolls cut-side down in your greased 9×13 baking pan. Leave some space between them—they grow!
- Cover the pan tightly with plastic wrap and place it in the refrigerator overnight (8-12 hours). The cold temperature prevents them from over-proofing while developing flavor.
H3 Step 5: Morning Wake Up and Bake (Morning Of)
- The next morning, remove the rolls from the fridge and let them sit at room temperature for 1–1.5 hours while the oven preheats. They will puff up significantly during this time.
- Preheat your oven to 375°F (190°C).
- Bake the rolls for 20–25 minutes, or until they are golden brown on top and cooked through in the center.
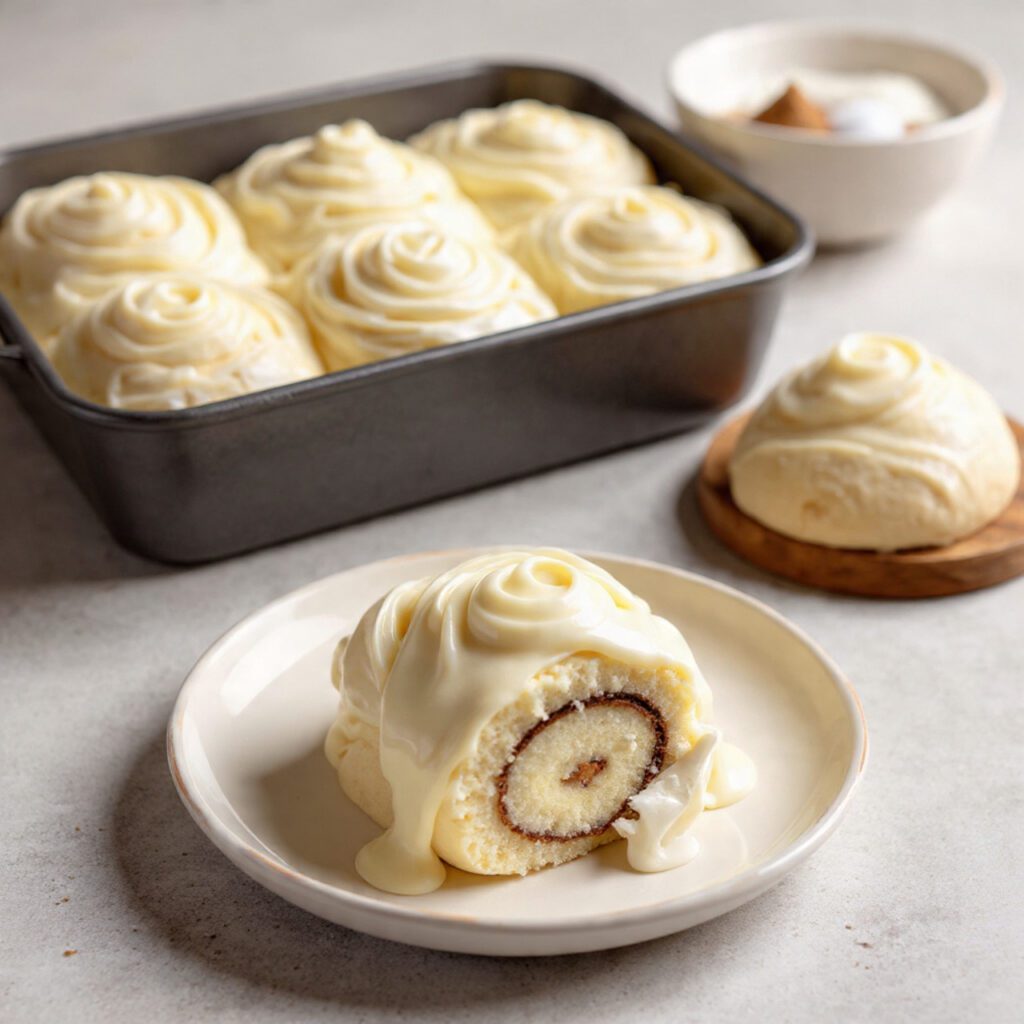
H3 Step 6: Icing Glory (The Sweet Finish)
- While the rolls are cooling slightly (5 mins), beat the softened cream cheese and butter until smooth.
- Gradually beat in the powdered sugar and vanilla extract. Add milk/cream until the icing reaches a thick, spreadable consistency.
- Spread the icing generously over the warm rolls. Serve immediately and enjoy the pure, gooey satisfaction.
Calories & Nutritional Info (The Glorious Indulgence)
These are rich, buttery rolls, meant purely for weekend enjoyment. This estimate is for one generously iced roll (1/12 of the recipe).
- Estimated Calories Per Roll (with icing): ~450–550 calories. (It’s a complete dessert-breakfast!)
- High in Carbohydrates: Flour and sugars provide the core energy source.
- Saturated Fats: Butter and cream cheese contribute significantly to the fat content.
- Good Source of Calcium: Milk and cream cheese provide dairy calcium.
- Comfort Factor: Off the charts, highly recommended for lifting spirits.
Common Mistakes to Avoid (The Hard Roll Horror)
Avoid these pitfalls to ensure soft, fluffy rolls every single time.
- Killing the Yeast: Water that is too hot (above 120°F) kills the yeast instantly. Test the temperature! It should feel warm, not hot (105–115°F is perfect).
- Not Cooling the Butter: Adding hot melted butter to the dough can also kill the yeast or cook the egg. Melt the butter first and let it cool slightly.
- Not Allowing the Rolls to Warm Up: Placing cold rolls straight from the fridge into a hot oven results in dense, undercooked centers and over-browned edges. Allow 60-90 minutes of rest/warm-up time.
- Over-Kneading the Dough: Over-kneading develops too much gluten, resulting in tough, chewy rolls. Stop kneading immediately once the dough is smooth and tacky.
Variations & Customizations (Flavor Swirls)
You can easily adapt the filling for seasonal or personal preference.
- Chocolate Babka Swirl: Mix 1/2 cup of finely chopped dark chocolate chips into the cinnamon filling. Replace 1/4 cup of the brown sugar with cocoa powder. Top with a plain cream cheese icing.
- Spicy Cardamom Ginger Rolls: Replace the cinnamon with 1 tablespoon of ground cardamom and 1 teaspoon of ground ginger. Add 1/2 teaspoon of lemon zest to the dough mixture for brightness.
- Sticky Maple Pecan Rolls: Line the bottom of the pan with a quick layer of melted butter, maple syrup, and chopped pecans before placing the rolls in. This creates a gooey, sticky bottom.
FAQ Section (The Proofing Puzzles)
The overnight process always leads to questions about yeast, timing, and storage.
- Q: Why do I need to let the rolls proof for so long in the fridge?
- A: Cold proofing slows the yeast down dramatically. This long, slow rise allows for better flavor development and results in a lighter, fluffier final texture.
- Q: My rolls didn’t rise overnight. What happened?
- A: Your yeast was dead (milk was too hot when added), or your dough was exposed to a strong draft. Verify your yeast by checking for foam in Step 1.
- Q: Can I skip the first rise and go straight to rolling?
- A: You can, but the rolls will be slightly denser. The first rise (bulk fermentation) helps develop the necessary airiness in the dough structure.
- Q: How long can the rolls stay in the fridge?
- A: They are best baked within 8–18 hours of placing them in the fridge. Over 24 hours, they risk losing flavor and becoming overly yeasty.
- Q: How do I store and reheat leftover cinnamon rolls?
- A: Store baked, iced rolls in an airtight container at room temperature for up to 3 days. Reheat gently in the microwave (15-20 seconds) or a low oven until warm.
- Q: What is the best way to slice the rolls cleanly?
- A: Use unwaxed dental floss. Slide the floss under the log, cross the ends over the top, and pull firmly to slice cleanly without squashing the dough.
- Q: Should I put the icing on warm or cool rolls?
- A: Put the icing on warm rolls (5 minutes out of the oven). The warmth melts the icing slightly, allowing it to drizzle into all those gooey nooks and crannies.
Final Thoughts (The Morning Miracle Worker)
You navigated the delicate balance of yeast and butter, survived the cold proof, and woke up to the heavenly aroma of freshly baked bliss. Those overnight cinnamon rolls are proof that patience (and refrigeration) is the key to morning success. You are officially the Morning Miracle Worker.
Go ahead, try that warm, gooey center roll. Did you realize baking could be this stress-free? I bet you’ll be making a double batch next time. Now, are you adding pecans or chocolate chips to the filling?