
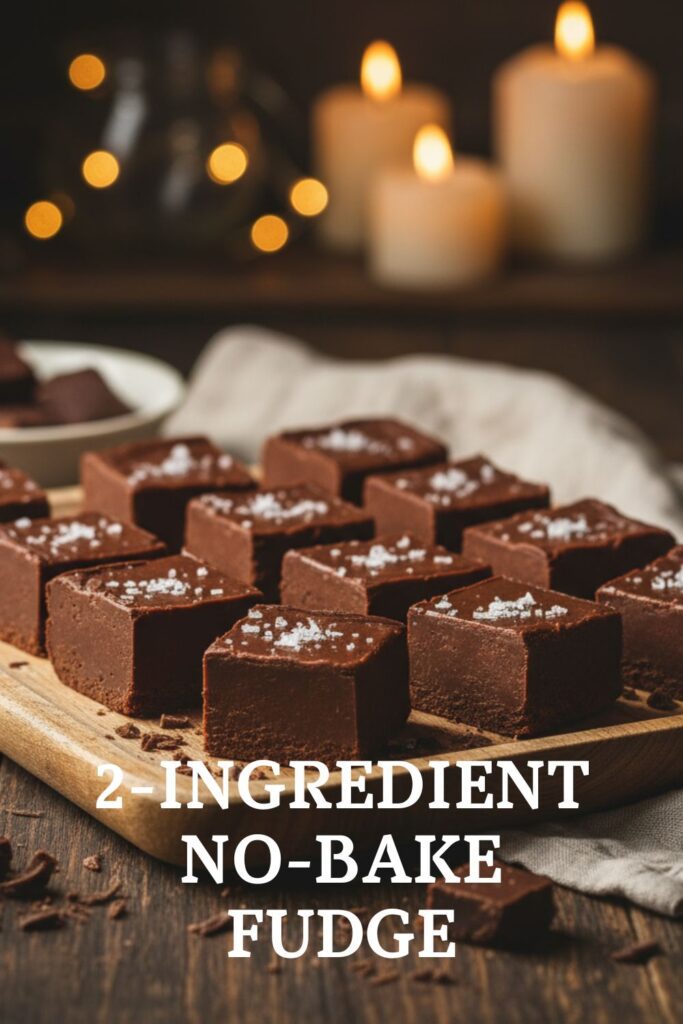
The Easiest 2-Ingredient No-Bake Fudge You’ll Ever Make (Seriously!)
Let’s talk about fudge. The word itself conjures images of bustling holiday kitchens, candy thermometers, endless stirring, and possibly a mild panic attack. But what if I told you there’s a way to achieve that creamy, decadent, melt-in-your-mouth perfection with just two ingredients and absolutely no baking? That’s right, my friends. Prepare to have your mind blown and your sweet tooth satisfied with this utterly foolproof No-bake fudge recipe. You’ll wonder where this magic has been all your life.
H2: Why Is This No-Bake Fudge So Revolutionary?
This isn’t just a recipe; it’s a testament to minimal effort yielding maximum deliciousness. First and foremost, it’s a two-ingredient wonder. Can you even remember the last time you made something so impressive with so few items? The beauty of this fudge is its simplicity. No candy thermometer needed, no tricky boiling stages, no standing over a hot stove praying you don’t mess it up.

It’s literally a mix, chill, and cut situation. This fudge sets up beautifully, slices perfectly, and tastes incredibly rich and chocolatey. It’s ideal for last-minute gifts, holiday cookie exchanges, or when you just need a serious chocolate fix. Plus, no oven means no heating up your kitchen, which is a bonus, especially during warmer months. It’s the ultimate dessert hack.
H2: The Dynamic Duo: Your Ingredients
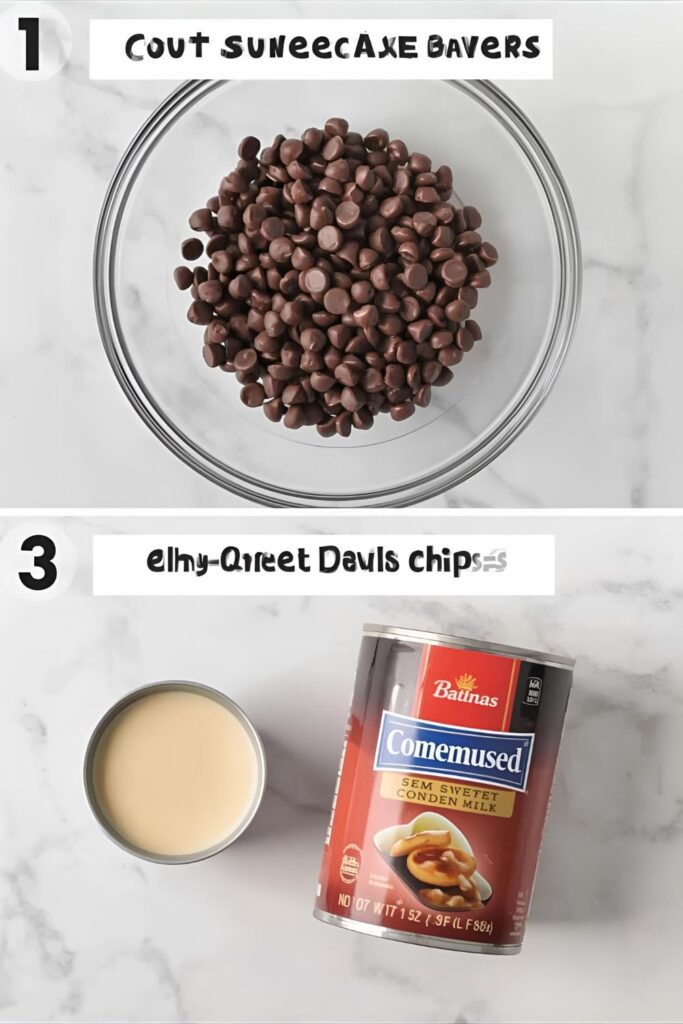
You ready for this shockingly short list?
- 1 (14-ounce) can sweetened condensed milk: Make sure it’s sweetened condensed milk, not evaporated milk. This is the magical glue and sweetener.
- 2 cups chocolate chips: Any kind you love—semi-sweet, milk chocolate, dark chocolate. Your choice!
H2: The Minimalist’s Toolkit

Gather these basic items, and you’re good to go.
- 8×8 inch baking pan: Or a similar-sized square pan.
- Parchment paper: Crucial for easy removal of the fudge. Don’t skip this!
- Large microwave-safe bowl: For melting your chocolatey goodness.
- Spatula: For mixing and spreading.
- Measuring cups: To get those ingredient ratios just right.
- Knife: For slicing your perfectly chilled fudge.
H2: The “Hardest” Part: Step-by-Step Instructions
Brace yourself for these incredibly demanding steps. (Okay, that was sarcasm. It’s insanely easy.)
H3: Step 1: Prep Your Pan
Line your 8×8 inch baking pan with parchment paper, leaving an overhang on the sides. This creates “handles” for you to easily lift the fudge out of the pan once it’s set. Trust me, you’ll thank yourself later.
H3: Step 2: Melt the Magic
In your large microwave-safe bowl, combine the sweetened condensed milk and chocolate chips. Microwave on HIGH in 30-second intervals, stirring thoroughly after each interval, until the chocolate is completely melted and the mixture is smooth and glossy. This usually takes about 1.5 to 2 minutes total, but your microwave wattage may vary. Keep stirring!
H3: Step 3: Spread the Love
Once your chocolate mixture is smooth, quickly pour it into your prepared parchment-lined baking pan. Use your spatula to spread it evenly into all corners. Work relatively fast here, as it will start to set.
H3: Step 4: Chill Out (Literally)
Place the pan in the refrigerator for at least 2-4 hours, or until the fudge is completely firm. You can also speed this up slightly in the freezer if you’re impatient (which, let’s be real, you probably are).
H3: Step 5: Slice and Serve
Once the fudge is fully set, use the parchment paper overhang to lift the entire block out of the pan. Place it on a cutting board. Use a sharp knife to cut the fudge into 1-inch squares. Get ready for compliments!
H2: Calories & Nutritional Info (Per Piece)

This is rich, folks. Fudge is a treat, and this one delivers! (Estimate based on 64 pieces).
- Calories: Approximately 80-90 kcal
- Protein: 1g
- Carbohydrates: 12g
- Fat: 4g
- Sugar: 11g
H2: Common Fudge Faux Pas to Avoid
Even with two ingredients, you can still mess things up. Don’t be that person.
- Using the Wrong Milk: I cannot emphasize this enough: DO NOT use evaporated milk. It is NOT the same as sweetened condensed milk, and your fudge will not set. Read the label carefully, folks!
- Overheating the Chocolate: Just like with any chocolate melting, don’t blast it in the microwave. Short bursts and stirring are key to preventing seized, grainy chocolate.
- Not Lining the Pan: Trying to pry fudge out of an unlined pan is a special kind of hell. Parchment paper is your savior. Use it.
- Impatience: I know it’s hard to wait, but the fudge needs to chill completely to set up properly. If you cut it too soon, it will be a gooey, sticky mess. Plan ahead or suffer the consequences.
H2: Get Creative: Fudge Variations & Customizations
Once you’ve mastered the basic two-ingredient wonder, it’s time to unleash your inner fudge artist!
- Nutty Fudge: Stir in 1/2 cup of chopped nuts (walnuts, pecans, almonds) after the chocolate and condensed milk are fully melted.
- Peppermint Swirl: Add 1/2 teaspoon of peppermint extract to the melted chocolate mixture. Sprinkle the top with crushed candy canes before chilling for a festive treat.
- Salted Caramel Drizzle: Swirl in 1/4 cup of caramel sauce after mixing, then sprinkle with flaky sea salt before chilling. The salty-sweet combo is divine!
H2: FAQ Section: Your Fudge Questions Answered!
Still got questions? I’ve got answers.
H3: What kind of chocolate chips work best for no-bake fudge?
Any kind you love! Semi-sweet is a classic, but milk chocolate makes a sweeter fudge, and dark chocolate creates a richer, less sweet version. Experiment to find your favorite.
H3: My fudge is too soft or didn’t set. What went wrong?
This almost always means you used evaporated milk instead of sweetened condensed milk. Or, less commonly, you didn’t chill it long enough. Get that sweetened condensed milk, and chill longer!
H3: Can I add vanilla extract?
Absolutely! A teaspoon of vanilla extract (or any other extract, like almond or peppermint) can be stirred in after the chocolate is melted for an extra layer of flavor.
H3: How long does this no-bake fudge last?
Store it in an airtight container in the refrigerator for up to 2-3 weeks. If it lasts that long, you have more willpower than me, TBH.
H3: Can I freeze this fudge?
Yes! Wrap the uncut block or individual pieces tightly in plastic wrap, then place them in a freezer-safe bag or container. It will last in the freezer for up to 3 months. Thaw in the fridge before serving.
H3: Why did my chocolate seize up when melting?
This happens if it gets too hot too fast or if even a tiny bit of water gets into the chocolate. Always melt in short intervals and stir, stir, stir.
H3: Can I double this recipe?
You bet! If you double the recipe, use a 9×13 inch baking pan and ensure you have enough space in your microwave for the larger bowl, or melt in two batches.
H2: Final Thoughts: You Are Now a Fudge Master
Congratulations! You’ve officially debunked the myth that fudge is hard to make. You’ve now got a secret weapon in your dessert arsenal—a rich, decadent, ridiculously easy no-bake fudge that will impress everyone. Go forth, share your sugary success (or hoard it all, I won’t tell!), and revel in the fact that you just made something amazing with almost no effort.

