
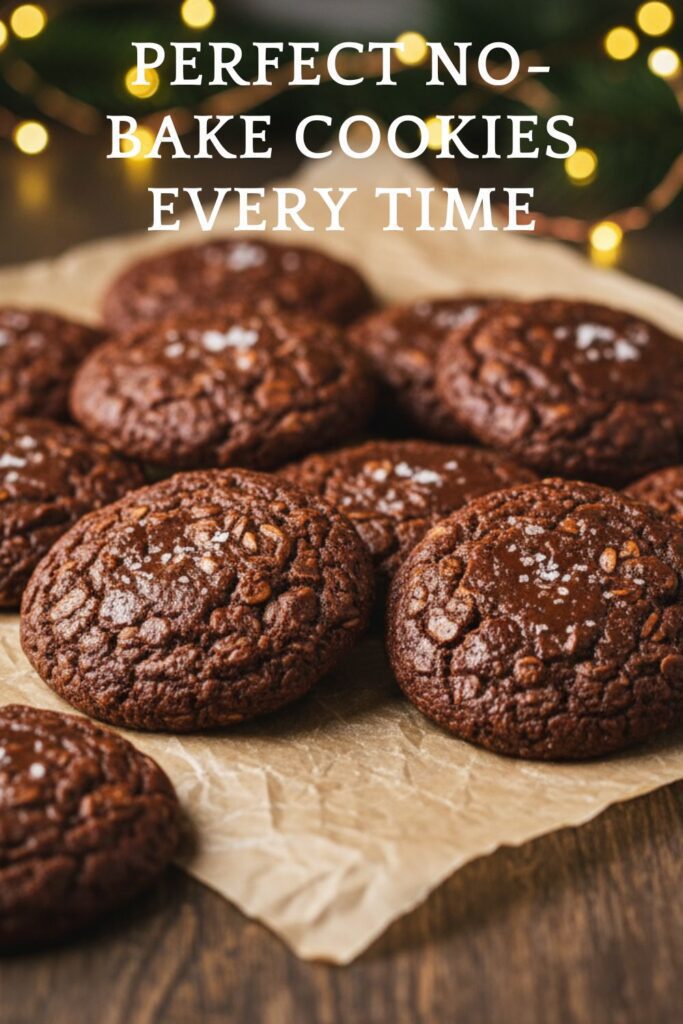
The Perfect No-Bake Cookies Recipe (That Actually Sets Up!)
Remember those chocolatey, peanut buttery, oaty drop cookies from your childhood? The ones that seemed to magically appear on the counter without the oven ever roaring to life? They were the stuff of legends, the ultimate after-school treat, and the fastest way to achieve pure bliss. Well, get ready for a trip down memory lane, because we’re making classic No-bake cookies, and I’m going to share the secrets to getting them perfect every single time.

This isn’t just a recipe; it’s a rite of passage. It’s the first “baking” project for countless kids and the emergency dessert for countless adults. Forget complicated techniques and long bake times. We’re about to make something ridiculously delicious in about 15 minutes flat.
Why This Recipe Is an All-Time Great
In a world of overly complicated, multi-step desserts, the no-bake cookie stands supreme in its glorious simplicity. Why is it so awesome? First, it is unbelievably fast. From the moment you start to the moment you’re dropping cookies onto parchment paper, you’re looking at about 15 minutes. The hardest part is waiting for them to set.

Second, there is no oven required. This makes it an absolute hero during hot summer months or for anyone whose oven is currently being used as storage (no judgment). It’s a stovetop-only affair, which dramatically lowers the barrier to entry.
And let’s be real, the ingredients are pantry royalty. Sugar, cocoa, oats, peanut butter… you almost certainly have everything you need to make these right now. The flavor is a perfect trifecta of rich chocolate, creamy peanut butter, and chewy oats. It’s nostalgia in a single bite.
The Essential Cast of Ingredients
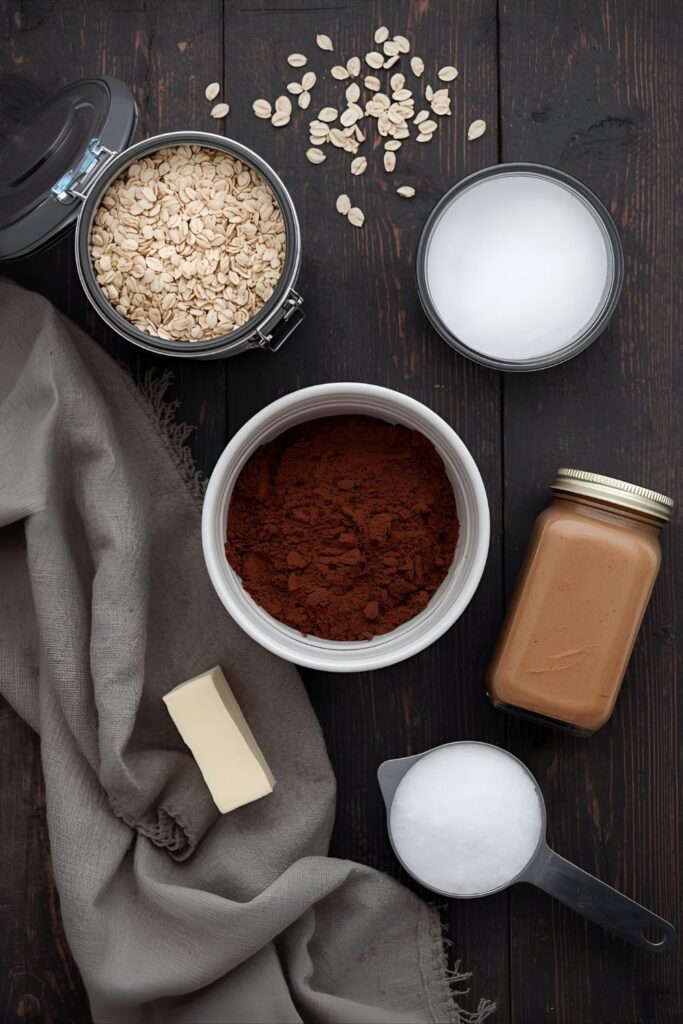
The beauty of this recipe is its reliance on everyday pantry staples. No frantic trips to a specialty store are needed.
- Granulated Sugar: 2 cups. This provides the structure and sweetness.
- Unsalted Butter: 1/2 cup (1 stick). It adds richness and helps the cookies set.
- Milk: 1/2 cup. Whole, 2%, or even a non-dairy alternative will work here.
- Unsweetened Cocoa Powder: 1/4 cup. This is where all the deep chocolate flavor comes from.
- Creamy Peanut Butter: 1/2 cup. The heart and soul of the cookie.
- Vanilla Extract: 2 teaspoons. It elevates all the other flavors.
- Quick-Cooking Oats: 3 cups. This is important! Quick oats absorb the liquid perfectly, creating that classic fudgy-chewy texture. Do not use old-fashioned rolled oats.
- Salt: 1/2 teaspoon. It balances all the sweetness.
Tools & Kitchen Gadgets Used
You don’t need any fancy baking equipment for this one. Just a few kitchen basics will do.
- A Medium Saucepan: A 2 or 3-quart pot is perfect for this.
- Measuring Cups and Spoons: Accuracy is surprisingly important here, especially for the main liquid and sugar ingredients.
- A Wooden Spoon or Heatproof Spatula: For stirring the boiling mixture.
- A Kitchen Timer: This is your most important tool. Guessing the boiling time is the #1 reason these cookies fail. Use a timer on your phone or microwave.
- Parchment Paper or Wax Paper: Absolutely essential for preventing the cookies from sticking to your countertop.
- Cookie Scoop or Two Spoons: For portioning out the cookies evenly and quickly.
Step-by-Step Instructions: Your Path to Cookie Perfection
This recipe moves fast, so read the steps first and have everything ready to go. You’ve got this.
- Prep Your Landing Zone: Before you even think about turning on the stove, lay out a few long sheets of parchment or wax paper on your counter. This is where your cookies will cool and set.
- Combine the Base: In your medium saucepan, combine the sugar, butter, milk, and cocoa powder. Give it a quick stir.
- Bring to a Boil: Place the saucepan over medium heat. Stir occasionally as the butter melts and the sugar dissolves. Continue heating until the mixture comes to a full, rolling boil.
- THE MOST IMPORTANT MINUTE: Once the mixture reaches a rolling boil (meaning it’s bubbling vigorously all over, not just at the edges), start your timer for exactly 1 minute. Let it boil for that full 60 seconds, stirring constantly to prevent it from scorching on the bottom. Do not guess the time!
- Remove from Heat: As soon as the timer goes off, immediately remove the pan from the heat.
- Mix in the Good Stuff: Quickly stir in the peanut butter, vanilla extract, and salt until the peanut butter is completely melted and the mixture is smooth.
- Add the Oats: Dump in all 3 cups of the quick-cooking oats and stir until they are evenly coated and the mixture is thick.
- Drop It Like It’s Hot: Now you have to work fast! Use a cookie scoop or two spoons to drop rounded tablespoon-sized mounds of the mixture onto your prepared parchment paper.
- The Waiting Game: Let the cookies sit at room temperature for about 30-60 minutes until they are firm and set. You’ll know they’re ready when they are no longer tacky to the touch.
Calories & Nutritional Info
Here is a general estimate per cookie, assuming the recipe makes about 3 dozen cookies.
- Calories: Approximately 120-140 per cookie.
- Fat: Around 6g.
- Carbohydrates: Roughly 16g.
- Protein: About 2g.
- A Gentle Reminder: These are cookies. They are delicious morsels of happiness, not health food. Let’s just enjoy them, shall we? 🙂
Common Mistakes to Avoid (How to Not Make Sad Cookie Puddles)
This recipe is easy, but it’s also a bit of a science experiment. Here’s how to avoid a failed batch.
- The Goopy, Sticky Mess: Your cookies never set and remain a sad, gooey puddle. You did not boil the mixture long enough. That 1-minute rolling boil is a non-negotiable chemical step that allows the sugar to reach the right temperature to crystallize and set properly later.
- The Dry, Crumbly Disaster: Your cookies are dry and falling apart. You boiled the mixture for too long. Going much beyond that 1-minute mark (90 seconds is the absolute max) cooks out too much liquid, leaving you with a dry, crumbly result.
- Using the Wrong Oats: You used old-fashioned rolled oats. While not a total disaster, they won’t absorb the liquid as well, leading to a looser, chewier cookie that might not set as firmly. Stick with quick-cooking oats.
- Ignoring the Weather: This might sound like an old wives’ tale, but it’s true. High humidity can ruin your no-bake cookies. If it’s a very rainy or humid day, there’s excess moisture in the air that can prevent the cookies from drying out and setting properly. IMO, it’s best to make these on a dry day for guaranteed success.
Variations & Customizations
The classic is classic for a reason, but it’s also fun to play around!
- The Salty-Sweet Upgrade: After you drop the cookies onto the parchment paper, sprinkle a tiny bit of flaky sea salt on top of each one. The salt enhances the chocolate and peanut butter flavors beautifully.
- Coconut-Chocolate Dream: Reduce the oats to 2 ½ cups and add 1 cup of sweetened shredded coconut to the mixture along with the oats. It adds a wonderful chewy texture.
- Nut-Free Version: If peanut allergies are a concern, you can substitute the peanut butter with sunflower seed butter (SunButter) for a very similar taste and texture.
FAQ Section: Your No-Bake Cookie Conundrums Solved
H3: Why are my no-bake cookies not setting up?
This is the most common problem and it’s almost always because the sugar mixture wasn’t boiled for a full 60 seconds at a rolling boil. High humidity can also be a culprit.
H3: Why are my no-bake cookies dry and crumbly?
This is the opposite problem! It means you boiled the mixture for too long, cooking out too much moisture. Time it carefully!
H3: Can I use old-fashioned oats instead of quick oats?
You can, but the texture will be different. The cookies will be much chewier and may not hold together as well. Quick oats provide the classic texture.
H3: Can I use crunchy peanut butter?
Absolutely! If you enjoy the texture of little peanut pieces in your cookies, go for it. The result will be just as delicious.
H3: How do I store no-bake cookies?
Store them in an airtight container at room temperature. They will last for about a week. You can also layer them between sheets of parchment paper to prevent sticking.
H3: Can I make these dairy-free or vegan?
Yes! Use a dairy-free butter substitute (like sticks, not from a tub) and your favorite plant-based milk (almond or soy work well). The recipe adapts very well.
H3: Does it matter what kind of pot I use?
A heavy-bottomed saucepan is best as it distributes heat more evenly and helps prevent the sugar mixture from scorching on the bottom while it boils.
Final Thoughts
You’ve done it. You have unlocked the secret to perfect, classic, nostalgia-inducing no-bake cookies. This is a recipe that will serve you well for years to come, from last-minute bake sale contributions to satisfying a sudden, intense craving for something sweet.
So go ahead, whip up a batch. Share them with friends, hoard them for yourself, or just enjoy the simple, sweet victory of making something wonderful in just a few minutes. Your inner child will thank you.

