
The Ultimate No-Bake Caramel Slices (That Taste Deceptively Fancy)
Let’s talk about that deep, primal craving for something truly decadent. I’m talking about a buttery base, a thick layer of gooey, rich caramel, and a snappy chocolate top. You know, like a millionaire’s shortbread. But then reality hits. You have to bake the shortbread, then make a finicky, temperamental caramel with a candy thermometer, and the whole process takes approximately one million years. What if you could achieve that same glorious, multi-layered perfection without ever turning on your oven? My friend, I am here to deliver you from dessert-making despair with these life-changing No-bake caramel slices.

This isn’t just a recipe; it’s a culinary cheat code. It’s the ultimate hack for creating a ridiculously impressive treat with minimal effort. We’re talking about a dessert that will make people think you’re a pastry chef, when in reality, you just stirred a few things in a pot. Prepare to accept your new title as Dessert Overlord.
Why This Recipe is Your New Secret Weapon
Still thinking about that complicated traditional recipe? Let me show you a better way.

First, it is truly, completely no-bake. I mean it. Your oven can stay off and enjoy its day. This makes it the perfect dessert for hot weather, small kitchens, or days when your motivation to do anything complicated is at an all-time low. It’s maximum indulgence for minimum effort.
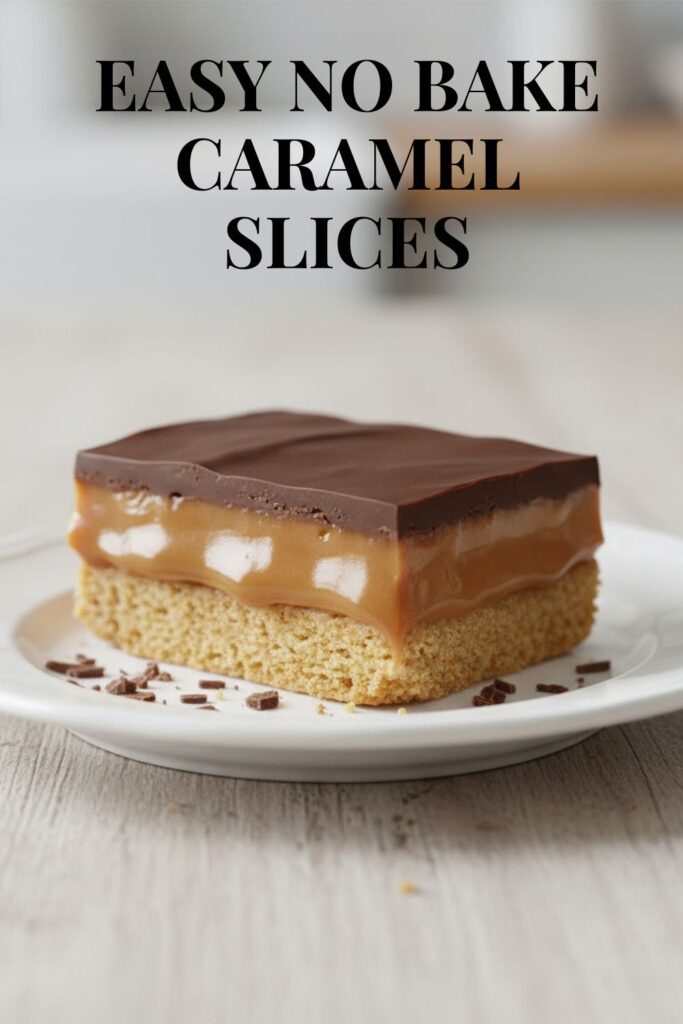
Second, the flavor and texture are absolutely phenomenal. You get a crunchy, buttery biscuit base, a thick, soft, and chewy caramel layer that is practically foolproof, and a crisp, rich chocolate topping. It’s the holy trinity of dessert textures, and it is glorious.
Finally, these slices are insanely impressive. You cut them into neat little squares, and they look like something from a high-end bakery. Bring a plate of these to a party, a potluck, or a work function, and watch them disappear. People will beg you for the recipe. You can just smile mysteriously and say it’s an old family secret.
The (Shockingly Simple) Ingredient List

Here is your very manageable shopping list. We’re building this masterpiece in three easy layers.
For the Biscuit Base:
- Digestive Biscuits or Graham Crackers: About 9 ounces (250g), crushed into fine crumbs.
- Unsalted Butter: 1/2 cup (1 stick or 113g), melted.
For the Foolproof Caramel Filling:
- Unsalted Butter: 1/2 cup (1 stick or 113g).
- Brown Sugar: 1/2 cup, packed.
- Sweetened Condensed Milk: One 14-ounce can. This is the magic ingredient. Do not, under any circumstances, use evaporated milk. That would be a soupy, heartbreaking tragedy.
For the Chocolate Topping:
- Good Quality Chocolate: 7 ounces (200g) of semi-sweet or dark chocolate chips or a chopped bar.
- Coconut Oil or Vegetable Oil (Optional): 1 teaspoon. This gives the chocolate a lovely sheen and makes it easier to slice without cracking.
Tools & Kitchen Gadgets for Your Caramel Creation
You don’t need any fancy equipment for this mission. Your kitchen is ready.
- 8×8 Inch Square Baking Pan: The perfect vessel for our creation.
- Parchment Paper: This is non-negotiable. It creates a sling to lift the entire slab out for easy cutting.
- Food Processor (Optional): The fastest way to turn biscuits into crumbs. A Ziploc bag and a rolling pin (or a wine bottle, no judgment) also work for some therapeutic smashing.
- Medium Saucepan: For making our glorious, cheat’s caramel.
- Heatproof Spatula or Wooden Spoon: For stirring the caramel.
- Microwave-Safe Bowl: For melting the chocolate.
Step-by-Step Guide to Caramel Slice Glory
Ready to feel like a dessert genius? It’s easier than you think.
Step 1: Prep Your Pan and Crust
First, line your 8×8 inch pan with parchment paper, leaving a few inches of overhang on two opposite sides. This will act as your handles later.
In a medium bowl, combine your biscuit or graham cracker crumbs with the melted butter. Stir with a fork until the mixture is evenly moistened and resembles wet sand. Dump this mixture into your prepared pan and press it down firmly and evenly to form a compact base. Use the bottom of a glass or measuring cup to get it really packed in there. Pop the pan into the refrigerator to chill while you make the caramel.
Step 2: Make the Magical Caramel
In your medium saucepan, combine the butter, brown sugar, and sweetened condensed milk. Place it over medium-low heat. Stir constantly with your heatproof spatula until the butter is melted and the sugar has dissolved.
Once it’s smooth, increase the heat to medium and bring the mixture to a gentle boil, stirring constantly. Let it bubble gently for 5-7 minutes, still stirring, until it has thickened and darkened to a lovely caramel color. It should be thick enough to coat the back of your spoon. This continuous stirring is key! Don’t walk away.
Step 3: Pour and Chill
Carefully pour the hot caramel mixture over your chilled biscuit base. Tilt the pan to spread it into an even layer. Let it cool on the counter for about 20 minutes, then transfer it to the refrigerator for at least 1 hour, or until the caramel is firm to the touch.
Step 4: The Chocolate Crown
Once the caramel is set, it’s time for the final layer. Place your chocolate chips (and the optional coconut oil) in a microwave-safe bowl. Microwave in 30-second bursts at 50% power, stirring in between, until the chocolate is smooth and melted.
Pour the melted chocolate over the firm caramel layer and quickly spread it into an even layer with a spatula.
Step 5: The Final, Torturous Chill
Place the pan back in the refrigerator for another 30 minutes to an hour, or until the chocolate is completely set.
Step 6: Slice and Devour
Once the chocolate is firm, use the parchment paper handles to lift the entire slab out of the pan and onto a cutting board. For clean slices, use a large, sharp knife. You can run the knife under hot water and wipe it dry between cuts. Slice into squares and admire your ridiculously impressive handiwork.
Calories & Nutritional Info (A Sweet Reality)

It’s butter, sugar, condensed milk, and chocolate. It’s a treat. A glorious, decadent treat.
- Calories: Approximately 250-350 kcal per slice (assuming 16 slices).
- Fat: A very happy amount.
- Sugar: Yes, indeed.
- Bliss Factor: Off the charts.
- In summary: Enjoy it. You deserve it.
Common Mistakes to Avoid (Caramel Calamities)
Even a no-bake recipe can have its tricky moments. Here’s how to avoid them.
- A Crumbly, Betrayal of a Crust: You didn’t press the biscuit base down firmly enough. You need to really compact those crumbs to create a solid foundation that won’t fall apart when you slice it.
- Runny, Soupy Caramel: You got impatient and didn’t cook the caramel long enough. That 5-7 minutes of constant stirring while it bubbles is crucial for it to thicken and set properly.
- A Burnt, Bitter Bottom: You didn’t stir the caramel constantly, and the sugar scorched on the bottom of the pan. You have to keep it moving!
- The Cracked Chocolate Catastrophe: You tried to slice it when the chocolate was rock-hard straight from the fridge. Let the slab sit at room temperature for 10-15 minutes before slicing. The optional oil in the chocolate also helps prevent this.
Variations & Customizations (Your Slice, Your Rules)
The classic is a star, but this recipe is a perfect canvas.
- Salty Dark Chocolate & Pretzel Crust: This is the sophisticated version. Use dark chocolate for the topping and sprinkle a generous amount of flaky sea salt on top before it sets. For the crust, swap half the biscuits for crushed pretzels.
- Biscoff Dream Slice: Use crushed Biscoff cookies for the base. You can even swirl a few tablespoons of melted Biscoff spread into the chocolate topping before it sets.
- Peanut Butter Cup Slice: Add 1/4 cup of creamy peanut butter to the caramel mixture as it cooks. The result is a chewy, peanut buttery caramel that is out of this world.
FAQ: Your No-Bake Caramel Slice Questions, Answered
Let’s tackle some common questions about these decadent bars.
1. How do you make caramel for a no-bake slice?
The secret is sweetened condensed milk. When you gently boil it with butter and brown sugar, it thickens into a foolproof, soft, and chewy caramel without the need for a candy thermometer.
2. How do I store no-bake caramel slices?
Store them in an airtight container in the refrigerator. They will stay fresh and delicious for up to a week.
3. Can you freeze no-bake caramel slices?
Yes! They freeze beautifully. Slice them into squares and place them in a freezer-safe container with parchment paper between the layers. They’ll last for up to 3 months. They are actually amazing eaten straight from the freezer.
4. Why didn’t my caramel layer set?
You most likely didn’t cook it long enough. The caramel needs to bubble gently for a full 5-7 minutes while being stirred to reach the right consistency to set firmly in the fridge.
5. Can I use a different kind of biscuit for the base?
Absolutely! Shortbread cookies, digestive biscuits, graham crackers, or even vanilla wafers would be delicious.
6. How do I get clean, neat slices?
Two tricks: 1) Let the slab sit at room temperature for 10-15 minutes before cutting to soften the chocolate slightly. 2) Use a large, sharp knife, and run it under hot water and wipe it dry between each and every cut.
7. Can I make this vegan?
Yes! It’s a bit of a project, but you can. Use vegan biscuits and vegan butter for the crust. For the caramel, you’ll need to use vegan butter and a can of sweetened condensed coconut milk. Use your favorite dairy-free chocolate for the topping.
Final Thoughts
You are now a No-Bake Caramel Slice Master. You hold the secret to creating a dessert that looks and tastes like it came from a fancy French patisserie, but with less effort than it takes to do a load of laundry. This recipe is your new party trick, your secret indulgence, and your answer to every last-minute dessert panic.
So go on, give it a try. Ditch the oven. And prepare to be worshipped for your incredible (and secretly simple) dessert-making skills.

