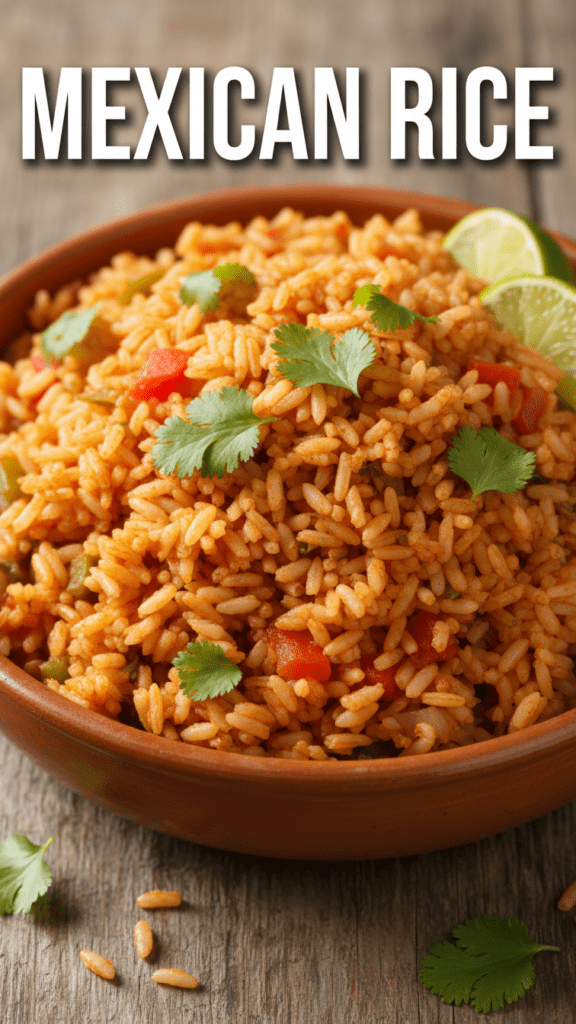
🍚 The “Restaurant-Quality, No Food Dye” Secret: Mastering Homemade Mexican Rice
Let’s be brutally honest: most of us have a deeply emotional, somewhat regrettable relationship with the side of rice at our favorite Mexican joint. You know the one—it’s usually a vibrant, almost cartoonish orange, tastes vaguely of tomato, and is often suspiciously clumpy. It’s a culinary mystery! How do they get it so… orange? But then, you take your first bite of a real, homemade Mexican rice recipe, and suddenly your soul feels like it’s being hugged by a Mexican abuela who just gave you twenty dollars.
I once served a batch of this to a friend who swore she hated all rice that wasn’t sushi. She ate three servings before realizing her life had been a lie, and that “sushi rice” was just “boring rice” compared to this vibrant masterpiece. That, my friends, is the power of toasting. Are you ready to stop settling for lukewarm, artificially colored grains and start building a legendary Mexican masterpiece?
🏆 Why This Mexican Rice is the Actual GOAT

Why should you bother making Mexican rice when you could just open a packet or buy it from a restaurant? Because this recipe gives you total control over the “Holy Trinity” of side dishes: Flavor, Fluff, and Authenticity. No more guesswork about the questionable ingredients or the texture of boiled mush.
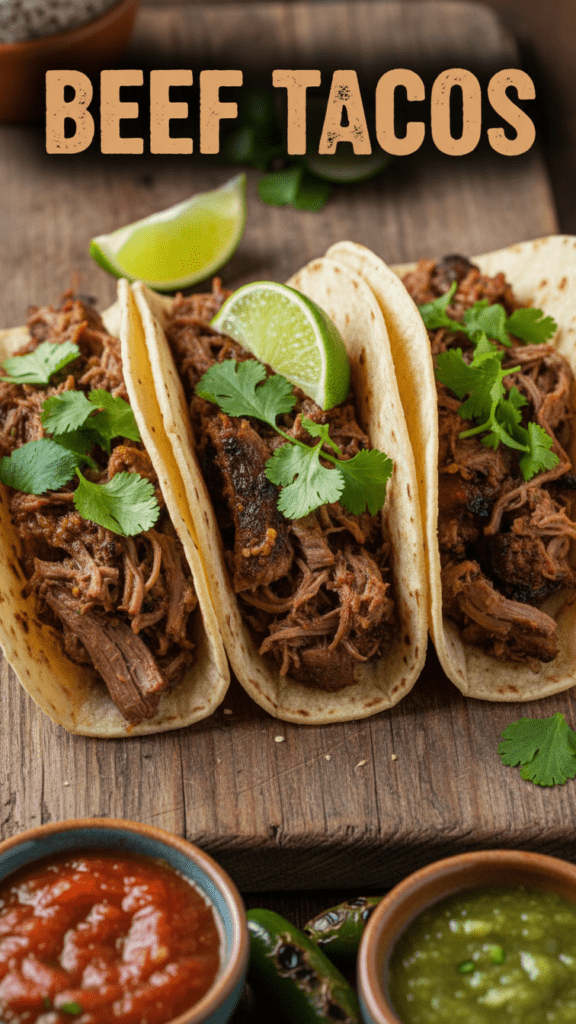
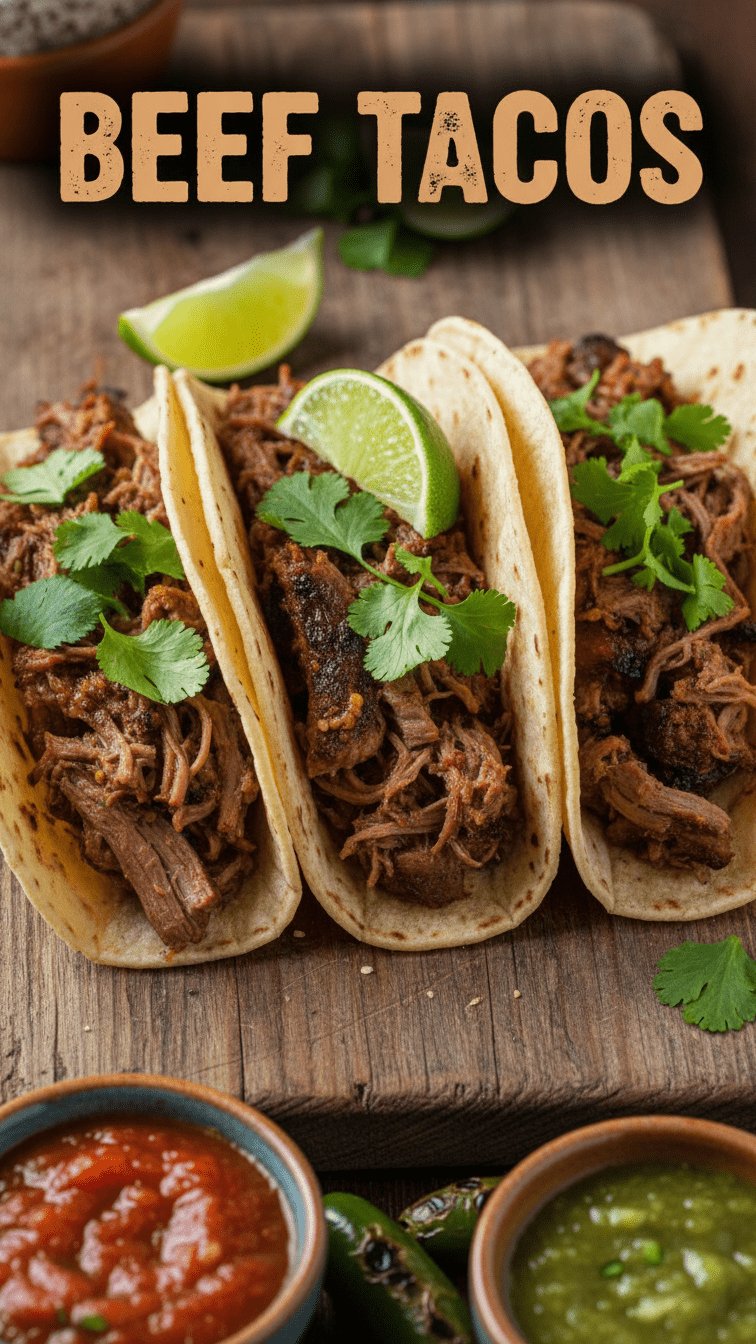
This recipe is awesome because it’s a high-impact side dish that secretly takes less than 30 minutes. It impresses guests because it looks intentional and vibrant, when in reality, you just know how to toast some grains effectively. Plus, it’s the ultimate partner for almost any Mexican main course—tacos, enchiladas, burritos, you name it! It’s the undisputed champion of side dishes, IMO.
🌶️ The “Flavor-Bomb” Ingredient List
Success depends on the type of rice and the quality of your broth. Don’t cheap out here, or your rice will lack joy and your life will lack flavor.
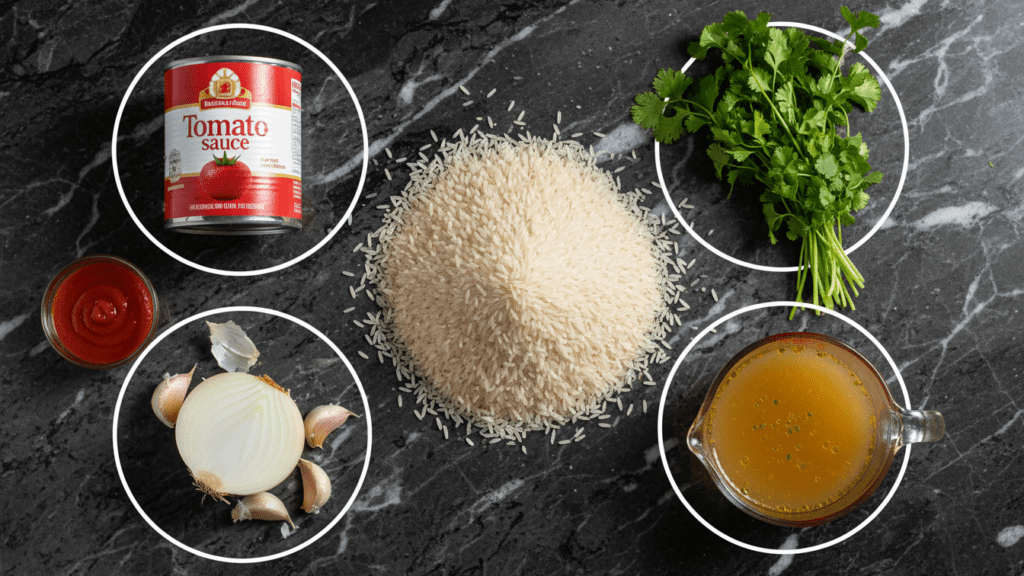
- 2 Cups Long-Grain White Rice: CRUCIAL. Basmati or jasmine are too fragrant and won’t give you the right texture.
- 2 Tablespoons Vegetable Oil: For perfectly toasting the rice.
- 1 Small White Onion: Finely diced.
- 2 Cloves Garlic: Minced (measure with your heart, honestly).
- 1 Can (8 oz) Tomato Sauce: The secret to that natural reddish hue and tangy depth.
- 3 ½ Cups Chicken Broth: Warm broth helps the rice cook evenly.
- ½ Teaspoon Cumin: Ground, for that essential earthy warmth.
- ½ Teaspoon Salt: Or to taste. Don’t be shy!
- ¼ Cup Fresh Cilantro: Chopped, for garnish (because it’s not Mexican rice without it).
Key Substitutions
- Oil Swap: Use canola oil or even a light olive oil if that’s what you have.
- Broth Swap: Vegetable broth works beautifully for a vegetarian version.
- Veggie Boost: Add a ¼ cup of frozen peas and carrots in the last 5 minutes of cooking for extra color and nutrients.
🔪 Tools & Kitchen Gadgets Used
You don’t need a high-tech lab, but a good heavy-bottomed pot is non-negotiable.
- Heavy-Bottomed Pot (3-4 quart) with a Tight-Fitting Lid: The absolute MVP for even cooking and preventing scorching. Check out enameled Dutch ovens here!
- Fine Mesh Sieve: For rinsing the rice (don’t skip this!). Grab a sturdy one here!
- Chef’s Knife: For all that therapeutic dicing. Check out top-rated knives!
- Wooden Spoon or Spatula: For stirring and scraping (don’t use metal on a non-stick pot!).
👩🍳 Step-by-Step Instructions: The Path to Fluffy Perfection
Follow these steps precisely. Rice cooking is a delicate dance between heat and steam. Patience is your best friend.
1. The Rinse Cycle
Place your long-grain white rice in a fine mesh sieve. Rinse it thoroughly under cold running water until the water runs clear. This removes excess starch, preventing sticky, clumpy rice. CRUCIAL: Drain it really well.
2. The Golden Toast
Heat the vegetable oil in your heavy-bottomed pot over medium heat. Add the drained rice. Stir constantly for 5-7 minutes until the rice turns a beautiful, toasty golden-brown. It should smell nutty, not burnt. This step is the secret to separate, fluffy grains. TBH, this is my favorite part because of the smell.
3. The Aromatic Blitz
Add the diced onion and minced garlic to the toasted rice. Sauté for another 2-3 minutes until the onion is softened and translucent. Don’t let the garlic burn, or your rice will taste like sadness.
4. The Tomato Hug
Pour in the tomato sauce. Stir it in well and let it cook with the rice for 1-2 minutes. This deepens the tomato flavor and ensures an even color. Now, add the warm chicken broth, cumin, and salt. Stir everything together just once.
5. The Gentle Simmer
Bring the mixture to a rolling boil. Once it’s bubbling, reduce the heat to low, cover the pot with its tight-fitting lid, and resist the urge to peek! Simmer for 18 minutes exactly. FYI, peeking releases steam, and steam is what cooks your rice.
6. The Zen Rest
After 18 minutes, turn off the heat but do not lift the lid! Let the pot sit, undisturbed, for another 10 minutes. This allows the rice to absorb any remaining moisture and steam itself into fluffy perfection.
7. The Fluff & Garnish
Remove the lid. Use a fork to gently fluff the rice. Stir in the fresh cilantro. Serve immediately as the perfect side to tacos, burritos, or just eat it straight out of the pot (no judgment here).
📊 Calories & Nutritional Info (The “Don’t Panic” Breakdown)

Since it has tomatoes and cilantro, this is basically a health food. Right?
- Estimated Calories Per Serving (½ cup): $\approx$ 180–220 kcal.
- Carbohydrates: Your primary energy source, perfect for fueling your next taco night.
- Fiber: Decent levels from the rice and vegetables.
- Vitamins: Small amounts of Vitamin A and C from the tomato and cilantro.
- Mood: 100% improved after the first fluffy spoonful.
🚨 Common Mistakes to Avoid (The Rice Fails)
Avoid these if you want people to actually come back to your house for dinner.
- Not Rinsing the Rice: If you skip this, your rice will be sticky and clumpy, not fluffy.
- Not Toasting the Rice: This is the most crucial step for flavor and separate grains. If your rice is pale, you did it wrong.
- Lifting the Lid: Every time you peek, you let steam escape, which prolongs cooking and can lead to unevenly cooked rice. Trust the process!
- Stirring After Adding Liquid: Once the liquid is in and it’s covered, do not stir. Stirring activates starch and makes the rice gummy. 🙂
✨ Variations & Customizations
Because you’re the boss of this grain-filled fiesta.
1. The Keto-Friendly Swap
Replace the white rice with cauliflower rice. Sauté it with the onions and garlic, then add the tomato sauce and a splash of broth. Simmer for only 5-7 minutes, uncovered, until tender.
2. The “Fire-Breather” Version
Add a finely minced serrano or jalapeño pepper with the onion and garlic. You can also stir in a tablespoon of chipotle in adobo sauce with the tomato sauce for smoky heat.
3. The Veggie-Packed Boost
In the last 5 minutes of cooking, gently stir in ½ cup of frozen corn and peas. It adds vibrant color and extra nutrients without needing extra cooking time.
❓ FAQ Section: Your Mexican Rice Queries Answered
Why is my Mexican rice mushy?
You likely used too much liquid or stirred it too much after adding the broth. Also, ensure you use long-grain white rice, as other types absorb liquid differently.
Why is my Mexican rice still hard in the middle?
You probably didn’t use enough liquid, or you lifted the lid too often, letting the steam escape. Make sure your pot lid is tight-fitting.
What kind of rice is best for Mexican rice?
Long-grain white rice is ideal. It holds its shape well and gets beautifully fluffy after rinsing and toasting.
Can I make Mexican rice in a rice cooker?
Yes! Toast the rice and sauté the aromatics in a separate pan first. Then, transfer everything to the rice cooker, add the liquids, and cook on the “white rice” setting.
How do I get that vibrant red color without food coloring?
Toasting the rice until golden, then cooking it with tomato sauce (not just tomato paste) is the secret to that authentic, rich color.
How long does cooked Mexican rice last in the fridge?
It stays delicious for up to 3-4 days in an airtight container. It’s perfect for meal prep!
Can I freeze Mexican rice?
Absolutely! Once cooled, transfer it to freezer-safe bags or containers. It freezes well for up to 3 months. Thaw in the fridge and reheat gently.
🥂 Final Thoughts: Go Forth and Fluff!
You’ve done it. You’ve successfully navigated the world of “Restaurant-Quality Mexican Sides” without having a public breakdown. You are now a titan of the rice pot and a hero of the dinner table. Go ahead, have that second serving—it’s mostly grains and vegetables, after all. Just don’t tell me if you used a box mix; I have a reputation to maintain. 🙂