
Dessert Decadence: The No-Bake Creamy Keto Cheesecake Recipe
Let’s be honest, giving up sugar when you start the keto journey is tough, but giving up cheesecake? That’s just cruel and unusual punishment. For too long, you’ve wistfully stared at those sugary, towering slices, thinking, “If only…” Well, stop the pity party! This keto cheesecake recipe is here to save your dessert life.
This is not some grainy, overly-eggy substitute. We are talking about a thick, lusciously creamy filling set atop a buttery, nutty crust—all completely sugar-free and ridiculously low-carb. Even better? It’s a no-bake recipe! That means no cracking, no water baths, and zero existential dread hovering over your oven. Get ready for guilt-free dessert heaven.
Why This Cheesecake is Your Guilt-Free Hero
Why should you carve out fridge space for this magnificent keto cheesecake? Because it’s the ultimate dietary compromise.
First, texture. The no-bake technique results in an impossibly smooth, dense, and creamy filling that traditional baked cheesecakes often struggle to achieve. It’s pure velvet. Secondly, ease of cooking. You literally just mix the ingredients, press the crust, and let the fridge do the work. It takes about 15 minutes of hands-on time. Plus, it’s high in healthy fats, meaning it perfectly fits your keto macros while crushing those dessert cravings. Who needs sugar anyway?
The Ingredient Lineup: Fat and Flavor
We are substituting sugar and graham crackers with low-carb heroes. Quality ingredients make a huge difference in keto baking!
For the Crust:
- Almond Flour: Super-fine blanched almond flour is key.
- Sweetener: Granulated Erythritol/Monk Fruit blend.
- Fats: Melted unsalted butter.
For the Filling:
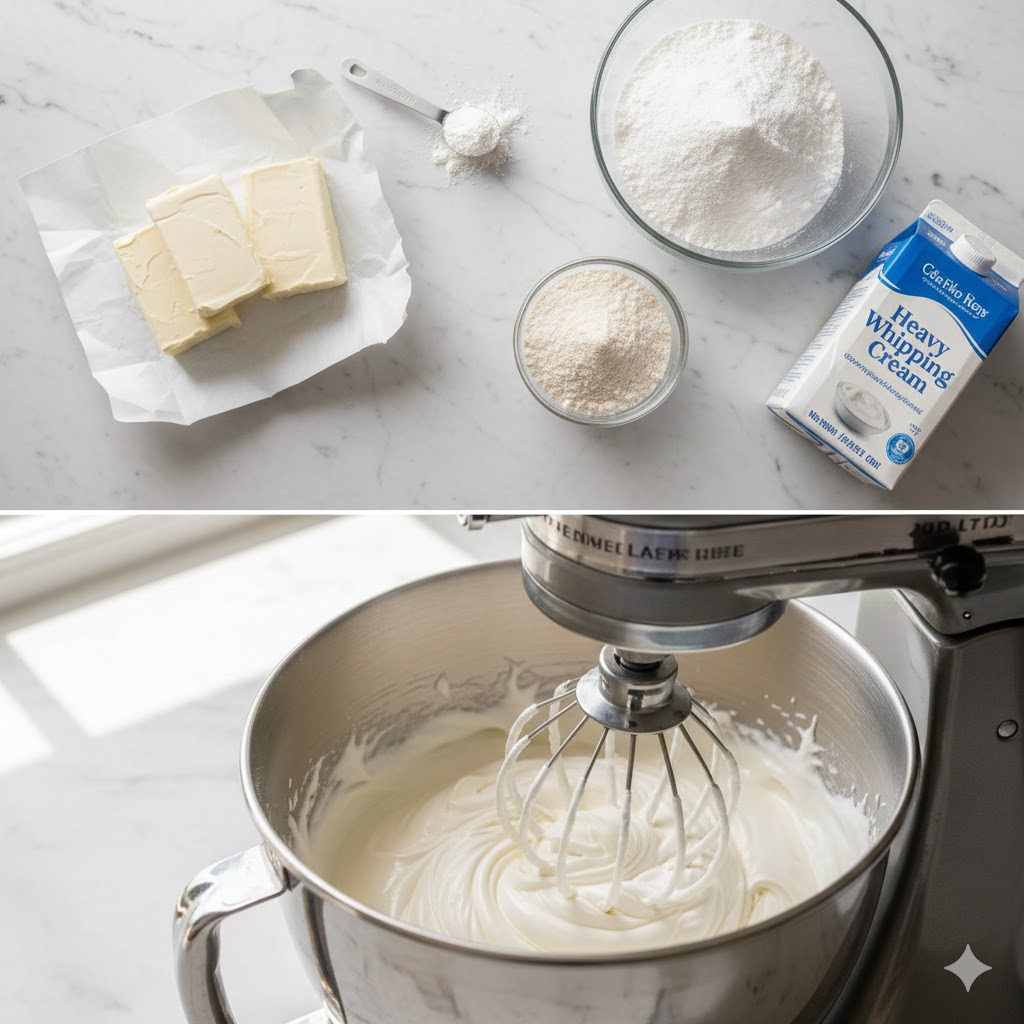
- Cream Cheese: Full-fat cream cheese, softened to room temperature. This is essential for a smooth filling.
- Sweetener: Powdered Erythritol/Monk Fruit blend. Powdered dissolves better and prevents graininess.
- Heavy Cream: Cold heavy whipping cream. This is whipped separately to give the filling volume.
- Flavor: Vanilla extract and a squeeze of fresh lemon juice (brightens the flavor!).
Tools & Kitchen Gadgets Used
Since we aren’t baking, we need some serious whipping power to achieve that perfect creamy volume.
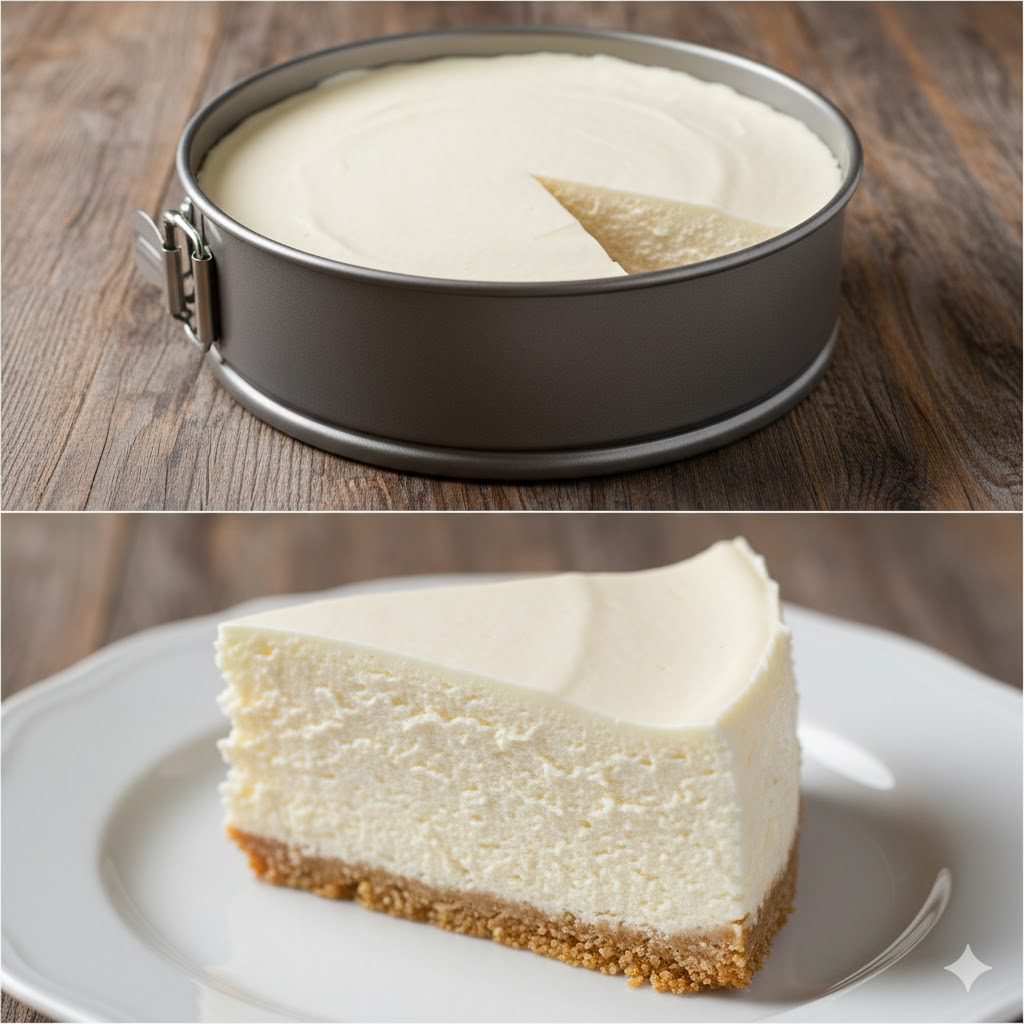
- Springform Pan: A 9-inch springform pan is ideal for easy serving. Line the bottom with parchment paper!
- Electric Hand Mixer or Stand Mixer: Mandatory for whipping the heavy cream. You will never achieve the necessary volume with a whisk, trust me.
- Large Mixing Bowls: Two are needed—one for the crust, one for the filling.
- Rubber Spatula: For scraping the sides and gently folding.
- Measuring Cups and Spoons: Precision matters, even when ditching flour.
- Food Processor (Optional): For pulsing the crust ingredients together quickly.
Step-by-Step Instructions
This recipe is simple: Crust, Cream, Chill. Patience is the hardest ingredient here.
1. Make the Crust
Preheat your oven to 350°F (175°C). In a medium bowl, combine the almond flour and melted butter. Stir until it resembles wet sand. Press the mixture firmly and evenly into the bottom of the springform pan. Bake for 8-10 minutes until lightly golden. Remove and let it cool completely while you make the filling.
2. Whip the Heavy Cream
In a clean, separate bowl, pour the cold heavy cream. Using the electric mixer, beat the cream on high speed until stiff peaks form. This creates the air and volume necessary for the fluffy filling. Set aside.
3. Cream the Cheese Base
In the large mixing bowl, beat the softened cream cheese, powdered sweetener, vanilla extract, and lemon juice until the mixture is completely smooth and fluffy. Scrape down the sides often. There should be zero lumps remaining.
4. Fold the Filling
Gently fold the whipped heavy cream into the cream cheese mixture using a spatula. Use a cutting and lifting motion to incorporate the cream without deflating the air. Stop folding as soon as no white streaks remain. The filling should be light and voluminous.
5. Chill Out
Pour the filling over the cooled crust in the springform pan. Smooth the top with a spatula. Cover the pan tightly and transfer it to the refrigerator. Chill for at least 6-8 hours, or preferably overnight. The chilling time is crucial for the filling to fully set.
6. Slice and Serve
Once set, run a thin, warm knife around the edge before releasing the springform. Slice, top with fresh berries or sugar-free chocolate shavings, and enjoy your triumph.
Calories & Nutritional Info
This cheesecake is built on high-fat ingredients, making it ideal for keto maintenance and indulgence. (Estimates based on 12 servings):
- Net Carbs: ~4g net carbs per slice
- Calories: ~350 kcal per slice
- Fats: High, predominantly from the cream cheese and heavy cream. Excellent for meeting daily fat targets.
- Protein: Good source, around 7g per slice.
- Gluten-Free: Naturally gluten-free.
Common Mistakes to Avoid
The goal is velvet, not gritty mush. Avoid these common keto cheesecake blunders!
- Not Softening the Cream Cheese: If the cream cheese is cold, the filling will be lumpy and grainy. Ensure it is truly room temperature before mixing.
- Using Granulated Sweetener in the Filling: Granulated sweeteners won’t dissolve properly in cold cream cheese, leading to a gritty texture. Use powdered sweetener for a smooth filling.
- Not Whipping the Cream Enough: Under-whipped heavy cream won’t provide the necessary structure, resulting in a flat, runny filling. Whip to stiff peaks!
- Slicing Too Soon: The chilling time is mandatory. The filling needs hours to solidify and set its final structure. Chill overnight for the best result.
- Wetting the Crust: Don’t pour the filling over a hot crust! The crust must be completely cool before adding the filling, or the butter will melt and the crust will become soggy.
Variations & Customizations
This is a fantastic vanilla base. Here are three simple ways to change the flavor profile.
The Peanut Butter Dream
Add 1/2 cup of smooth, sugar-free peanut butter to the cream cheese mixture (Step 3). Reduce the sweetener slightly to account for the peanut butter’s taste. Garnish with chopped peanuts.
The Chocolate Swirl
Melt 1/4 cup of sugar-free dark chocolate chips. Swirl the melted chocolate into the finished filling after folding the whipped cream. Do not over-mix; you want marble streaks.
The Berry Topping
Make a quick berry sauce: simmer 1 cup of frozen mixed berries with 1/4 cup of water and 1 tablespoon of powdered sweetener until thickened. Cool completely, then spoon over individual slices before serving.
FAQ Section
Why is my no-bake keto cheesecake grainy? The most common cause is granulated sweetener or cold, lumpy cream cheese. Ensure you use powdered sweetener and that the cream cheese is fully softened.
Can I use a different crust? Yes. You can use a mix of almonds and pecans, or even crushed pork rinds mixed with butter for a super-savory, zero-carb crust option.
How do I prevent the crust from sticking to the pan? Line the bottom of the springform pan with parchment paper. This makes removal completely effortless.
How long does keto cheesecake last in the fridge? Stored in an airtight container, this cheesecake lasts beautifully for 5-7 days in the refrigerator.
Can I freeze keto cheesecake? Yes! Wrap the completely chilled, whole cheesecake tightly in plastic wrap, then aluminum foil. Freeze for up to 2 months. Thaw overnight in the refrigerator before serving.
Can I bake this cheesecake? This is a no-bake recipe; the ratios are different from a traditional baked cheesecake. Baking this formula would result in a flat, dense texture. Stick to chilling!
What is the best sugar substitute for the filling? Powdered erythritol or monk fruit blend is the best choice because it dissolves completely, preventing a grainy texture.
Final Thoughts
You conquered dessert! You created a lusciously creamy, low-carb keto cheesecake without turning on the oven or battling a cracked top. Go ahead, grab a massive slice. You proved that sticking to your macros doesn’t mean sacrificing dessert decadence. Now, what holiday can we justify making this for next? Every holiday, IMO.