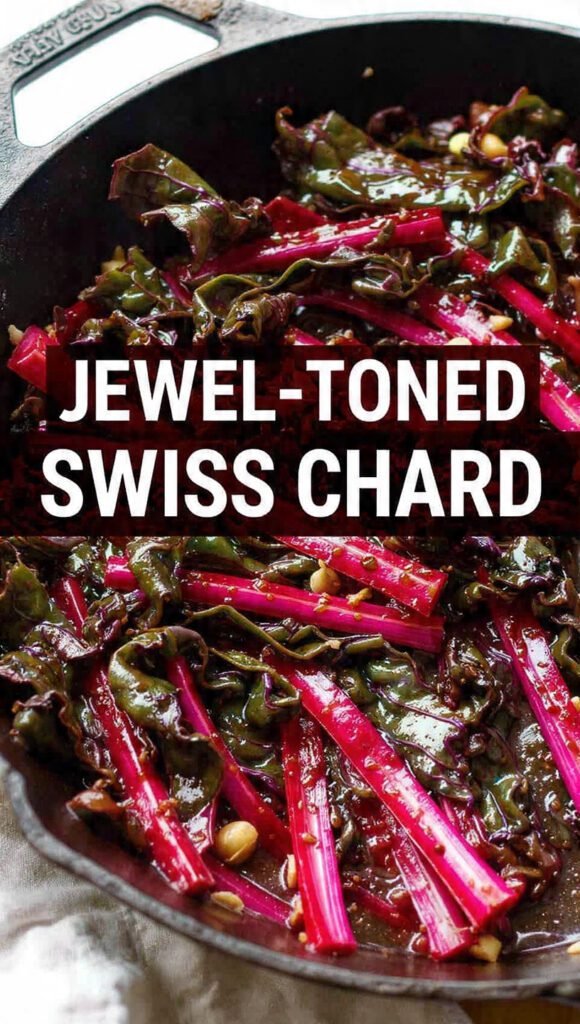
Jewel-Toned Swiss Chard: The Easiest Way to Cook the Prettiest Leafy Green
Let’s be honest, kale got all the hype, but Swiss Chard is the real queen of the leafy greens. Especially the magnificent, multi-colored kind—it looks like someone bedazzled a vegetable. We are talking about Jewel-toned swiss chard, and it is ridiculously easy to cook perfectly: tender, not slimy, and bursting with garlic and lemon.

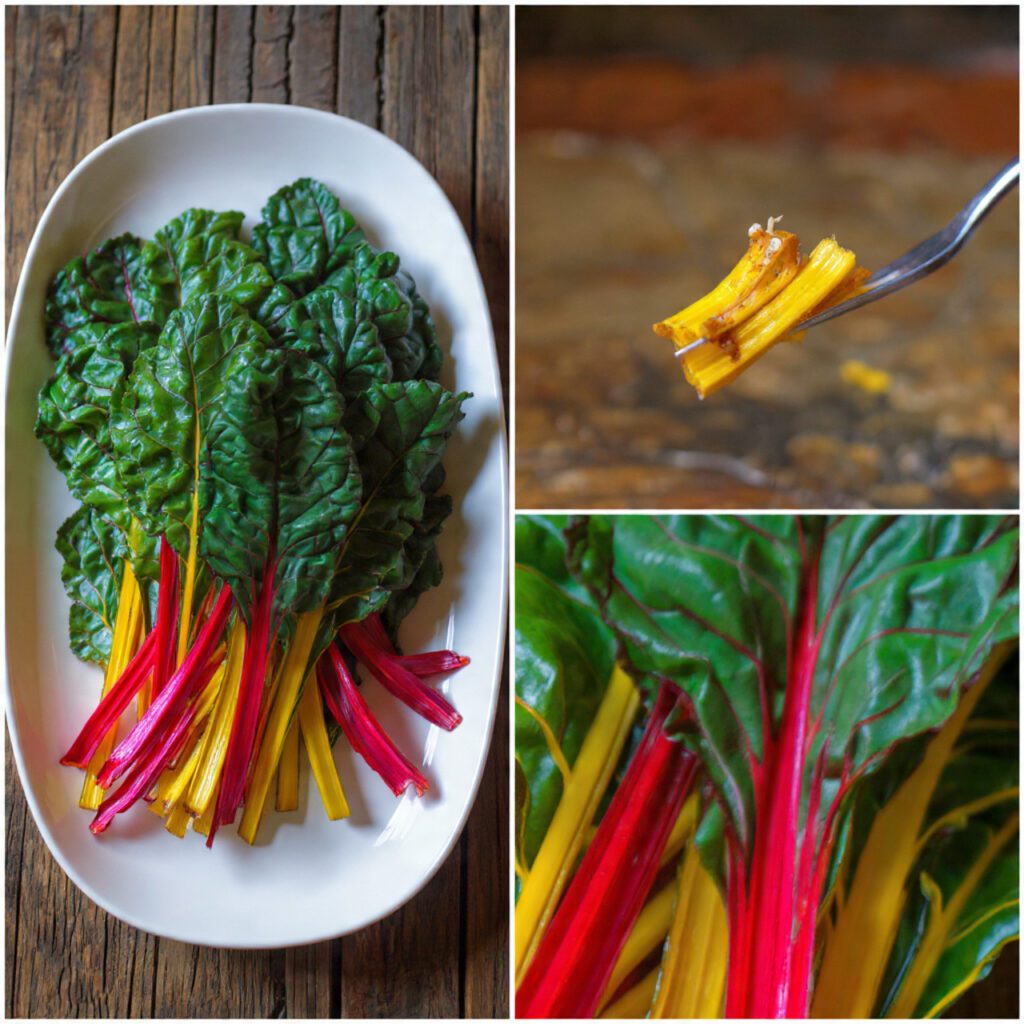
If you’ve only ever served sad, pale green sides, prepare for a revolution. The colorful stems (ruby red, golden yellow, bright pink) not only look gorgeous, but they provide a satisfying, mild crunch that contrasts beautifully with the tender leaves. This side dish is fast, healthy, and instantly elevates any dinner. Seriously, why eat boring greens when you can eat edible art?
Why This Jewel-Toned Swiss Chard Is Awesome (Vibrancy, Texture, and Speed)
This recipe is the ultimate low-effort, high-impact side dish. Here’s why you need to put chard in your cart.
First, The Stunning Visuals. The magic is in the stalks. By separating the colorful stalks from the leaves and cooking them first, they retain their jewel tones. This makes the finished dish look incredibly vibrant and chic. Why serve monotone green when you can serve a rainbow of stems?
Second, The Perfect Texture Play. Swiss Chard has two distinct parts: the thick, crunchy, slightly celery-like stems and the silky, tender leaves. We cook them separately and then combine them, ensuring both parts are cooked to their perfect texture. IMO, a perfect green side should offer a crunch and a wilt.
Third, The Nutrient Powerhouse. Like all dark, leafy greens, Swiss Chard is packed with vitamins A, C, and K, plus a good dose of fiber. It’s naturally low-calorie, making this a healthy and guilt-free addition to any meal. TBH, this is my favorite way to trick myself into eating superfoods.
The Goods: Ingredients You Need
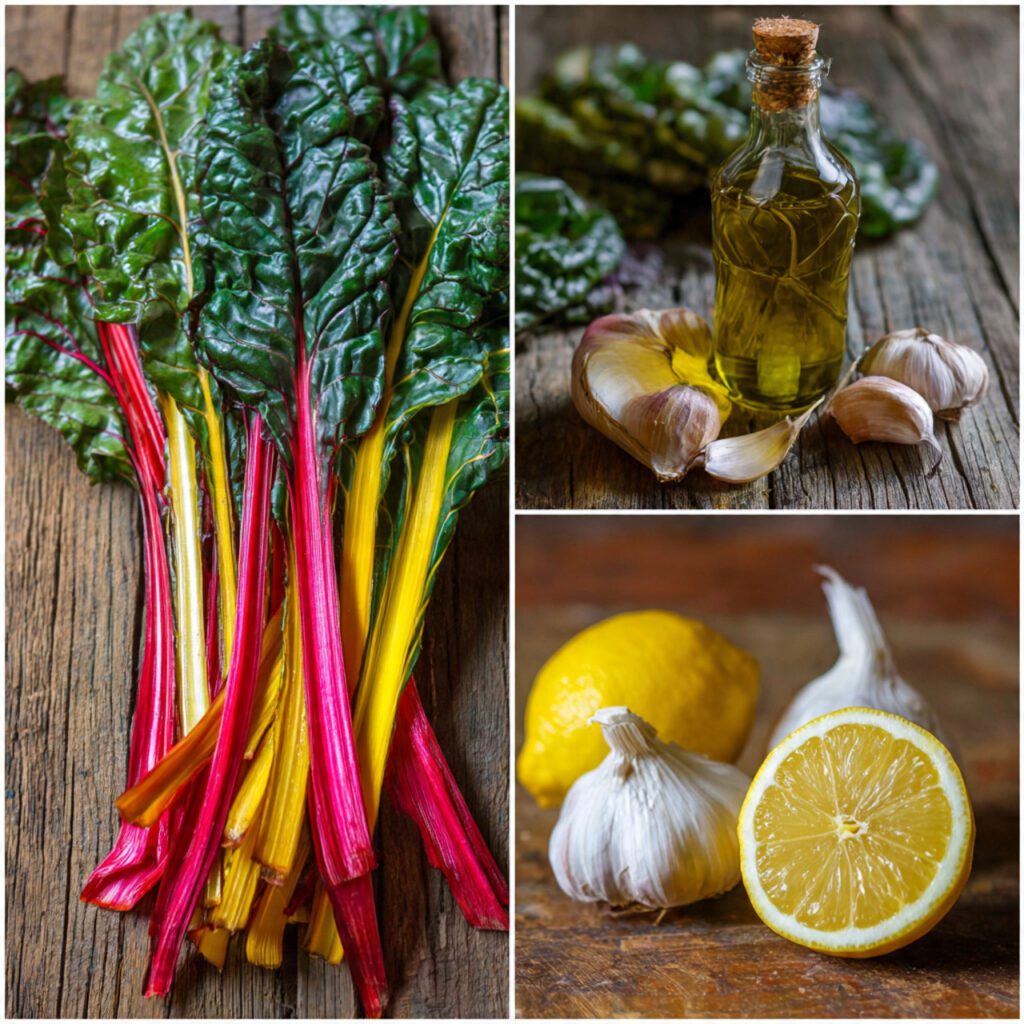
Focus on the freshest bunch of rainbow chard you can find! The simpler the ingredients, the more the quality shines.
- The Star Green:
- 1 large bunch Jewel-toned swiss chard (or Rainbow Chard).
- The Flavor Base (The Savory Foundation):
- 2 tablespoons Olive Oil (Extra Virgin).
- 3 cloves Garlic, minced (don’t be shy!).
- 1/4 teaspoon Red Pepper Flakes (optional, for a little heat).
- Salt and Freshly Ground Black Pepper.
- The Finish (The Brightener):
- 1 tablespoon Lemon Juice, fresh squeezed (essential for cutting the bitterness).
- 1 tablespoon Pine Nuts or Slivered Almonds, toasted (for extra crunch!).
H3 Key Substitutions (The Mix-Up)
- No Swiss Chard? Use a blend of Kale (destemmed) and Beet Greens. The beet greens provide the reddish stems and the kale provides the tough, dark leaf structure.
- Pine Nut Swap: Use chopped walnuts or pecans for a different, rustic crunch, or omit for a nut-free version.
- Acid Swap: Use red wine vinegar or balsamic vinegar instead of lemon juice for a deeper, more savory finish.
Tools & Kitchen Gadgets Used (The Sauté Solution)
You need a large, wide pan for this recipe. Greens wilt down significantly, but they start out bulky!
- Large Skillet or Sauté Pan (Mandatory): A wide pan ensures the greens wilt evenly without steaming.
- Sharp Chef’s Knife and Cutting Board: For separating the leaves and stems and mincing the garlic.
- Colander: For washing the greens thoroughly.
- Tongs: The best tool for turning and tossing the chard while sautéing.
- Small Frying Pan: For quickly toasting the pine nuts.
Step-by-Step Instructions (Separate, Sauté, Serve)
The secret to perfect Swiss Chard is the staggered cooking method. The stems need more time than the tender leaves.
H3 Step 1: Prep the Chard (Separate But Equal)
- Wash the Swiss Chard thoroughly. This is crucial; chard holds dirt!
- Use your sharp knife to separate the leaves from the colored stems.
- Roughly chop the leaves into 1-inch ribbons.
- Slice the stems into 1/2-inch pieces. Keep the stems and leaves in separate piles.
H3 Step 2: Sauté the Stems (The Crunch Cook) (5 mins)
- Heat the olive oil in your large skillet over medium heat.
- Add the sliced stems and minced garlic and red pepper flakes. Season lightly with salt and pepper.
- Sauté for 3–5 minutes, stirring occasionally. You want the stems to soften slightly and the garlic to become fragrant. Don’t let the garlic burn!
H3 Step 3: Wilt the Leaves (The Quick Finish) (2 mins)
- Add the chopped chard leaves to the skillet. They will look enormous!
- Sauté for 1–2 minutes, tossing constantly with tongs. The leaves will wilt down dramatically.
- Remove the skillet from the heat immediately once the leaves are wilted but still bright green. Do not overcook the leaves, or they will turn slimy.
H3 Step 4: Finish and Serve
- Transfer the chard to a serving platter.
- Squeeze the fresh lemon juice over the entire dish. The acid brightens the flavor and cuts the natural bitterness of the greens.
- Sprinkle the toasted pine nuts over the chard just before serving for that essential final crunch.
- Serve hot!
Calories & Nutritional Info (The Vitamin Powerhouse)
This side dish is incredibly low-calorie and high in essential nutrients, making it a perfect healthy side.
- Estimated Calories Per Serving (1/4 of recipe): ~100–150 calories. (Mostly from the olive oil and nuts).
- Rich in Vitamins A, C, and K: Swiss Chard is a fantastic source of these vitamins.
- Antioxidants: The colorful stems and dark leaves are packed with antioxidants.
- Fiber Content: High in dietary fiber.
- Keto/Low-Carb: Naturally fits both plans.
- Low Sodium: We control the salt content in the cooking.
Common Mistakes to Avoid (The Slime Factor)
Cooking chard is fast, but you must respect the leaf/stem differences to prevent textural issues.
- Forgetting to Separate Stems and Leaves: Stems require 3-5 minutes of cooking; leaves require 1-2 minutes. You must separate and stagger the cooking to achieve the perfect texture.
- Overcrowding the Pan: If your pan is too small, the leaves will steam instead of sauté. Use a wide skillet to allow the moisture to evaporate quickly.
- Overcooking the Leaves: Cooking the leaves for too long breaks down the cell structure, leading to a slimy, unpleasant texture. Remove the pan from the heat the second they wilt.
- Burning the Garlic: Garlic cooks very fast, especially with the high heat needed for the stems. Keep the heat medium and watch the garlic closely during Step 2.
Variations & Customizations (Flavor Upgrades)
Use the garlic-sautéed chard base to accommodate any cuisine.
- Bacon & Balsamic Glaze: Render 1/4 cup of chopped bacon in the skillet before Step 2. Remove the bacon bits. Cook the stems in the bacon fat. Toss the finished chard with the bacon and a drizzle of balsamic glaze.
- Spicy Asian Sesame: Swap the olive oil for toasted sesame oil. Replace the lemon juice with rice vinegar and a dash of soy sauce. Add a tiny bit of fresh ginger (minced) along with the garlic. Top with toasted sesame seeds.
- Creamy Cheese Finish (Vegetarian Swap): After removing the chard from the heat, stir in 2 tablespoons of soft goat cheese or cream cheese. The cheese melts into the warm greens, creating a savory, creamy finish.
FAQ Section (The Chard Conundrum)
People often ask about the taste and bitterness of Swiss Chard.
- Q: Does Swiss Chard taste like spinach or kale?
- A: It is milder than kale but slightly stronger and earthier than spinach. The stems are milder than the leaves. The lemon juice and garlic perfectly cut the slight bitterness.
- Q: Is it okay to eat the colorful stems?
- A: Yes! The stems are perfectly edible. They are slightly crunchy, sweet, and mild, with a texture similar to celery hearts.
- Q: Should I use only the leaves?
- A: No! The stems are the secret to this recipe’s amazing texture contrast and color. Trim and cook them first!
- Q: How long will the cooked chard last as leftovers?
- A: Leftovers are best eaten within 2–3 days. Reheat them quickly on the stovetop; microwaving can result in a mushy texture.
- Q: My chard tastes bitter. What went wrong?
- A: Chard can be naturally bitter. Ensure you add enough lemon juice or a little sugar/honey to the final dish. Cooking it in fat (olive oil) also helps neutralize the bitterness.
- Q: Can I use frozen Swiss Chard?
- A: Use frozen chard for soups or stews, but not for this sauté recipe. Frozen chard is too watery and will result in a slimy, steamed texture.
- Q: What is the best way to clean all the dirt off the chard?
- A: Fill a large bowl with cold water. Submerge the chard and swish it around vigorously. Lift the chard out and dump the water. Rinse twice until the bottom of the bowl is free of sand/dirt.
Final Thoughts (The Green Gourmet)
You took a humble vegetable, respected its separate parts, and created a stunning, vibrant, and utterly delicious side dish. That Jewel-toned swiss chard is proof that the simplest recipes can be the most beautiful. You are officially a master of magnificent greens.
Go ahead, enjoy that final, garlicky, lemon-kissed bite. Did you realize eating chard could be this chic? I bet you’ll never look at pale spinach again. Now, what colorful vegetable are you sautéing next?