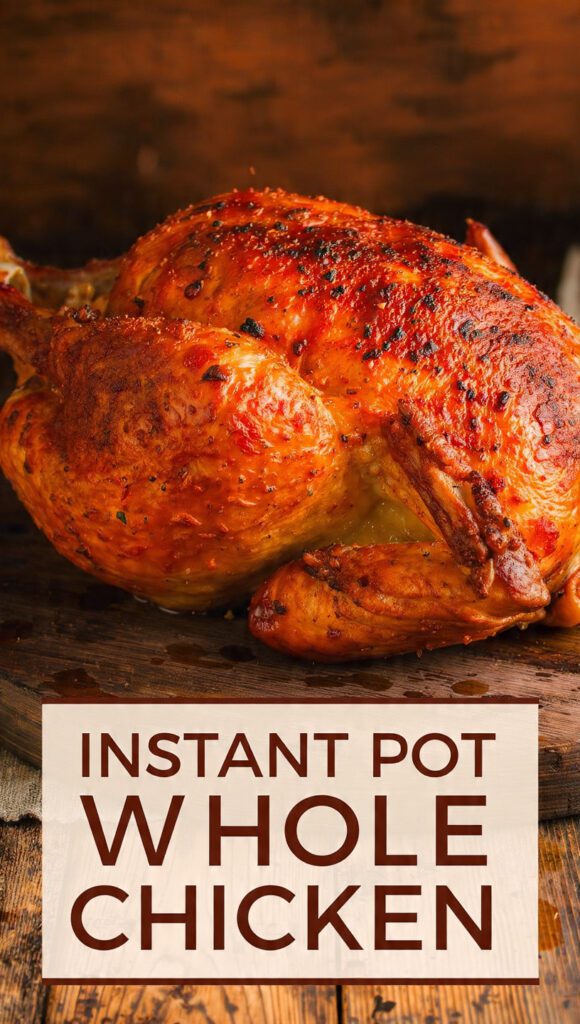
Instant Pot Whole Chicken: The 30-Minute Secret to Juiciness (Plus Crispy Skin Hack)
Let’s be honest, roasting a whole chicken in the oven is a beautiful tradition that takes 90 minutes you probably don’t have. And those supermarket rotisserie chickens? Delicious, but you didn’t make it! It’s time to take control and make the juiciest, most tender Instant Pot whole chicken in a fraction of the time.

This isn’t just about speed; it’s about harnessing the power of pressure cooking to infuse flavor and guarantee an incredibly moist interior. We’ll show you how to cook the whole bird in under 30 minutes and share the genius optional hack for getting that coveted, golden, crispy skin finish. Get ready to banish dry meat forever and serve a spectacular, effortless dinner. Seriously, why wait 90 minutes when you can have a whole roasted bird in 30?
Why This Instant Pot Whole Chicken Is Awesome (Juiciness, Speed, and Versatility)
The Instant Pot method transforms a tough, time-consuming roast into a weeknight possibility.

First, Unbelievable Juiciness. The pressure cooking environment creates steam, forcing moisture deep into the meat fibers. This means even the lean white breast meat comes out ridiculously tender and moist—something the oven often fails to deliver. IMO, the Instant Pot is the only way to guarantee a non-dry chicken breast.
Second, Blazing Fast Cook Time. A standard 4-pound chicken cooks in about 25-30 minutes (plus pressure build-up time). You eliminate hours of roasting, making this a practical weeknight meal. Why babysit the oven when the pressure cooker does the job in half the time?
Third, The Two-Step Crispy Skin Hack. While the Instant Pot is amazing, it produces pale skin (sorry, it steams). We solve this with a quick 5-minute broiler blast at the end. You get moist meat and crispy skin—the best of both worlds! TBH, achieving crispy skin is the final victory.
The Goods: Ingredients You Need
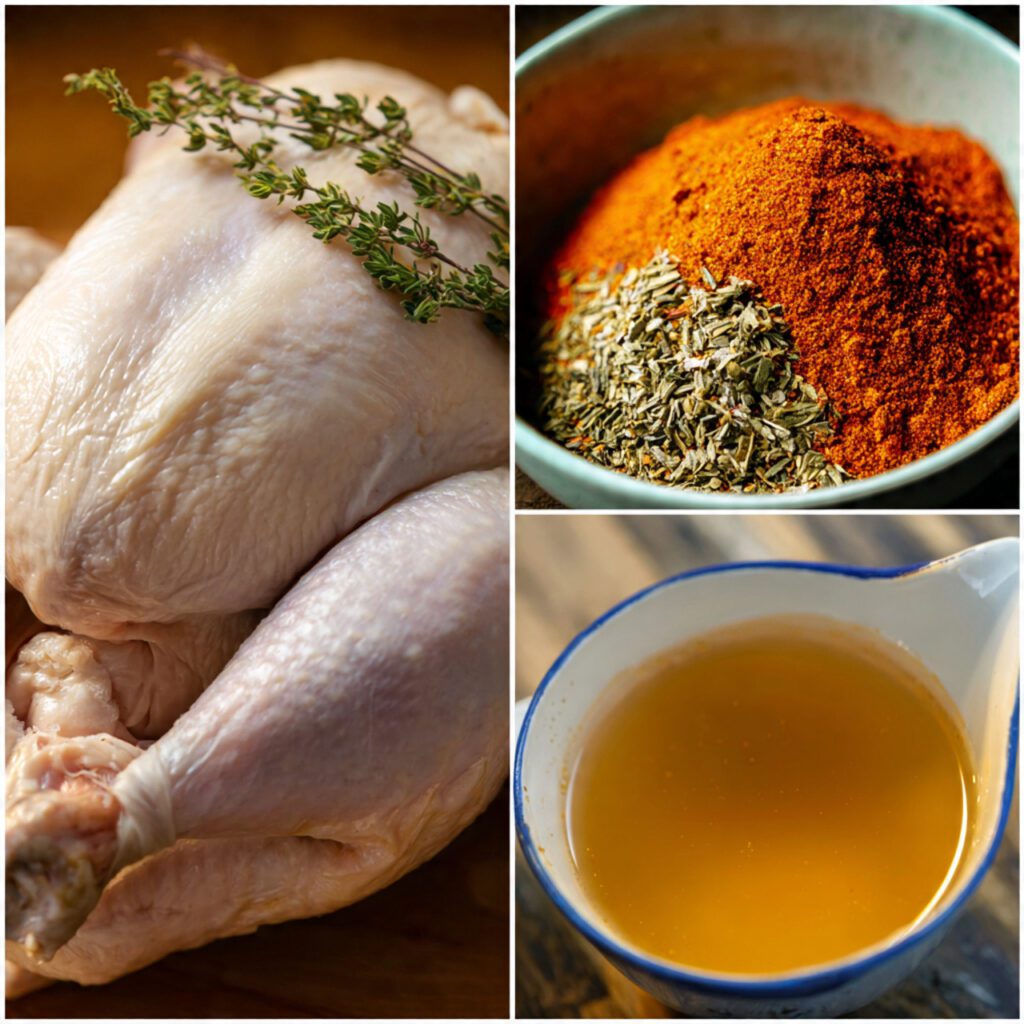
Focus on a smaller bird (it needs to fit the pot!) and a bold, classic seasoning mix that works well for any cuisine.
- The Protein Core:
- 1 (3–4 lb) Whole Chicken (ensure it fits your Instant Pot!).
- The Dry Rub (The Flavor Bomb):
- 1 tablespoon Olive Oil (for rubbing).
- 1 tablespoon Smoked Paprika.
- 1 teaspoon Onion Powder.
- 1 teaspoon Garlic Powder.
- 1 teaspoon Dried Thyme or Rosemary.
- 1 teaspoon Salt and 1/2 teaspoon Black Pepper.
- The Pot Liquid (The Steamer):
- 1 cup Chicken Broth (low sodium, essential for pressure).
- The Optional Finisher (The Crisp Hack):
- 1 tablespoon Butter, melted.
H3 Key Substitutions (The Pressure Cooker Swap Guide)
- Chicken Size: If you have a larger bird (5–6 lbs), cut it into halves or quarters before cooking to ensure even pressure cooking and to fit the pot. Increase cook time by 5 minutes.
- Broth Substitute: Use water instead of broth, but increase the salt/seasoning slightly. Dry white wine or hard cider also works well for a gourmet touch.
- Seasoning Swap: Use a BBQ rub (brown sugar, chili powder, cumin) or a lemon-herb blend (extra lemon zest, fresh rosemary).
Tools & Kitchen Gadgets Used (The Pressure Cooker Power)
You need the Instant Pot and the crucial tool for keeping the chicken out of the liquid.
- Instant Pot (6-Quart or Larger): MANDATORY! Ensure your chicken fits inside the inner pot without touching the lid.
- Trivet/Steamer Rack (Mandatory): CRUCIAL! This keeps the chicken elevated out of the cooking liquid, allowing it to steam evenly.
- Large Mixing Bowl: For tossing the chicken with the dry rub.
- Sharp Knife and Cutting Board: For trimming excess fat.
- Pastry Brush (Optional): For applying the melted butter before broiling.
- Instant-Read Meat Thermometer: MANDATORY! To check doneness (165°F / 74°C).
Step-by-Step Instructions (Rub, Seal, and Broil)
The trick to a whole chicken in the Instant Pot is the elevated position and the final crispy step.
H3 Step 1: Prep and Rub the Bird (The Flavor Prep)
- Remove the chicken from the packaging. Crucially, remove the giblets and neck from the cavity. Pat the chicken thoroughly dry with paper towels.
- In the small bowl, mix all the dry rub ingredients (paprika, powders, herbs, salt, and pepper) with the olive oil until a paste forms.
- Rub the seasoning paste all over the exterior of the chicken.
H3 Step 2: Pressure Cook (The Quick Steam)
- Pour the 1 cup of chicken broth into the Instant Pot liner.
- Place the trivet/steamer rack inside the pot.
- Carefully place the seasoned whole chicken breast-side up onto the trivet. The chicken must be elevated out of the liquid.
- Secure the lid. Turn the valve to Sealing. Press the Manual/Pressure Cook button and set the time for 6 minutes per pound of chicken (e.g., 4 lb chicken = 24 minutes).
H3 Step 3: Natural Release and Rest (The Juiciness Secret)
- Once the cooking time finishes, allow the pressure to Natural Pressure Release (NPR) for 10 minutes.
- After 10 minutes, turn the valve to the Venting position (Quick Release/QR) to release the remaining pressure.
- Carefully remove the chicken using the trivet handles. Place it on a baking sheet. Check the internal temperature—it must read 165°F (74°C) in the thickest part of the thigh.
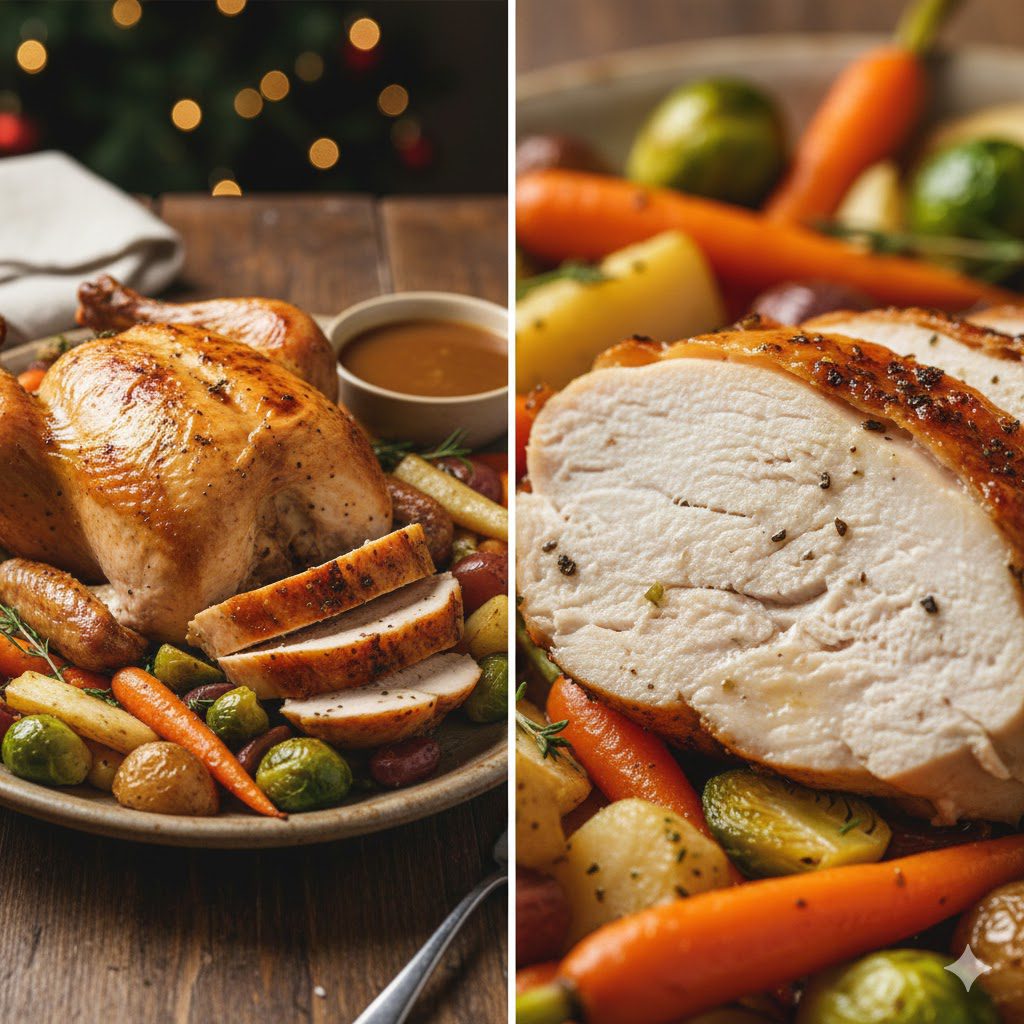
H3 Step 4: Broil for Crispy Skin (The Golden Finish) (5 mins)
- Preheat your oven’s Broiler to High.
- Brush the entire surface of the chicken with melted butter (or olive oil).
- Place the chicken under the broiler for 4–6 minutes, watching constantly! The skin goes from golden to burnt quickly. Pull it out when the skin is deep golden brown and crispy.
- Let the Instant Pot whole chicken rest for 10 minutes before carving and serving.
Calories & Nutritional Info (Lean Protein Power)
A whole chicken is a fantastic source of protein, and the high-pressure method helps retain moisture without adding excessive fat. This estimate is for a 4oz serving of breast meat (without skin).
- Estimated Calories Per 4oz Serving (Breast, no skin): ~180–220 calories.
- Very High in Lean Protein: Chicken breast is a staple lean protein source.
- Low in Carbohydrates: Naturally keto-friendly.
- Iron and B Vitamins: Provides essential nutrients.
- Satiety Factor: High protein ensures sustained fullness.
Common Mistakes to Avoid (The Poultry Pitfalls)
The pressure cooking of a whole bird has unique challenges that must be respected.
- Using a Chicken That’s Too Large: If the chicken touches the lid, the pot won’t seal properly. Do not use a chicken larger than 4.5 pounds in a standard 6-quart Instant Pot.
- Skipping the Trivet: The trivet keeps the chicken out of the liquid. Cooking the chicken in the liquid results in a boiled texture, not a steamed/roasted one. Always elevate the chicken.
- Quick Release (QR) Immediately: QR causes the internal moisture to rush out, drying the chicken. Use 10 minutes of Natural Pressure Release (NPR) for juicy results.
- Forgetting to Pat it Dry: The dry skin allows the rub to stick and ensures the skin crisps faster under the broiler. Pat the bird dry!
Variations & Customizations (Flavor Upgrades)
Change the dry rub to transform this chicken into a base for any global cuisine.
- Rotisserie BBQ Chicken: Replace the Italian rub with a generous coating of BBQ dry rub (brown sugar, smoked paprika, chili powder). Serve with BBQ sauce on the side after slicing.
- Peruvian Aji Verde Chicken (Spicy Version): Use a rub of cumin, turmeric, and garlic powder. Serve the finished chicken with a side of creamy Aji Verde sauce (blended jalapeños, cilantro, feta, and mayonnaise).
- Lemon Herb Mediterranean Chicken: Stuff the cavity with sliced lemons, garlic cloves, and fresh rosemary sprigs before cooking. This infuses the chicken with bright, fresh flavor.
FAQ Section (The Pressure Cooker Q&A)
People always wonder about the speed and safety of pressure cooking a whole bird.
- Q: Is 6 minutes per pound enough time to cook a whole chicken safely?
- A: Yes! The pressure cooking process forces the temperature well above boiling point. The 24 minutes of pressure time plus the 10-minute NPR ensures the internal temperature safely reaches 165°F (74°C).
- Q: Why does the recipe suggest cutting the chicken if it’s too big?
- A: The chicken must fit inside the pot without touching the lid. If it touches the lid, the pot won’t seal properly, and you risk a safety failure.
- Q: Can I skip the broiler step?
- A: Yes, but the skin will be pale and soft. The broiler step is only for aesthetics and texture (crisp skin). The chicken is fully cooked after the Instant Pot cycle.
- Q: What can I do with the liquid left in the pot?
- A: The liquid is incredible chicken broth/jus! Use it as a base for gravy (thicken it with cornstarch) or reserve it for soup stock.
- Q: How long does the cooked chicken last for meal prep?
- A: The chicken (sliced or shredded) lasts in the refrigerator for 3–4 days. Store meat slices in a little of the broth to keep them moist.
- Q: Can I use this for chicken salad?
- A: Yes! The meat is so tender, it shreds perfectly. Shred it and mix it with mayo, celery, and onion for an easy lunch.
- Q: My skin is burning under the broiler. Help!
- A: Move the baking sheet to a lower rack in the oven, or reduce the broiler time to 3-4 minutes. You must watch it constantly!
Final Thoughts (The Roasting Renegade)
You conquered the pressure, defeated the dry breast meat, and created a spectacular roast in under an hour. That perfectly seasoned, juicy bird is proof that the Instant Pot whole chicken is the ultimate shortcut to comfort food greatness. You are officially the Roasting Renegade.
Go ahead, enjoy that tender, juicy slice. Did you realize roasting a whole bird could be this easy and fast? I bet you’ll be making chicken stock with the carcass immediately. Now, are you serving this with mashed potatoes or rice?