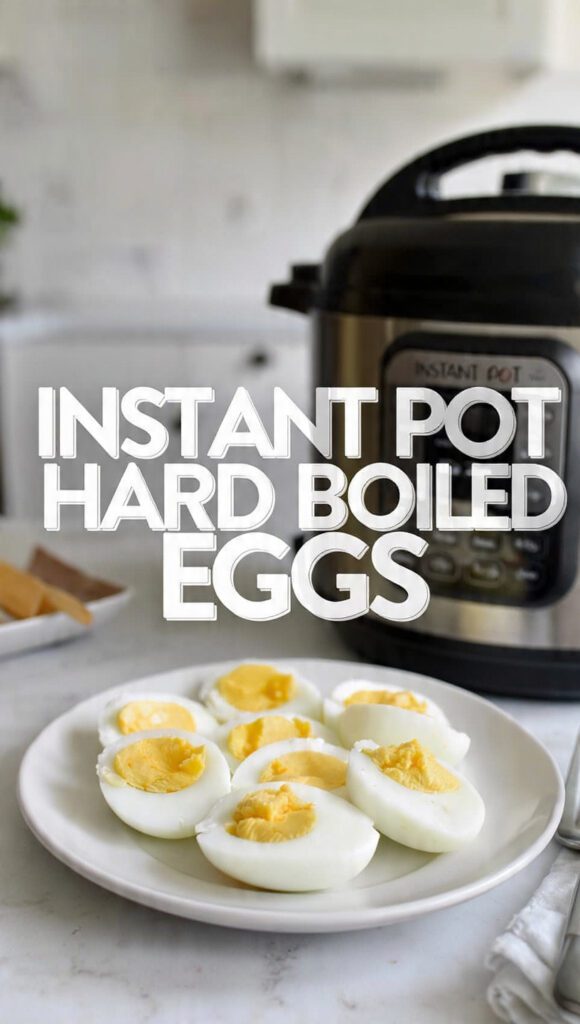
Instant Pot Hard Boiled Eggs: The Genius 5-5-5 Method for Perfect Peeling
Let’s be honest, making hard boiled eggs on the stovetop is a stressful lottery. You either get a perfect sphere or a cracked, green-rimmed, impossible-to-peel disaster. You deserve better than fighting with shell shards on a Monday morning. That’s why the Instant Pot hard boiled eggs method is the only way you should ever cook eggs again.
This isn’t just about cooking; it’s about culinary magic. We use the famous 5-5-5 method—5 minutes cook time, 5 minutes pressure release, 5 minutes ice bath—to guarantee eggs that are perfectly cooked and, crucially, peel effortlessly every single time. Get ready to banish the green ring and conquer your meal prep. Seriously, why peel and fight when you can just slide the shell right off?
Why Instant Pot Hard Boiled Eggs Are Awesome (Peeling Magic, Consistency, and Speed)
The pressure cooker method eliminates the most frustrating part of the process: the peeling.
First, The Easiest Peeling Ever. The subtle pressure differential created by the Instant Pot slightly separates the membrane from the shell during cooking. This guarantees eggs that peel like a dream, often requiring just a quick tap to slide the shell off in large pieces. Why fight the shell when you can just slip it off?
Second, Perfect, Consistent Results. Whether you want jammy yolks, soft boiled, or classic hard boiled, the Instant Pot delivers precise, repeatable results. No more guessing about the boil duration or adjusting for altitude. IMO, a hard-boiled egg should never have a green ring around the yolk.
Third, Ultimate Set-It-and-Forget-It. You put the eggs and water in the pot, seal it, and walk away. There is no watching for the water to boil or adjusting the simmer. This makes meal prepping a huge batch of eggs simple and stress-free. TBH, the less time I spend monitoring a pot, the more eggs I make.
The Goods: Ingredients You Need
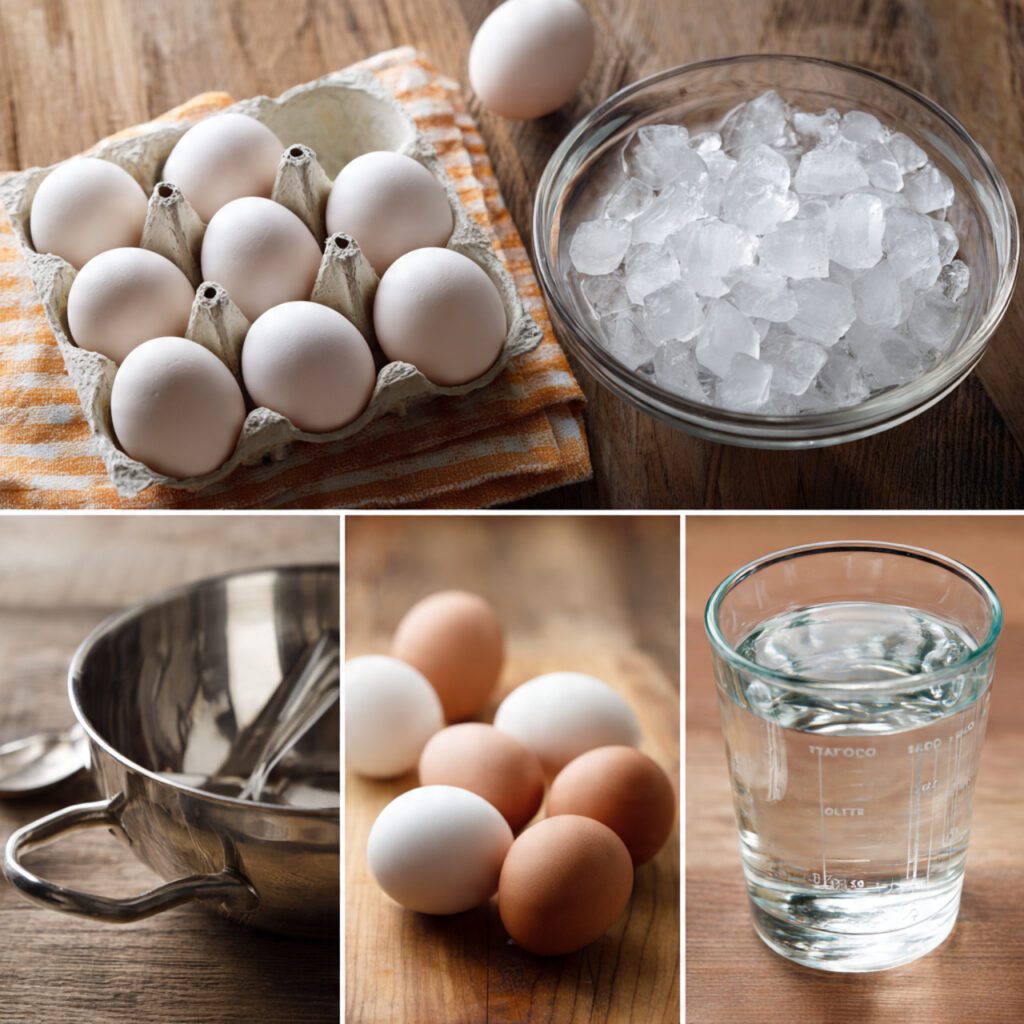
This recipe uses minimal ingredients, proving that simple is often best, especially when the tool does the heavy lifting.
- The Protein Core:
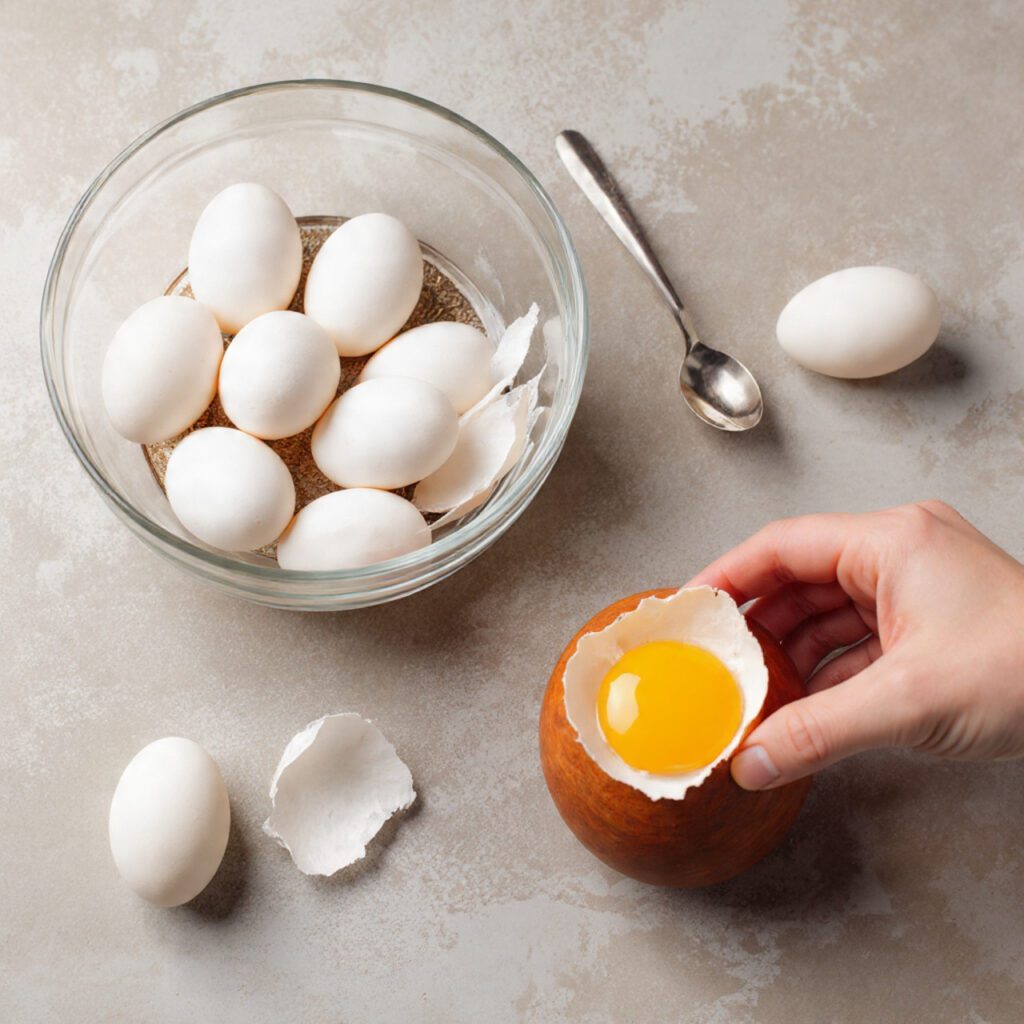
- 6–12 large Eggs (use eggs straight from the fridge!).
- The Liquid Base:
- 1 cup Cold Water (essential for creating steam/pressure).
H3 Key Substitutions (The Egg Mix-Up)
- Egg Type Swap: Use duck eggs instead of chicken eggs. Increase the cook time slightly (add 1 minute) due to their larger size and thicker shell.
- Liquid Substitute: You must use water to create the steam. Do not use milk or broth!
- Optional Additive: Add 1/2 teaspoon of white vinegar to the water. Some argue the acidity helps prevent cracking, though the Instant Pot is reliable enough without it.
Tools & Kitchen Gadgets Used (The Egg Arsenal)
You only need the Instant Pot and the crucial accessories for handling the eggs.
- Instant Pot (or other Electric Pressure Cooker): MANDATORY! The vessel for consistent steaming.
- Trivet/Steamer Rack: CRUCIAL! This keeps the eggs elevated above the water, allowing them to steam perfectly.
- Slotted Spoon or Tongs: For safely transferring the hot eggs to the ice bath.
- Large Bowl of Ice Water (Ice Bath): MANDATORY! The cold shock stops the cooking process instantly.
Step-by-Step Instructions (The Famous 5-5-5 Method)
This is the famous method that guarantees perfect, peelable eggs every single time.
H3 Step 1: Prep the Pot and the Eggs
- Pour the 1 cup of cold water into the Instant Pot liner.
- Place the trivet/steamer rack inside the pot.
- Carefully arrange the eggs (6 to 12) on the trivet. They can touch, but do not stack them excessively. Use eggs straight from the fridge!
H3 Step 2: Seal and Cook (The First 5)
- Secure the lid on the Instant Pot. Turn the valve to the Sealing position.
- Press the Manual/Pressure Cook button and set the time to 5 minutes on High Pressure.
H3 Step 3: Natural Release (The Second 5)
- Once the cooking time finishes, the Instant Pot will beep. DO NOT touch the valve! Allow the pressure to Natural Pressure Release (NPR) for 5 minutes.
- After 5 minutes of NPR, carefully turn the valve to the Venting position to release any remaining pressure (Quick Release/QR).
H3 Step 4: The Ice Bath (The Final 5)
- Immediately transfer the hot eggs using a slotted spoon or tongs into the large bowl of ice water. This stops the cooking process instantly.
- Let the eggs rest in the ice bath for 5 minutes.
- The Instant Pot hard boiled eggs are now ready for effortless peeling!
Calories & Nutritional Info (Protein Power)
Hard boiled eggs are a fantastic, low-carb source of complete protein and healthy fats. This estimate is for one egg.
- Estimated Calories Per Egg: ~70–80 calories.
- High in Complete Protein: Excellent source of protein (about 6g per egg).
- Healthy Fats: Yolk provides healthy fats and fat-soluble vitamins (D, E, K).
- Vitamins and Minerals: Rich in Vitamin B12, B6, Iron, and Zinc.
- Keto/Low-Carb: Naturally fits both dietary plans perfectly.
Common Mistakes to Avoid (The Green Ring of Shame)
The Instant Pot is reliable, but the timing of the release and the ice bath are critical.
- Skipping the Ice Bath: The cold shock is mandatory! Without it, the residual heat continues to cook the yolk, resulting in that dreaded gray-green ring around the yolk (caused by sulfur and iron reacting).
- Quick Release (QR) Immediately: Releasing the pressure instantly often leads to cracked shells. Use the 5-minute NPR for smooth, intact shells.
- Using Old Eggs (The Myth): While older eggs peel slightly better, the Instant Pot makes even fresh eggs peel effortlessly. Don’t use eggs over 2 weeks old for best quality.
- Forgetting the Water: The Instant Pot requires the minimum amount of liquid (1 cup) to build pressure. Without it, the machine won’t work, and you risk a ‘Burn’ notice.
Variations & Customizations (The Yolk Game)
You can easily adjust the cooking time to achieve your preferred level of yolk doneness. Use the X-5-5 formula (X = cook time, 5 = NPR, 5 = Ice Bath).
- Soft Boiled/Jammy Yolk: Set the pressure cook time to 3 minutes. Follow the 5-5 method (5 min NPR, 5 min Ice Bath). Perfect for toast!
- Classic Hard Boiled Yolk (Slightly Soft): Set the pressure cook time to 4 minutes. Follow the 5-5 method. This yields a vibrant yellow, fully cooked yolk with a touch of creamy softness.
- Fully Hard Boiled Yolk (For Egg Salad): Set the pressure cook time to 5 minutes. Follow the 5-5 method. This results in a fully set, firm yolk perfect for slicing or mashing.
FAQ Section (The Egg-cellent Questions)
People always ask about the Instant Pot’s role in the peeling process and the timing.
- Q: Why does the 5-5-5 method work so well for peeling?
- A: The pressure cooking slightly separates the albumen (egg white) from the inner shell membrane during the rapid cooking process. The quick cooling in the ice bath solidifies this separation, making the shell slide off easily.
- Q: Can I stack the eggs in the Instant Pot?
- A: Yes, you can stack them two layers deep, but do not fill the pot completely. The eggs need space for the steam to circulate.
- Q: Do I need a steamer rack/trivet?
- A: Yes! The trivet keeps the eggs out of the water, ensuring they cook via steam pressure rather than boiling water, which is key to the peeling magic.
- Q: Should I use room temperature or cold eggs?
- A: Use cold eggs, straight from the fridge. The consistent starting temperature makes the cooking time reliable.
- Q: How long will the eggs stay fresh?
- A: Properly cooked and refrigerated hard boiled eggs will last for up to 7 days in the refrigerator.
- Q: How do I store a large batch of hard boiled eggs?
- A: Store them unpeeled in an airtight container in the refrigerator. Peeled eggs dry out faster.
- Q: What is the fastest way to peel the Instant Pot eggs?
- A: Tap the egg gently all over the counter and roll it slightly. The shell should break into large pieces and slide off easily under running water or in the bowl.
Final Thoughts (The Egg-spert)
You conquered the peeling struggle, mastered the famous 5-5-5 method, and created a batch of perfectly cooked, effortlessly peelable eggs. Those clean, golden yolks are proof that the Instant Pot hard boiled eggs method is the only way forward. You are officially the Egg-spert.
Go ahead, enjoy that perfectly cooked, protein-packed snack. Did you realize hard boiling eggs could be this easy and stress-free? I bet you’ll never use a pot on the stovetop again. Now, are you making egg salad or deviled eggs first?