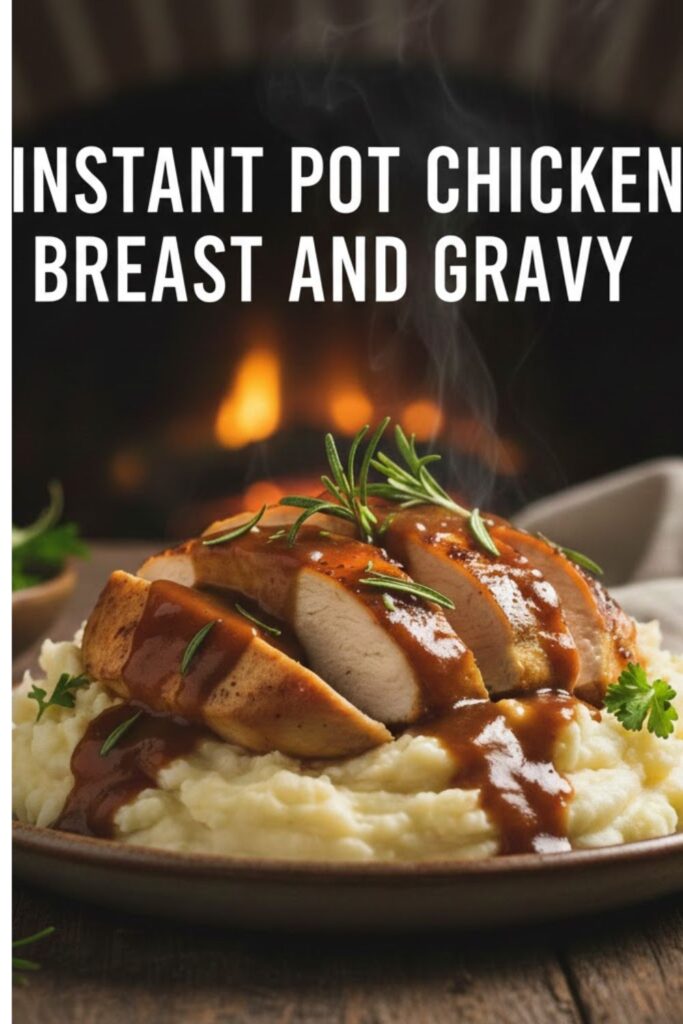
Instant Pot Chicken Breast and Gravy: The Fastest, Juiciest Dinner Hack
Let’s be honest, chicken breast is usually the blandest thing on your plate. And making a silky, rich gravy involves fiddling with flour, butter, and constantly whisking over a hot stove. It’s too much work for a Tuesday. But what if the Instant Pot could deliver perfectly moist chicken and a rich, ready-made gravy, all in one pot?

Welcome to the ultimate comfort food cheat code: Instant Pot chicken breast and gravy. The pressure cooker transforms lean chicken into tender perfection, while the cooking liquid magically turns into a deeply flavorful gravy base. You get a hearty, satisfying dinner that tastes like it simmered all day, ready in mere minutes. Get ready to banish dry chicken and watery sauce forever. Seriously, why settle for boring chicken when you can have juicy chicken drowning in gravy?
Why Instant Pot Chicken Breast and Gravy Is Awesome (Juiciness, Flavor, and One-Pot)
This recipe is the essential weeknight fix for satisfying comfort food cravings with zero fuss.

First, Guaranteed Moist Chicken. The high-pressure environment of the Instant Pot traps moisture, preventing the lean chicken breast from drying out. The meat steams in the seasoned liquid, resulting in ridiculously tender, juicy chicken that slices perfectly. IMO, dry chicken is a dealbreaker.
Second, Instant Flavorful Gravy. The cooking liquid (broth + seasonings) concentrates under pressure, creating a rich jus. You simply whisk in a quick cornstarch slurry at the end, and BAM! Instant, deeply flavored gravy, made right in the same pot. Why make two dishes when you can make one glorious mess?
Third, The Ultimate Cleanup Hack. Everything—the chicken, the broth, the gravy thickening—happens in the Instant Pot liner. This is the definition of a one-pot meal, guaranteeing minimal scrubbing and maximum relaxation time. TBH, the less time I spend washing, the more time I have for pouring gravy over everything.
The Goods: Ingredients You Need
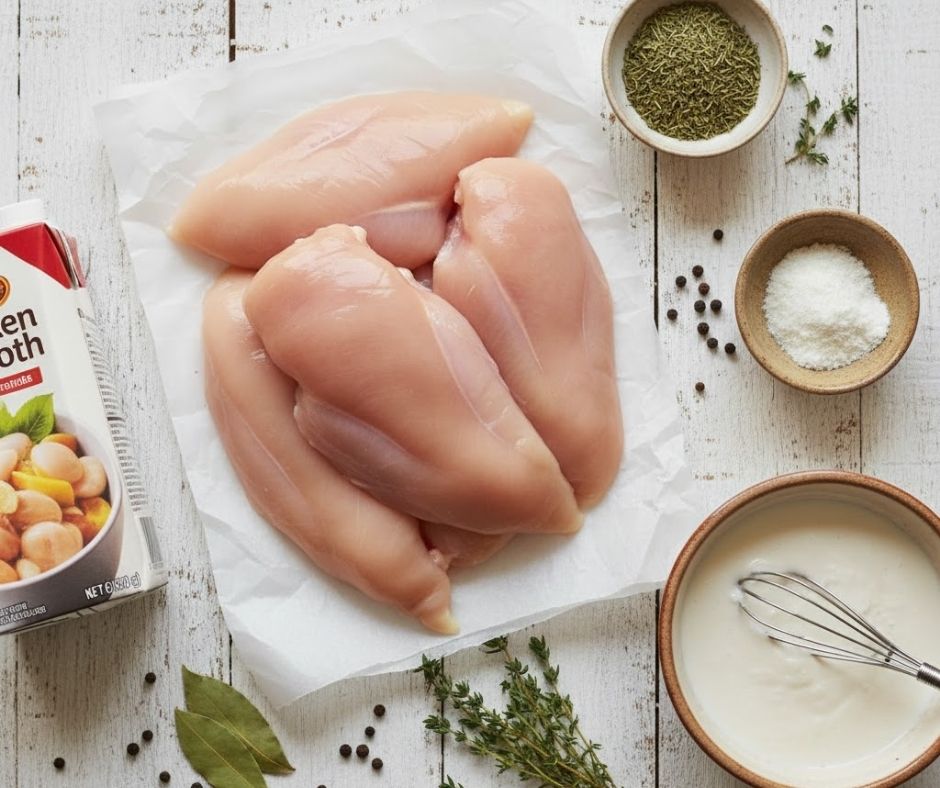
Focus on buying quality broth and using dry seasonings, which infuse the flavor better under pressure.
- The Protein:
- 4 Boneless, Skinless Chicken Breasts (about 1.5–2 lbs total).
- The Gravy Base (The Magic Liquid):
- 1.5 cups Chicken Broth (low sodium, essential for pressure).
- 1 teaspoon Onion Powder.
- 1 teaspoon Garlic Powder.
- 1 teaspoon Dried Thyme or Poultry Seasoning.
- Salt and Freshly Ground Black Pepper.
- The Thickener (The Final Step):
- 2 tablespoons Cornstarch or Tapioca Flour.
- 2 tablespoons Cold Water.
- The Finish:
- Fresh Parsley, chopped (for garnish).
H3 Key Substitutions (The Pressure Cooker Swap Guide)
- Chicken Breast Swap: Use boneless, skinless chicken thighs. Use the exact same cooking time (8 minutes) for even juicier results.
- Broth Substitute: Use water with a chicken bouillon cube dissolved in it, but be careful with the added salt.
- Thickener Substitute: Use a flour and butter roux (brown 1 tbsp butter with 1 tbsp flour) and whisk that into the hot liquid instead of the cornstarch slurry.
- Seasoning Swap: Use a Ranch Seasoning packet instead of the individual spices for an instant savory twist.
Tools & Kitchen Gadgets Used (Pressure Cooker Power)
The Instant Pot is mandatory here, along with a few kitchen essentials for the final gravy step.
- Instant Pot (or other Electric Pressure Cooker): CRUCIAL! The magical one-pot vessel.
- Whisk: For making the cornstarch slurry and whisking the gravy at the end.
- Small Bowl: For mixing the cornstarch slurry (must be done separately!).
- Tongs: For handling the cooked chicken safely.
- Sharp Knife and Cutting Board: For slicing the finished chicken.
- Instant-Read Meat Thermometer: Highly recommended for quick doneness confirmation.
Step-by-Step Instructions (Dump, Seal, Slice, and Whisk)
The key is precise pressure cooking time and the final Sauté function to thicken the gravy.
H3 Step 1: Prep the Pot (The Dump)
- Pour the 1.5 cups of chicken broth into the Instant Pot liner.
- Sprinkle the onion powder, garlic powder, thyme, salt, and pepper into the broth. Stir slightly.
- Place the chicken breasts into the liquid. Ensure they are partially submerged. Do not cut them before cooking; cook them whole for maximum juiciness.
H3 Step 2: Seal and Cook (The Pressure Miracle)
- Secure the lid on the Instant Pot. Turn the valve to the Sealing position.
- Press the Manual/Pressure Cook button and set the time to 8 minutes on High Pressure for fresh chicken. If using FROZEN chicken, set the time to 12 minutes on High Pressure.
H3 Step 3: Rest and Slice (The Juiciness Secret)
- Once the cooking time finishes, allow the pressure to Natural Pressure Release (NPR) for 5 minutes. Then, carefully turn the valve to the Venting position to release the remaining pressure (Quick Release/QR). Be cautious of steam!
- Remove the chicken breasts and place them on a cutting board. Cover the chicken lightly with foil and let it rest for 5 minutes (mandatory for juiciness!).
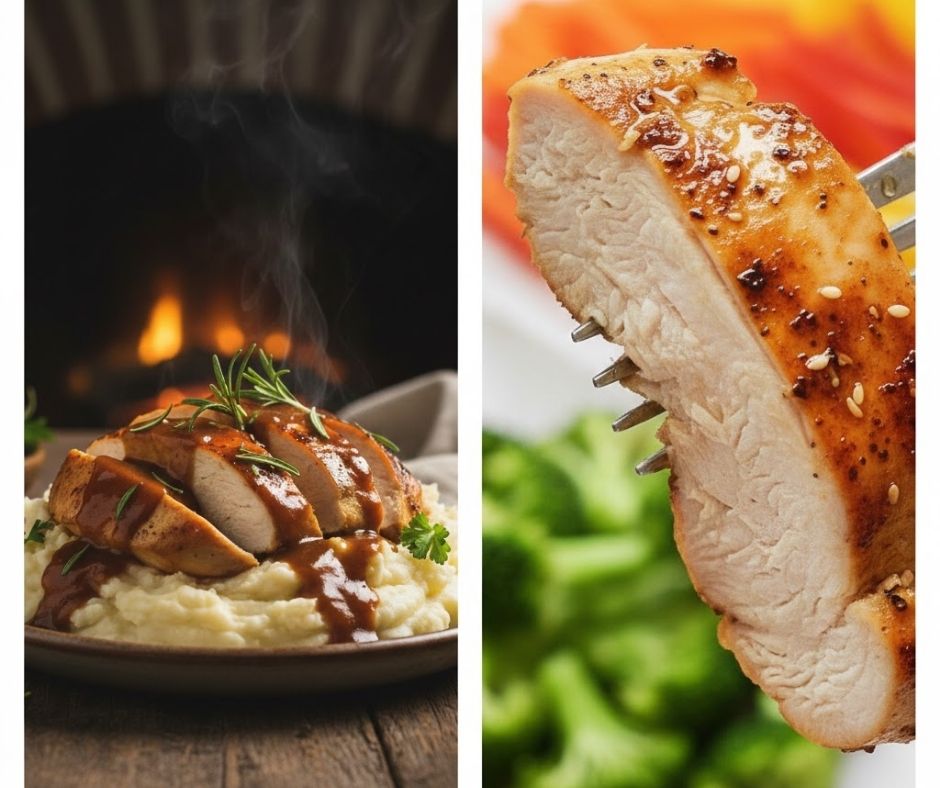
- While resting, slice the chicken breasts against the grain.
H3 Step 4: Thicken the Gravy (The Magic Finish)
- In the small bowl, whisk together the cornstarch and cold water until completely smooth (the slurry).
- Press the Sauté button on the Instant Pot and bring the cooking liquid to a simmer.
- Slowly pour the cornstarch slurry into the simmering liquid, whisking constantly. The gravy will thicken instantly. Cook for 1–2 minutes until the gravy coats the back of a spoon. Press Cancel.
- Return the sliced chicken to the pot to coat it in the gravy. Serve immediately over mashed potatoes or rice.
Calories & Nutritional Info (Lean Protein Comfort)
This is a hearty, low-carb main protein source, with the gravy adding richness and flavor. This estimate is for one chicken breast and 1/4 cup of gravy.
- Estimated Calories Per Serving (1 chicken breast + gravy): ~300–350 calories.
- High in Lean Protein: Chicken breast is one of the best sources of lean protein.
- Low in Carbohydrates: Naturally a low-carb, keto-friendly main dish.
- Iron and B Vitamins: Chicken provides essential nutrients.
- Satiety Factor: High protein ensures sustained fullness.
Common Mistakes to Avoid (The Dry Chicken Trap)
The key to Instant Pot success with chicken breast is avoiding overcooking and sudden pressure release.
- Cooking Time Too Long: Chicken breast overcooks easily. 8 minutes (fresh) or 12 minutes (frozen) is the absolute maximum needed under high pressure. Over 12 minutes results in dry chicken.
- Quick Release (QR) Immediately: Releasing the pressure instantly causes the internal moisture to evaporate, drying out the chicken. Use 5 minutes of Natural Pressure Release (NPR) for juicy results.
- Adding Cornstarch Directly: Never dump dry cornstarch into hot liquid! It clumps instantly. Always mix it with cold water first to form a smooth slurry.
- Forgetting the Rest Time: Slicing the chicken immediately after cooking causes all the juices to run out. Resting the chicken ensures the juices redistribute back into the meat.
Variations & Customizations (Gravy Adventures)
Use the base chicken and gravy method to create different flavor profiles easily.
- Mushroom Cream Gravy: Sauté 1 cup of sliced mushrooms in the pot (using the Sauté button) before adding the broth. Add 1/4 cup of heavy cream to the gravy base before thickening in Step 4.
- Spicy Chipotle Gravy: Add 1 tablespoon of adobo sauce from a can of chipotles (or a dash of hot sauce) along with the initial seasonings. Serve over chicken and rice.
- Vegetarian Onion Gravy: Skip the chicken. Use vegetable broth and 1 cup of pearl onions. Cook for 5 minutes. Thicken the broth and serve the gravy over mashed potatoes or sliced seitan.
FAQ Section (The Pressure Cooker Q&A)
New Instant Pot users often worry about the pressure cooking rules, especially for lean meat.
- Q: Is it safe to cook chicken breast and gravy in one pot?
- A: Yes! The gravy base (broth) cooks the chicken safely, and you thicken the liquid after removing the chicken. This is a very common and safe Instant Pot method.
- Q: Why should I use a full 8 minutes for fresh chicken breast?
- A: Boneless, skinless breasts need 8 minutes under high pressure to reach the safe internal temperature of 165°F (74°C) plus the 5-minute NPR for juiciness.
- Q: How can I freeze the gravy?
- A: Yes! Gravy freezes beautifully. Store cooled gravy in an airtight container for up to 3 months. Thaw overnight and reheat gently.
- Q: My gravy is too thin. How do I fix it?
- A: Make a second, smaller slurry: whisk 1/2 tablespoon of cornstarch with 1/2 tablespoon of cold water. Add it to the simmering gravy and whisk until thickened.
- Q: Can I use this method to cook a whole chicken?
- A: Yes, but the cook time will be longer (about 30 minutes on high pressure, plus longer NPR) and you may need to increase the liquid.
- Q: Why should I slice the chicken instead of serving it whole?
- A: Slicing helps you coat the meat fully in the gravy, which prevents dryness. It also makes for easier serving.
- Q: How long does the cooked chicken and gravy last for leftovers?
- A: Store the chicken submerged in the gravy in an airtight container for 3–4 days in the refrigerator. Reheat gently to maintain moisture.
Final Thoughts (The Gravy Guru)
You achieved the ultimate comfort trifecta: juicy chicken, silky gravy, and one dirty pot. You conquered the pressure cooker timing and banished bland meat forever. That plate of tender chicken smothered in rich gravy is proof that Instant Pot chicken breast and gravy is the only way to do weeknight comfort. You are officially the Gravy Guru.
Go ahead, enjoy that last, savory bite. Did you realize homemade gravy could be this easy and delicious? I bet you’ll be making this every Sunday. Now, are you adding mushrooms or cream next time?