
A Foolproof Guide to Holiday Macarons (Yes, You Can Actually Make Them!)
Okay, deep breaths. We’re going to talk about the Mount Everest of holiday baking. The diva of the dessert world. The one cookie that has humbled more talented bakers than any other. We are going to talk about making Holiday macarons. I know what you’re thinking. “Macarons? At home? During the most stressful time of the year? Are you insane?” And the answer is… maybe a little. But I’m here to hold your hand, to be your baking spirit guide, and to walk you through a process that is less a recipe and more a science experiment with a delicious, delicate, and jaw-droppingly beautiful reward. Forget the overpriced bakery macarons. Today, we’re conquering the beast.
Why These Holiday Macarons Are Worth the Effort

Let’s be clear: this is a project. But it’s a project with a seriously impressive payoff. Here’s why you should absolutely attempt these little gems.
They Are Elegance in a Single Bite
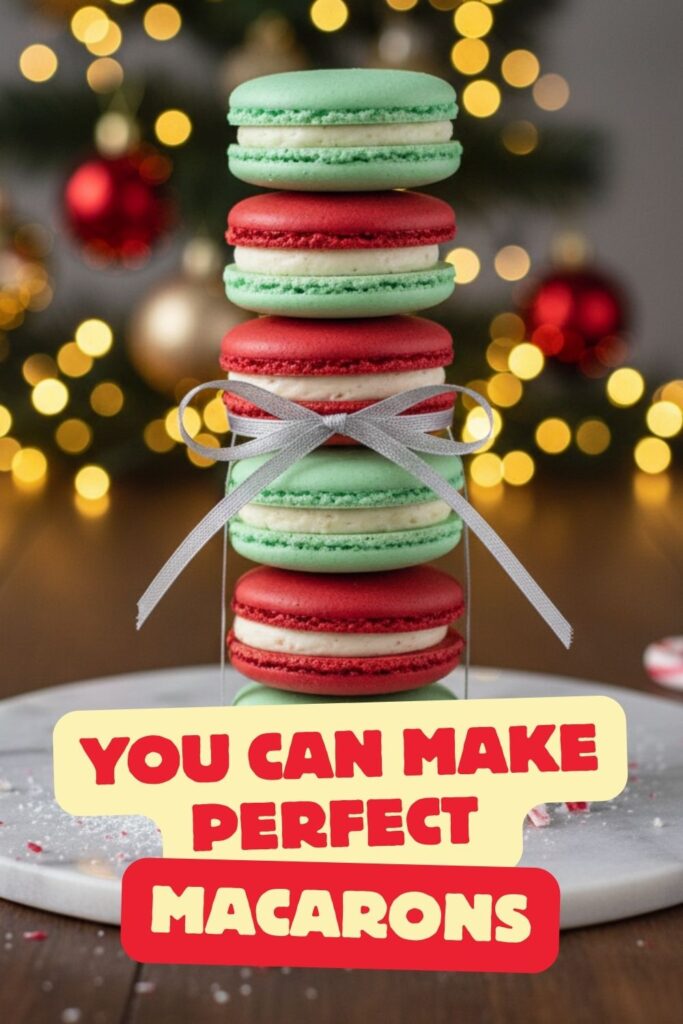
Is there any cookie more beautiful than a macaron? With their smooth, shiny tops, their signature ruffled “feet,” and their vibrant colors, they are the supermodels of the cookie world. Bringing a box of these to a party or giving them as a gift instantly elevates you to legendary status.
That Unforgettable Texture

A perfect macaron is a journey. It starts with a crisp, delicate shell that yields with the slightest pressure, giving way to a soft, chewy, almond-flavored interior. Paired with a creamy filling, it’s a textural masterpiece that no other cookie can replicate.
The Perfect Canvas for Festive Flavors
The simple almond shell is the perfect backdrop for all your favorite holiday flavors. Peppermint, gingerbread, eggnog, hot cocoa—you can infuse the fillings with any festive flavor you can dream of, creating a truly special and personalized treat.
The All-Important Ingredients (Precision is Key!)

This is not a recipe for casual measuring. You absolutely must use a digital kitchen scale. I’m not kidding. This is the #1 rule of Macaron Club.
For the Macaron Shells (Makes about 24-30 filled cookies)
- Superfine Almond Flour: 125g. Not almond meal! It must be very fine.
- Powdered Sugar: 125g.
- Egg Whites: 90g (from about 3 large eggs), at room temperature. Some swear by “aging” them (leaving them in a covered bowl in the fridge for 24 hours), which can help.
- Granulated Sugar: 90g.
- Cream of Tartar: ¼ teaspoon. This helps stabilize the egg whites.
- Gel Food Coloring: A few drops of red or green for a festive touch. Do not use liquid food coloring!
For the Peppermint Buttercream Filling
- Unsalted Butter: ½ cup (1 stick), softened.
- Powdered Sugar: 1 ½ cups, sifted.
- Heavy Cream or Milk: 1-2 tablespoons.
- Peppermint Extract: ½ teaspoon.
- Pinch of Salt.
The Essential Tools & Kitchen Gadgets (Your Macaron Army)
Gather your weapons. This is a battle of precision.
- Digital Kitchen Scale: I said it once, I’ll say it again. THIS IS NON-NEGOTIABLE.
- Electric Mixer: A stand mixer with the whisk attachment is highly, highly recommended. A hand mixer can work, but your arm will want to disown you.
- Fine-Mesh Sieve: For sifting your dry ingredients to oblivion.
- Piping Bag with a small round tip (like a Wilton 12).
- Heavy, Light-Colored Baking Sheets: Heavy-duty sheets prevent warping, which is crucial for even baking.
- Silicone Baking Mat or Parchment Paper: Silicone mats with pre-printed circles are a godsend for beginners.
- A few large, clean bowls and a flexible spatula.
Step-by-Step Instructions: The Macaron Gauntlet
Read through all the steps before you begin. Deep breath. You can do this.
Stage 1: The Sifting Ceremony
First, get your dry ingredients ready. In a medium bowl, whisk together the almond flour and powdered sugar. Then, sift them together through your fine-mesh sieve into another clean bowl. Do this at least twice. Yes, twice. This is key for getting those perfectly smooth, shiny tops.
Stage 2: Mastering the Meringue
Wipe down the bowl of your stand mixer and the whisk attachment with a little vinegar or lemon juice to remove any trace of grease (fat is the enemy of meringue). Add your room-temperature egg whites and the cream of tartar. Beat on medium speed until they become foamy. With the mixer still running, gradually sprinkle in the granulated sugar, a little at a time. Once all the sugar is in, turn the speed up to medium-high and beat until you have a stiff, glossy meringue. The peaks should stand straight up when you lift the whisk, and the meringue should be so thick that you can turn the bowl upside down without it sliding out. Now’s the time to beat in a few drops of your gel food coloring.
Stage 3: The Macronage (The Most Crucial Step)
This is it. The moment of truth. Add about one-third of your sifted dry ingredients to the meringue. Using a flexible spatula, gently fold them in until just combined. Add the rest of the dry ingredients and continue to fold by scraping around the bowl and pressing the batter down through the middle. Your goal is to deflate the meringue just enough. You’re looking for a batter that flows off the spatula in a slow, continuous, lava-like ribbon. It should take about 8-10 seconds for the ribbon to melt back into the batter. This is the hardest part to master, but it’s key. Under-mixed batter will be lumpy; over-mixed batter will be too runny.
Stage 4: Piping, Tapping, and Resting
Transfer your batter to a piping bag fitted with a round tip. Pipe 1.5-inch circles onto your parchment or silicone mat-lined baking sheets, leaving about an inch of space between them. Once you’ve piped a tray, firmly slam the baking sheet down on the counter a few times. This forces any large air bubbles to the surface (pop them with a toothpick). Now, and this is another critical step, you must let the piped macarons rest at room temperature for 30-60 minutes, or until they form a dry skin. You should be able to gently touch the top without any batter sticking to your finger.
Stage 5: The Bake
Preheat your oven to 300°F (150°C). Bake the rested macarons one tray at a time for 15-18 minutes. You’ll know they’re done when the tops are firm and the “feet” don’t wobble when you gently nudge a shell. Let them cool completely on the baking sheet before trying to remove them.
Stage 6: Filling and Maturing
While the shells cool, make the filling. Beat the softened butter until creamy. Gradually add the powdered sugar, then the heavy cream, peppermint extract, and salt. Beat until light and fluffy. Match up your cooled macaron shells by size. Pipe a small amount of buttercream onto the flat side of one shell and gently sandwich it with its partner. And now, the final test of patience: place the filled macarons in an airtight container in the refrigerator and let them “mature” for 24 hours. This allows the filling to soften the inside of the shell, creating that perfect chewy texture.
Calories & Nutritional Info

They’re small, so you can have, like, five, right?
- Serving Size: 1 filled macaron
- Calories: Approximately 90-110 kcal
- Fat: ~5g
- Carbohydrates: ~10g
- Sugar: ~9g
- Protein: ~1g (Disclaimer: These are delicate works of art. Let’s not tarnish them with calorie counting, okay?)
Common Mistakes to Avoid (The Macaron Minefield)
If your macarons fail, it was likely one of these culprits.
- Not Using a Scale: I’m not going to say it again. Okay, I am. USE A SCALE.
- Incorrect Macronage: This is the #1 reason for failure. Too little folding and your macarons will be lumpy and hollow. Too much folding and they’ll spread out and won’t develop feet. Watch videos of the “lava-like” consistency until it’s burned into your brain.
- Not Resting Them Long Enough: If you don’t let them form a skin, the air will escape through the top during baking, causing cracks instead of pushing up from the bottom to form those beautiful feet.
- An Inaccurate Oven: Ovens lie. An oven that’s too hot can cause the shells to brown, crack, or spread. An oven thermometer is a cheap investment that can save you a world of heartbreak.
Variations & Customizations (Festive Flavors!)
Once you have the technique down, the possibilities are endless.
1. Gingerbread Macarons with White Chocolate Ganache
Add 1 teaspoon of gingerbread spice to your dry ingredients. For the filling, heat ½ cup of heavy cream until simmering, pour it over 1 cup of white chocolate chips, let sit for 5 minutes, then stir until smooth. Let it thicken in the fridge before piping.
2. Eggnog Macarons
Add a pinch of nutmeg to the shells. For the filling, make a buttercream but use good-quality, thick eggnog instead of heavy cream, and add a splash of rum extract if you’re feeling it.
3. Hot Cocoa Macarons
Replace 20g of the powdered sugar with 20g of unsweetened cocoa powder in the shells. Fill with a marshmallow buttercream (beat a jar of marshmallow fluff with a stick of softened butter).
FAQ Section: Your Macaron Panic, Addressed
Why are my macarons hollow inside?
This can be caused by under-baking, an under-whipped meringue, or not letting them mature in the fridge long enough.
Why don’t my macarons have “feet”?
This is usually because you didn’t let them rest long enough to form a dry skin before baking. It can also be a sign of an over-mixed, runny batter.
Why did my macaron shells crack on top?
This is the opposite problem of no feet! It means air escaped through the top. This happens when you don’t rest them long enough, or your oven is too hot.
Can you make macarons on a humid day?
It’s notoriously difficult. High humidity can prevent the shells from forming that crucial skin. It’s best to make them on a dry day, or in an air-conditioned room.
Do I really have to sift the dry ingredients?
Yes. Yes, you do. It’s the only way to get rid of lumps from the almond flour and ensure a perfectly smooth, shiny top.
Why are my macaron shells lopsided?
This can be from uneven heat in your oven, a warped baking pan, or not piping straight down.
How should I store macarons?
In an airtight container in the refrigerator. They are best after maturing for 24 hours and will last for up to 5-7 days.
Final Thoughts
You did it. You stared into the delicate, finicky, almond-flavored abyss and you emerged victorious. Or maybe you have a tray of cracked, flat, footless little discs. And you know what? That’s okay too! They’re still delicious. Making macarons is a journey, not a destination. But when you finally pull that perfect tray out of the oven, it’s a feeling of triumph like no other. You are officially a baking rockstar. Now go on and enjoy your hard-earned, impossibly chic holiday treats.

