The Ultimate Holiday Cookie Decorating: A Guide to Perfect Royal Icing
Ever tried to decorate a batch of sugar cookies with frosting, only to have it melt, smudge, and look like a toddler’s art project gone wrong? It’s a real holiday tragedy. The pressure to create a beautiful, perfectly decorated cookie is real, and it can be a source of major holiday stress. But what if I told you there’s a secret weapon, a foolproof recipe for royal icing that dries hard, doesn’t smudge, and lets you create intricate designs that will make people think you’re a professional baker? I’m talking about a guide to holiday cookie decorating that will change your life. This isn’t just a recipe; it’s a blueprint for holiday baking glory.
Why This Guide Is Your Holiday Game-Changer

Let’s face it: the holiday season is already jam-packed with decorating, gift wrapping, and trying to remember if you turned off the oven. This guide is a holiday miracle because it’s a low-effort, high-reward kind of deal. You spend a few minutes on prep, and then your creative genius takes over. The result is a cookie that’s not only delicious but also a beautiful, edible work of art. It’s the kind of activity that makes for a fun, festive moment for the whole family. Who doesn’t love a good cookie decorating session?
Ingredients You’ll Need (AKA Your Shopping List)
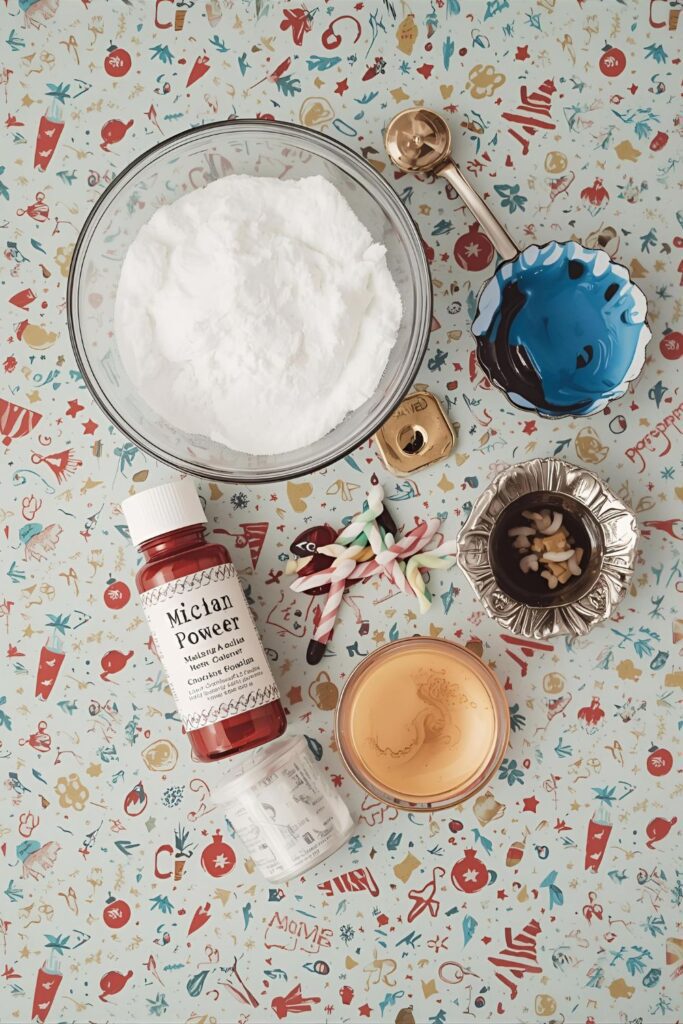
You won’t need a shopping cart full of weird ingredients for this. Trust me.
- 3 large egg whites, room temperature (or 3 tablespoons meringue powder)
- 4 cups powdered sugar
- 1/2 teaspoon cream of tartar
- A few drops of food coloring (in your favorite holiday colors)
- Water, for thinning
- Sprinkles, edible glitter, and other decorations

Substitutions, FYI: The meringue powder is a great substitution for egg whites, as it’s more stable and you don’t have to worry about raw egg. You can also use different colors of food coloring to create any holiday palette you like.
Tools & Kitchen Gadgets to Get the Job Done
Here’s the gear you’ll need. Nothing complicated, I promise.
- Large mixing bowl or a stand mixer
- Spatula
- Piping bags with various tips (or a few Ziploc bags with a corner snipped off)
- Small bowls (for different colors)
- Toothpicks or a small knife (for spreading)
- Squeeze bottles (for flooding)
- Wire cooling rack
The Super-Simple, Step-by-Step Instructions
Ready? Let’s do this. You’re just a few steps away from cookie glory.
Part 1: Making the Royal Icing
- Whip the Egg Whites. In a clean, dry bowl, beat the egg whites (or meringue powder with a little water) with a hand mixer or stand mixer until they’re frothy.
- Add the Sugar. Gradually add the powdered sugar and cream of tartar to the egg whites, beating on high speed. Continue to beat until the icing is stiff and holds its shape. You’ll know it’s ready when you can pull the beaters out and the icing forms a stiff peak that doesn’t droop.
- Divide and Color. Divide the icing into a few small bowls. Add a few drops of food coloring to each bowl and mix until you get your desired colors.
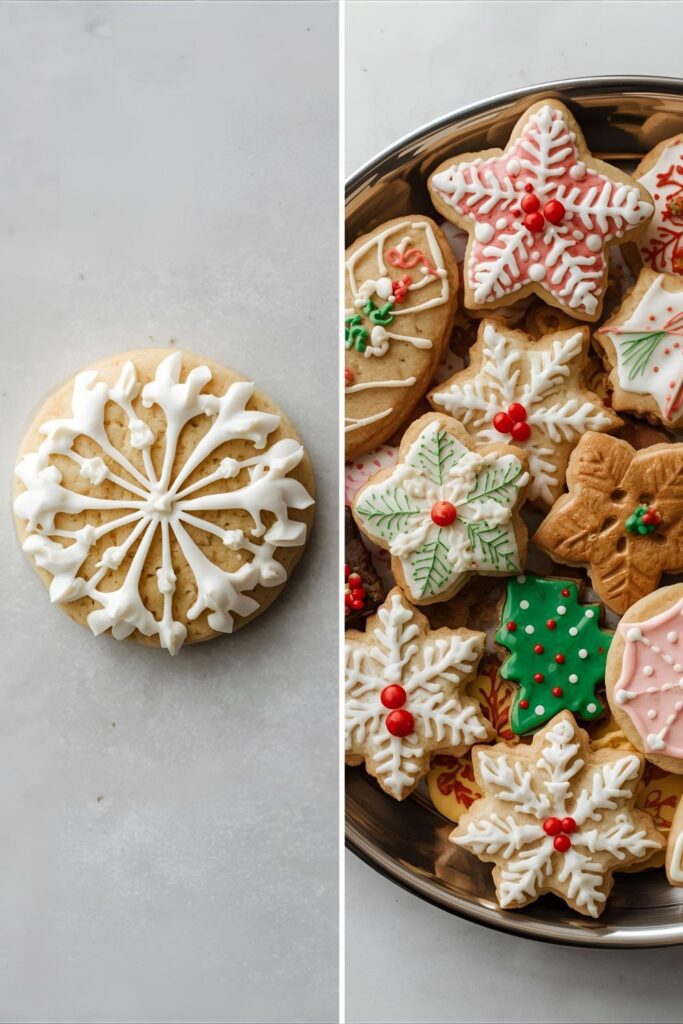
Part 2: Decorating Your Cookies
- Outline and Flood. This is the secret to a perfect cookie. Use a piping bag with a small tip to outline the cookie with a stiff consistency of icing. Let the outline dry for a few minutes. Then, thin out a portion of the same colored icing with a few drops of water until it’s a “flooding” consistency (it should spread easily but not be too runny). Use a squeeze bottle or another piping bag to fill in the outline. Use a toothpick to spread the icing to the edges.
- Add the Details. Once the flooded layer is completely dry (this can take several hours!), you can add your details. Use the stiff consistency of royal icing to pipe lines, swirls, and dots. Add sprinkles or other decorations while the icing is still wet.
- Let it Dry. This is the most important step! Let your cookies dry completely for at least 8 hours, or even overnight. This will ensure the icing hardens and won’t smudge.
Calories & Nutritional Info (The Reality Check)
I’m not a nutritionist, so these are just estimates, but IMO it’s totally worth it.
- Estimated Calories per cookie: This is tough to calculate, as it depends on how much frosting and sprinkles you use, but let’s say a decorated cookie is around 150-250 kcal.
- Key nutrients:
- Carbs: Mostly from sugar. It’s a sugar-heavy frosting, what did you expect?
- Sugar: A lot of it. It’s Christmas, live a little.
Common Mistakes to Avoid (So You Don’t Mess It Up)
Listen up, buttercup. These are the top reasons your decorating might go wrong.
- Using the Wrong Icing: Don’t use regular frosting. It won’t dry hard and will smudge. You need a stiff royal icing for this job.
- Not Letting the Icing Dry: This is the number one reason for smudged cookies. If you try to decorate before the first layer of icing is completely dry, your designs will run together. Be patient!
- Using Too Much Water for Flooding: If your icing is too thin, it will run over the edges of your cookie and make a mess. Start with a few drops of water and add more as needed.
- Not Storing the Icing Properly: Royal icing dries fast. Keep it covered with a damp cloth if you’re not using it immediately.
Variations & Customizations (Time to Get Creative)
You’ve mastered the classic, now let’s mix it up.
- The Chocolate Twist: Use a chocolate royal icing instead of a classic white one. Just add some unsweetened cocoa powder to the mixture for a richer flavor.
- The Spiced-Up Holiday Edition: Add 1/4 teaspoon of ground cinnamon and a pinch of nutmeg to the icing mixture for a cozy, festive flavor.
- The Vegan’s Delight: Use a vegan meringue powder and plant-based food coloring to create a delicious vegan royal icing.
FAQ Section (Because You Have Questions, I Have Answers)
- Can I make the icing ahead of time? Yes! You can make the icing up to a week in advance and store it in an airtight container in the fridge. Give it a good whisk before you use it.
- How do I know when the icing is dry? It will be hard to the touch and have a matte finish. If it’s still shiny or a little sticky, it’s not ready yet.
- How do I fix a lumpy icing? This is usually caused by not sifting the powdered sugar. If your icing is lumpy, just keep whisking! It will eventually smooth out.
- Can I use a piping bag with no tips? Yes! Just snip a tiny corner off of a Ziploc bag. It’s a great, low-cost solution.
- What’s the best way to clean my piping bags? The best way is to rinse them immediately after you use them. If the icing has dried, just soak them in warm water for a few minutes.
- How do I make a bigger batch? You can easily double or triple the recipe for a bigger batch. Just be sure to use a large bowl and whisk everything together thoroughly.
- How do I store the decorated cookies? Store the cookies in an airtight container at room temperature for up to 5 days. If they’re frosted, a single layer is best to prevent sticking.
Final Thoughts (The Mic Drop)
So there you have it. The secret to being a holiday hero is not in a store-bought cookie or a fancy-schmancy recipe book. It’s right here, in this ridiculously simple, ridiculously useful guide to holiday cookie decorating. Go forth and conquer your holiday baking anxieties. Your friends and family will thank you, and you’ll never buy a sad, premade cookie again. Now, who’s ready to start decorating?