
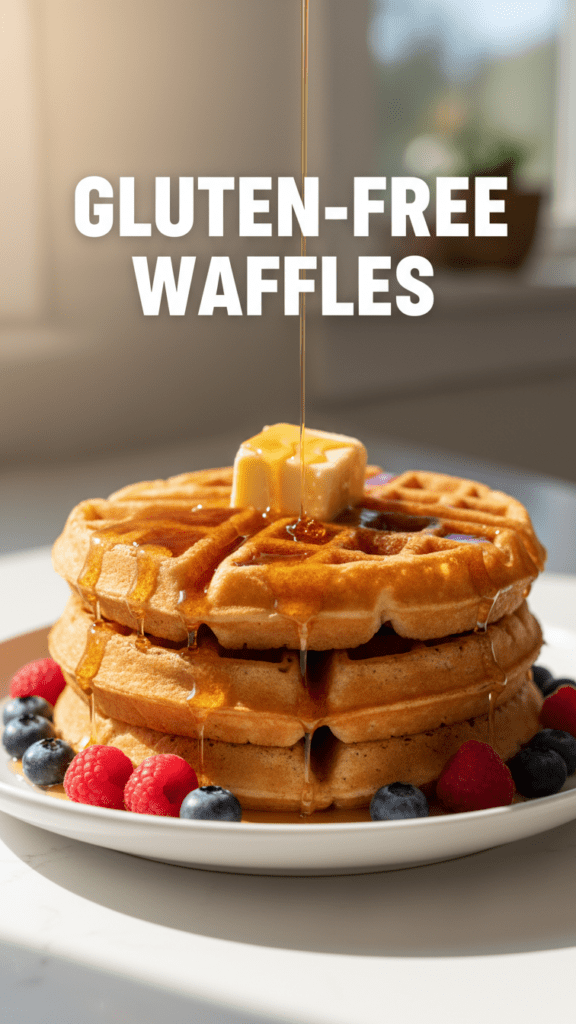
The Ultimate Gluten-Free Waffles: Crispy, Fluffy, and Zero Disappointments
Let’s be brutally honest for a second: we’ve all been there. You wake up on a Saturday morning with visions of golden, crisp squares dancing in your head, only to remember your gut has declared war on wheat. You reach for that yellow box of “frozen health discs” in the back of the freezer, toast them until they’re effectively shingles, and eat them with a side of quiet desperation. It’s a breakfast betrayal of the highest order. But what if I told you that gluten-free waffles could actually be better than the “real” thing?

I first mastered this recipe after a disastrous brunch where my “experimental” batter had the consistency of wet cement and the flavor profile of a dusty attic. My friends were polite, but the dog wouldn’t even touch the leftovers. After a few tears and a lot of flour-dusted research, I cracked the code. This isn’t just a compromise; it’s a revelation. Ready to reclaim your weekend morning glory? Let’s get into the batter.
Why This Recipe Is the G.O.A.T. of Breakfast Baking
Why should you bother whisking your own batter when you could just buy a pre-made mix? Because your taste buds actually have standards, and “okay” isn’t a flavor profile. First off, these waffles achieve the “holy grail” of texture: a shatteringly crisp exterior and an airy, cloud-like center. We aren’t making floppy pancakes with holes here; we’re making architectural masterpieces.

Secondly, it is ridiculously easy. You don’t need a PhD in chemistry or a 48-hour fermentation window. It’s a straightforward two-bowl situation that makes you look like a Michelin-star brunch god while you’re still in your pajamas. Plus, it impresses guests every single time—especially when they realize there isn’t a single grain of wheat in the building. IMO, it’s the most empowering recipe in any allergy-friendly arsenal.
The Grocery List: Clean, Simple, and Impactful
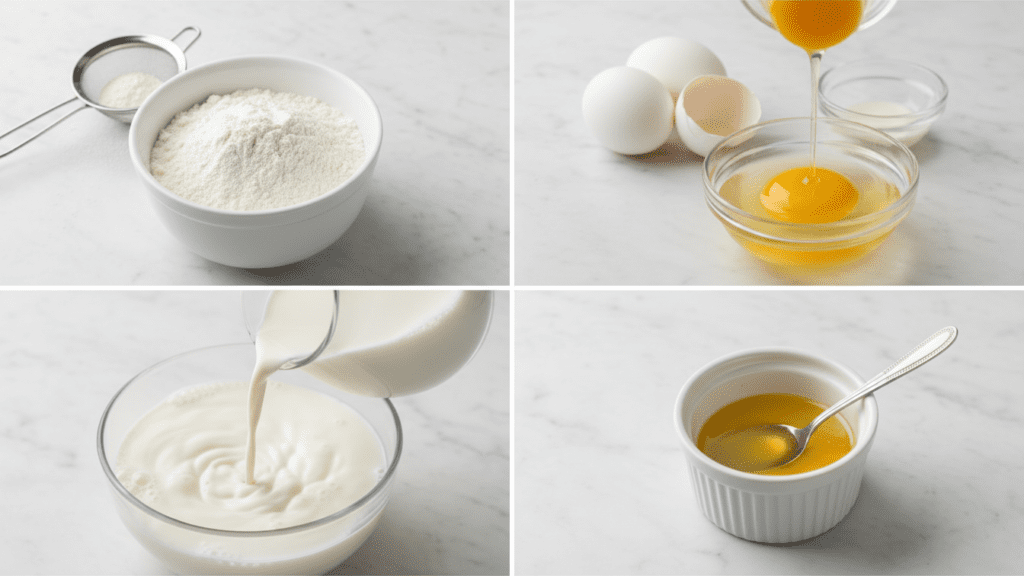
Don’t overcomplicate your life by searching for rare starches harvested under a blue moon. We are using powerhouse pantry staples that actually work together to create magic.
- Gluten-Free All-Purpose Flour Blend: Look for a blend that includes Xanthan Gum. If it doesn’t, add 1/2 teaspoon yourself unless you want your waffles to crumble like my resolve in a shoe sale.
- Baking Powder: Use a generous amount. This is our heavy lifter for the fluff factor.
- Cornstarch or Tapioca Flour: The secret weapon for that “crunch” that lasts longer than five minutes.
- Eggs: 2 large eggs. Separate the whites from the yolks—trust me on this, it’s the professional move.
- Milk: Dairy or your favorite plant-based alternative (Almond or Oat works perfectly).
- Melted Butter or Coconut Oil: Fat is flavor, and we aren’t here for a sad, dry breakfast.
- Sugar or Maple Syrup: Just a tablespoon to help with browning and soul-satisfaction.
- Vanilla Extract & Salt: To make all the other flavors actually show up for work.
Tools & Kitchen Gadgets Used
To make this the smoothest cooking experience of your life, snag these basics. I’ve linked my favorites so you can treat your kitchen to the upgrades it deserves (and help a friend out with an affiliate click)!
- Belgian Waffle Maker: You want those deep pockets for maximum syrup retention. Check out this top-rated Cuisinart on Amazon.
- Electric Hand Mixer: Essential for whipping those egg whites into submission. Grab this classic KitchenAid mixer here.
- Large Glass Mixing Bowls: Because plastic can hold onto old smells, and nobody wants “onion-flavored” waffles. Get a sturdy set here.
- Silicon Whisk: For getting that batter perfectly smooth without the arm workout. Try this ergonomic whisk.
- Wire Cooling Rack: The secret to preventing soggy bottoms. Grab a heavy-duty rack here.
Step-by-Step Instructions: The Path to Waffle Glory
Follow these steps precisely. TBH, the order of operations is the difference between a waffle and a starchy brick.
1. The Great Dry Mix
Preheat your waffle maker to its highest setting. In your large bowl, whisk together the gluten-free flour, cornstarch, baking powder, sugar, and salt. Make sure there are no clumps hiding in the shadows.
2. The Liquid Marriage
In a separate bowl, whisk together the milk, melted butter (or oil), vanilla extract, and the egg yolks. Yes, just the yolks! Set the whites aside; they have a very important meeting with the hand mixer later.
3. The Big Combine
Pour the wet ingredients into the dry. Whisk until just combined. It’s okay if there are a few small lumps; over-whisking is the enemy of fluffiness. Let the batter rest for 5-10 minutes. This allows the rice flour to hydrate so your waffles don’t taste “gritty.”
4. The Secret Weapon: Egg White Magic
While the batter rests, use your electric hand mixer to beat the egg whites until stiff peaks form. They should look like little snowy mountains. Gently fold the egg whites into the batter using a spatula. Do not stir vigorously, or you’ll pop all those beautiful air bubbles we just created.
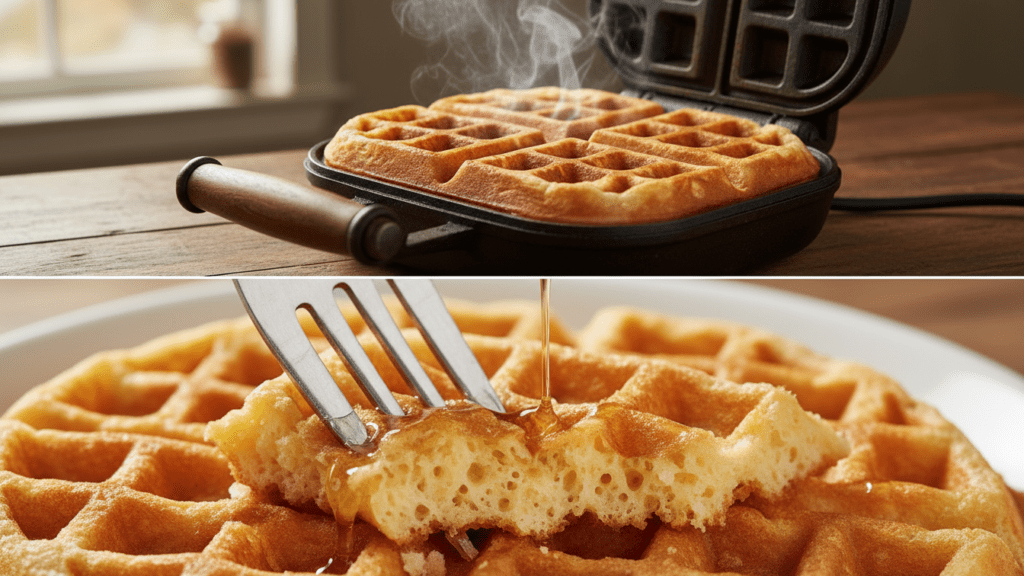
5. The Sizzle Phase
Grease your waffle iron lightly with cooking spray. Pour the batter in (usually about 1/2 to 3/4 cup depending on your machine). Close the lid and do not peek. Wait for the steam to stop rising—that’s the international signal for “I’m done, come get me.”
6. The Crisp Factor
Remove the waffle and place it directly onto a wire cooling rack. If you put it on a flat plate, the steam will turn the bottom into mush. Let it sit for 60 seconds to “set” its crunch before piling on the berries and syrup.
Calories & Nutritional Info
For those of you who track your stats like a part-time job, here is the lowdown per large waffle (serves 4):
- Calories: ~290 kcal (before you drown it in syrup).
- Net Carbs: ~34g (pure weekend energy!).
- Protein: ~6g (thanks, eggs!).
- Fat: ~14g (mostly the good stuff from the oil/butter).
- Fiber: ~2g (depends on your specific flour blend).
Common Mistakes to Avoid: Don’t Be That Person
Even a recipe this simple can go sideways if you get cocky. Avoid these blunders to keep your kitchen dignity.
- Using Cold Ingredients: Cold milk will solidify your melted butter into weird yellow chunks. Warm your milk slightly before mixing.
- Skipping the Egg White Whip: If you just dump whole eggs in, your waffles will be heavy and dense. Whip the whites. It’s non-negotiable.
- Peeking Too Early: If you open the waffle maker before it’s set, you’ll rip your masterpiece in half. Patience is a flavor.
- Using Straight Coconut Flour: This isn’t a 1-to-1 swap. If you use only coconut flour, you’ll be eating a sponge. Stick to a blend.
- Stacking Hot Waffles: This creates a steam sauna that kills the crunch. Use the wire rack.
Variations & Customizations
Feeling adventurous? Here are three ways to flip the script on these gluten-free waffles:
The Spicy Morning Siren
Add 1 teaspoon of cinnamon, 1/2 teaspoon of ginger, and a pinch of nutmeg to the dry mix. Top with sautéed apples for a “Fall in a bowl” vibe that clears your sinuses.
The Keto-Ish Almond Swap
Replace 1 cup of the GF flour with super-fine almond flour. You’ll need to add an extra egg for binding, but it results in a nutty, rich waffle that is much lower in carbs.
The Savory Vegetarian Twist
Omit the sugar and vanilla. Add 1/2 cup of shredded cheddar and some chopped chives to the batter. Top with a fried egg and hot sauce. It’s a total flavor bomb. 🙂
FAQ Section: All Your Burning Waffle Questions Answered
Why are my gluten-free waffles soggy? You probably put them on a plate too fast or didn’t use enough fat. Ensure your waffle iron is screaming hot and always use the wire rack for cooling.
Can I make the batter ahead of time? You can make the base wet and dry mix, but don’t fold in the egg whites until right before baking. Once those bubbles are in, the clock is ticking!
Can I freeze gluten-free waffles? Heck yes. These are the kings of meal prep. Let them cool, freeze them in a single layer, then toss them in a bag. Reheat in the toaster for maximum crunch.
Which GF flour is the best? I swear by King Arthur Measure for Measure or Cup4Cup. They are engineered to behave like wheat flour so you don’t have to think too hard.
Do I have to use a Belgian waffle maker? Nope! A standard waffle iron works fine, but you’ll need to adjust the batter amount. Just remember: deeper pockets = more syrup.
My waffles are sticking, what happened? Your iron might not be hot enough, or you forgot the grease. Also, don’t try to open it until the steam has completely stopped.
Can I use flax eggs for a vegan version? You can, but you won’t get that airy “loft” from the whipped egg whites. Use a bit more baking powder and a splash of apple cider vinegar to help the rise.
Final Thoughts
There you have it. A gluten-free waffles recipe that actually respects your time and your taste buds. They’re crispy, they’re light, and they’re the only reason I’m willing to interact with people before noon on a Sunday. Once you master this batter, you’ll realize that the frozen yellow boxes were just a sad, cold lie. Go forth, whip some whites, and enjoy the crunch. Just don’t be surprised when your “wheat-eating” friends start stealing from your plate. 🙂

