
The Ultimate Gluten-Free Stuffing: A Holiday Miracle That Actually Tastes Like Bread
Let’s be brutally honest for a second: we’ve all been there. It’s the holidays, the table is groaning under the weight of a golden turkey, and you’re staring down a bowl of “healthy alternative” dressing that has the structural integrity of wet sand and the flavor profile of a dusty attic. You take a bite, and suddenly you’re coughing up clouds of dry rice flour while everyone else enjoys their fluffy, buttery gluten-filled goodness. It’s a culinary betrayal of the highest order. But what if I told you that a gluten-free stuffing actually exists that is savory, moist, and—dare I say it—better than the “real” thing?

I first mastered this recipe after a disastrous Thanksgiving where my “experimental” wheat-free stuffing was so hard we had to use a literal hacksaw to get through the serving dish. After a few tears and a lot of butter-smeared research, I cracked the code. This isn’t just “good for being gluten-free”; it is objectively elite comfort food. If you’re ready to reclaim your holiday glory without the bloating or the heartbreak, you’re in the right place. Ready to make a side dish that actually has a soul? Let’s get into the bread cubes.
Why This Stuffing is the G.O.A.T. of Holiday Sides
Why should you bother making your own gluten-free stuffing when the grocery store sells “stuffing-flavored” sawdust in a box? Because your taste buds have standards, that’s why. First off, this recipe achieves the “holy grail” of holiday textures: a crispy, golden top combined with a center so moist it borders on illegal.

Secondly, it is ridiculously easy. You don’t need a PhD in chemistry to master the moisture ratios. It’s a straightforward sauté-and-bake situation that makes you look like a Michelin-star chef while your kitchen stays relatively intact. Plus, it impresses guests every single time—especially the ones who think “gluten-free” is a synonym for “cardboard.” TBH, it’s the most empowering recipe in any allergy-friendly arsenal. Ready to become the neighborhood holiday legend?
The Grocery List: No Weird Lab Chemicals Allowed
Don’t overcomplicate your life by searching for rare starches harvested under a blue moon. We are using powerhouse pantry staples that actually work together to create holiday magic.
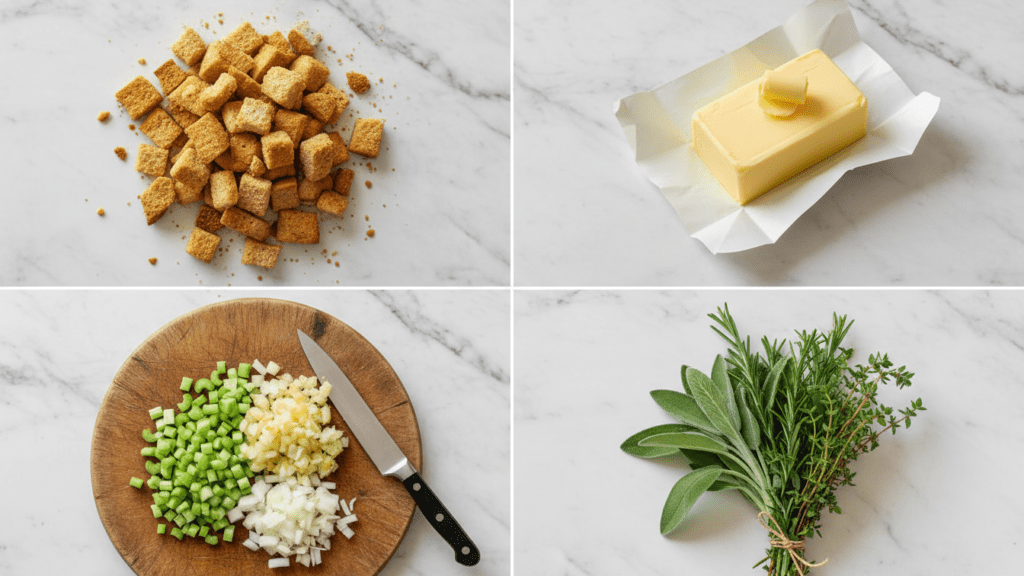
- Gluten-Free Bread: 1 large loaf (approx. 10-12 oz). Use a sturdy brand like Canyon Bakehouse or Schär—flimsy bread will turn into mush.
- Butter: 1/2 cup (one stick) of unsalted butter. We aren’t here for a diet; we’re here for flavor.
- The Veggie Duo: One large yellow onion and 3 stalks of celery. This is the foundation of your flavor empire.
- Garlic: 4 cloves. Measure garlic with your heart, not your eyes.
- Fresh Herbs: Sage, rosemary, and thyme. Fresh is non-negotiable if you want that “viral” aroma.
- Vegetable or Chicken Broth: 2 to 3 cups. Low-sodium is best so you can control your own salt drama.
- Eggs: 2 large eggs. This provides the “glue” that gluten usually handles.
- Salt & Pepper: Because flavorless stuffing is a culinary felony.
Tools & Kitchen Gadgets Used
To make this the smoothest cooking experience of your life, snag these basics. I’ve linked my favorites so you can treat your kitchen to the upgrades it deserves!
- A Solid 9×13 Baking Dish: Your stage for this buttery performance. Check out this ceramic dish on Amazon.
- Heavy-Bottomed Skillet: For sautéing everything without the “hot spots.” This Lodge skillet is a legend.
- Sharp Chef’s Knife: Dull knives lead to jagged celery and bad moods. Grab this ergonomic Victorinox knife here.
- Large Glass Mixing Bowl: You need room to toss those bread cubes with enthusiasm. Get a sturdy set here.
- Digital Kitchen Scale: Because “one loaf” is an existential crisis. Get a reliable scale here.
Step-by-Step Instructions: The Path to Glory
Follow these steps precisely. TBH, the order of operations is the difference between a masterpiece and a starchy brick.
1. The Great Dehydration
Preheat your oven to 300°F (150°C). Cut your gluten-free bread into 1-inch cubes. Spread them on a baking sheet and bake for 20-30 minutes until they feel like croutons. FYI: if your bread is still soft, it will disintegrate when you add the broth. Dry bread is a happy bread.
2. Sweat the Aromatics
Heat the butter in your skillet over medium heat. Add your diced onion and celery. Sauté them for about 8-10 minutes until they are translucent and starting to look golden. Add the minced garlic and cook for just 60 seconds. If you burn the garlic, we aren’t friends.
3. The Herb Infusion
Add your chopped fresh sage, rosemary, and thyme to the skillet. Stir for 2 minutes. The smell should currently be making your neighbors jealous. Turn off the heat and let the butter absorb all those herbal vibes.
4. The Big Combine
In your large mixing bowl, toss the dried bread cubes with the buttery veggie mixture. In a separate smaller bowl, whisk the eggs into 2 cups of the broth. Pour this liquid over the bread and toss gently.
5. The Moisture Check
Let the mixture sit for 5 minutes. If the bread has soaked up all the liquid and still feels hard, add another 1/2 cup of broth. You want the cubes to be soft but not falling apart. This is where you find your zen.
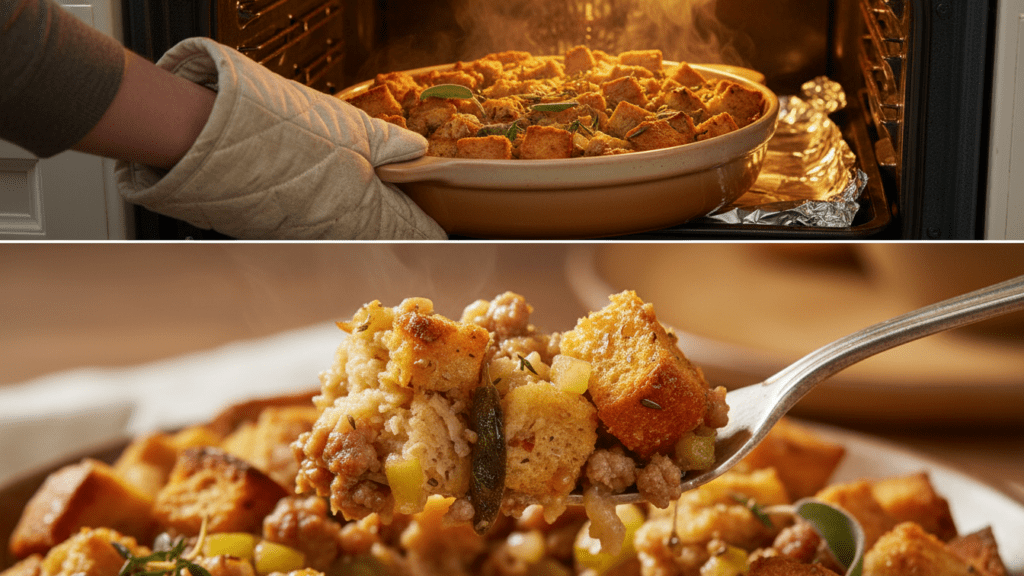
6. The Big Bake
Increase oven temp to 350°F (175°C). Transfer the mixture to your 9×13 baking dish. Cover with foil and bake for 20 minutes. Remove the foil and bake for another 15-20 minutes until the top is crispy and golden brown. Let it rest for 10 minutes before serving so the structure can “set.”
Calories & Nutritional Info
For those of you who track your stats like a part-time job, here is the lowdown per serving (serves 8):
- Calories: ~240 kcal
- Net Carbs: ~28g (The holiday energy you need!)
- Protein: ~4g (Thanks, eggs and bread!)
- Fat: ~12g (The price of buttery goodness)
- Fiber: ~3g (Depends on your bread choice)
Common Mistakes to Avoid: Don’t Be That Person
Even a recipe this simple can go sideways if you get cocky. Avoid these blunders to keep your kitchen dignity.
- Using Wet Bread: I will say it again: dry your bread cubes. Fresh GF bread is essentially a sponge that will turn into a starchy puddle.
- Using Dried Herbs: Dried sage tastes like dust. Use fresh herbs for that authentic holiday hit.
- Adding Too Much Liquid at Once: You can add broth, but you can’t take it away. Add slowly and trust your instincts.
- Buying Pre-Cubed GF Stuffing: Often, these are flavorless rocks. Cube your own loaf for the best texture.
- Over-mixing: Treat your bread cubes with respect. Fold gently, don’t mash, or you’re making bread pudding.
Variations & Customizations
Feeling adventurous? Here are three ways to flip the script on this gluten-free stuffing:
The Sausage Siren
Add 1/2 pound of browned pork sausage or spicy Italian sausage to the mix before baking. It adds a smoky depth that will keep the carnivores from complaining.
The Spicy Cranberry Kick
Stir in 1/2 cup of dried cranberries and a diced jalapeño during the veggie sauté. It turns the stuffing into a sweet-and-spicy fusion masterpiece.
The Vegetarian Mushroom Swap
Ditch the chicken broth and add 8oz of sautéed cremini mushrooms. It provides a “meaty” texture and rich umami flavor that is 100% plant-based (if you use vegan butter). 🙂
FAQ Section: You Asked, I Answered
Why is my gluten-free stuffing gummy? You probably used too much broth or your bread wasn’t dry enough. Next time, ensure the cubes are bone-dry croutons before mixing and add broth in stages.
Can I make this ahead of time? Yes, you absolute genius. Assemble the whole thing, cover it with plastic wrap, and keep it in the fridge for up to 24 hours. Just add 10 minutes to the baking time since you’re starting from cold.
Can I freeze gluten-free stuffing? Absolutely. Freeze it after baking. Wrap it tightly in foil and it stays good for 3 months. Reheat in the oven at 350°F until the top gets its crunch back.
Do I have to use eggs? You don’t have to, but the eggs act as the binder that holds the cubes together. Without them, it will be a bit crumbly. For a vegan swap, use a flax egg.
Which GF bread is best for stuffing? I prefer sturdy sourdough or multigrain loaves. Avoid the “white bread” varieties that are mostly air and starch; they disappear into the sauce too easily.
Can I cook this inside the turkey? IMO, no. Gluten-free bread is more temperamental than wheat bread. Cooking it in the bird makes it difficult to control the moisture levels and the crispiness. Use a baking dish!
How do I get the top extra crispy? Drizzle an extra 2 tablespoons of melted butter over the top during the last 10 minutes of baking. It’s a total flavor bomb.
Final Thoughts
There you have it. A gluten-free stuffing that actually respects your time and your taste buds. It’s smoky, it’s thick, and it’s the only meal that makes me feel like I’m winning at adulthood on a random holiday. Once you make this, you’ll realize that the store-bought stuff in the plastic bag is just a sad, salty lie. Go forth, sauté some onions, and enjoy the crispy glory. Just don’t be surprised when your meat-loving friends start raiding your leftovers. 🙂

