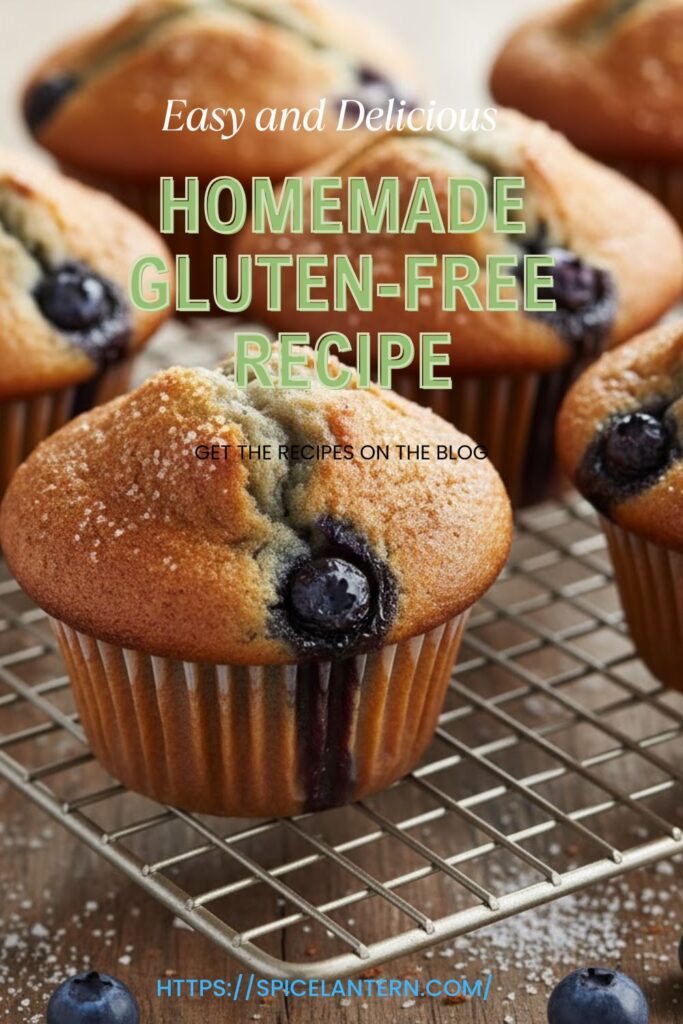
No Gluten, No Problem: Your Easy Guide to Fluffy, Non-Cardboard Gluten-Free Muffins
Let’s be honest, the moment someone says “Gluten-free baking,” a little part of you sighs dramatically. You picture dense, dry crumb that crumbles into a pile of sadness the moment you touch it. It’s the culinary equivalent of eating expensive sand. Am I right? Well, forget that narrative! I cracked the code to truly delicious, fluffy, moist muffins that just happen to be gluten-free. This isn’t about compromise; it’s about making a treat so good that your gluten-eating friends won’t even realize they’ve been tricked. Prepare to feel smug about your healthier, yet somehow better, baking choices.
Why This Recipe Is Awesome (And Why It Won’t Turn into Bricks)
Why commit to this recipe? Because it solves the biggest problems of gluten-free baking with minimal fuss.
- Moisture is Mandatory: We use a secret blend of wet ingredients to ensure these muffins stay soft and tender for days—a miracle in the GF world! They defy the typical dry texture.
- The Binder Battle Winner: We use a touch of xanthan gum (or an equivalent) to mimic the structure that gluten usually provides. This prevents the dreaded crumbling effect. It’s science, but easy science, so don’t panic.
- Zero Grittiness: We rely on high-quality, pre-blended flours and allow a short rest period for proper hydration. This avoids that awful, gritty texture that makes you feel like you’re chewing beach sand. You truly won’t miss the gluten, IMO.
Ingredients: The Building Blocks of Better Baking
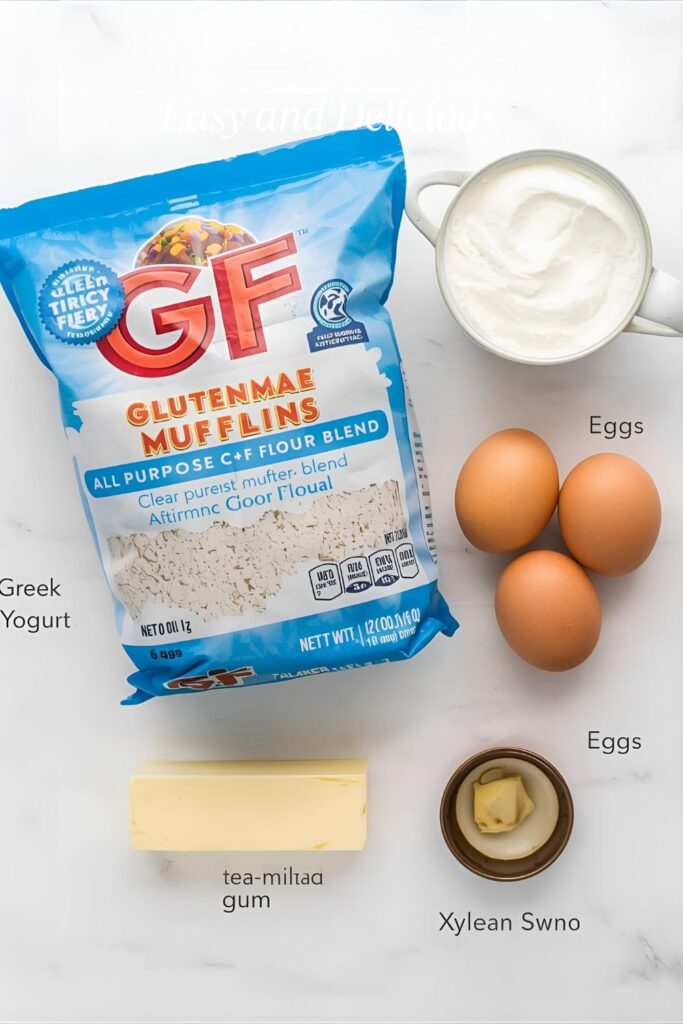
Baking without gluten means being very specific about your powders and binders. Trust the process!
- 2 cups (240g) All-Purpose Gluten-Free Flour Blend (with Xanthan Gum): Use a blend that already contains xanthan gum for simplicity! Bob’s Red Mill 1-to-1 or King Arthur Measure for Measure work well.
- 1 teaspoon Baking Powder: Our main leavener for that necessary lift.
- ½ teaspoon Baking Soda: Works with the yogurt/acid for extra puff.
- 1 teaspoon Xanthan Gum: (Omit if your flour blend already contains it! Crucial to prevent crumbling!)
- ½ teaspoon Salt: Essential for enhancing flavor.
- ¾ cup Granulated Sugar: Just enough sweetness.
- ½ cup (1 stick) Unsalted Butter (Melted and Cooled): For richness and tenderness.
- 2 large Eggs (Room Temperature): The secondary binder and lift.
- ½ cup Milk (Dairy or Non-Dairy): Adds moisture.
- ½ cup Plain Greek Yogurt or Sour Cream: The secret weapon for moisture and tang. Full-fat is best!
- 1 teaspoon Vanilla Extract: For flavor, obviously.

Key Substitutions:
- GF Flour Blend: If your blend doesn’t contain xanthan gum, add 1 teaspoon of it yourself.
- Greek Yogurt: Sour cream or Buttermilk work beautifully. Buttermilk adds a lovely tang!
- Dairy Milk: Almond milk or oat milk are perfect non-dairy alternatives.
Tools & Kitchen Gadgets Used: Your Tidy Toolkit
Keep your workflow clean to avoid cross-contamination and messy mistakes.
- Large Mixing Bowl: For combining everything.
- Whisk: For dry ingredients.
- Rubber Spatula: For mixing the wet and dry ingredients. Do not overmix!
- 12-Cup Muffin Tin: The classic choice.
- Paper Liners or Silicone Liners: Use these! GF baked goods love to stick.
- Kitchen Scale: MANDATORY for flour. GF flours vary wildly by density, so measuring by weight ensures accuracy.
- Small Ice Cream Scoop: For evenly portioning the batter (this ensures even baking).
Step-by-Step Instructions: The Gluten-Free Glow-Up
Work quickly and gently. Remember, we are not developing gluten, so gentle folding is your new mantra.
Step 1: Combine the Dry & Hydrate (2 Minutes)
- In your large mixing bowl, whisk together the GF flour blend, baking powder, baking soda, xanthan gum (if using), salt, and sugar. Make sure the dry ingredients are fully distributed.
- Set the bowl aside.
Step 2: The Wet Mix Wonder (3 Minutes)
- In a separate bowl, whisk the melted and cooled butter, eggs, milk, Greek yogurt, and vanilla extract. Whisk until completely smooth. Room temperature eggs help everything emulsify better.
Step 3: Gentle Folding (2 Minutes)
- Pour the wet mixture into the dry mixture.
- Using a rubber spatula, gently fold the ingredients until they are just combined. You should see a few small streaks of flour remaining. Stop mixing immediately! Overmixing develops toughness in GF flours.
Step 4: The Mandatory Rest (10 Minutes)
- Stop everything. Cover the bowl and let the batter rest on the counter for 10 minutes.
- Why? Gluten-free flours take longer to fully absorb liquid than wheat flour. This rest prevents a gritty texture and gives you a moister final product.
Step 5: Scoop and Bake (25 Minutes)
- Preheat your oven to 375°F (190°C). Line your muffin tin with liners.
- After the rest, give the batter one final, gentle stir.
- Use your ice cream scoop to fill each muffin liner 2/3 to ¾ full. Even scoops equal even baking.
- Bake for 20-25 minutes, or until a toothpick inserted into the center of a muffin comes out with moist crumbs attached (not wet batter).
- Let them cool in the pan for 5 minutes before transferring to a wire rack to cool completely.
Calories & Nutritional Info: The Delicious Deets (Estimated)
These are estimates for one standard-sized muffin without added toppings like chocolate chips or fruit.
- Calories per serving (1 muffin): ~200-240 calories
- Carbohydrates: ~30-40g
- Protein: ~3-5g
- Fat: ~10-14g
- Notes: This recipe is naturally high in calcium if using dairy milk/yogurt. Remember to use certified GF ingredients if baking for someone with Celiac disease.
Common Mistakes to Avoid: From Fluff to Flop
Avoid these pitfalls—the gluten-free gods demand accuracy!
- Ignoring the Scale: The biggest sin in GF baking! GF flours pack down easily. You must weigh your flour to ensure you don’t add too much, which leads to dry, dense muffins.
- Overmixing the Batter: Since there is no gluten to develop, overmixing activates the starches and makes the finished product tough and gummy. Mix gently until just combined.
- Forgetting the Binder: Omitting or under-measuring the xanthan gum (if needed) results in a loaf of delicious crumbs. You need that binder to give the muffins structure.
- No Rest Zone: Skipping the 10-minute rest means the starches don’t fully hydrate, leaving you with that unpleasant gritty texture. Just walk away for 10 minutes!
- Using Cold Ingredients: Cold eggs or cold milk causes the melted butter to seize up, preventing the fats from mixing evenly with the flours. Room temperature ingredients mix better and give you a fluffier final texture.
Variations & Customizations: Your Muffin Masterpiece
The fun begins once you have the perfect base recipe.
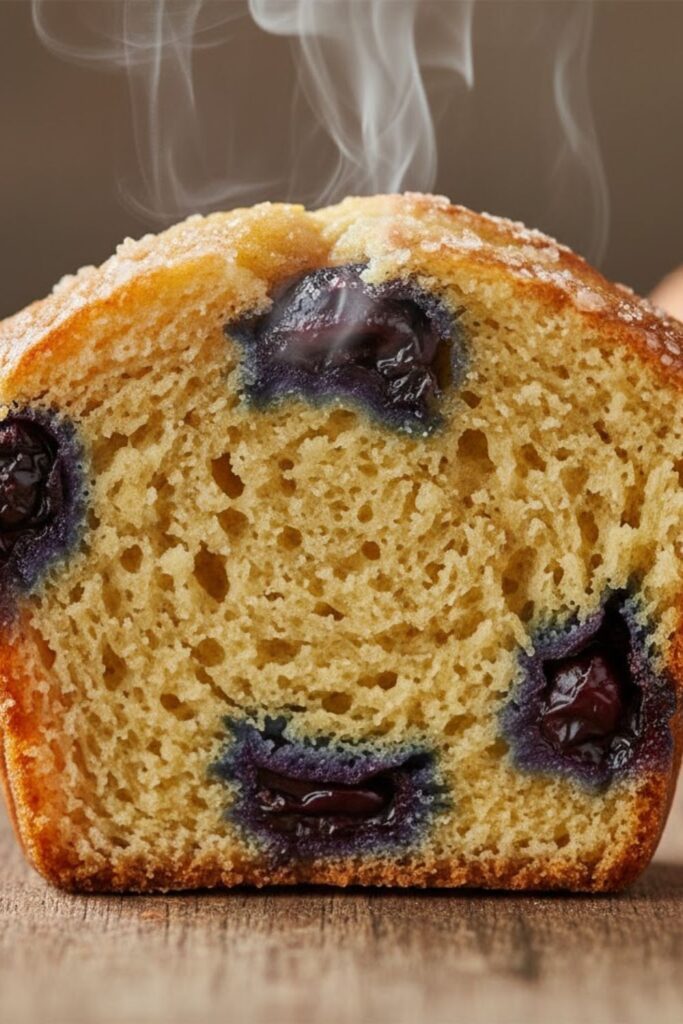
- Classic Blueberry: Gently fold in 1 cup of fresh or frozen blueberries (toss frozen berries in 1 tsp of flour first to prevent sinking) in Step 3.
- Chocolate Chip Indulgence: Fold in ½ cup of high-quality dark chocolate chips in Step 3. No one needs to be healthy all the time.
- Lemon Poppy Seed Zing: Add 1 tablespoon of lemon zest (from one lemon) and 2 teaspoons of poppy seeds to the dry ingredients. Substitute lemon juice for 1 tablespoon of the milk in the wet ingredients.
FAQ Section: Your Baking Blueprint
You’re curious, and I respect that. Here are the most common questions about baking without gluten.
Q1: What is xanthan gum and why do I need it?
A: Xanthan gum is a hydrocolloid (a fancy word for thickener) derived from fermented sugar. It acts as a binder and stabilizer, mimicking the elasticity and structure that gluten usually provides in wheat flour.
Q2: Can I substitute different gluten-free flours?
A: It is risky! Gluten-free baking relies on blends. Flours like almond, coconut, or rice flour absorb liquid differently. Always stick to a pre-mixed, all-purpose GF blend for recipes unless specified otherwise.
Q3: Why did my muffins come out dense and flat?
A: Usually, this points to old or inactive baking soda/powder (test them!). It can also happen if you used too much liquid or forgot to measure your flour by weight (leading to excess flour).
Q4: What is “cross-contamination” and how do I avoid it?
A: Cross-contamination occurs when gluten crumbs contaminate GF food. If you live with gluten-eaters, use dedicated GF appliances (like a toaster), clean cutting boards, and new parchment paper.
Q5: My muffins were great on day one but rubbery on day two. Why?
A: Gluten-free baked goods lose moisture quickly because they lack gluten’s moisture-retaining properties. Store them in an airtight container and quickly microwave or toast them to bring back the softness.
Q6: Can I use almond flour instead of the blend?
A: Not directly. Almond flour is much heavier and absorbs less liquid. Substituting it 1:1 will result in a flat, greasy, dense product. You need to adjust the liquid, eggs, and binders significantly.
Q7: Should I use a silicone or metal pan for GF baking?
A: Both work, but silicone liners or parchment paper are highly recommended for GF baking. They are prone to sticking to metal pans, which results in heartbreakingly broken bottoms.
Final Thoughts: The Crumbly Curse is Broken
Look at you, you magnificent baker! You conquered the Gluten-free challenge and produced a batch of muffins so soft and fluffy they should be illegal. You broke the curse of the dense, dry crumb. Go ahead and take a big, glorious, guilt-free bite. Share this recipe with anyone who thinks baking without gluten means sacrificing flavor. You’ve earned the smug look of victory.