
🥜 The “Oops, I Forgot the Flour” Miracle: Mastering Ultimate Gluten-Free Peanut Butter Cookies
Let’s be brutally honest: most gluten-free cookies have the structural integrity of a sandcastle in a hurricane and the flavor profile of a dusty cardboard box. It’s a culinary tragedy! But then, the universe gave us the gluten-free peanut butter cookies of our dreams—a recipe so naturally wheat-free that it doesn’t even need those weird expensive flour blends that taste like chalk and broken promises. This is the “God Tier” of pantry desserts, and it’s about to change your life.
I once served a batch of these to a friend who genuinely believes that “gluten-free” is a government conspiracy designed to ruin happiness. He ate six of them before I told him there wasn’t a single grain of wheat in the building. The look of pure betrayal on his face—followed by him reaching for a seventh cookie—was the highest form of praise I’ve ever received. Are you ready to bake a cookie so soft and salty-sweet that people will actually start liking you again?
🏆 Why This Recipe is the Actual GOAT

Why should you bother preheating the oven for gluten-free peanut butter cookies when you could just buy a pack of processed disappointment at the gas station? Because these cookies offer a depth of flavor that a factory simply cannot compute. We are talking about a literal melt-in-your-mouth experience that relies on the natural oils of the peanut, not a cup of industrial filler.
This recipe is awesome because it’s a “one-bowl wonder” that secretly takes about five minutes to prep. It impresses guests because it looks intentional and rustic, while secretly being the easiest thing you’ve ever baked. Plus, it’s the ultimate “clean out the pantry” move for when you realize you’re low on groceries but high on cravings. It’s the undisputed champion of low-effort, high-reward baking, IMO.
🧂 The “Nutty-But-Nice” Ingredient List
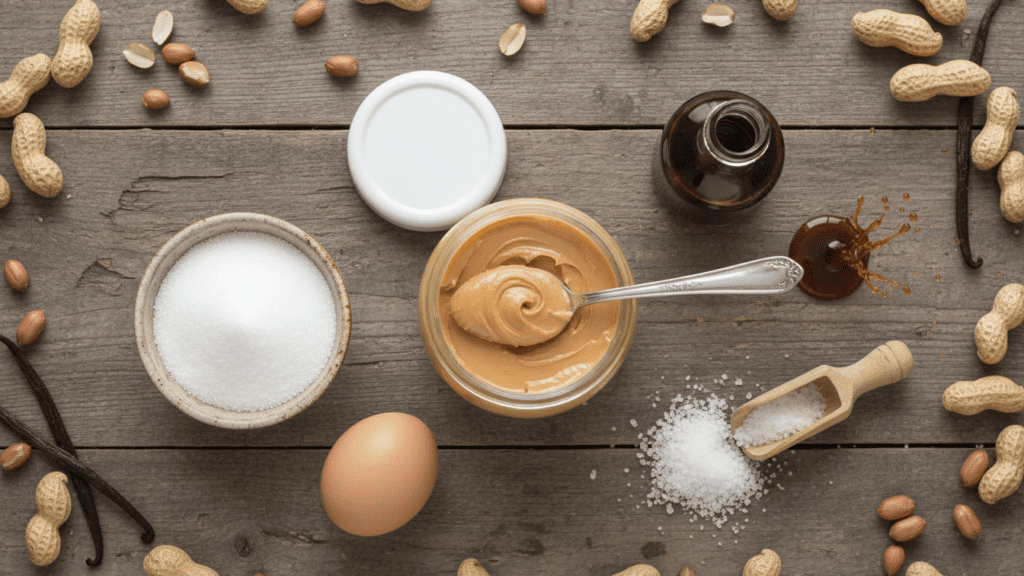

Success depends on the quality of your spread. If you use that “natural” peanut butter that requires a jackhammer to stir, your cookies might get crumbly. Stick to the classic, creamy stuff for the best results!
- 1 Cup Creamy Peanut Butter: Use the standard brands (Skippy/Jif) for that iconic childhood texture.
- 1 Cup Granulated Sugar: White sugar creates those beautiful crisp edges.
- 1 Large Egg: Room temperature, please. It’s the “glue” holding this whole operation together.
- 1 Teaspoon Vanilla Extract: Measure with your heart, but try to stay near a teaspoon.
- ½ Teaspoon Sea Salt: To balance the sugar—don’t skip this.
- Optional: ½ Cup Semi-Sweet Chocolate Chips (because we live in a society).
Key Substitutions
- Sugar Swap: You can use light brown sugar for a chewier, more caramel-like vibe.
- Nut Swap: Almond butter works perfectly if you’re trying to be fancy, but the flavor will be milder.
- Vegan Option: A “flax egg” (1 tbsp ground flax + 3 tbsp water) works surprisingly well here.
🔪 Tools & Kitchen Gadgets Used
You don’t need a professional laboratory, but a few basics will keep you from having a kitchen-induced breakdown.
- Large Glass Mixing Bowl: For the ultimate one-bowl convenience. Check out nested sets here!
- Electric Hand Mixer: Unless you want a forearm workout from the 1800s. Grab a reliable one here!
- Baking Sheet & Parchment Paper: To prevent “stuck cookie syndrome.” Check out non-stick pans here!
- Standard Fork: For the essential “criss-cross” texture ritual.
- Cookie Scoop: For uniform cookies that don’t fight each other on the tray. Get a sturdy scoop here!
👩🍳 Step-by-Step Instructions: The Path to Nutty Glory
Follow these steps, and please, for the love of all things holy, do not overbake them. A brown cookie is a sad, dry cookie.
1. The Pre-Game
Preheat your oven to 350°F (175°C). Line your baking sheet with parchment paper. If you skip the parchment, don’t come crying to me when your cookies become permanent residents of your pan.
2. The Great Fusion
In your large bowl, combine the peanut butter, sugar, egg, salt, and vanilla. Use your hand mixer to beat them together for about 2 minutes. TBH, the dough should look a bit like oily play-dough. That is exactly what we want.
3. The Chip Drop
If you’re using chocolate chips, fold them in now with a spatula. This is the stage where you realize that a 1:1 ratio of dough to chocolate is a perfectly valid life choice.
4. The Scoop
Use your cookie scoop to drop rounded tablespoons of dough onto the sheet. Space them about 2 inches apart. They don’t spread much, but they still need their personal space.
5. The Criss-Cross Ritual
Take a fork and press it into the top of each dough ball. Turn the fork 90 degrees and press again. This isn’t just for looks—it helps these flourless beauties cook evenly. FYI, if the fork sticks, dip it in a little extra sugar first.
6. The Big Bake
Slide the tray into the oven for 10–12 minutes. STOP when the edges are just barely golden. They will look underdone in the center. Trust the process!
7. The Final Rest (Crucial!)
Let them sit on the hot pan for at least 10 minutes. These cookies are very fragile when hot because they lack gluten. They need this time to “set” their structure. If you move them too soon, you’ll have delicious peanut butter crumbs.
📊 Calories & Nutritional Info (The Justification)
Since we skipped the flour, we can legally pretend these are high-protein energy bars. Right?
- Estimated Calories Per Cookie: $\approx$ 120–150 kcal.
- Protein: About 4g per cookie—not bad for a dessert!
- Healthy Fats: High in monounsaturated fats from the peanut butter.
- Vitamin E: A nice antioxidant boost for your skin.
- Mood: Scientifically proven to improve by 1,000% after the first bite.
🚨 Common Mistakes to Avoid (The Hall of Shame)
Avoid these if you want people to actually keep talking to you at the party.
- Using Oily “Natural” PB: The kind with an inch of oil on top will make your cookies greasy puddles. Stick to the stabilized stuff.
- Overbaking: If they look “done” in the oven, they are overcooked. Pull them out early.
- Skipping the Salt: Peanut butter needs salt to sing. Add that sea salt.
- Not Letting Them Cool: I know it’s hard, but patience is a virtue. They will fall apart if you touch them before 10 minutes. 🙂
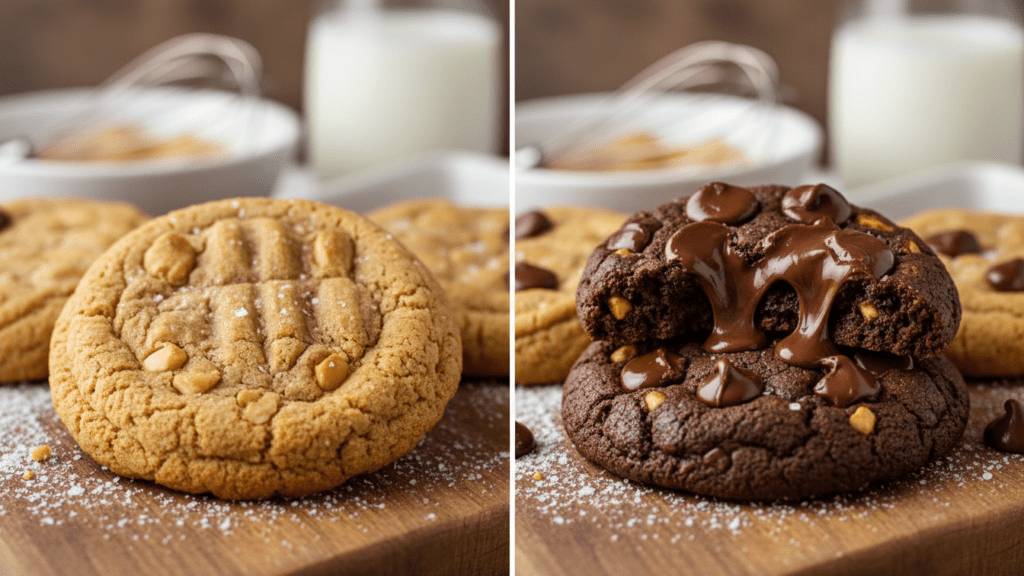
✨ Variations & Customizations
Make it yours, you kitchen rebel.
1. The Keto-Friendly Swap
Replace the sugar with Erythritol or Monk Fruit Sweetener. Use a sugar-free peanut butter. It’s a low-carb miracle that actually tastes like a treat.
2. The “Fire-Breather” Version
Add a pinch of Cayenne pepper to the dough. It sounds crazy, but the heat against the salty peanut butter is a sophisticated “adult” kick.
3. The PB&J Thumbprint
Instead of the criss-cross, press your thumb into the center and add a tiny dollop of strawberry jam before baking. It’s a nostalgic masterpiece.
❓ FAQ Section: Your Cookie Queries Answered
Why are my cookies falling apart?
You likely didn’t let them cool on the pan. These cookies rely on the sugar hardening as they cool to hold them together. Give them 10-15 minutes!
Can I make these with crunchy peanut butter?
Absolutely! It adds a great texture. Just make sure it’s a brand that doesn’t have too much separated oil.
Can I freeze the dough?
Yes! Roll them into balls (skip the fork press), freeze on a tray, and then toss in a bag. Thaw for 10 minutes before pressing and baking.
Is peanut butter actually gluten-free?
Most are! Standard peanut butter is naturally GF, but always check the label for “cross-contamination” warnings if you are serving someone with Celiac disease.1
Can I use a different sweetener?
Maple syrup or honey can work, but they change the moisture content. If you use liquid sweetener, you might need to add a little almond flour to compensate.
Why do I need to do the fork pattern?
Because there is no flour, the dough is very dense. The fork marks flatten the cookie so the heat can reach the center without burning the edges.
How long do they stay fresh?
Store them in an airtight container for up to 5 days. They actually get a little fudgier on day two!
🥂 Final Thoughts: Go Forth and Slay!
You’ve done it. You’ve successfully navigated the world of gluten-free baking without ending up with a tray of sweet sand. You are now a titan of the baking sheet and a hero of the wheat-free world. Go ahead, have that fourth cookie—it’s mostly protein, right? Just don’t tell me if you used a microwave to “bake” them; I have a reputation to maintain. 🙂

