
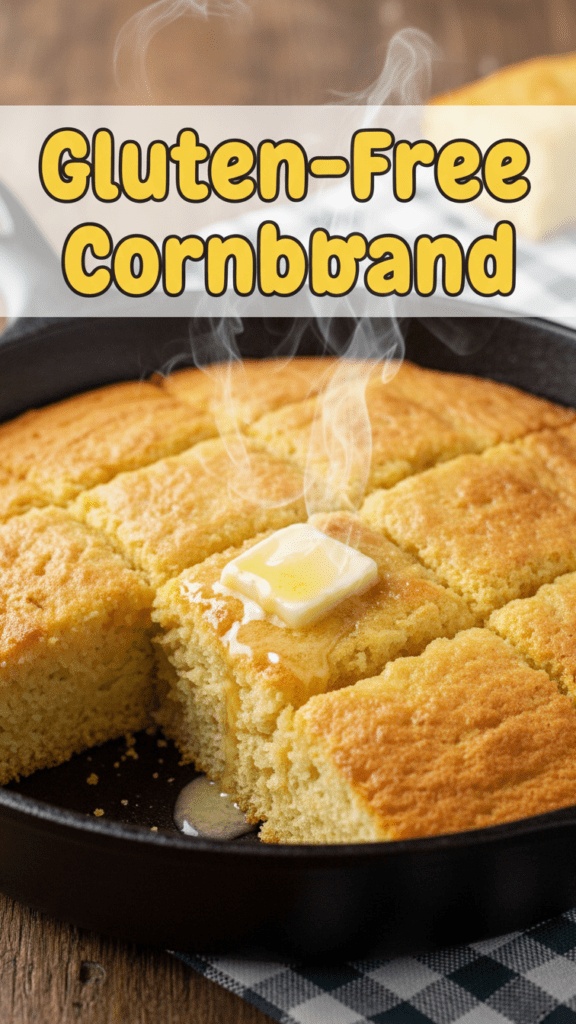
The Ultimate Gluten-Free Cornbread: So Good You’ll Forget the Gluten Exists
Ever gone to a BBQ and stared longingly at the golden, buttery bread while clutching your sad, gluten-free rice cake? It’s a tragedy of Shakespearean proportions. We’ve all endured that one crumbly, dry gluten-free cornbread that tastes more like a desert sandstorm than a delicious side dish. Why does the universe punish our stomachs with textures that resemble birdseed? Honestly, I’ve spent years trying to crack the code on a loaf that doesn’t require a gallon of water to swallow. Good news: I finally did it, and your chili is about to find its new best friend.
Why This Gluten-Free Cornbread Actually Slaps
Most gluten-free recipes treat “moisture” like a suggestion rather than a requirement. This recipe changes the game because it uses a specific ratio of fat to cornmeal that keeps things tender for days. Have you ever wanted a bread that actually stays together when you butter it? This is that bread.

You’ll love this because it takes about ten minutes of actual work. It’s the kind of recipe that makes you look like a domestic god or goddess while you’re secretly still wearing your pajama bottoms. Whether you’re feeding picky kids or trying to impress that one friend who thinks gluten-free means “taste-free,” this golden pan of joy delivers every single time.
The Ingredient Lineup: No Weird Science Experiments Here
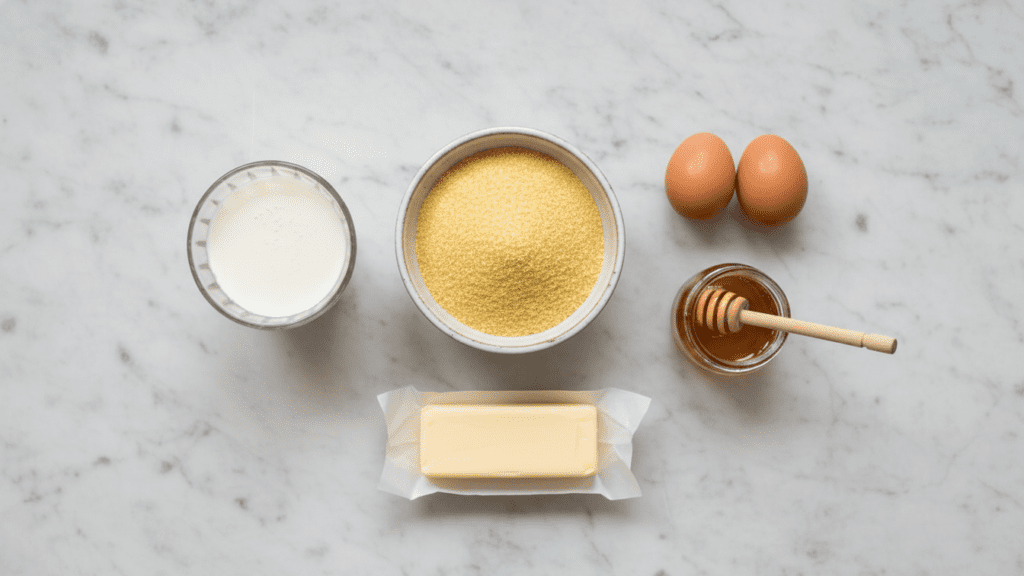
You don’t need to hunt down rare dragon scales or expensive specialty gums for this. Most of this is likely sitting in your pantry right now, just waiting for its moment to shine.
- 1 ½ cups Yellow Cornmeal (Check the label to ensure it’s certified gluten-free!).
- 1 cup Gluten-Free All-Purpose Flour Blend (Look for one with Xanthan gum already included).
- ¼ cup Granulated Sugar (We’re going for “Southern sweet-ish,” not “Birthday Cake”).
- 1 tbsp Baking Powder (This gives us that glorious lift).
- 1 tsp Salt (Don’t skip it; salt wakes up the corn flavor).
- 1 cup Buttermilk (The secret to a tender crumb; see substitutions below).
- 2 Large Eggs (Room temperature makes for a smoother batter).
- ½ cup Unsalted Butter, melted (Because butter makes life worth living).
- 2 tbsp Honey (Adds a floral sweetness and keeps the bread moist).

Key Substitutions: If you don’t have buttermilk, mix 1 cup of milk with 1 tablespoon of lemon juice and let it sit for five minutes. Voila! You’ve just hacked your way to chemistry success. IMO, this works just as well as the store-bought stuff.
The Gear: Your Cornbread Command Center
Before you start, make sure you have these tools ready. Using the right equipment prevents the “oh no, where is the whisk” panic halfway through the process.
- 8×8 Inch Square Baking Pan (Glass or metal works fine).
- Large Mixing Bowl (For the dry stuff).
- Medium Mixing Bowl (For the wet stuff).
- Whisk (To get rid of those pesky flour clumps).
- Silicone Spatula (To scrape every golden drop into the pan).
- Wire Cooling Rack (Soggy bottoms are for swimsuits, not bread).
- Measuring Cups and Spoons (Precision is your friend, people).
Step-By-Step: Let’s Make Magic Happen
Ready to bake? Follow these steps, keep your eyes on the prize, and try not to eat the raw batter (actually, it has eggs, so maybe don’t).
Step 1: Heat Things Up
Preheat your oven to 400°F. You want that oven hot and ready the second the batter hits the pan. Grease your baking pan with a bit of butter or non-stick spray. If you’re feeling fancy, you can even line it with parchment paper for an easy exit.
Step 2: Mix the Dry Party
In your large bowl, whisk together the cornmeal, gluten-free flour, sugar, baking powder, and salt. Make sure everything is evenly distributed. Do you see any clumps? Whisk them into oblivion.
Step 3: The Wet Connection
In your medium bowl, beat the eggs, then stir in the buttermilk, melted butter, and honey. Make sure your butter isn’t boiling hot, or you’ll end up with scrambled eggs in your batter. Nobody wants breakfast-cereal bread.
Step 4: The Great Convergence
Pour the wet ingredients into the dry ingredients. Use your spatula to fold them together until just combined. Over-mixing is the enemy of fluffiness. Stop the moment you don’t see any more dry flour streaks.
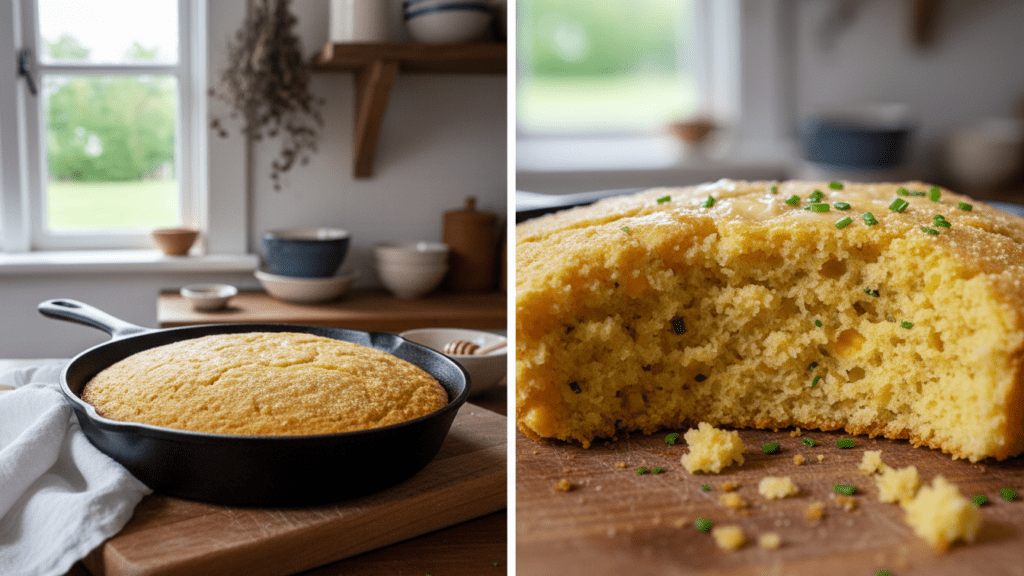
Step 5: Bake to Perfection
Pour the batter into your prepared pan and smooth the top. Slide it into the oven and bake for 20-25 minutes. You’re looking for a beautiful golden-brown edge and a center that springs back when touched. A toothpick inserted in the middle should come out clean.
Step 6: The Cooling Torture
Let the cornbread cool in the pan for at least 10-15 minutes. I know, the smell is intoxicating, but cutting it too early makes it crumble. Exercise some self-control!
Calories & Nutritional Info (Per Square)
Let’s be real, we’re here for the butter, but for those of us tracking the stats, here is the breakdown for one of nine generous squares:
- Calories: 245 kcal
- Total Fat: 12g
- Saturated Fat: 7g
- Carbohydrates: 31g
- Fiber: 2g
- Protein: 4g
- Sugar: 9g
Common Mistakes to Avoid (Learn From My Pain)
Don’t let your cornbread dreams turn into a kitchen nightmare. Avoid these classic blunders:
- Using Coarse Gritty Cornmeal: Unless you like the texture of gravel, use fine or medium-grind cornmeal.
- Forgetting the Xanthan Gum: If your flour blend doesn’t have it, your bread will fall apart if someone even looks at it funny. Add ¼ tsp if your blend is missing it.
- Over-baking: Gluten-free treats go from “perfect” to “hockey puck” in about three minutes. Check it at the 20-minute mark.
- Cold Ingredients: Using cold eggs and buttermilk can make your melted butter seize up into little chunks. Bring them to room temp first!
Variations & Customizations
Once you master the base, it’s time to get creative. Why settle for plain when you can have a party in a pan?
- The Jalapeño Popper: Fold in ½ cup of shredded cheddar cheese and 2 tablespoons of minced jalapeños. It’s spicy, cheesy, and absolutely addictive.
- The Maple Bacon: Stir in ¼ cup of crispy bacon bits and swap the honey for pure maple syrup. This is basically a legal way to eat dessert for dinner.
- The Vegan-Friendly Swap: Use almond milk with apple cider vinegar instead of buttermilk and swap the eggs for flax eggs. Use melted coconut oil instead of butter. TBH, it’s surprisingly good.
FAQ: Your Cornbread Curiosities Answered
Is all cornmeal gluten-free? Technically, corn is gluten-free, but many brands process it on the same equipment as wheat. Always look for that certified gluten-free label to be safe!
Why did my cornbread crumble so much? Usually, this means it’s either over-baked or you didn’t let it cool long enough. Gluten-free structures need a few minutes to “set” after leaving the oven.
Can I make this in a cast-iron skillet? Yes! In fact, I highly recommend it. Melt a tablespoon of butter in the skillet in the oven while it preheats, then pour the batter into the hot pan for a super crispy crust.
Can I freeze this? Absolutely. Wrap individual squares in plastic wrap and stick them in a freezer bag. They’ll last for 3 months. Just toast them up when the craving hits.
Can I use a different flour like almond or coconut? I wouldn’t recommend a direct swap. Almond and coconut flours absorb liquid differently. Stick to a high-quality GF all-purpose blend for the best results.
My cornbread is too dry. What happened? You might have packed your flour into the measuring cup. Use the “spoon and level” method to ensure you aren’t using too much dry material.
How do I store the leftovers? Keep it in an airtight container at room temp for 2 days, or in the fridge for up to 5. It tastes best when reheated with a little extra butter.
Final Thoughts
You’ve done it! You’ve conquered the beast that is gluten-free cornbread. No more sad, dry sides at your dinner table. Now, go forth and dunk these golden squares into a big bowl of chili or smother them in honey butter until you can’t see the bread anymore. If your family finishes the whole pan before you get a piece, don’t say I didn’t warn you. Happy baking, you absolute kitchen legend!

