
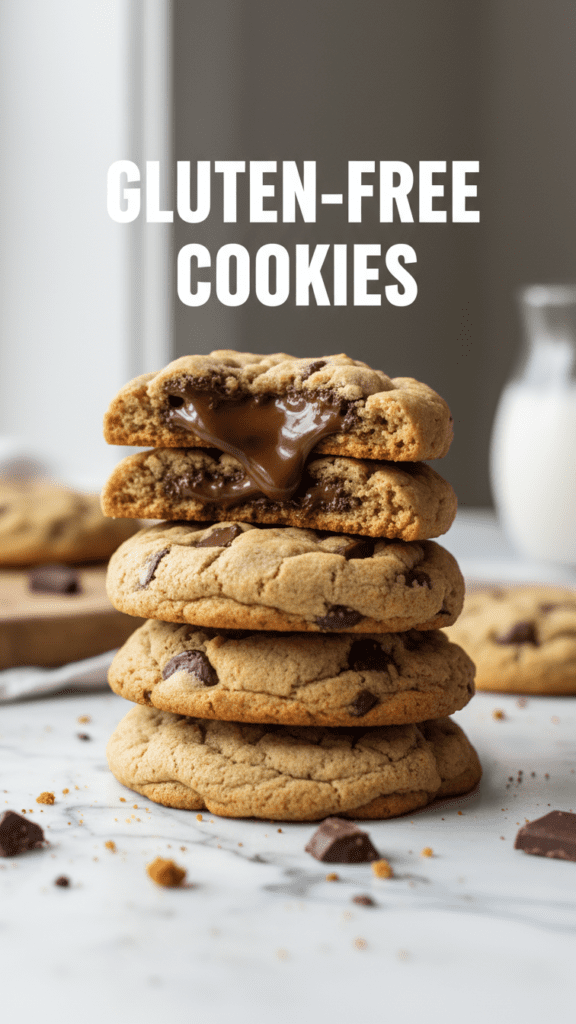
The Ultimate Gluten-Free Chocolate Chip Cookies: Chewy, Gooey, and Zero Sadness
Let’s be brutally honest for a second: most gluten-free baking has the structural integrity of a wet paper towel and the flavor profile of a dusty attic. We’ve all been there, staring down a “health food” cookie that shatters into a million sandy pieces the moment it hits your teeth. It’s a culinary betrayal, really. But what if I told you that these gluten-free cookies actually bend, chew, and—dare I say—taste better than the wheat-filled originals?

I first mastered this recipe after a disastrous office potluck where my “experimental” GF treats were used as emergency doorstops. After a few tears and a lot of flour-dusted research, I cracked the code. This isn’t just “good for being gluten-free”; it is objectively elite. If you’re ready to reclaim your dessert glory without the bloating or the heartbreak, you’re in the right place. Ready to bake a cookie that actually has a soul? Let’s get into the dough.
Why These Cookies Are the G.O.A.T.
Why should you bother mixing your own batter when the frozen aisle sells “cookie-flavored” shingles? Because your taste buds have standards, that’s why. First off, this recipe achieves the “holy grail” of baking: the crispy-edge-to-soft-center ratio. We aren’t making giant crackers here; we’re making a rich, buttery masterpiece.

Secondly, it is ridiculously easy. You don’t need a PhD in chemistry or a 48-hour refrigeration window. It’s a straightforward mix-and-bake situation that makes you look like a Michelin-star pastry chef while your kitchen stays relatively intact. Plus, it impresses guests every single time—even the ones who think “gluten-free” is a synonym for “cardboard.” IMO, it’s the most empowering recipe in any allergy-friendly arsenal.
The Grocery List: No Weird Lab Chemicals Allowed
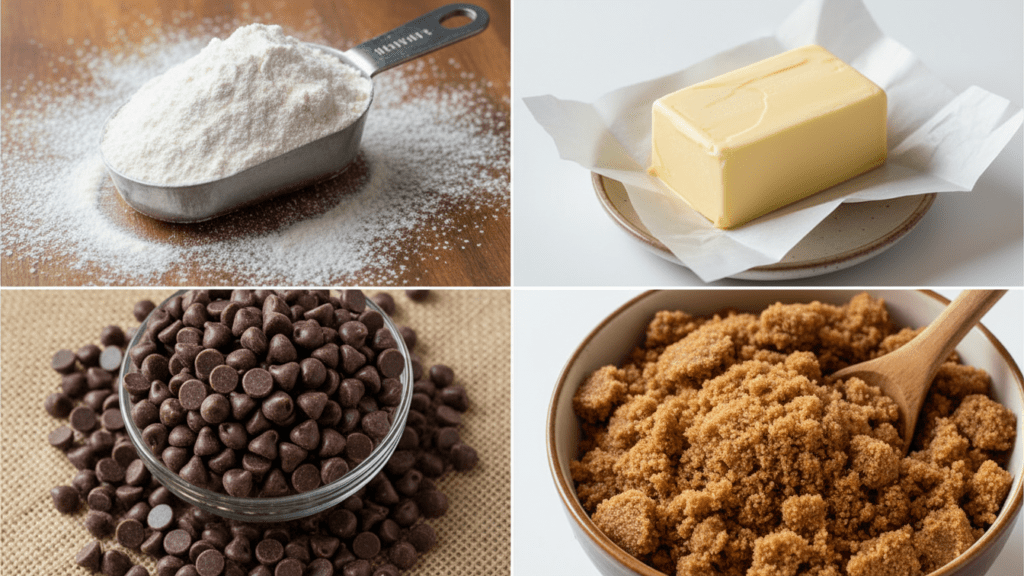
Don’t overcomplicate your life by searching for rare starches harvested under a blue moon. We are using powerhouse pantry staples that actually work together to create magic.
- Gluten-Free All-Purpose Flour Blend: Look for a high-quality blend that includes Xanthan Gum. (Substitute: If yours doesn’t have it, add 1/2 teaspoon of xanthan gum to the mix).
- Butter: One cup of unsalted butter, softened to room temperature. Cold butter is the enemy of a good creaming process.
- Sugars: A mix of Brown Sugar and granulated white sugar. The brown sugar provides that essential chewy moisture.
- Eggs: Two large eggs. These provide the structure that gluten usually handles.
- Vanilla Extract: Use the real stuff. We don’t do “imitation” sadness here.
- Leavening: Baking soda and a pinch of salt to make the chocolate pop.
- Chocolate Chips: Semi-sweet or dark. Go heavy on these; life is short.
Tools & Kitchen Gadgets Used
To make this the smoothest process of your life, snag these basics. I’ve linked my favorites so you can treat your kitchen to the upgrades it deserves!
- A Solid Stand Mixer: Gluten-free dough is notoriously sticky—save your hands the trouble. Check out this classic KitchenAid on Amazon.
- Rimmed Baking Sheets: You need even heat distribution for those golden edges. Grab a high-quality pair here.
- Silicone Baking Mats: The secret to a non-stick bottom. These mats are a total game-changer.
- Cookie Scoop: For perfectly uniform cookies that don’t look like an inkblot test. Get the perfect-sized scoop here.
- Wire Cooling Rack: Crucial for preventing soggy bottoms. Try this heavy-duty rack.
Step-by-Step Instructions: The Path to Glory
Follow these steps precisely. TBH, the order matters more than you think when you’re working without wheat.
1. The Creaming Ritual
Preheat your oven to 350°F (175°C). In your stand mixer, beat the softened butter, brown sugar, and white sugar together. You want it light, fluffy, and looking like something you’d want to eat with a spoon (but wait, there’s more!). FYI: don’t rush this part; creaming incorporates the air we need for lift.
2. The Liquid Integration
Add the eggs one at a time, followed by the vanilla extract. Mix until the batter looks uniform and silky. If it looks like it’s curdling, don’t panic—it’ll come back together once we add the dry goods.
3. The Dry Drop
Slowly add your gluten-free flour blend, baking soda, and salt. Mix on low speed until just combined. Do not overmix! Over-working GF dough can lead to a gummy texture, and nobody wants that.
4. The Chocolate Avalanche
Fold in your chocolate chips with a spatula. Be generous. If you think you’ve added enough, add another handful. That’s just science.
5. The Chill Factor (Optional but Recommended)
If you have 30 minutes to spare, pop the dough in the fridge. This prevents the cookies from spreading into one giant, flat “mega-cookie” on the tray.
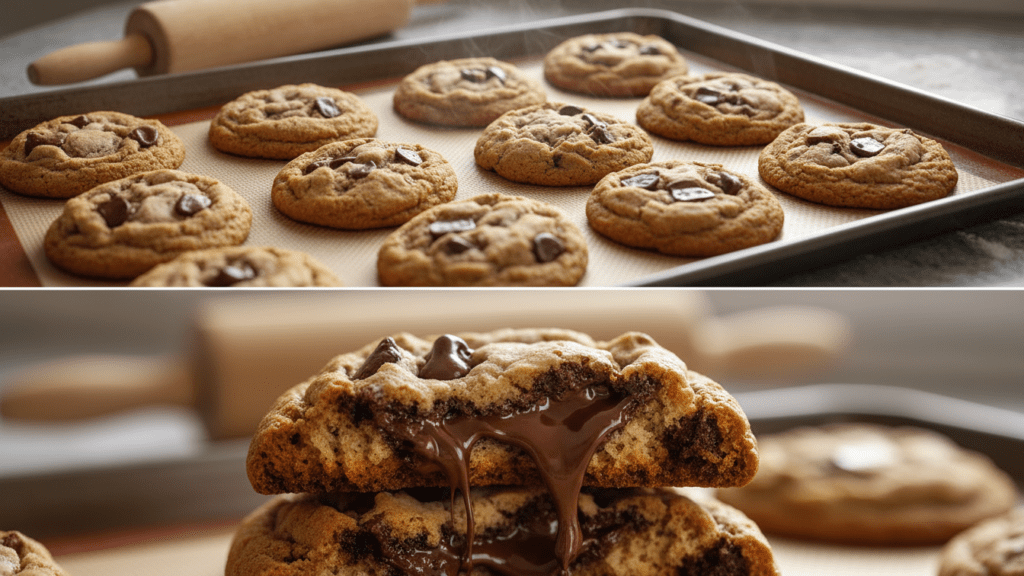
6. Scoop and Bake
Use your cookie scoop to drop rounded tablespoons onto your silicone mats. Space them about 2 inches apart. Bake for 10-12 minutes. They should look slightly underdone in the center but golden on the edges.
7. The Hardest Step: Waiting
Let the cookies sit on the hot pan for 5 minutes before moving them to the wire rack. This “carryover cooking” ensures the centers stay soft while the structure sets. If you try to move them immediately, they will collapse like my willpower at a bakery.
Calories & Nutritional Info
For those of you who track your stats like a part-time job, here is the lowdown per cookie (based on 24 cookies):
- Calories: ~160 kcal
- Carbs: ~22g (pure energy, baby!)
- Protein: ~2g (thanks, eggs!)
- Fat: ~8g (the price of deliciousness)
- Fiber: ~1g (depends on your flour blend)
Common Mistakes to Avoid: Don’t Be That Person
Even a recipe this simple can go sideways if you get cocky. Avoid these blunders to keep your dignity.
- Using Cold Butter: If you don’t soften the butter, it won’t emulsify with the sugar, and you’ll end up with greasy puddles. Plan ahead, people.
- Substituting the Flour Blend: Not all GF flours are created equal. Use a 1-to-1 baking blend. If you use straight coconut flour, you will be eating a bowl of sand.
- Over-baking: A GF cookie goes from “perfect” to “hockey puck” in about 60 seconds. Trust the jiggle in the middle when you pull them out.
- Forgetting the Xanthan Gum: If your blend doesn’t have it and you don’t add it, your cookies will crumble into dust. Check the label!
- Crowding the Pan: Cookies need their personal space. Give them room to breathe, or you’ll end up with a square sheet-cake cookie.
Variations & Customizations
Feeling adventurous? Here are three ways to flip the script on these gluten-free cookies:
The Keto-Friendly Swap
Swap the sugar for granulated monk fruit sweetener and use almond flour (with an extra 1/2 tsp of xanthan gum). You’ll get a denser, nuttier cookie that keeps the carbs low.
The Spicy Mexican Chocolate Twist
Add 1 teaspoon of cinnamon and a tiny pinch of cayenne pepper to the dry mix. It adds a sophisticated heat that pairs beautifully with dark chocolate chips.
The Vegetarian “Kitchen Sink”
Omit 1/2 cup of chocolate chips and add shredded coconut, chopped walnuts, and dried cranberries. It feels like a health food, even though it’s definitely still a cookie. 🙂
FAQ Section: You Asked, I Answered
Why are my gluten-free cookies so flat? Usually, this means your butter was too melted or you skipped the chill step. Cold dough equals thick cookies. Also, make sure your baking soda isn’t from the 1990s.
Can I freeze this dough? Heck yes. Scoop the dough into balls, freeze them on a tray, and then toss them into a bag. You can bake them straight from the freezer—just add 2 minutes to the bake time.
Which GF flour is the best? I swear by Cup4Cup or King Arthur Measure for Measure. They are engineered to behave like wheat flour so you don’t have to think too hard.
How do I store them so they don’t get hard? Store them in an airtight container with a slice of bread (even a GF slice!). The cookies will absorb the moisture from the bread and stay soft for days.
Can I make these dairy-free? Absolutely. Swap the butter for vegan butter sticks (not the tub kind) or chilled coconut oil. They still turn out incredibly rich.
Why is the texture gritty? Some GF flours have large rice particles. Let the dough rest for 30 minutes before baking; this allows the flour to hydrate and eliminates that “sandy” mouthfeel.
Can I use flax eggs instead of real eggs? You can, but the cookies will be flatter and more fragile. Real eggs provide the best lift and “chew” for this specific recipe.
Final Thoughts
There you have it. A gluten-free cookies recipe that actually respects your time and your taste buds. They’re chewy, they’re buttery, and they’re the only reason I’m willing to share my kitchen with people on a Sunday afternoon. Once you master this batch, you’ll realize that the store-bought versions have been lying to you for years. Go forth, scoop some dough, and enjoy the gooeyness. Just don’t be surprised when your “wheat-eating” friends start raiding your stash. 🙂

