
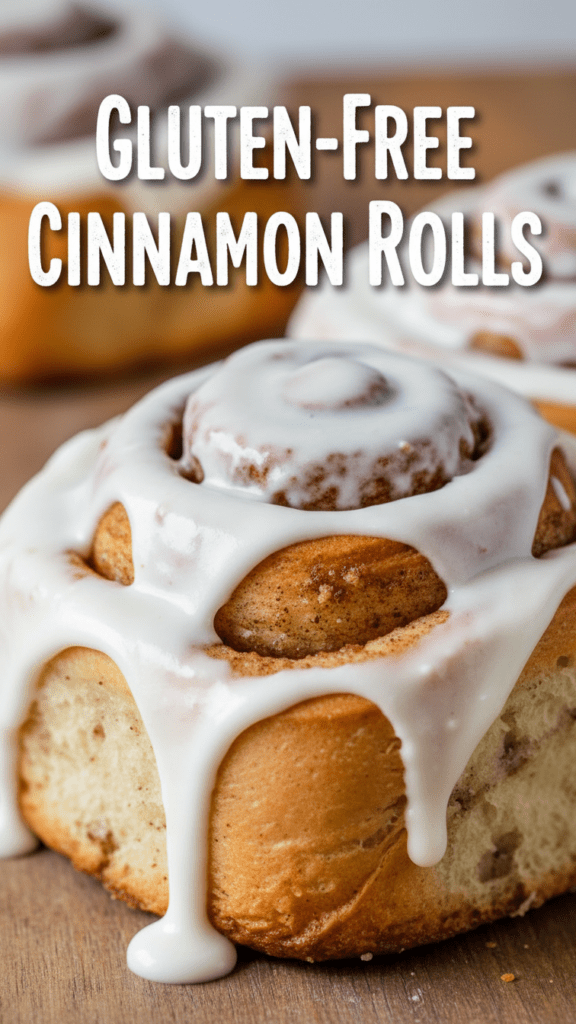
The Ultimate Gluten-Free Cinnamon Rolls: Soft, Gooey, and Actually Rollable
Have you ever looked at a Cinnabon with the kind of longing usually reserved for lost loves and winning lottery tickets? We’ve all been there, standing in the food court, inhaling the scent of yeast and sugar while clutching a sad, gluten-free granola bar. For years, the quest for decent gluten-free cinnamon rolls felt like trying to find a unicorn in a basement—lots of myth, zero results. Most GF rolls have the structural integrity of a sandcastle and the flavor profile of a dry sponge. But grab your apron, because I finally cracked the code on a dough that actually rolls, rises, and—shocker—tastes like heaven.
Why These Cinnamon Rolls Are the Main Event

Most gluten-free baking feels like a compromise, doesn’t it? You eat it because you have to, not because you want to. This recipe is different. It produces a soft, pillowy crumb and a gooey center that would make a wheat-eater do a double-take. We aren’t making “good for being gluten-free” rolls; we are making world-class rolls that happen to be safe for your gut.
You’ll love this recipe because it uses a specific hydration technique that prevents the dreaded “GF crumble.” It’s the ultimate brunch flex. Imagine the looks on your friends’ faces when you pull a pan of bubbling, cream-cheese-slathered swirls out of the oven. You’ll basically become a local legend overnight. TBH, you might want to charge admission to your kitchen once the word gets out.
The Ingredient List: No Magic Required
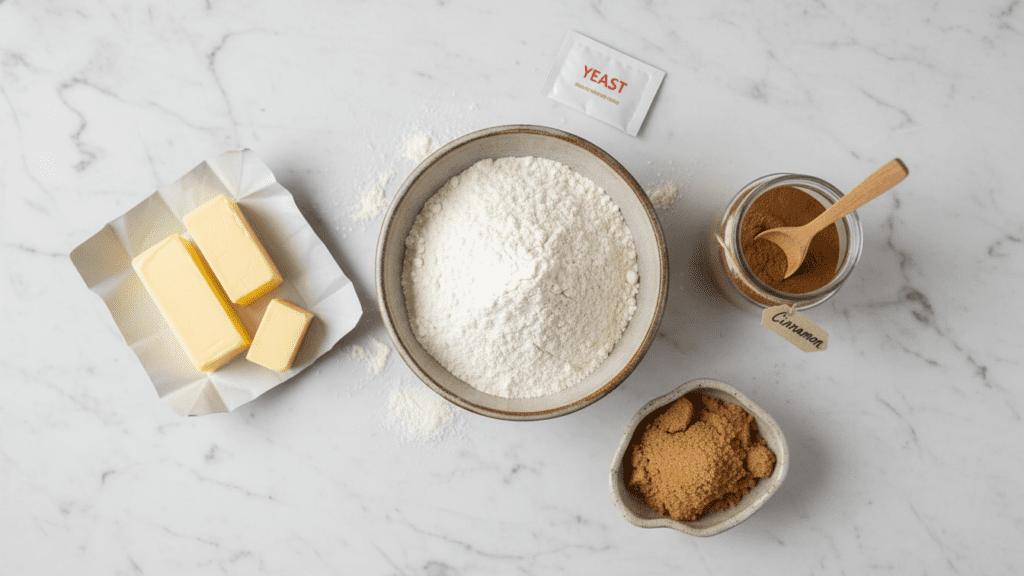

Don’t panic when you see the list. Most of these are pantry staples for the seasoned gluten-free warrior. If you’re missing something, it’s worth the trip to the store—don’t try to wing it with cornstarch and a dream.
For the Dough
- 3 ½ cups High-Quality Gluten-Free All-Purpose Flour Blend (Must contain Xanthan Gum; King Arthur or Cup4Cup work best).
- 1 packet (2 ¼ tsp) Instant Yeast (Make sure it’s fresh!).
- ¼ cup Granulated Sugar (To feed the yeast and your soul).
- 1 tsp Salt (To balance the sugar rush).
- 1 cup Warm Milk (Around 110°F—think warm bath water, not boiling lava).
- 4 tbsp Unsalted Butter, melted (Fat is flavor, people).
- 1 Large Egg (Room temperature, please).
- 1 tsp Apple Cider Vinegar (The secret for a better rise).
For the Filling
- ½ cup Unsalted Butter, very soft (Not melted, just spreadable).
- 1 cup Brown Sugar, packed (Light or dark, your call).
- 2 tbsp Ground Cinnamon (Don’t be stingy here).
For the Cream Cheese Frosting
- 4 oz Cream Cheese, softened (The tang is essential).
- ¼ cup Unsalted Butter, softened.
- 1 ½ cups Powdered Sugar.
- 1 tsp Vanilla Extract.
Your Bread-Making Battle Stations
You can’t build a masterpiece with a plastic spork. Grab these tools to ensure your kitchen doesn’t turn into a flour-covered disaster zone.
- Stand Mixer with Paddle Attachment (Saves your arms and incorporates the dough perfectly).
- 9×13 Inch Baking Dish (Glass or ceramic is ideal).
- Rolling Pin (A wine bottle works in a pinch, no judgment).
- Plastic Wrap or Silicone Mat (Essential for rolling the dough without it sticking to the counter).
- Offset Spatula (For spreading that butter and frosting like a pro).
- Unflavored Dental Floss (The secret hack for cutting perfect rolls without squishing them).
- Digital Thermometer (To check your milk temperature).
Step-by-Step: The Path to Gooey Glory
Follow these steps exactly. Gluten-free dough is a fickle beast, but if you treat it right, it will reward you with pure, sugary bliss.
Step 1: Activate the Yeast
Whisk your warm milk, sugar, and yeast in the bowl of your stand mixer. Let it sit for about 5-10 minutes until it looks foamy. If it doesn’t bubble, your yeast is dead. Stop right there and get new yeast. Don’t waste your expensive flour on a lifeless starter!
Step 2: Build the Dough
Add the melted butter, egg, and vinegar to the yeast mixture. Whisk to combine. Slowly add the gluten-free flour and salt. Using the paddle attachment, beat on medium-high for about 3-5 minutes. GF dough doesn’t need kneading, but it does need a vigorous beating to activate the binders. It will look like thick, sticky cookie batter—this is normal!
Step 3: The First Proof
Cover the bowl with plastic wrap and let the dough rise in a warm, draft-free spot for about 1 hour. It won’t double in size like wheat dough, but it should look significantly puffier.
Step 4: The Roll Out
Lay down a large piece of plastic wrap or a silicone mat and dust it liberally with flour. Plop the dough in the center and dust the top. Gently roll it into a rectangle about ¼-inch thick. Be gentle; this dough has no gluten “stretchy” power to save you if you’re too rough.
Step 5: Fill and Chill
Spread the softened butter over the dough, leaving a small border at the edges. Mix the brown sugar and cinnamon, then sprinkle it evenly over the butter. Now, use the plastic wrap to help you lift and roll the dough into a log. Use unflavored dental floss to “zip” through the log and cut 12 even rolls.
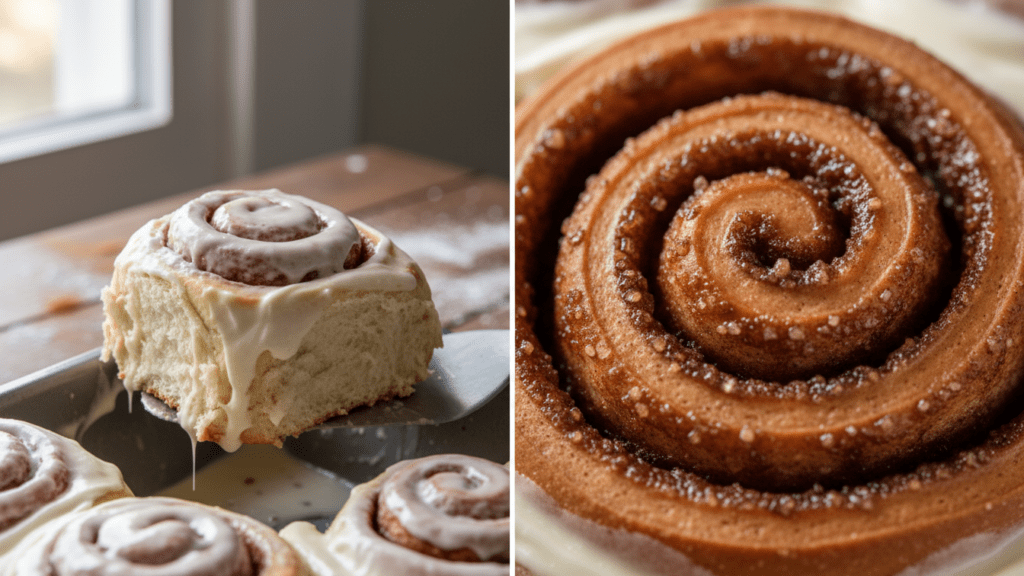
Step 6: The Second Rise and Bake
Place the rolls in your greased baking dish. Cover and let them rise again for 30-45 minutes while you preheat the oven to 350°F. Bake for 25-30 minutes until they’re lightly golden. Do not over-bake, or you’ll be eating sweet croutons.
Step 7: Frosting Time
Whisk the cream cheese, butter, powdered sugar, and vanilla until smooth. Slather half of it on the rolls while they’re still warm so it melts into the cracks. Add the rest once they’ve cooled slightly. You’re welcome.
Calories & Nutritional Info (Per Roll)
Let’s look at the stats, but remember: cinnamon rolls are for the soul, not for the calorie counter.
- Calories: 385 kcal
- Total Fat: 16g
- Carbohydrates: 58g
- Fiber: 2g
- Protein: 3g
- Sugar: 32g
Common Mistakes to Avoid (The “Don’t Do This” List)
If your rolls turn out like bricks, you probably did one of these things. Pay attention!
- Using Cold Ingredients: Cold milk or eggs will shock the yeast and kill your rise. Always use room-temperature ingredients.
- Too Much Flour: If the dough is too dry, it will crack when you roll it. It should be sticky! Use a scale for the flour if you have one.
- Skipping the Second Rise: This is where the fluffiness happens. Don’t rush the process; the yeast needs time to work its magic.
- The “Twist” Cut: Cutting with a knife squishes the layers. Use the dental floss trick. It’s satisfying and it works.
Variations & Customizations
Mastered the basic swirl? Time to get fancy with these fun tweaks.
- The Pumpkin Spice Special: Add 2 tbsp of pumpkin puree to the dough and use pumpkin pie spice in the filling. It’s autumn in a pan.
- The Pecan Sticky Bun: Pour a mixture of melted butter, maple syrup, and pecans into the bottom of the pan before adding the rolls. Flip them over after baking!
- The Dairy-Free Swap: Use full-fat coconut milk, vegan butter sticks, and vegan cream cheese. IMO, it’s just as good as the original.
FAQ: Your Cinnamon Roll Queries Answered
Can I make these overnight? Yes! After cutting the rolls and putting them in the pan, cover them and put them in the fridge. Let them sit on the counter for an hour the next morning before baking.
Why is my dough so sticky? Gluten-free dough requires high hydration to stay soft. If it isn’t sticky, your rolls will be dry. Flour your hands and your rolling pin, but don’t add more flour to the dough itself.
Can I use almond flour? No. Almond flour lacks the starch needed to create a rollable dough. You must use a 1-to-1 gluten-free flour blend.
How do I store leftovers? Store them in an airtight container for 2 days at room temp. To revive them, microwave for 15 seconds. They’ll be good as new.
Why didn’t my rolls rise? Your milk was likely too hot (killing the yeast) or too cold (leaving it dormant). Use a digital thermometer to be sure.
Can I use a bread machine? You can use the “dough” setting, but keep an eye on it. Bread machines are designed for gluten, and GF dough doesn’t need a long knead cycle.
Do I have to use Xanthan Gum? Yes. If your flour blend doesn’t have it, you must add it. It is the “glue” that keeps your roll from turning into a pile of crumbs.
Final Thoughts
You’ve done it! You’ve conquered the Everest of gluten-free baking. These gluten-free cinnamon rolls are proof that life without wheat doesn’t have to be a life without joy. Go ahead, take a big, messy bite of that center piece—you’ve earned it. Just don’t blame me when your family demands these every single weekend for the rest of eternity. Happy baking, you absolute kitchen rockstar!

