
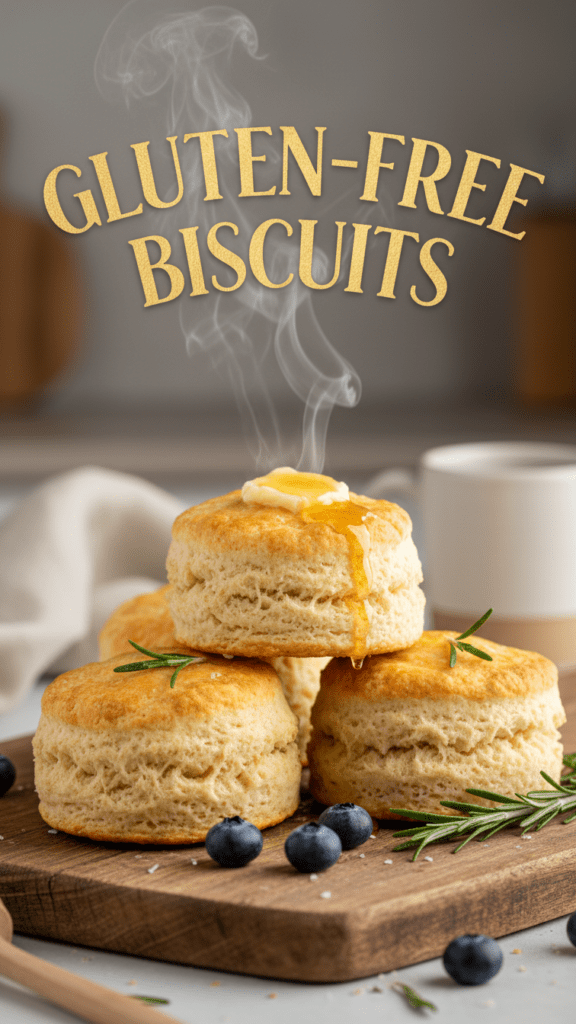
Fluffy Gluten-Free Biscuits: The Only Recipe You’ll Ever Need (Promise!)
Have you ever tried a gluten-free biscuit only to realize you’re essentially eating a decorative garden stone? It’s a heartbreaking moment. You’re standing there with your sausage gravy, ready for a Southern-style hug in a bowl, and instead, you get a crumbly, dry mess that tastes like disappointment. We’ve all been victims of “The Great Gluten-Free Brick Incident” at some point. But what if I told you that you could make gluten-free biscuits so light, buttery, and flaky that your wheat-eating friends will actually try to steal them?
Why This Recipe Is the G.O.A.T.
Most gluten-free baking feels like a chemistry final you didn’t study for. This recipe, however, prioritizes your sanity. It delivers that classic, sky-high rise without requiring you to sell your soul to a specialty flour shop. You get golden, crispy edges and a middle that practically melts into a puddle of buttery bliss.

These biscuits impress everyone because they actually behave like real food. They hold together under the pressure of a breakfast sandwich but tear apart easily for a jam smear. Plus, they take less time to make than it takes to find a decent gluten-free option at a restaurant. TBH, once you master these, you’ll become the official “biscuit person” of your social circle. Sorry, not sorry.
The Ingredient List: Get Your Ducks in a Row

Don’t panic—you probably have most of this in your fridge. If you don’t, a quick grocery run is the only thing standing between you and carbohydrate heaven.
- 2 ½ cups High-Quality Gluten-Free All-Purpose Flour Blend (Make sure it has Xanthan Gum; if not, add 1 teaspoon).
- 1 tablespoon Baking Powder (Yes, a whole tablespoon. We need that lift!).
- 1 teaspoon Salt (Don’t be shy; bland biscuits are a tragedy).
- ½ cup (1 stick) Unsalted Butter (It must be COLD. Like, frozen-tundra cold).
- 1 cup Buttermilk (Cold is key here, too).
- 1 Large Egg (Helps with structure and that beautiful golden color).
- 1 tablespoon Honey or Sugar (Just enough to balance the salt, not make it a dessert).

Substitution Note: If you’re dairy-free, use a high-quality vegan butter stick and make “buttermilk” by adding a teaspoon of lemon juice to cold almond milk. It’s a solid workaround 🙂
Tools & Kitchen Gadgets (The Amazon Wishlist)
You can’t build a masterpiece with a plastic spoon. Grab these tools to make the process smoother than a fresh jar of honey.
- Large Stainless Steel Mixing Bowl (Keeps the ingredients cold).
- Pastry Cutter or Dough Blender (Essential for working that butter).
- 2-Inch Biscuit Cutter (Sharp edges help the dough rise straight up).
- Silicone Baking Mat or Parchment Paper (Because sticking is for losers).
- Baking Sheet (A heavy-duty one prevents burnt bottoms).
- Pastry Brush (For that final butter wash).
- Rolling Pin (Or a wine bottle, let’s be real).
Step-by-Step Instructions: Don’t Mess This Up
Ready? Set? Let’s bake some magic. Follow these steps closely, and try not to overthink it. It’s just dough, not a nuclear reactor.
Step 1: Prep the Cold Front
Preheat your oven to 425°F. Line your baking sheet with parchment paper. While that’s heating, take your butter out of the fridge and grate it using a cheese grater or cut it into tiny cubes. Put it back in the freezer for 5 minutes. Cold butter is non-negotiable.
Step 2: Mix the Dry Stuff
Whisk the flour, baking powder, salt, and sugar in your large bowl. You want to make sure the baking powder is evenly distributed, or you’ll end up with lopsided biscuits that look like they’re leaning into a windstorm.
Step 3: Cut in the Butter
Add your frozen butter bits to the flour. Use your pastry cutter to mash the butter into the flour until it looks like coarse crumbs with some pea-sized chunks. Do not use your hands! Your body heat will melt the butter, and you’ll end up with flat, sad crackers.
Step 4: Add the Liquids
Whisk the egg and buttermilk together, then pour them into the flour mixture. Use a spoon to stir until a shaggy dough forms. It will be sticky. Don’t freak out. It’s supposed to look a little messy at this stage.
Step 5: Fold and Flatten
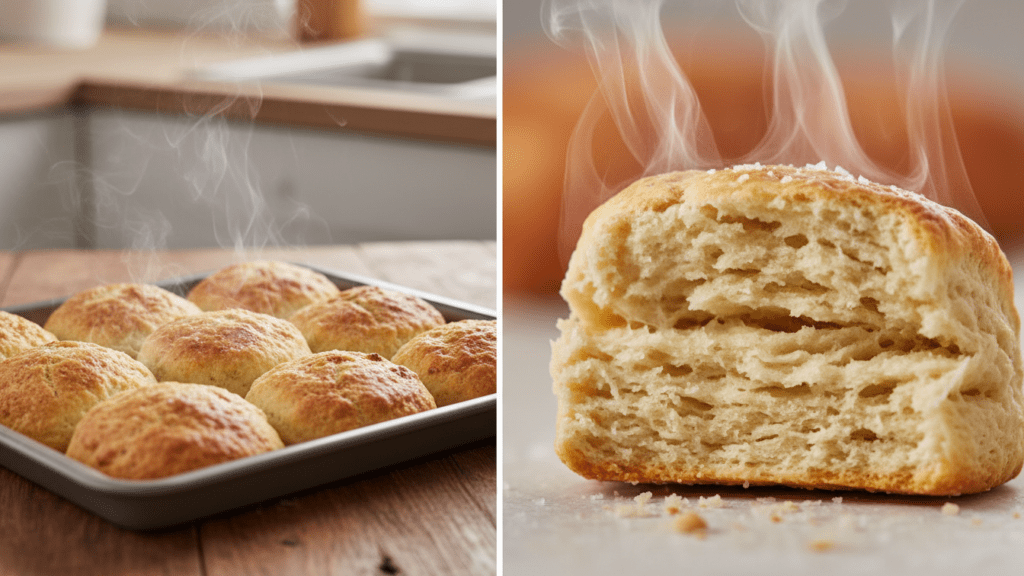
Turn the dough onto a floured surface. Gently pat it into a rectangle. Fold it in half, then rotate and pat it down again. Repeat this 3-4 times. This “folding” creates those legendary flaky layers. Pat it down to about 1-inch thickness.
Step 6: Cut and Bake
Press your biscuit cutter straight down into the dough. DO NOT TWIST. Twisting seals the edges and kills the rise. Place the biscuits on the sheet so they are just touching—this helps them climb upward. Bake for 15-18 minutes until the tops are golden brown.
Calories & Nutritional Info (Per Biscuit)
Look, we aren’t eating these for a kale-cleanse, but here is the info for those who like to know. This assumes a yield of 10 biscuits.
- Calories: 215 kcal
- Total Fat: 11g
- Carbohydrates: 26g
- Fiber: 2g
- Protein: 4g
- Sodium: 320mg
Common Mistakes to Avoid (The “Hall of Shame”)
I’ve made these mistakes so you don’t have to. Pay attention, or prepare for disappointment.
- Using Warm Butter: If the butter melts before it hits the oven, you lose the steam pockets that create layers. Keep it frozen until the last second.
- Over-working the Dough: Treat the dough like a sensitive ego—touch it as little as possible. The more you mess with it, the tougher it gets.
- Twisting the Cutter: I’ll say it again: push straight down. If you twist, you’re basically telling your biscuit “stay short and dense.”
- Expired Baking Powder: If your baking powder is from 2019, your biscuits will be too. Check the date!
Variations & Customizations
Once you’ve mastered the basic gluten-free biscuits, why stop there? Go wild.
- The Cheddar-Chive Special: Add 1 cup of sharp cheddar and 2 tablespoons of fresh chives to the dry mix. It’s basically a Red Lobster hack but better.
- The Spicy Southern: Mix a teaspoon of smoked paprika and a pinch of cayenne into the flour. Serve with hot honey.
- The Sweet Berry: Fold in a handful of fresh blueberries and top with a simple lemon glaze after baking.
FAQ Section: You Asked, I Answered
Why are my gluten-free biscuits so dry? You probably used too much flour. Always spoon and level your flour instead of scooping it directly with the measuring cup.
Can I make these vegan? Yes! Use a vegan butter substitute (the stick kind, not the tub) and soy or almond milk mixed with a little apple cider vinegar for the buttermilk.
Do I really need buttermilk? IMO, yes. The acidity reacts with the baking powder to create a better rise and a more tender crumb. Plain milk just doesn’t have the same “oomph.”
Can I freeze the dough? Absolutely. Cut the biscuits, freeze them on a tray, then bag them. Bake them straight from the freezer—just add a few extra minutes to the timer.
Why didn’t my biscuits rise? Check your baking powder. Also, make sure your oven is actually at 425°F. A cold oven equals a flat biscuit.
What is the best flour to use? Look for a blend that lists rice flour, potato starch, and tapioca starch. Brands like King Arthur or Cup4Cup usually work best for this specific recipe.
Can I use a food processor for the butter? You can, but be careful! Pulse it just a few times. If you over-process it, the butter gets too small and the biscuits won’t be flaky.
Final Thoughts
There you have it—the holy grail of gluten-free biscuits. No more crying over crumbly pucks or spending $10 on a box of four frozen “biscuits” that taste like cardboard. Go forth, butter them up, and enjoy the flaky glory. If you manage to save any for leftovers, let me know, because in my house, they disappear in approximately four minutes. Happy baking!
160 characters length seo optimized meta description: Make fluffy, buttery gluten-free biscuits with this easy no-fail recipe. Perfectly flaky layers every time! Better than store-bought and ready in 30 minutes.

