The Ultimate Gingerbread House Ideas: A Foolproof Guide to Building a Masterpiece
Ever seen those gingerbread houses on Instagram that look like they belong in a museum? Perfect, pristine, and entirely intimidating? And then there’s your gingerbread house, which looks like it survived a small, sticky earthquake. The walls are listing, the roof is sagging, and the candy is haphazardly plastered on. Don’t worry, you’re not alone. Building a gingerbread house can be a fun family activity or a total disaster. But what if I told you there’s a way to not just survive it, but to actually create a masterpiece? I’m talking about a gingerbread house that stands tall and proud, and that you might even hesitate to eat. This isn’t just a recipe; it’s a blueprint for holiday glory.
Why These Gingerbread House Ideas Are a Game-Changer

Building a gingerbread house is less about the recipe and more about the technique. My approach to gingerbread house ideas is all about a solid foundation and a whole lot of fun. This isn’t a competition, but you’ll probably win anyway. The secret is a gingerbread dough that’s strong enough to hold up a candy-coated roof and a royal icing “glue” that sets faster than you can say “Jingle Bells.” This recipe and guide will give you the confidence to build a sturdy, beautiful, and delicious house without the usual stress and structural collapse. Get ready to impress your family and friends and maybe even start a new, less-chaotic holiday tradition.
Ingredients You’ll Need (AKA Your Shopping List)
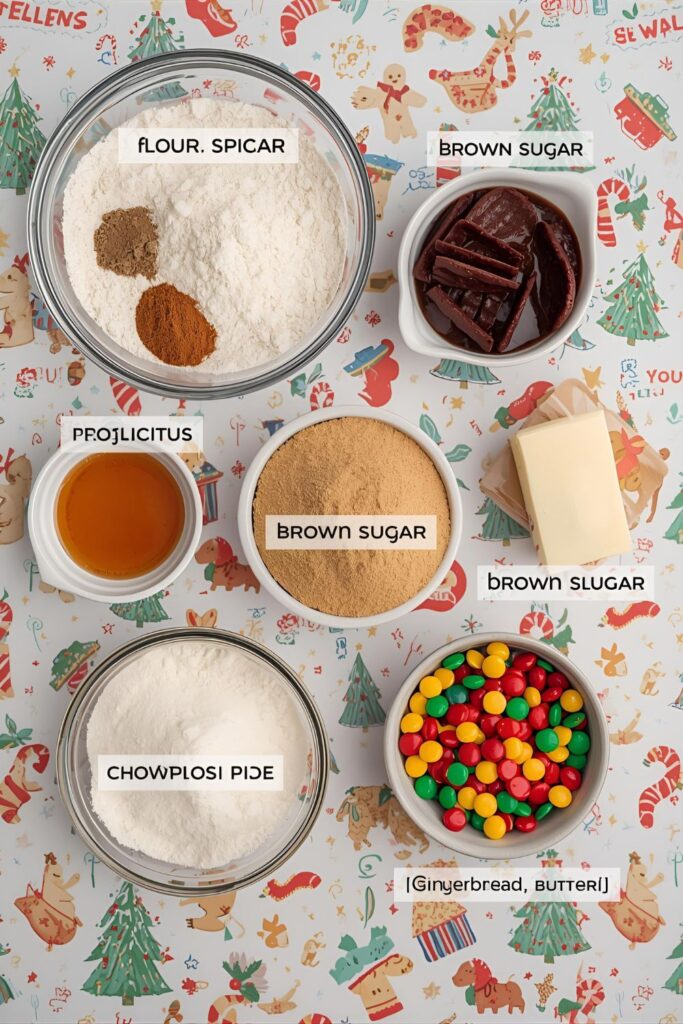
You won’t need a shopping cart full of weird ingredients for this. Trust me.
- For the Gingerbread:
- 3 cups all-purpose flour
- 1/2 teaspoon baking soda
- 1/2 teaspoon baking powder
- 1/4 teaspoon salt
- 1 tablespoon ground ginger
- 1 teaspoon ground cinnamon
- 1/4 teaspoon ground nutmeg
- 1/4 teaspoon ground cloves
- 1/2 cup unsalted butter, softened
- 1/2 cup dark brown sugar, packed
- 1/2 cup molasses
- 1 large egg
- For the Royal Icing “Glue”:
- 3 large egg whites, room temperature
- 4 cups powdered sugar
- 1/2 teaspoon cream of tartar
- For the Decorations:
- An assortment of candies (gummy bears, M&Ms, gumdrops, licorice, candy canes, etc.)
- Pretzel sticks (for log cabin look)
- Cereal squares (for shingles)
- Powdered sugar (for dusting)
- Chocolate bars or squares (for doors and windows)

Substitutions, FYI: Don’t have molasses? You can use dark corn syrup in a pinch, but the flavor won’t be as deep. You can also buy a pre-made gingerbread mix or royal icing if you’re in a time crunch. No shame in the holiday game!
Tools & Kitchen Gadgets to Get the Job Done
Here’s the gear you’ll need. Nothing complicated, I promise.
- Large mixing bowl or stand mixer
- Rolling pin
- Baking sheets
- Parchment paper
- Gingerbread house cutters or paper templates
- Piping bag with a round tip (or a Ziploc bag with a corner snipped off)
- Small bowl for the icing
- Spatula
- Cookie cutters for extra decorations (gingerbread men, stars, trees, etc.)
The Super-Simple, Step-by-Step Instructions
Ready? Let’s do this. You’re just a few steps away from dinner glory.
Part 1: Making the Gingerbread Dough
- Mix the Dry Stuff. In a large bowl, whisk together the flour, baking soda, baking powder, salt, ginger, cinnamon, nutmeg, and cloves. Set this aside.
- Cream the Wet Stuff. In your stand mixer (or with a hand mixer), beat the softened butter and dark brown sugar until they’re light and fluffy. Scrape down the sides of the bowl. Beat in the egg and molasses until everything is well combined.
- Combine. Gradually add the flour mixture to the wet ingredients, mixing on low speed until the dough comes together. Don’t overmix! The dough should be a bit sticky.
- Chill. Form the dough into a disc, wrap it in plastic wrap, and refrigerate for at least 2 hours. This is crucial for a dough that’s easy to roll and holds its shape. Don’t skip this.
Part 2: Baking the House
- Preheat & Prep. Preheat your oven to 350°F (175°C). Line your baking sheets with parchment paper.
- Roll and Cut. Roll out the chilled dough to about 1/4-inch thick. Use your templates or cutters to cut out the pieces for your house. Remember to be precise! You can also cut out extra shapes for decorations.
- Bake. Place the pieces on your prepared baking sheets. Bake for 12-15 minutes, or until the edges are firm and lightly browned. The time will vary depending on the thickness of your pieces, so keep an eye on them.
- Cool Down. Take the pieces out of the oven. While they’re still warm, you can use a knife to trim the edges if they’ve spread a bit. Let the pieces cool completely on the baking sheet before you move them. This is the most important step! If you try to move them too soon, they will break.
Part 3: Making the Royal Icing “Glue”
- Whip the Egg Whites. In a clean, dry bowl, beat the egg whites with a hand mixer or stand mixer until they’re frothy.
- Add the Sugar. Gradually add the powdered sugar and cream of tartar to the egg whites, beating on high speed. Continue to beat until the icing is stiff and holds its shape. You’ll know it’s ready when you can pull the beaters out and the icing forms a stiff peak that doesn’t droop.
- Transfer. Transfer the icing to your piping bag. The icing dries fast, so keep it covered with a damp cloth if you’re not using it immediately.
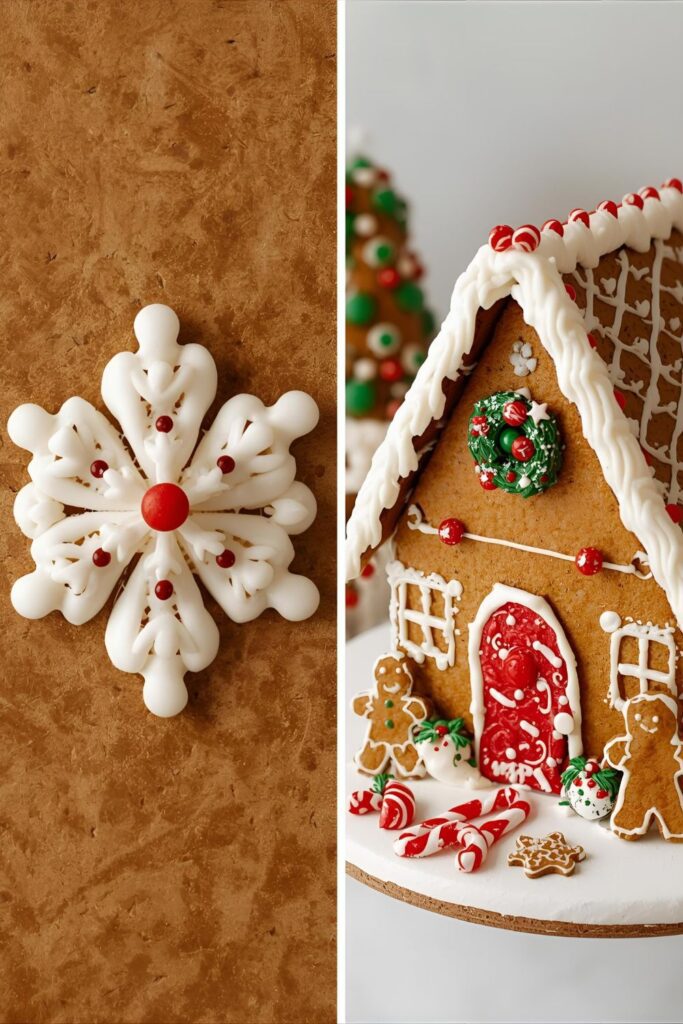
Part 4: Assembly & Decoration
- Assemble the Walls. Squeeze a generous line of royal icing along the edges of your gingerbread walls. Press the walls together and hold them in place for a minute or two until the icing sets. Use a couple of mugs or cans to prop them up while they dry. Let the structure dry completely for at least 2-3 hours, or even overnight. This is the secret to a house that doesn’t collapse.
- Attach the Roof. Once the walls are solid, pipe a thick line of icing along the top edges of the walls and a line down the seam where the two roof pieces will meet. Carefully place the roof pieces and hold them in place. Let this dry for at least another hour before you start decorating.
- Decorate! Now for the fun part! Use your royal icing to “glue” candies and decorations onto your house. Get creative with your gingerbread house ideas! Create a path of M&Ms, a pretzel log cabin effect, or a roof of cereal shingles. The possibilities are endless.
Calories & Nutritional Info (The Reality Check)
I’m not a nutritionist, so these are just estimates, but IMO it’s totally worth it.
- Estimated Calories per serving: This is tough to calculate, as it depends on how much you eat, but let’s say a small piece is around 150-250 kcal.
- Key nutrients:
- Carbs: Mostly from sugar, flour, and candy. It’s a house of sugar!
- Fats: From the butter in the gingerbread.
- Sugar: A lot of it. It’s the holidays, live a little.
Common Mistakes to Avoid (So You Don’t Have a Holiday Disaster)
Listen up, buttercup. These are the top reasons your house might go wrong.
- Not Chilling the Dough: If you don’t chill the dough, it will spread out when you bake it, and your perfect house pieces will turn into sad, shapeless blobs.
- Baking Without Parchment Paper: You’ll have a sticky mess and broken pieces. Just don’t do it.
- Skipping the Drying Time: This is the number one reason for gingerbread house collapse. If you try to assemble or decorate before the icing is completely set, your house will fall apart. Be patient!
- Using the Wrong Icing: Don’t use regular frosting. It won’t be strong enough to hold your house together. You need a stiff royal icing for this job.
Variations & Customizations (Time to Get Creative)
You’ve mastered the classic, now let’s mix it up.
- The Savory Twist: For a less-sweet gingerbread, cut the sugar in half and double the ginger and spices. You’ll get a more traditional, spicier gingerbread that’s still delicious.
- The Gluten-Free House: Swap the all-purpose flour for a good quality gluten-free all-purpose baking blend. The texture might be slightly different, but it will still hold up.
- The Chocolate Cottage: Substitute a portion of the flour with cocoa powder for a delicious chocolate gingerbread house. Use melted white chocolate for the “snow” and decorations.
FAQ Section (Because You Have Questions, I Have Answers)
- How far in advance can I make the gingerbread pieces? You can make the pieces up to a week in advance. Store them in an airtight container at room temperature.
- Can I use a pre-made kit? Absolutely! Pre-made kits are a great way to skip the baking and get straight to the decorating. The tips in this guide still apply!
- How do I make the royal icing? The recipe is included above! Just follow the simple steps. It’s much more effective than regular frosting.
- What’s the best way to attach heavy candies? For heavier candies like gumdrops or big cookies, use a thicker consistency of royal icing. You might need to hold them in place for a few seconds to let them set.
- Is the gingerbread house edible? Yes! This recipe is completely edible. The royal icing is quite hard, but the gingerbread itself is delicious.
- Can I use a hot glue gun instead of icing? Yes, you can, but then the house is not edible. This is a great option if you want to make a house for decoration only, especially with small children.
- How do I make a gingerbread house that doesn’t collapse? The secret is patience! Make sure the dough is properly chilled, the pieces are baked until firm, and the royal icing is stiff and completely dry before you start decorating.
Final Thoughts (The Mic Drop)
See? I told you it was easy. You’ll never have to bring a lame, collapsing gingerbread house to a party again. This guide is your ticket to a delicious, low-stress holiday tradition that will have everyone impressed. So, go forth and build. And when your friends ask how you did it, just smirk and tell them it’s a family secret. Happy holidays, and may your gingerbread house stand ever tall.