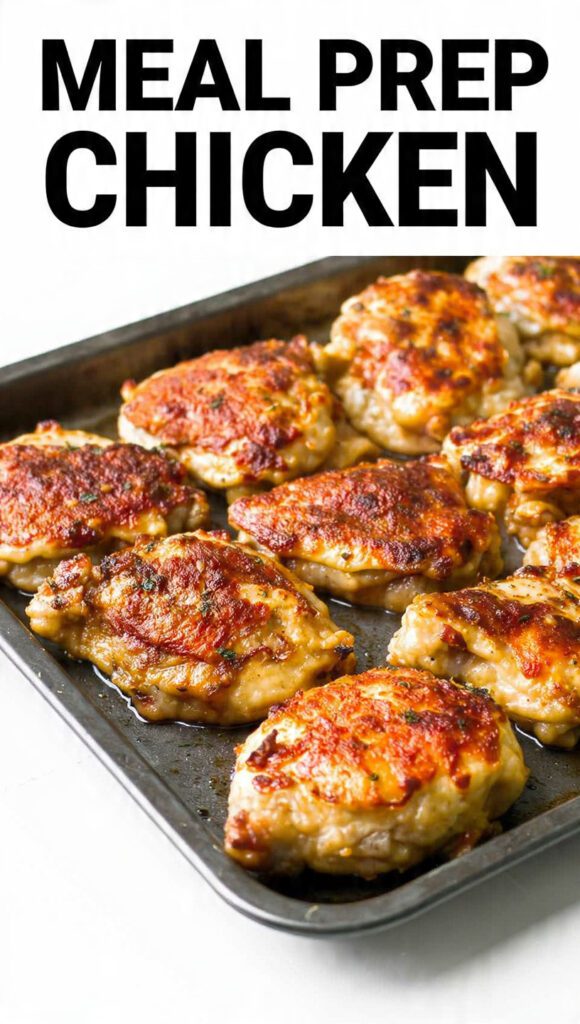
Freezer Breakfast Sandwiches: The Ultimate High-Protein Meal Prep Hack
Let’s be honest, weekday mornings are a nutritional wasteland. You’re either frantically trying to find your keys or grabbing a sad, floppy drive-thru sandwich that tastes like regret. Who has time to cook a proper, hot breakfast with eggs, cheese, and meat? You do, actually, if you embrace the genius of freezer breakfast sandwiches.

This isn’t about eating bland, bulk food. This is about making a full batch of warm, savory, high-protein sandwiches on Sunday, wrapping them up, and having a homemade breakfast ready to reheat in under 2 minutes all week long. You become your own personal diner. Get ready to ditch the drive-thru line and enjoy a delicious, warm breakfast every single day. Seriously, why settle for cold toast when you can have a hot, customized sandwich instantly?
Why These Freezer Breakfast Sandwiches Are Awesome (Speed, Savings, and Satiety)
These sandwiches are the ultimate solution to the morning rush, prioritizing fuel and flavor over fuss.

First, The 2-Minute Warm-Up. Your total commitment time on a Tuesday morning is about 90 seconds in the microwave or toaster oven. It’s faster than brewing a cup of coffee. This is the definition of cooking smarter, not harder. Why spend five frustrating minutes scrambling eggs when you can press a button?
Second, High-Protein & High-Savings. You control the quality of the ingredients (real eggs, good cheese, lean meat). They are naturally high in protein, which keeps you full and energized until lunch. Plus, you save about $5 every single day versus a café sandwich. IMO, saving money and time is the best flavor booster.
Third, Total Customization Freedom. You can build an entire batch with different variations. One day you want sausage; the next, you want vegetarian spinach and feta. You can mix and match in the same batch, catering to everyone’s specific cravings. TBH, these are the only things that prevent me from eating cookies for breakfast.
The Goods: Ingredients You Need
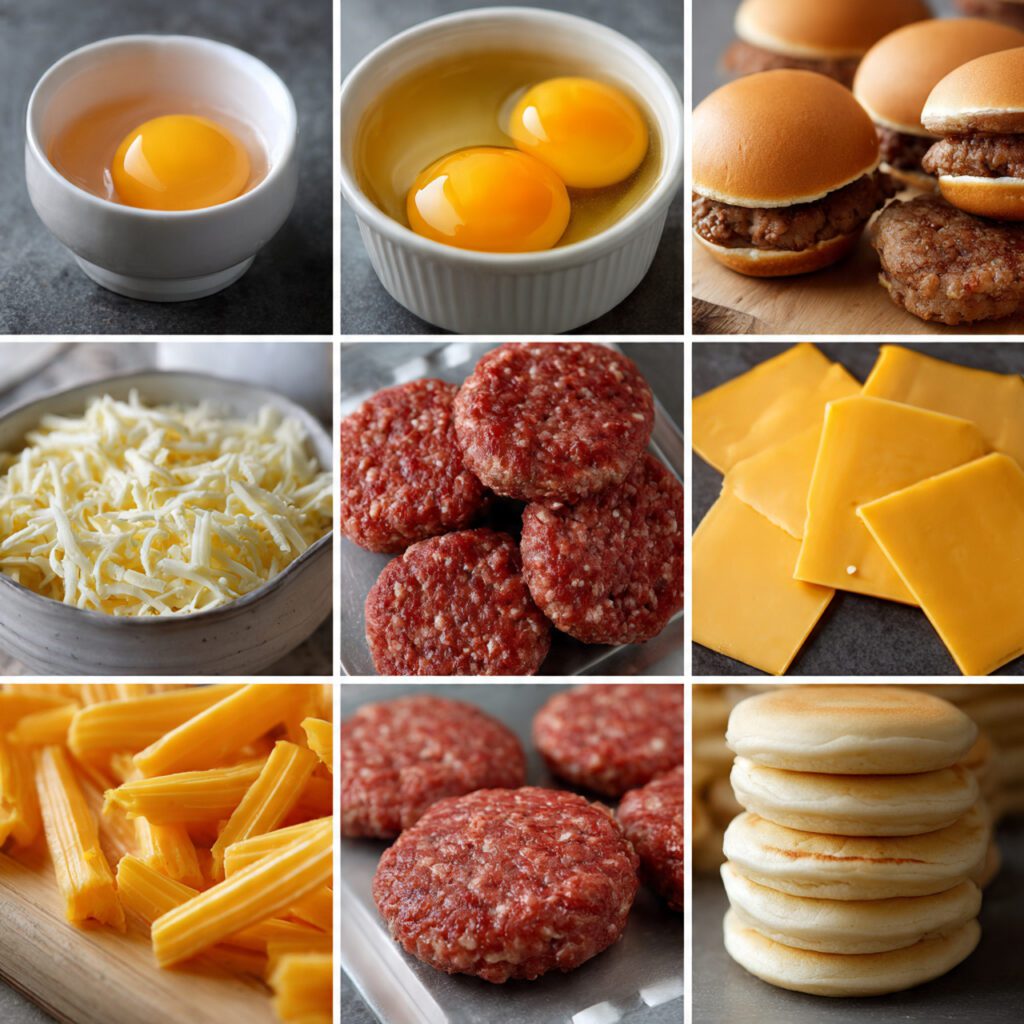
This recipe is designed for maximum efficiency. Choose components that freeze and reheat well.
- The Bread Base (The Essential Carrier):
- 1 package (12 count) English Muffins or Bagels, sliced.
- The Protein Core (The Fuel):
- 12 large Eggs.
- 1 pound Cooked Sausage Patties or Bacon Slices (pre-cooked!).
- The Cheese Layer (The Gooey Finish):
- 12 slices Cheddar or American Cheese (individually sliced for easy layering).
- Optional Veggies/Flavor (The Personal Touch):
- 1/2 cup Sautéed Spinach or Diced Bell Peppers (cooked and cooled completely).
H3 Key Substitutions (The Meal Prep Mix-Up)
- Bread Swap: Use whole wheat tortillas (for wraps) or pre-sliced biscuits instead of English muffins. Note: Biscuits absorb moisture easily, so eat those quicker!
- Meat Substitute: Use turkey sausage, Canadian bacon, or pre-cooked ham. For a vegetarian option, use Beyond Sausage patties or thick slices of grilled Halloumi cheese.
- Cheese Swap: Use Feta cheese (crumbled) mixed into the eggs, or Provolone slices for a sharper flavor.
- Egg Prep Swap: Use a large baked sheet pan egg (see Step 2 variation) instead of individual egg rounds for even faster assembly.
Tools & Kitchen Gadgets Used (The Assembly Line)
You need tools that enable batch cooking and proper wrapping for freezing.
- Large Baking Sheet (9×13 or 10×15): CRUCIAL! For baking the eggs in one single sheet.
- Large Mixing Bowl: For whisking the 12 eggs.
- Whisk: For incorporating air into the eggs (prevents rubbery texture).
- Pizza Cutter or Knife: For quickly slicing the baked egg sheet into perfect squares/circles.
- Aluminum Foil Squares (12-inch): Essential for wrapping and reheating.
- Freezer Bags (Gallon Size): For storing the individually wrapped sandwiches.
- Toaster or Toaster Oven: For the morning reheat.
Step-by-Step Instructions (Cook, Assemble, Wrap, Freeze)
We use the “Sheet Pan Egg” method, which is the fastest way to cook 12 egg patties at once.
H3 Step 1: Cook the Eggs (The Sheet Pan Miracle) (20 mins)
- Preheat your oven to 350°F (175°C). Lightly grease and line a large baking sheet with parchment paper (mandatory for easy lift!).
- In the large mixing bowl, whisk the 12 eggs with salt and pepper until light and slightly frothy.
- Pour the egg mixture evenly onto the prepared baking sheet.
- Bake for 15–20 minutes until the egg is fully set, puffy, and slightly golden around the edges. Do not overbake!
H3 Step 2: Prep Fillings and Assemble (10 mins)
- While the egg sheet cools slightly, slice and toast the English muffins/bagels lightly (you want them warm, not crunchy).
- Use a pizza cutter or sharp knife to slice the baked egg sheet into 12 squares (or use a large biscuit cutter if you want round patties).
- Lay out the bottom halves of the bread. Layer with one slice of cheese, one egg patty, and your pre-cooked sausage/bacon.
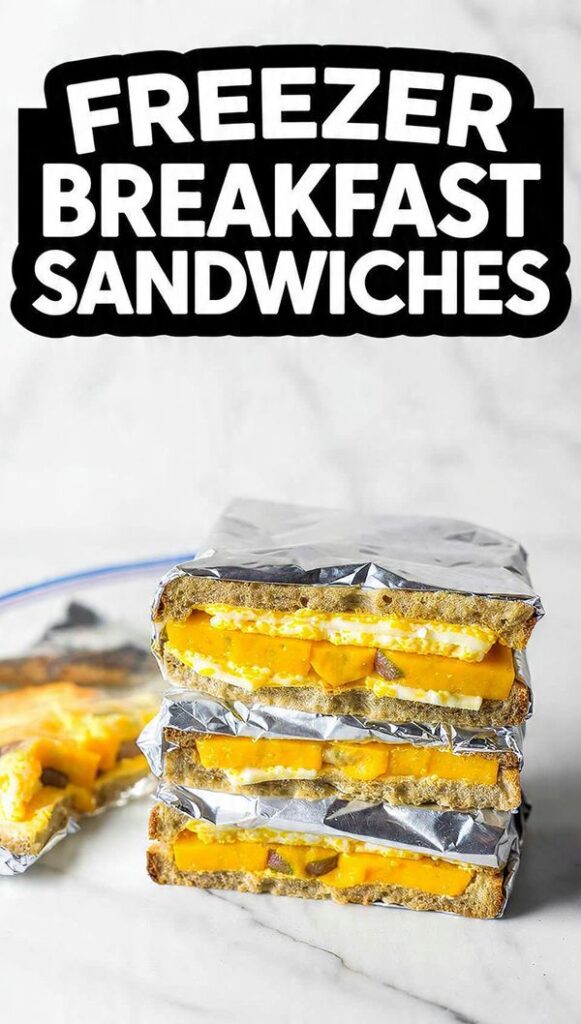
H3 Step 3: Wrap and Chill (The Freezer Prep)
- Place the top half of the bread on the sandwich. Crucially, ensure the meat is above the cheese—this helps the sandwich steam and reheat better.
- Wrap each freezer breakfast sandwich individually in a square of aluminum foil.
- Once cooled completely, place all the foil-wrapped sandwiches into a large gallon-size freezer bag. Squeeze out the air, seal, and freeze.
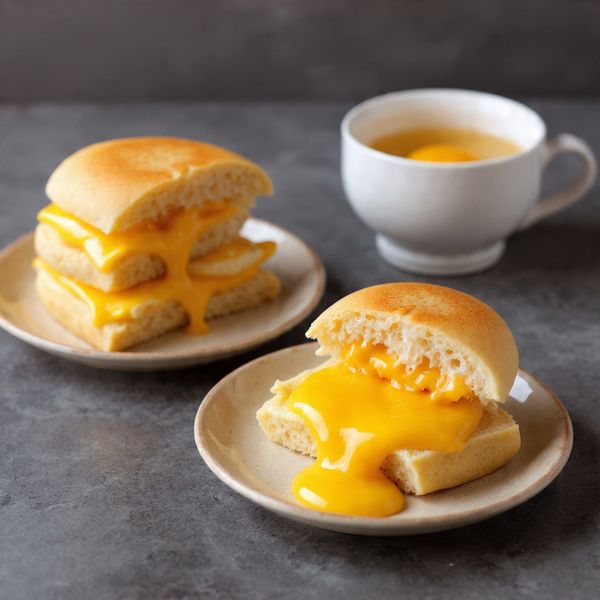
H3 Step 4: Reheat and Enjoy (2 mins)
- To reheat: Unwrap the sandwich from the foil. Microwave for 60–90 seconds on high (the fastest method).
- Alternatively: Reheat the foil-wrapped sandwich in a toaster oven or conventional oven at 350°F (175°C) for 15-20 minutes (slower, but yields a crispier bun).
- Remove, unwrap, and devour!
Calories & Nutritional Info (Fueling the Morning)
These are customizable, but generally offer a balanced mix of protein, fat, and carbs for energy. This estimate is for one sandwich.
- Estimated Calories Per Sandwich: ~350–450 calories (depending on meat/cheese type).
- High in Protein: Eggs and meat provide significant protein (around 20-25g per sandwich).
- Complex Carbohydrates: English muffins provide a steady source of energy.
- Good Source of Calcium: Cheese provides essential calcium.
- Low Sugar: Naturally very low in sugar compared to cereals or pastries.
Common Mistakes to Avoid (The Freezer Fails)
Freezing and reheating demand specific wrapping and cooking techniques.
- Overbaking the Eggs: Overbaked eggs turn dry and rubbery when reheated. Bake until just set in the center (15-20 minutes).
- Wrapping While Warm: Wrapping a warm sandwich traps steam, which turns into ice crystals upon freezing, leading to a soggy, waterlogged sandwich when reheated. Cool completely before wrapping!
- Not Using Foil: Aluminum foil is the best wrapper because it insulates against freezer burn and acts as a steamer/reheating vessel in the oven/toaster oven.
- Adding Wet Condiments: Never add mayo, ketchup, or hot sauce before freezing. They become watery and ruin the texture. Add condiments after reheating!
Variations & Customizations (The Daily Sandwich)
You can easily swap the flavor profile to prevent breakfast boredom all week long.
- Spicy Salsa and Chorizo: Mix 1/4 cup of mild salsa into the egg mixture. Fill with cooked chorizo sausage and pepper jack cheese. Serve with extra salsa on the side after reheating.
- Mediterranean Feta & Sun-Dried Tomato (Vegetarian Swap): Fill with crumbled Feta, chopped sun-dried tomatoes, and pre-sautéed spinach. Use a whole wheat muffin.
- Keto/Low-Carb Sandwich: Use low-carb bread slices or cheese wraps instead of English muffins. Use high-fat fillings like avocado slices (add after reheating!) and heavy cream in the egg mixture.
FAQ Section (The Reheating Mysteries)
People always ask how to reheat these perfectly to avoid rubbery eggs or soggy bread.
- Q: How long do freezer breakfast sandwiches last?
- A: Stored properly in an airtight bag, they last beautifully in the freezer for up to 1–2 months.
- Q: Why does my bread get soggy when I microwave it?
- A: The bread traps steam! To fix this, unwrap the sandwich before microwaving. Or, use the toaster oven method (foil-wrapped), which yields a crispy exterior.
- Q: Can I use fresh, uncooked sausage patties?
- A: No. All meat (sausage, bacon, ham) must be fully cooked before assembly and freezing for both safety and texture purposes.
- Q: Is it better to toast the bread first?
- A: Yes, lightly toast the bread (Step 2) to reduce its moisture content. This helps prevent it from getting soggy when it absorbs steam during reheating.
- Q: What is the fastest way to reheat the sandwich?
- A: Microwave for 90 seconds (unwrapped). It’s the fastest way to get a hot center.
- Q: Can I freeze the sandwiches without wrapping them in foil?
- A: You can wrap them in wax paper or parchment, but foil offers the best protection against freezer burn and serves as a heating vessel if using the toaster oven.
- Q: Should I put the cheese on top of the egg or the meat?
- A: Place the cheese slice directly on top of the egg (under the meat layer). When reheating, the melted cheese acts as a glue, holding the sandwich together.
Final Thoughts (The Morning Master)
You conquered the Sunday meal prep routine and armed yourself with a freezer full of hot, delicious fuel. Those freezer breakfast sandwiches are proof that you are officially a master of efficiency and a genius at fighting the morning rush. You are now the Morning Master.
Go ahead, enjoy that warm, cheesy, high-protein bite. Did you realize homemade fast food could be this good? I bet you’ll be making a double batch next weekend. Now, are you adding spicy salsa or mild spinach to your next batch?