The Ultimate Authentic Dulce de Leche Recipe: Liquid Gold in a Jar
We’ve all been there. You’re standing in the baking aisle, staring at a dusty can of “caramel-flavored” syrup that has more syllables in the ingredients list than a chemistry textbook. You want that deep, nutty, life-changing dulce de leche, but you’re pretty sure it requires a PhD in sugar-burning or a flight to Buenos Aires. Why do we settle for corn syrup disappointment when we could be making the real deal with exactly one ingredient?

I first attempted this recipe after a particularly intense craving during a rainy weekend. I thought I was a culinary genius until I realized that “watching the pot” did not mean “forgetting about it for three hours while watching true crime.” Let’s just say my kitchen smelled like a scorched dairy farm for a week. But once I mastered the “lazy girl” method, my life changed. Are you ready to stop eating “brown sugar water” and start living your best caramel life?
Why This Recipe Is the Undisputed GOAT
Why should you bother making this at home when you could just buy a jar? Because store-bought versions are usually just thickened sugar and regret. This recipe produces a flavor profile that is creamy, toasted, and complex—the kind of flavor that makes you want to lick the spoon and the jar. It is the ultimate culinary flex that requires zero actual cooking skills.

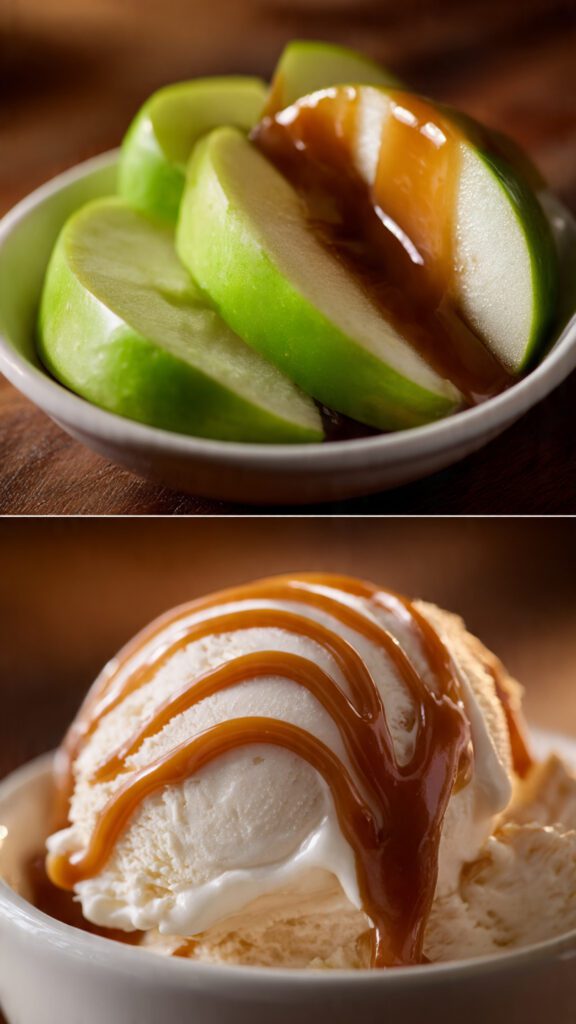
Beyond the flavor, this dish is a total crowd-pleaser. Bring a jar of this to a party with some sliced apples or shortbread, and people will treat you like you just won a Michelin star. It is incredibly easy, impressively sophisticated, and IMO, it is the only way to justify eating an entire can of condensed milk in one sitting. Ready to reclaim your dessert glory?
The Ingredients: The One-Man Show
Don’t let the French-sounding name fool you; the ingredient list is shorter than my attention span.
- 1 can (14 oz) Sweetened Condensed Milk: This is the star, the producer, and the entire cast. Make sure you don’t accidentally buy evaporated milk, or you’ll just have warm, thin milk and a broken heart.
- A Pinch of Sea Salt: (Optional but highly recommended) To balance the sweetness and make you feel like a gourmet chef.
- Water: Enough to submerge a can, because physics.
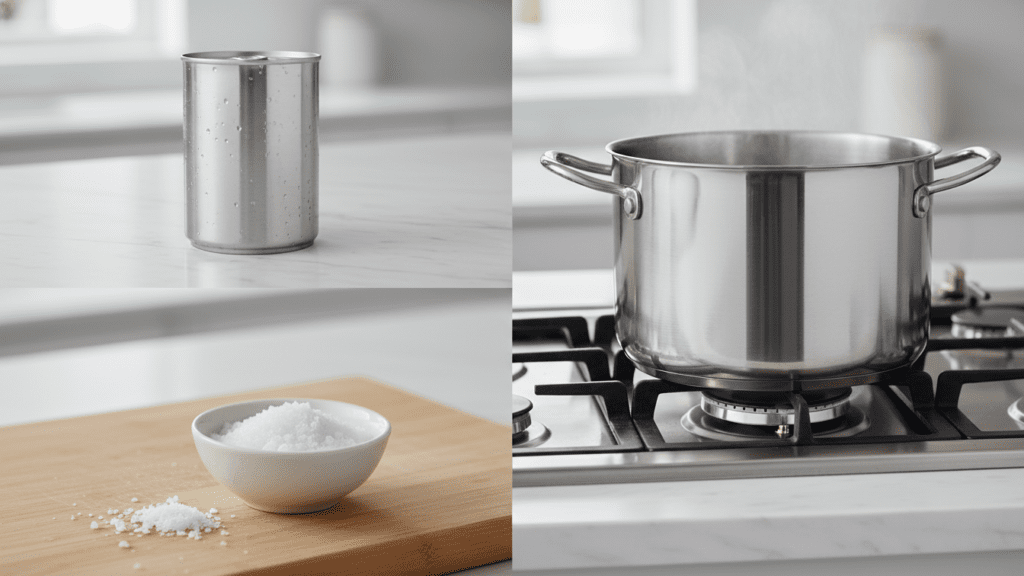
The Arsenal: Tools & Kitchen Gadgets
You don’t need a professional laboratory, but a few specific tools make the difference between a smooth dream and a metallic nightmare.
- Large Heavy-Bottomed Pot: To prevent the can from rattling like a ghost is trying to escape.
- Tongs: Essential for handling a boiling can of liquid gold without losing a finger.
- Can Opener: Obviously.
- Small Glass Jars: For storage and for looking incredibly aesthetic on your countertop.
- Silicone Spatula: For scraping every last drop of that amber goodness out of the can.
Step-by-Step Instructions: The Art of the Slow Cook
Step 1: The Label Sacrifice
Start by peeling the paper label off your sweetened condensed milk can. If you leave it on, you’ll end up with a pot full of soggy paper pulp and a very annoyed dishwasher. Scrub off any remaining glue residue unless you like the taste of industrial adhesive.
Step 2: The Water Bath
Place the unopened can on its side in the center of your large pot. Fill the pot with room temperature water until the can is covered by at least two inches. Bold move: resist the urge to turn the heat to high immediately. We want a gentle transition into caramelization.
Step 3: The Big Simmer
Bring the water to a boil, then immediately reduce the heat to low. You want a steady, lazy simmer. Cover the pot with a lid. TBH, this is the part where you go live your life. Set a timer for 3 hours for a deep, dark dulce de leche, or 2 hours for a lighter, “latte-colored” version.
Step 4: The Safety Check
Check the water level every 30 minutes. The can must always be fully submerged. If the water evaporates and the can is exposed to air, the pressure can cause it to explode. Unless you want your kitchen ceiling to be decorated in caramel, keep the water topped up!
Step 5: The Cooling Ritual
Once the timer goes off, use your tongs to carefully remove the can from the boiling water. Place it on a heat-proof surface and do not open it. Seriously. If you open a pressurized can of hot caramel, it will spray like a delicious, 200-degree geyser. Let it cool completely to room temperature.
Step 6: The Final Reveal
Open the can to reveal your glistening, amber masterpiece. Stir in that pinch of sea salt and transfer it to a glass jar. It will be thick, glossy, and smell like happiness. Congratulations, you’ve just made the best thing in your pantry.
Calories & Nutritional Info
I’m going to be honest with you: this is condensed milk and sugar. It’s for the soul, not the diet tracker.
- Calories: ~65 kcal per tablespoon.
- Protein: 1g (Hey, it’s dairy!).
- Total Fat: 2g.
- Carbohydrates: 10g (Pure, unadulterated joy).
- Calcium: A tiny boost for your bones while you ruin your teeth.
Common Mistakes to Avoid (The Cheeky Guide)
- The Exploding Can: I’ve said it twice, but I’ll say it again. Keep the can submerged! Water is the only thing standing between you and a kitchen renovation.
- Opening It Hot: Opening the can before it’s cool is a recipe for a trip to the ER. Patience is a virtue, and also a safety precaution.
- Using the Wrong Milk: Evaporated milk doesn’t have the sugar needed to caramelize like this. Check the label!
- Rushing the Cool: Putting the hot can in the fridge can cause it to cool unevenly and affect the texture. Let it sit on the counter like a normal person.
Variations & Customizations
Feeling a little adventurous with your caramel? Try these three spins:
- The Boozy Kick: Once opened, stir in 1 tablespoon of dark rum or bourbon. It’s like a hug from a sophisticated pirate.
- The Spiced Treat: Stir in 1/2 teaspoon of ground cinnamon and a dash of nutmeg for a “Mexican Hot Chocolate” vibe.
- The Keto-ish Alternative: You can actually make this with a sugar-free condensed milk substitute using heavy cream and allulose. FYI, it takes way longer to brown, but it works if you’re committed to the bit.
FAQ: Everything You’re Too Afraid to Ask
Is it safe to boil a can?
Yes, as long as it remains submerged in water. People have been doing this for decades. If you’re truly paranoid, you can bake it in a water bath in the oven using a glass dish.
Why is my dulce de leche grainy?
You might have boiled it too vigorously. Keep the simmer low and slow. If it is grainy, you can give it a quick blitz in a blender to smooth it out.
How long does it last in the fridge?
It stays fresh in an airtight jar for about 3 weeks. If it lasts that long, you have more self-control than I do.
Can I make this in a Slow Cooker?
Absolutely! Put the cans in the slow cooker, cover with water, and cook on low for 8 hours. It’s the “set it and forget it” champion.
Can I use the “Easy Open” pull-tab cans?
Some people say no, but I’ve done it. Just make sure the water level is high and the simmer is very gentle to avoid any seal failures.
What should I eat this with?
Literally everything. Bananas, toast, waffles, ice cream, or just a large spoon. IMO, it makes the best coffee sweetener ever.
Why didn’t it turn dark brown?
You didn’t cook it long enough. Every stove is different. If it’s too light, you can simmer it for another 30 minutes (after it’s cooled and you’ve checked it, of course).
Final Thoughts
There you have it—a dulce de leche recipe that will make everyone forget you ever struggled with a microwave. It’s thick, it’s rich, and it’s the perfect way to survive a boring afternoon with your sanity intact.
Go ahead, grab a can and get simmering! Just don’t blame me when you find yourself standing in front of the fridge at midnight with a spoon. And hey, if you never buy store-bought “caramel” again after tasting this, I won’t be surprised. Happy “cooking”! 🙂