How to Make the Easiest Chocolate Peppermint Christmas Desserts Ever (Seriously)
Remember that one time you promised to bring a dessert to the office Christmas party and ended up just buying a sad, deflated yule log from the grocery store? Yeah, we’ve all been there. The holiday season is a chaotic mess of glittering decorations, endless Mariah Carey songs, and, let’s be real, a lot of stress. But what if I told you that you could whip up some truly show-stopping Christmas desserts with minimal effort and maximum reward? I’m talking about something so good, so ridiculously easy, that your friends and family will think you secretly hired a professional pastry chef. This isn’t just a recipe; it’s a holiday life hack.
Why This Recipe Is Your New Holiday BFF

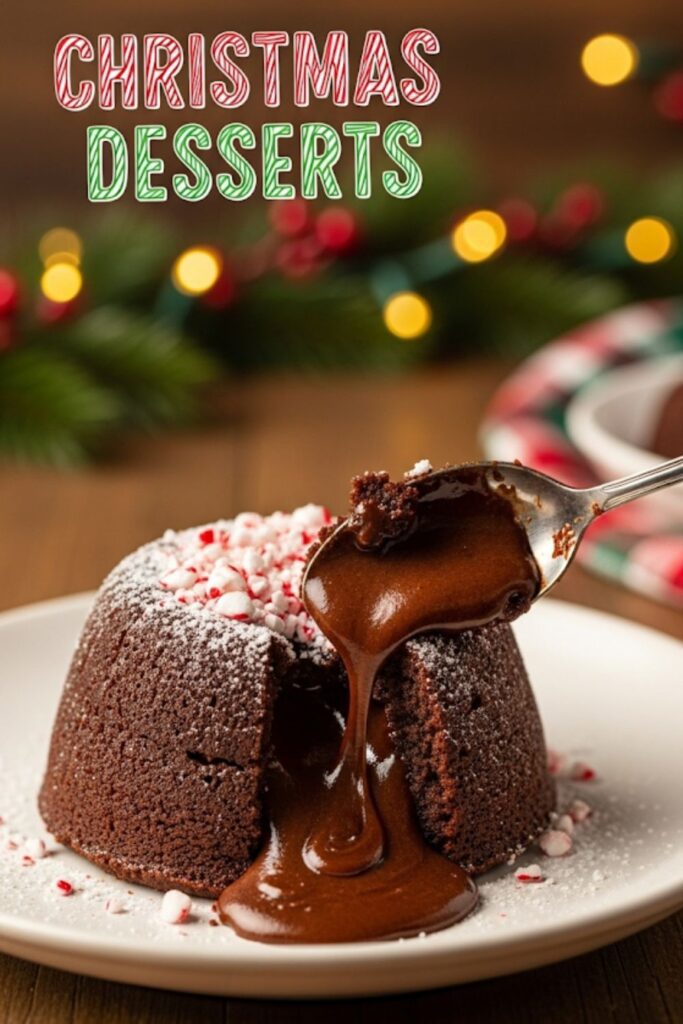
Look, I get it. You’re busy. Your to-do list is longer than Santa’s naughty list. This recipe, a gloriously decadent Chocolate Peppermint Lava Cake, is the antidote to your holiday stress. It’s got that “wow” factor, a gooey, melty chocolate center that just screams cozy winter vibes. Plus, it only takes about 20 minutes to prep, which means you can spend less time in the kitchen and more time avoiding your weird uncle’s political rants. The chocolate and peppermint combo is an absolute classic for a reason—it’s festive, it’s delicious, and it’s basically a hug in a bowl. Who doesn’t need a hug right now?
Ingredients You’ll Need (AKA Your Shopping List)
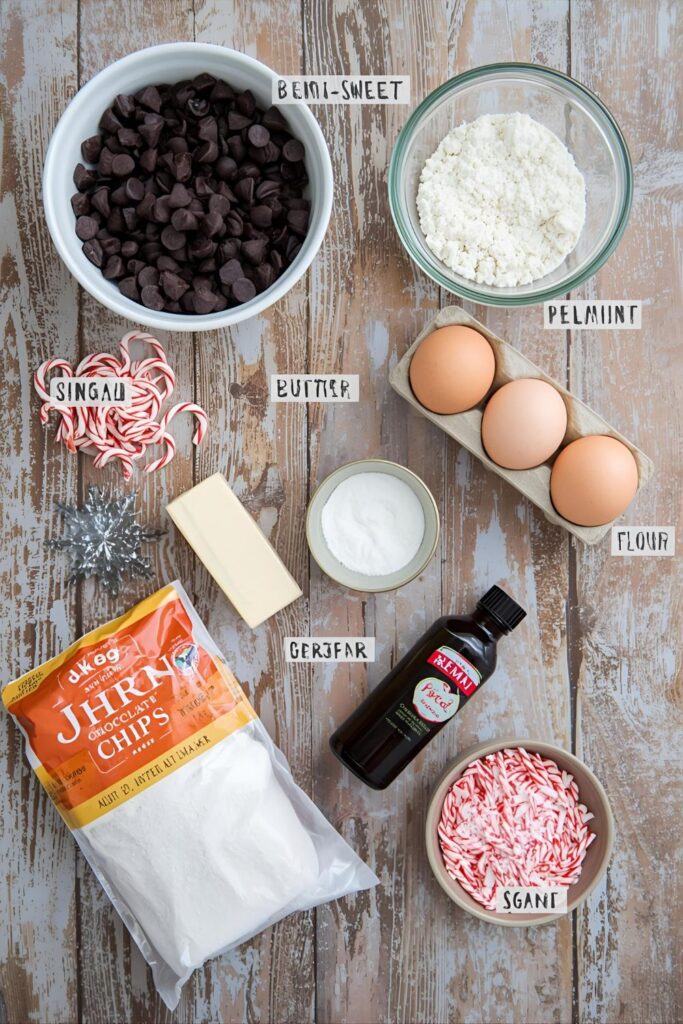
Don’t panic; this list is short and sweet. Pun intended.
- 1 cup semi-sweet chocolate chips (the good stuff, not the chalky ones)
- 1/2 cup unsalted butter, cubed
- 3 large eggs
- 1/4 cup granulated sugar
- 2 tablespoons all-purpose flour
- 1/2 teaspoon peppermint extract
- Pinch of salt
- Crushed candy canes or peppermint candies, for garnish (don’t skip this, it’s the ✨aesthetic✨)
- Powdered sugar, for dusting (optional, but makes you look like a pro)
- Vanilla ice cream or whipped cream, for serving

Substitutions, FYI: You can totally use dark chocolate chips if you’re into that rich, less-sweet vibe. No peppermint extract? Use a drop or two of pure peppermint oil, but be careful—a little goes a long, long way. You’ve been warned.
Tools & Kitchen Gadgets to Get the Job Done
Here’s the gear you’ll need. Nothing fancy, I promise.
- Mixing bowls (one for the chocolate, one for the eggs)
- Whisk
- Spatula
- Small saucepan (for melting the chocolate)
- Ramekins (6-ounce size is perfect)
- Baking sheet
- Oven mitts (unless you enjoy third-degree burns)
The Super-Simple, Step-by-Step Instructions
Ready? Let’s do this. You’re just a few steps away from dessert glory.
- Prep Your Ramekins. First things first, get your oven preheating to 425°F (220°C). Then, generously butter and flour six 6-ounce ramekins. This step is non-negotiable unless you want a cake that’s permanently attached to the dish.
- Melt the Chocolate. In your small saucepan, melt the chocolate chips and unsalted butter together over low heat. Stir constantly until it’s all smooth and glossy. Once it’s melted, take it off the heat and let it cool for a hot second. Like, two minutes. Don’t walk away and start wrapping gifts, it needs to be ready for the next step.
- Whip It Good. While your chocolate is chilling, grab a separate mixing bowl. Whisk the eggs and granulated sugar together until they’re pale and fluffy. This is where you get all that air in there. It should look a little like a fluffy cloud.
- Combine the Magic. Now, gently pour the slightly cooled chocolate mixture into the egg mixture. Fold it together with your spatula until it’s just combined. Don’t overmix! Then, fold in the all-purpose flour, peppermint extract, and a pinch of salt. It’s important to get the peppermint extract in there evenly, so your lava cake doesn’t have a surprise super-minty section.
- Fill ‘Em Up. Divide the batter evenly among your six prepared ramekins. Place them on a baking sheet. Why the baking sheet? Because it makes it way easier to get them in and out of the oven. Trust me on this.
- Bake and Serve. Pop the baking sheet into your preheated oven and bake for 10-12 minutes. You’re looking for the edges to be firm but the center to still be wobbly. That wobble is the “lava.” Don’t overbake! Once they’re out, let them cool for just a minute or two. Run a knife around the edge and then flip them onto a plate. Top with crushed candy canes and a sprinkle of powdered sugar. Serve immediately with a scoop of vanilla ice cream.
Calories & Nutritional Info (The Not-So-Fun Part)
I’m not a nutritionist, so these are just estimates, but IMO it’s totally worth it.
- Estimated Calories per serving: ~450-500 kcal (depending on your specific ingredients and how much ice cream you add, let’s be real)
- Key nutrients:
- Carbs: Mostly from sugar and flour. It’s a dessert, what did you expect?
- Fats: From the butter and chocolate. These are the good fats that make it so rich.
- Protein: A little bit from the eggs. So, it’s basically a health food, right? 😉
Common Mistakes to Avoid (So You Don’t Mess It Up)
Listen up, buttercup. These are the top reasons your lava cake might go wrong.
- Overbaking: This is the most common crime against lava cakes. You want that gooey center, not a dry, sad brownie. Remember, the edges should look set, but the center should still be a little jiggly. When in doubt, take it out.
- Forgetting to Grease and Flour: Your cake will be glued to the ramekin. You’ll cry. Your guests will stare. It will be a whole thing. Just do it.
- Overmixing the Batter: Once you add the flour, a few folds with a spatula are all you need. Overmixing develops the gluten, and instead of a delicate, tender cake, you’ll end up with something tough. Nobody wants a tough cake.
- Adding Hot Chocolate to Cold Eggs: You’ll scramble your eggs. Unless you’re making a chocolate omelet (and why on earth would you?), let that chocolate cool down a little first.
Variations & Customizations (Time to Get Creative)
You’ve mastered the classic, now let’s mix it up.
- The Mint-Free Version: Not a fan of peppermint? No problem! Ditch the peppermint extract and use a teaspoon of pure vanilla extract instead. You’ll have a classic, glorious chocolate lava cake that’s perfect all year round.
- The Spiced-Up Holiday Edition: For an extra layer of festive flavor, add 1/2 teaspoon of ground cinnamon and a pinch of nutmeg to the batter. Garnish with a sprinkle of cinnamon sugar instead of candy canes.
- The Raspberry Dream: This one’s a showstopper. Before you pour the batter into the ramekins, drop a few fresh raspberries into the bottom of each one. The berries will soften and create a tart, fruity surprise in the middle that cuts through the richness of the chocolate. TBH, it’s my personal favorite.
FAQ Section (Because You Have Questions, I Have Answers)
- Can I make the batter ahead of time? Yes, you can! You can make the batter up to a day in advance. Store it in an airtight container in the fridge. When you’re ready to bake, give it a quick stir and then pour it into your prepared ramekins. It might need an extra minute or two in the oven.
- What if I don’t have ramekins? No ramekins, no problem. You can use any oven-safe ceramic or glass dish, like small custard cups or even a muffin tin. Just be sure to grease and flour them well.
- How do I know if it’s baked correctly? The edges of the cake should look set and firm, but the very center should still be soft and wobbly. Gently jiggle one of the ramekins. If the middle shakes like Jell-O, you’re good to go.
- Can I use milk chocolate instead of semi-sweet? You can, but the result will be a lot sweeter. Semi-sweet chocolate provides a better balance and a richer flavor that holds up to the peppermint.
- Is this recipe gluten-free? As written, no. But you can easily make it gluten-free by swapping the all-purpose flour for a good gluten-free all-purpose baking blend.
- How do I get the perfect “lava” center? The key is to not overbake! Pay close attention to the time and the wobble test. It’s better to underbake slightly and have a super gooey center than to overbake and end up with a solid cake.
- Can I freeze these? I don’t recommend freezing the baked cakes, as the texture of the “lava” will be off. However, you can freeze the unbaked batter in the ramekins. Just cover them tightly with plastic wrap and freeze. When you’re ready to bake, just pop them in the oven from frozen, adding a few extra minutes to the baking time.
Final Thoughts (The Mic Drop)
So there you have it. The secret to being a holiday hero is not in a store-bought cake or a fancy-schmancy recipe book. It’s right here, in this ridiculously simple, ridiculously delicious Chocolate Peppermint Lava Cake. Go forth and conquer your holiday dessert anxieties. Your friends and family will thank you, and you’ll get all the glory for minimum effort. Now, who’s ready for seconds?