
Butter Up: The Foolproof, Indulgent Brioche Recipe You’ve Been Avoiding (But Shouldn’t!)
Let’s be real: when someone mentions baking something French and buttery like Brioche, your brain probably conjures images of white chef hats, complicated techniques, and a lot of crying over dough that refuses to rise. I totally get it. I spent years paying ridiculous bakery prices for those fluffy golden loaves, thinking this was a “pro-only” situation. Then I finally tried it, and folks, I felt lied to. This recipe isn’t hard, it just requires a little patience and a lot of butter. Seriously, it’s the kind of project that makes your entire house smell like a chic Parisian patisserie. Why are you still spending $8 on a slice?
Why This Brioche Is Your Next Culinary Obsession
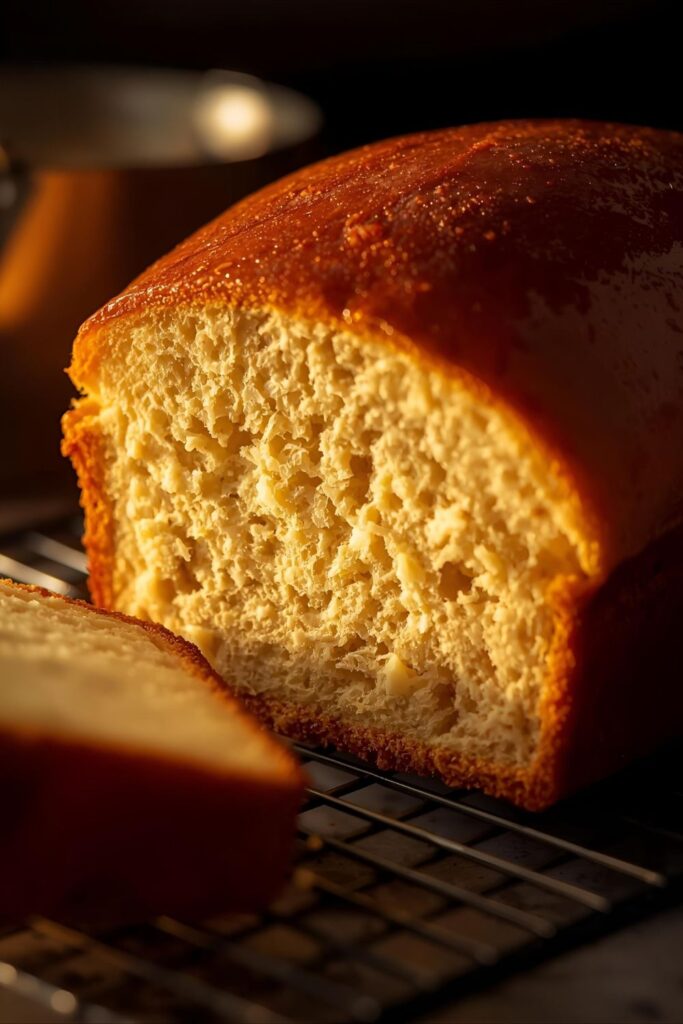
We’re not just making bread; we’re crafting a cloud. This Brioche isn’t your average sandwich loaf—it’s rich, it’s tender, and it has an unmistakable sweetness thanks to its generous friends, butter and eggs. It’s basically bread that decided to wear a diamond necklace.
The flavor is next-level, but the texture is the true showstopper. Light, airy, and impossibly soft. It toasts beautifully, makes the best French toast on the planet (seriously, don’t @ me), and transforms a simple jam sandwich into a moment of pure bliss. Imagine serving this to guests. Instant gourmet status. You’re welcome.
Ingredients: Butter, Eggs, and a Little Fluff
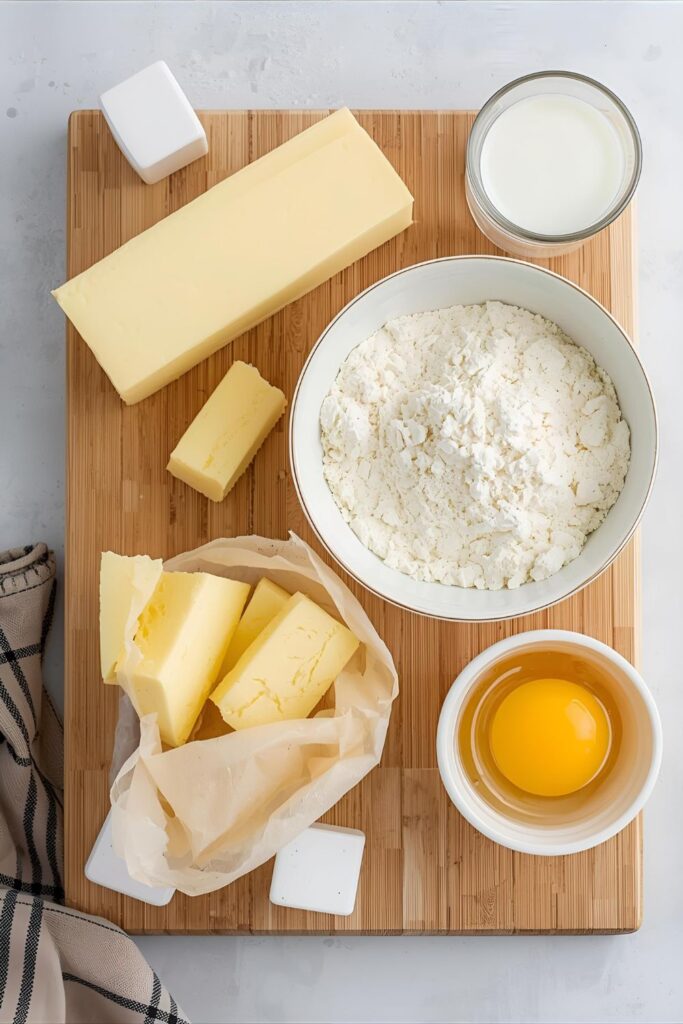
Brioche relies on high-quality ingredients. IMO, don’t skimp on the butter—it’s the main character here.
- 1/2 cup Lukewarm Milk (Around $105^{\circ}F$ to $115^{\circ}F$. Not scalding hot, or you’ll accidentally commit yeast genocide.)
- 2 1/4 teaspoons (1 packet) Active Dry Yeast (The little engines that make it puff.)
- 1/4 cup Granulated Sugar, plus 1 teaspoon (The teaspoon is for the yeast. Gotta bribe those guys.)
- 3 1/2 cups Bread Flour (The high protein gives the dough the strength to hold all that butter!)
- 1 teaspoon Fine Sea Salt (Crucial for balancing all that richness.)
- 4 Large Eggs, plus 1 Egg Yolk (They make it rich, yellow, and tender.)
- 1 cup (2 sticks) Unsalted Butter, cut into tablespoon-sized pieces, softened (Yes, a whole cup. Don’t fight it.)
- 1 Egg (For the egg wash. Makes the top look shiny and professional.)

Key Substitution Note: Use bread flour for the authentic airy texture. All-purpose flour works, but the texture will be slightly less chewy and tender. If you use all-purpose, you might need slightly less milk.
Tools & Kitchen Gadgets Used
You can technically make this by hand, but unless you’re training for a strongman competition, I highly recommend a stand mixer. Your arms will thank you.
- Stand Mixer with Dough Hook Attachment (A non-negotiable for saving your sanity.)
- Large Mixing Bowl (For the initial proof.)
- Measuring Cups and Spoons (The standard suspects.)
- Kitchen Scale (Highly recommended! Weighing the flour and butter ensures perfect results.)
- Loaf Pan (9×5 inch) or Brioche Molds (For shaping.)
- Plastic Wrap or a Clean Kitchen Towel (For proofing.)
- Pastry Brush (For that perfect egg wash shine.)
Step-by-Step Instructions: The Art of the Knead
Patience is key. You’re essentially teaching butter and flour to be friends. They take time to get along.
H3: Wake Up the Yeast
- Pour the lukewarm milk into your stand mixer bowl. Sprinkle the yeast and the 1 teaspoon of sugar over the top.
- Let it sit quietly for about 5-10 minutes. You want it to get foamy and bubbly—a sign the yeast is alive and ready to party.
H3: Mix the Dream Team
- Add the bread flour, remaining sugar, salt, 4 large eggs, and the 1 egg yolk to the bowl.
- Attach the dough hook and mix on low speed for about 5 minutes until a shaggy, sticky dough forms. Don’t worry, it looks ugly right now.
H3: The Butter Baptism
- Turn the mixer up to medium-low. Start adding the softened butter one tablespoon at a time. Do not rush this! Wait until each piece of butter incorporates completely into the dough before adding the next one.
- This process takes a full 15 to 20 minutes (seriously, put on a podcast). The dough will look like a sticky mess, then a soupy mess, and then it will finally pull away from the sides of the bowl, looking smooth, soft, and glossy. This is when the gluten develops enough to handle all the fat. You want a dough that is extremely soft but passes the windowpane test.
H3: The Long, Cold Nap
- Scrape the dough into a lightly oiled bowl. Cover tightly with plastic wrap.
- Let the dough rise at room temperature for 1.5 to 2 hours until it nearly doubles in size.
- Now, the essential part: punch it down and move it to the refrigerator for a minimum of 6 hours, or ideally, overnight. The cold rest makes the dough manageable and develops incredible flavor.
H3: Shape and Shine
- Remove the dough from the fridge. It should be firm. Divide the dough into 3 or 4 equal pieces (or six if you’re using a loaf pan and want the classic look).
- Shape each piece into a small ball and arrange them snugly in your greased loaf pan.
- Cover the pan loosely and let the dough rise again in a warm spot for 1.5 to 2 hours. It should rise significantly, crowning over the pan.
H3: Bake Your Masterpiece
- Preheat your oven to $375^{\circ}F$ ($190^{\circ}C$).
- Whisk the remaining egg with a splash of water for the egg wash. Gently brush the top of the risen brioche. This gives it that iconic, deep golden color.
- Bake for 30–40 minutes. If it browns too quickly, loosely tent it with aluminum foil.
- The internal temperature should reach $200^{\circ}F$ ($93^{\circ}C$). Let it cool completely before slicing. Do you have the willpower? Probably not, but try!
Calories & Nutritional Info (The Delicious Damage)
This is rich bread, so prepare yourself. This recipe yields one standard loaf, about 10-12 generous slices.
- Estimated Calories Per Serving (1/10th of Loaf): Approximately 320-350 calories (Yes, the butter earns that number!)
- Macronutrients Per Serving (Estimated):
- Fat: 20-22g (Mostly from the glorious butter and egg yolks.)
- Carbohydrates: 30-35g
- Protein: 8g
- Key Nutritional Note: Brioche provides a high amount of saturated fat (hello, butter) and is very rich. However, it’s a good source of protein and B vitamins from the eggs and yeast. Eat it with joy and moderation!
Common Mistakes to Avoid (Save Your Dough, Literally)
You’ve come this far! Don’t let these little blips ruin your beautiful, buttery baby.
- Killer Mistake #1: Adding Cold Butter: If your butter is too cold, it will never properly incorporate, and your dough will tear instead of smooth out. Always use truly softened butter—it should easily yield when pressed.
- Killer Mistake #2: Not Kneading Long Enough: This dough is a marathon, not a sprint. Stop kneading too early and you’ll end up with a greasy, heavy, and flat brioche. You must develop the gluten before the butter, and then knead after the butter addition for ages. Check for that windowpane!
- Killer Mistake #3: Skipping the Cold Proof: The overnight cold proof is essential. It makes the sticky dough firm enough to handle, slows the yeast for better flavor development, and lets the gluten fully relax. Seriously, don’t rush this step!
- Killer Mistake #4: Slicing Too Soon: Brioche continues to cook slightly and firm up as it cools. Slice into a warm loaf and you risk the beautiful, tender crumb collapsing into a gummy mess. Let it cool completely! I know it’s torture.
Variations & Customizations
Bored? Impossible. But here are some ways to change things up.
- Chocolate Chip King: Add 1 cup of good-quality chocolate chips (dark or milk, dealer’s choice) during the last minute of kneading. This makes it perfect for snacking or an insane chocolate bread pudding.
- Savory Herb Rolls: Reduce the sugar to 1 tablespoon and add 2 tablespoons of finely chopped chives and 1 tablespoon of fresh rosemary when adding the flour. Shape into dinner rolls instead of a loaf. Serve with steak or soup.
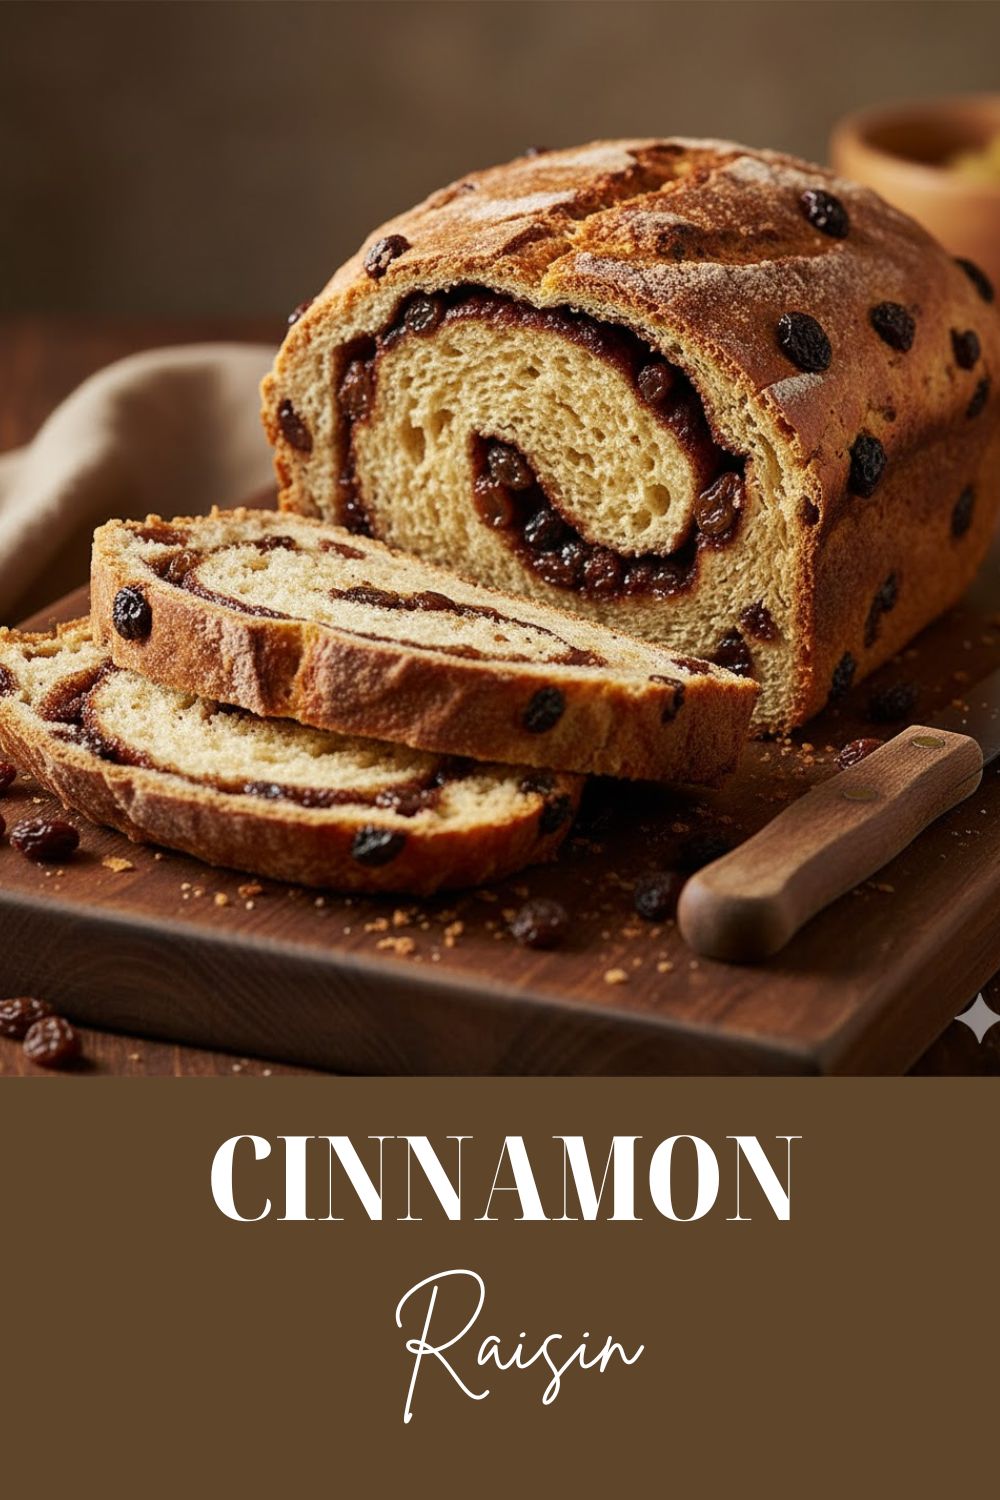
- Cinnamon Sugar Swirl: Before the second proof, roll the dough into a large rectangle. Brush with melted butter and sprinkle generously with a cinnamon-sugar mixture (1/4 cup sugar, 1 tablespoon cinnamon). Roll it up like a jelly roll and place it in the pan. Pure decadence.
FAQ Section: Brioche Wisdom
H3: Why is my brioche dough so sticky?
Brioche dough is supposed to be very soft and sticky because of the high fat and egg content. It’s one of the wettest doughs you’ll ever handle. If you kneaded it for the full recommended time and it passes the windowpane test, the stickiness is normal. The cold proof is what makes it manageable.
H3: Can I make brioche without a stand mixer?
You can, but prepare for an intense workout! You must knead the dough by hand for 20-30 minutes to fully incorporate the butter and develop the gluten. Use a bench scraper to help scrape the sticky dough from your surface, and resist the urge to add too much flour.
H3: How long does homemade brioche last?
Because of its high-fat content, brioche actually stays fresh longer than lean bread. Store it tightly wrapped at room temperature for 3-4 days. After that, it makes excellent French toast or bread pudding!
H3: What is the windowpane test?
The windowpane test checks for proper gluten development. Take a small piece of dough and gently stretch it with your fingers. If you can stretch it into a thin membrane that you can almost see light through without it tearing, your gluten is perfectly developed and ready.
H3: What is the difference between brioche and challah?
Both are rich, egg-based breads, but brioche uses a significantly higher amount of butter (often $50\%$ or more of the flour weight), which gives it a very light, soft texture. Challah traditionally uses oil instead of butter, making it parve (dairy-free) and slightly denser.
H3: Why did my brioche not rise?
The most common culprits are dead yeast (water was too hot/cold), expired yeast, or too much salt directly touching the yeast before mixing. Always check your yeast by proofing it in warm milk first. If it doesn’t foam, start over with fresh yeast.
H3: Can I freeze brioche?
Yes! Once the brioche has cooled completely, slice it first, then wrap the slices tightly in plastic wrap, and place them in a freezer bag. It freezes well for up to 3 months. You can pop the slices directly into the toaster for quick consumption.
Final Thoughts: Welcome to the Rich Life
Seriously, high-five yourself. You tackled the mythical Brioche and came out victorious. That first bite of your golden, buttery loaf will taste like pure triumph, with a hint of sarcasm directed at all those years you spent buying the expensive store-bought stuff. Now that you’ve mastered the buttery cloud, are you going sweet (French toast) or savory (gourmet burger buns) with your next batch? Go tell your friends you can bake French food. You earned it.