
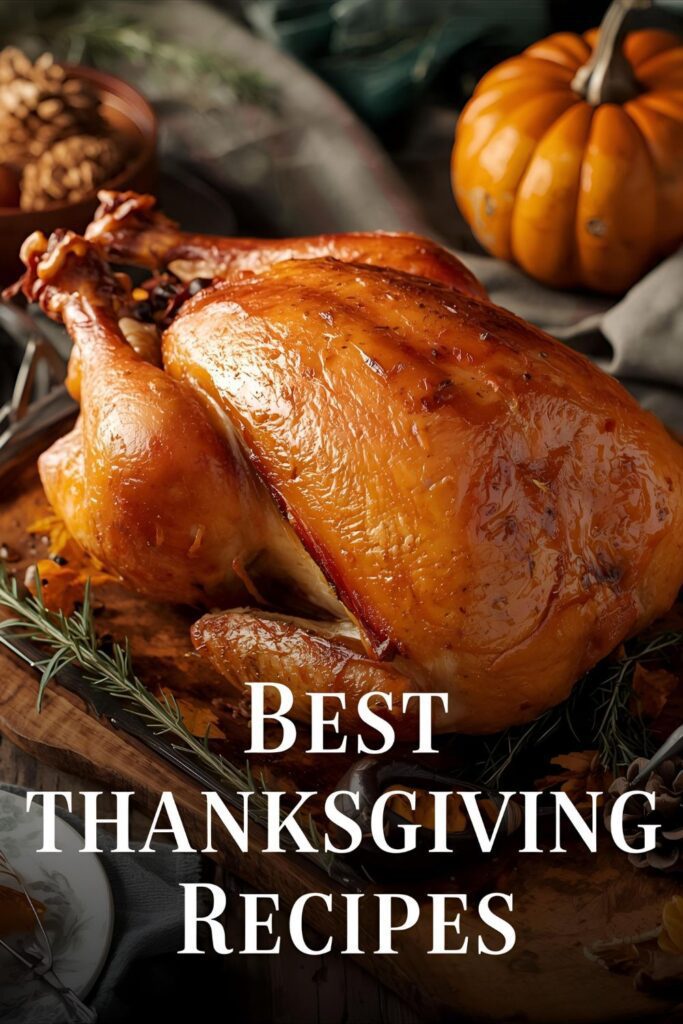
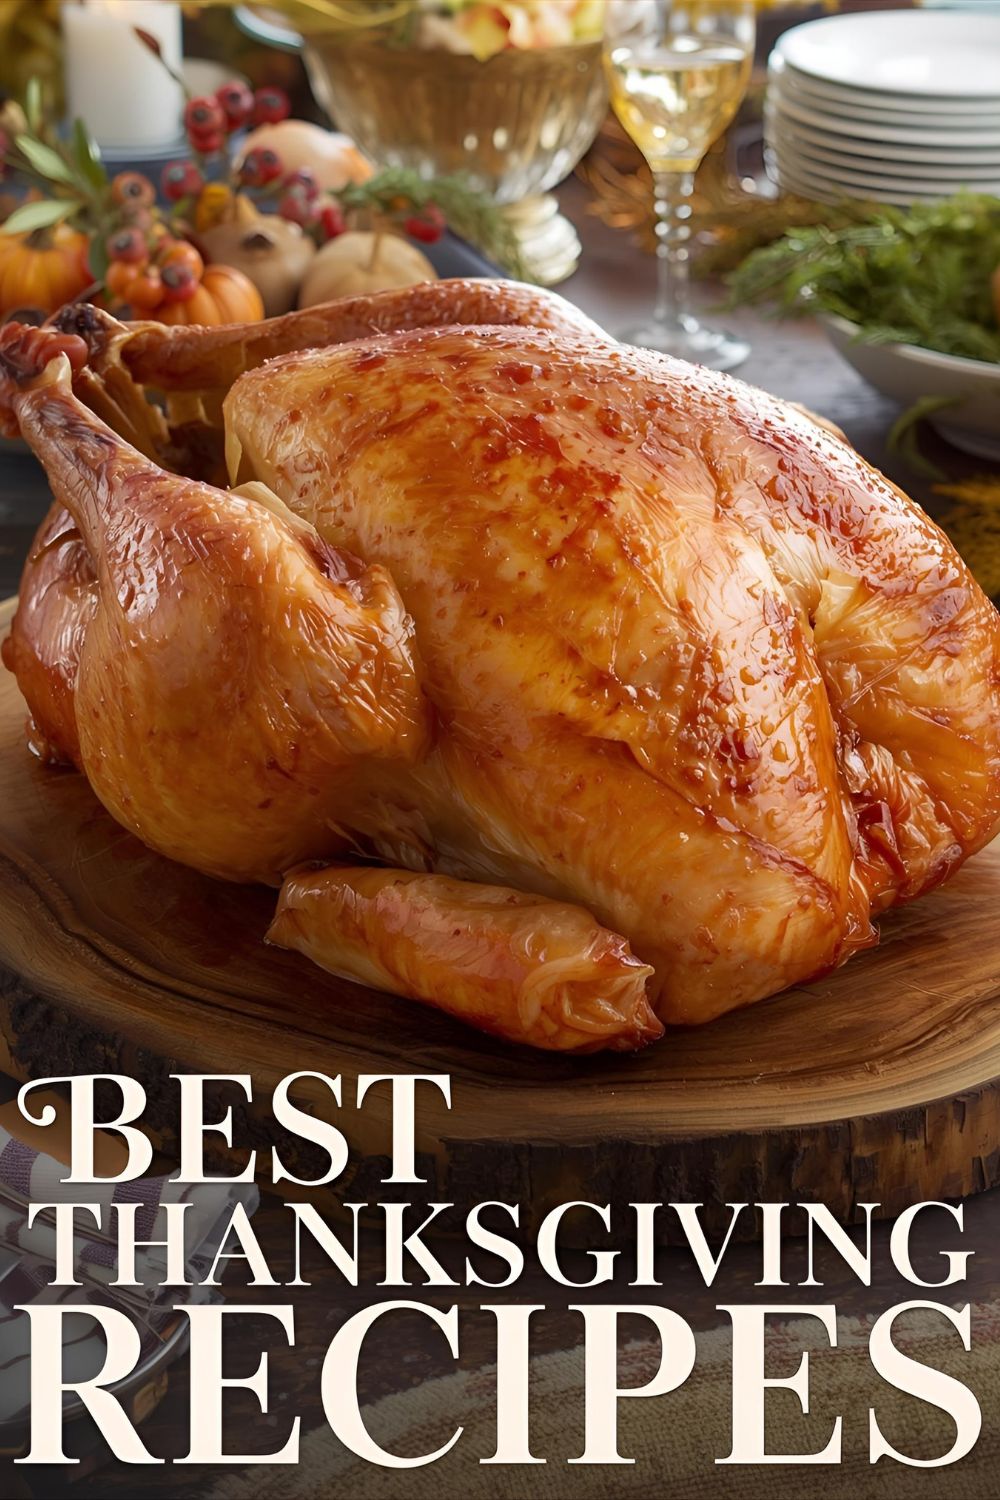
The One and Only Turkey Recipe You’ll Ever Need: A Thanksgiving Miracle
Listen, I’ve seen things. I’ve seen my aunt try to deep-fry a turkey and almost burn down the garage. I’ve witnessed my uncle’s “secret” spice rub turn the bird into a sad, gray brick. The holiday season is a minefield of potential culinary disasters, especially when it comes to the main event. But what if I told you there’s a simple, foolproof way to master the main dish? You need the best Thanksgiving recipes for a show-stopping turkey that is actually, you know, edible. This recipe isn’t about secret family tricks or magical potions; it’s about a little science, a lot of butter, and zero stress. Are you ready to become a Thanksgiving hero?
Why This Turkey Recipe is Your New Best Friend
Let’s be real, a dry turkey is the biggest letdown of the year. This recipe? It’s a game-changer. It delivers a perfectly juicy, incredibly flavorful turkey with impossibly crispy skin. It’s so good, your family will forget all about that embarrassing incident with the garage. We’re talking minimal effort for maximum payoff. You don’t have to baste every five minutes, you don’t need a special turkey fryer, and you won’t lose your mind in the kitchen. This recipe is for the rest of us—the people who just want to eat good food and not spend 12 hours making it.
Ingredients
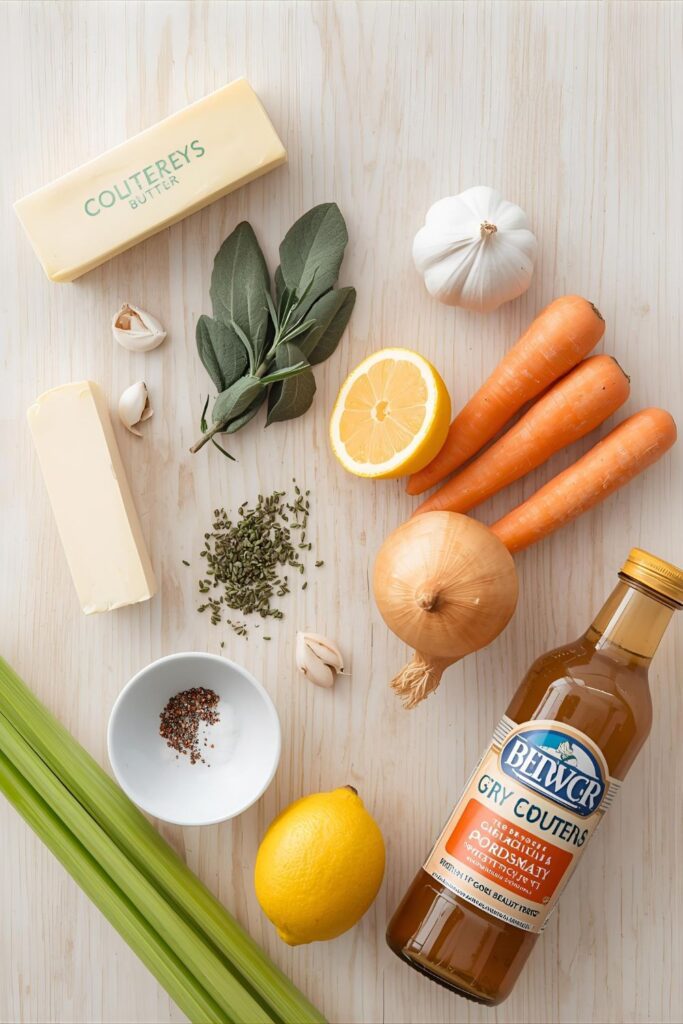
- One 12-14 lb turkey, thawed
- 1 stick (1/2 cup) unsalted butter, softened to room temperature
- 3 large garlic cloves, minced
- 2 tablespoons fresh sage, finely chopped
- 2 tablespoons fresh thyme, finely chopped
- 1 tablespoon kosher salt
- 1 teaspoon black pepper
- 1 large yellow onion, quartered
- 2 carrots, roughly chopped
- 2 celery stalks, roughly chopped
- 1 lemon, halved
- 2 cups chicken or turkey broth (or white wine, if you’re feeling fancy)
Substitutions? Of course. If you don’t have fresh herbs, you can use 1 teaspoon of dried herbs for every tablespoon of fresh. No fresh garlic? Use 1 teaspoon of garlic powder. Can’t find unsalted butter? Use salted and just reduce the amount of kosher salt you add. Don’t sweat the small stuff; Thanksgiving is stressful enough.
Tools & Kitchen Gadgets Used
- Large roasting pan with a rack: This is non-negotiable. The rack keeps the turkey from sitting in its own juices and getting soggy.
- Roasting thermometer: A lifesaver. You’ll know exactly when your turkey is done, no more guessing games.
- Small mixing bowl: For the herb butter.
- Sharp knife and cutting board: For all the chopping.
- Twine: To tie the legs together for even cooking.
- Aluminum foil: A must for tenting the turkey.
- Basting brush: Optional, since we’re not basting every five minutes.
- Turkey baster: If you want to baste, this will make it easy, but it’s totally not required.
- Carving fork and knife: For the grand finale.
Step-by-Step Instructions
- Prep the Bird: Take your turkey out of the fridge at least an hour before you plan to roast it. This helps it cook more evenly. Pat it down with paper towels until it’s super, super dry. Moisture is the enemy of crispy skin, FYI. Remove the giblets and neck from the cavity and save them for gravy if you want (or just toss ’em, no judgment here).
- Make the Magic Butter: In a small bowl, mix the softened butter with the minced garlic, chopped sage, thyme, salt, and pepper. It should be a beautiful, fragrant paste.
- Rub It Down: Now for the fun part. Gently separate the skin from the turkey breast, being careful not to tear it. Use your fingers to get right in there. Seriously, get your hands dirty. Slather about two-thirds of the herb butter under the skin, all over the breast and legs. Rub the rest of the butter on the outside of the skin. This is the secret to a golden, crispy, and flavorful crust.
- Stuff the Cavity (Sort of): Stuff the onion, carrots, celery, and lemon halves into the turkey’s cavity. Don’t overdo it—you want air to circulate. Tie the legs together with kitchen twine and tuck the wings under the body.
- Roast It Right: Place the turkey on the rack in your roasting pan. Pour the chicken broth into the bottom of the pan. Pop it into a preheated 425°F (220°C) oven for about 30 minutes, until the skin is golden brown.
- Lower the Heat, Take a Break: Reduce the oven temperature to 325°F (165°C). Tent the turkey loosely with aluminum foil. This prevents the top from getting too dark and keeps the moisture in. Now, go watch some football or talk to your family. You’re done with the hard part.
- Check for Doneness: Start checking the temperature about two hours in. You’re looking for a temperature of 165°F (74°C) in the thickest part of the thigh, without touching the bone. Use your meat thermometer! Once it hits that temp, pull it out.
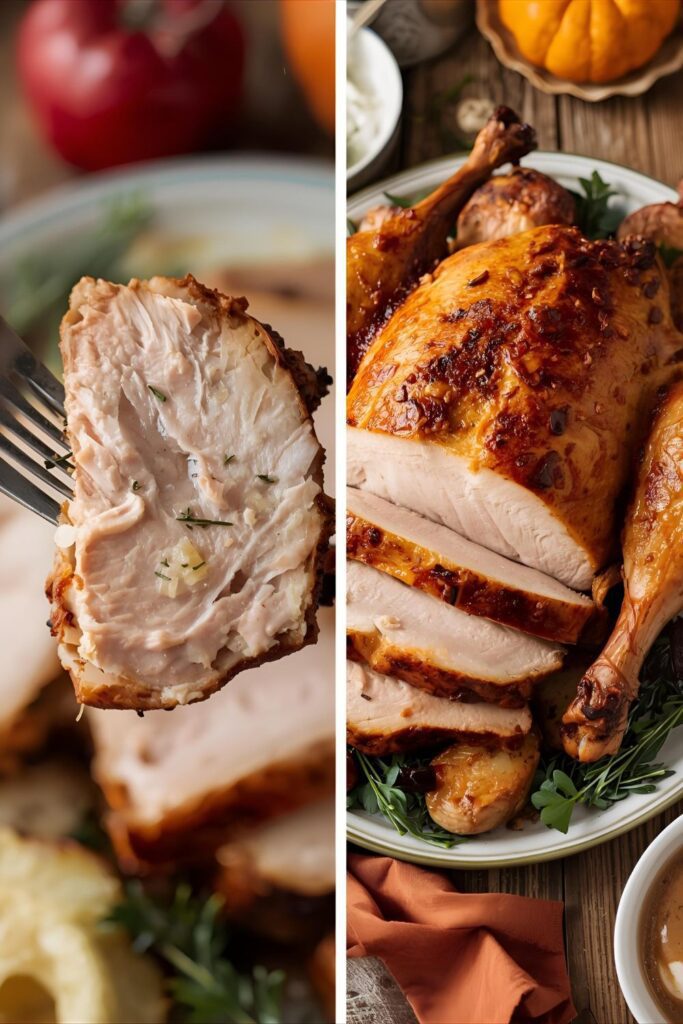
- Rest, Rest, Rest: This is the most crucial step. Seriously. Let the turkey rest for at least 30 minutes before you even think about carving it. This lets the juices redistribute, so your meat stays juicy and doesn’t turn into sawdust the second you slice it. Carve it up, and prepare for a standing ovation.
Calories & Nutritional Info (Estimated)
- Serving Size: One 4 oz slice of turkey breast
- Calories: ~200-250 kcal (Varies depending on cut and preparation)
- Protein: ~25-30g
- Fat: ~10-15g
- Carbohydrates: 0g
- Sodium: ~150-200mg (Adjust based on salt used)
- Key Nutritional Note: A great source of lean protein and essential vitamins and minerals like iron and B vitamins.
Common Mistakes to Avoid
- Don’t Skip the Thaw: Trying to cook a partially frozen turkey is a recipe for disaster. Plan ahead! A frozen turkey takes several days to thaw in the fridge. IMO, better to be safe than sorry.
- Don’t Over-Roast It: The biggest culprit of dry turkey is overcooking. Your turkey is done at 165°F, not 180°F. Pull it out when it hits that magic number and let carry-over cooking do the rest.
- Don’t Forget the Rest: This is the most important part! Letting the turkey rest means juicy, tender meat. Skipping this step means a dry, sad bird. Don’t do it. Just don’t.
- Don’t Go Crazy with the Stuffing: Cooking a turkey with a traditional stuffing inside increases the cooking time and makes it harder to reach a safe internal temperature. Cook your stuffing separately in a casserole dish. Trust me on this.
Variations & Customizations
- Smoky Turkey: Add a tablespoon of smoked paprika to your herb butter mixture for a deep, smoky flavor.
- Spicy Kick: Mix a teaspoon of cayenne pepper or a dash of your favorite hot sauce into the herb butter. It adds a nice little kick without overwhelming the other flavors.
- Citrus & Herb Turkey: Swap the lemon with an orange and the sage with rosemary for a different, brighter flavor profile. The citrus zest in the butter adds a lovely aroma and taste.
FAQ Section
How do I know what size turkey to buy? A good rule of thumb is to plan for about 1 to 1.5 pounds of turkey per person. If you want leftovers (and who doesn’t?), aim for the higher end of that scale.
Should I brine my turkey? You can, but this recipe works so well, you honestly don’t need to. Brining adds moisture, but the herb butter under the skin does a great job of keeping the meat juicy and flavorful.
What if my turkey skin isn’t browning? Make sure you pat the turkey dry before you start. If it’s still not browning, you can increase the oven temperature to 450°F for the last 15-20 minutes, but be careful not to burn it. Tenting with foil is key to controlling this.
Can I make this recipe with a smaller turkey or just a turkey breast? Absolutely. Adjust the cooking time based on the weight of the turkey or breast. A good rule of thumb is about 13 minutes per pound at 350°F after the initial browning.
How do I prevent the breast from drying out? The initial high heat followed by the lower temp, along with the herb butter under the skin and the foil tent, is what keeps the breast from drying out. You’re basically building in a protective shield.
What can I do with the turkey leftovers? Oh, the possibilities are endless! Make turkey sandwiches, turkey pot pie, turkey salad, or use the carcass to make a flavorful turkey stock.
Do I need a fancy roasting pan with a V-rack? While a V-rack is great for air circulation, a standard roasting pan with a flat rack works perfectly fine. The goal is to elevate the turkey so it’s not sitting in liquid.
Final Thoughts
So, there you have it. The one and only turkey recipe you’ll ever need. Forget everything you thought you knew about dry, flavorless holiday birds. This recipe will make you look like a kitchen genius, and you’ll actually get to enjoy your Thanksgiving dinner. Because TBH, a good meal is all about good company, and this turkey makes for a happy, quiet, and well-fed crowd.
Now go forth and roast. And when your family asks for the recipe, just send them this link. Happy cooking!

