
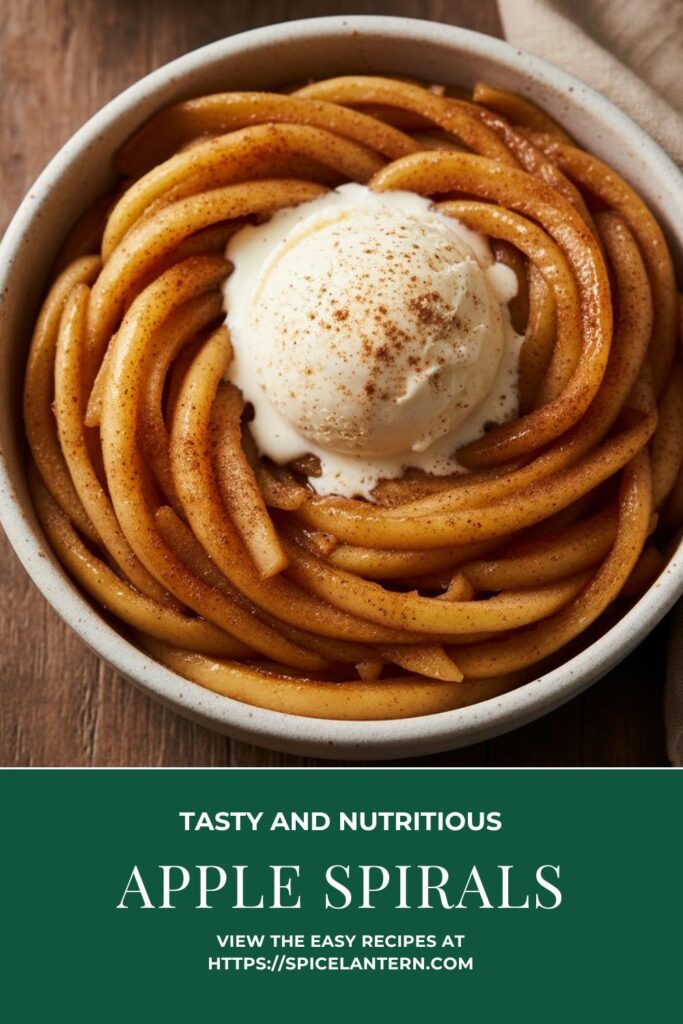
Skip the Slicing: Your Guide to Elegant, Baked Apple Spirals (Instant Dessert Hack)
Let’s be real, you own a spiralizer (or a vegetable peeler, same difference), and you probably use it once a year for zucchini noodles. Time to put that gadget to work for dessert! I’m talking about turning a humble apple into elegant, twirlable Apple Spirals that bake up tender, caramelized, and look far fancier than the minimal effort required. Why waste time slicing apples for a pie when you can transform them into a gorgeous, cinnamon-sugar-coated swirl in seconds? This recipe is the ultimate shortcut to a warm, comforting dessert that will impress guests and satisfy your sweet tooth immediately.
Why This Recipe Is Awesome (It’s Dessert with a Side of Fiber)

This isn’t a complex, heavy pie. This is pure, caramelized apple bliss, fast.
- Speedy Prep, Gorgeous Presentation: Your spiralizer does 90% of the work. You get long, uniform strands of apple that cook quickly and look incredibly elegant when piled into a bowl. Instant sophistication!
- Minimal Carbs, Maximum Flavor: While apples have natural sugar, we use just a dusting of extra spice and sugar to enhance the natural sweetness. You get all the flavor of apple pie filling without the heavy crust.
- Perfectly Tender: Baking the thin apple spirals ensures they become soft and caramelized without turning into apple mush. They hold their shape and stay satisfyingly chewy.
Ingredients: The Crisp and the Spice
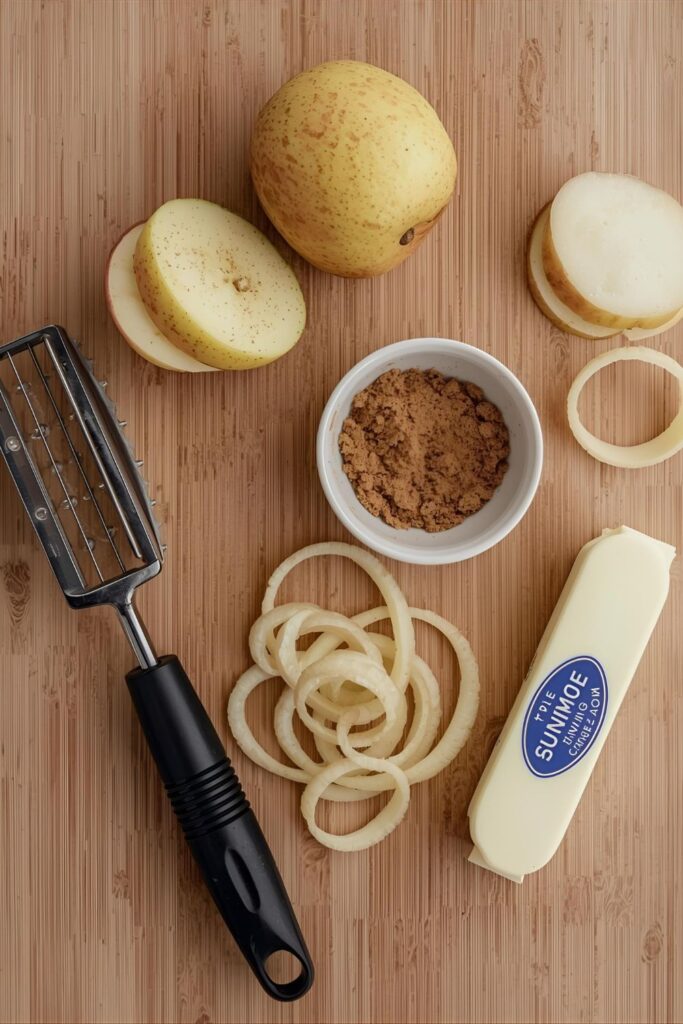
Choose firm apples that hold their shape well, and don’t be afraid to mix varieties!
- 3 large, firm Apples: Fuji, Honeycrisp, or Granny Smith (for a tart bite) are ideal. Avoid soft apples like Red Delicious—they turn to mush.
- 2 tablespoons Unsalted Butter (Melted): Adds richness and helps caramelization.
- 2 tablespoons Brown Sugar: Deepens the flavor and creates a beautiful golden color.
- 1 teaspoon Ground Cinnamon: The mandatory warming spice.
- ½ teaspoon Vanilla Extract: Essential for depth of flavor.
- Pinch of Nutmeg (Optional): Just a tiny bit adds complexity.
- 1 tablespoon Lemon Juice: CRUCIAL to prevent oxidation (browning).

Key Substitutions:
- Apples: Substitute with firm pears or sweet potato spirals (though cook time will vary).
- Butter: Use coconut oil for a vegan or dairy-free alternative, but butter gives the best flavor.
- Brown Sugar: Use granulated sugar if necessary, but brown sugar provides a richer molasses flavor.
Tools & Kitchen Gadgets Used: Your Fruit Processing Team
You can’t spiralize without the main event, but you’ll need the basics too.
- Spiralizer (Handheld or Countertop): MANDATORY for creating the long, thin strands.
- Paring Knife: For trimming the apple ends and removing the core.
- Large Bowl: For tossing the spirals in the butter/sugar mix.
- Baking Sheet (Rimmed) lined with Parchment Paper: To ensure zero sticking.
- Wire Cooling Rack: For cooling post-bake.
- Kitchen Brush (Optional): For basting the spirals.
Step-by-Step Instructions: The Sweet Spiral Sauté
We are baking these lightly to create a tender, glazed texture.
Step 1: Prep and Spiralize (5 Minutes)
- Preheat your oven to 375°F (190°C). Line your baking sheet with parchment paper.
- Wash and peel your apples (optional, but gives a cleaner look). Trim the top and bottom flat.
- Use your spiralizer (the ribbon or thin noodle blade) to turn the apples into long, continuous strands. Try to keep the strands as long as possible!
- Immediately toss the spirals with lemon juice. This prevents the tragic browning that makes them look sad.
Step 2: The Sweet Coat (3 Minutes)
- In your large bowl, combine the melted butter, brown sugar, cinnamon, nutmeg, and vanilla extract. Whisk until completely smooth.
- Add the apple spirals to the mixture. Use tongs to gently toss until every strand is coated in the sweet, buttery glaze. Be gentle! You don’t want to break the spirals.
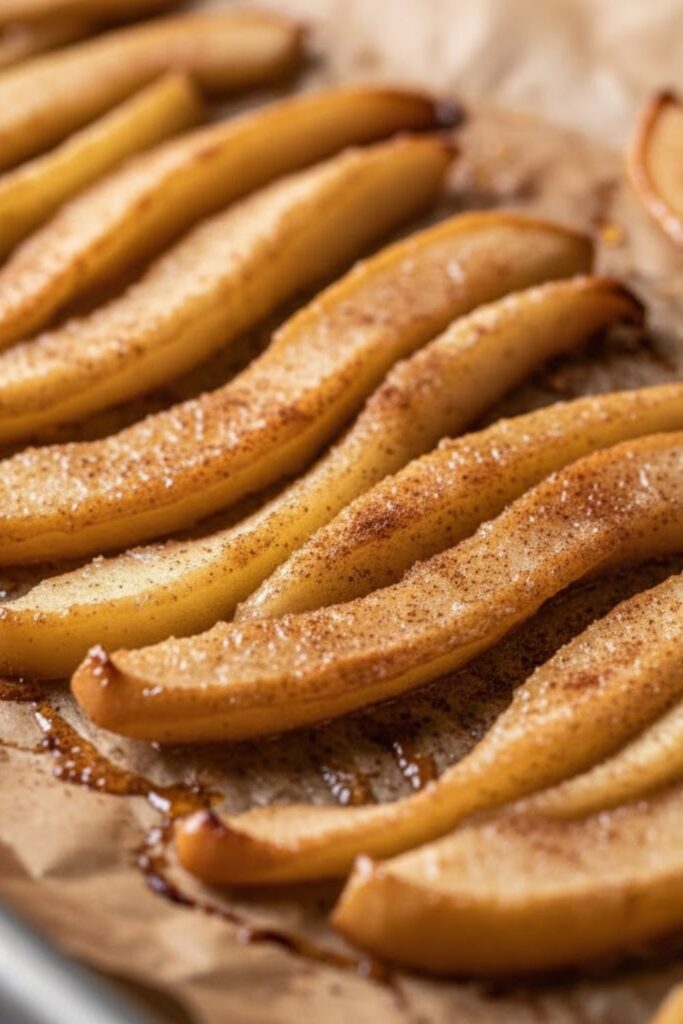
Step 3: Bake and Caramelize (15-20 Minutes)
- Spread the coated apple spirals evenly onto the parchment-lined baking sheet. Try to keep the layer relatively thin and loose for even cooking.
- Bake for 15-20 minutes. You want the spirals to be tender but still retain a slight bite (al dente). They should look glossy and slightly caramelized.
- Optional Tip: If the spirals look dry halfway through, brush them lightly with any butter/sugar mixture remaining in the mixing bowl.
Step 4: Finish and Serve (2 Minutes)
- Remove the baking sheet from the oven. The spirals will soften slightly more as they cool.
- Serve warm immediately! These are fantastic topped with ice cream, yogurt, or just eaten straight from the pan.
Calories & Nutritional Info: The Guilt-Free Scoop (Estimated)
These are estimates for a side-dish serving (1/3 of the recipe).
- Calories per serving (1/3 of recipe): ~180-220 calories
- Carbohydrates: ~35-45g
- Fat: ~7-10g
- Fiber Power: Apples are rich in soluble fiber, which aids digestion and can help lower cholesterol.
- Notes: This is a much healthier dessert than pie, as it contains significantly less added sugar and zero refined crust.
Common Mistakes to Avoid: From Crisp to Mush
Protect your delicate spirals from these dessert disasters.
- Using Soft Apples: Avoid soft varieties! They will turn into applesauce when baked. Use firm, crisp apples only.
- Skipping the Lemon Juice: Apple oxidizes instantly! If you don’t coat the spirals immediately in acid, they will turn brown and look unappetizing.
- Baking Too Long: The thin strands cook quickly. Overbaking turns them into mush. Start checking after 15 minutes—they should be tender but still have a slight structure.
- Crowding the Pan: Piling the spirals too deep on the baking sheet traps steam, causing them to steam instead of bake/caramelize. Spread them out evenly.
- Improper Spiralizing: Be sure to trim the ends flat and center the apple on the spiralizer prongs. This prevents the apple from wobbling and breaking into small pieces.
Variations & Customizations: Your Dessert Remix
Turn your simple spirals into a full-blown party, with minimal extra effort.
- Savory Cinnamon Pork Side (Dinner Swap): Skip the sugar/vanilla. Toss the spirals with olive oil, salt, pepper, and dried thyme. Roast alongside pork tenderloin or chicken for a surprisingly savory, sweet-tart side dish.
- Cheesecake Swirl: Mix 4 oz softened cream cheese with ¼ cup powdered sugar and ½ teaspoon lemon zest. Layer the baked spirals in a bowl with the cream cheese mixture for an instant, low-carb apple cheesecake parfait.
- Caramel Nut Crunch: After baking, toss the warm spirals with chopped pecans or walnuts and drizzle generously with a warm caramel sauce or dulce de leche.
FAQ Section: All Your Fruit Noodle Questions
You’re curious about this low-carb, high-fun substitution. Here are the answers!
Q1: What is the best type of apple for spiralizing?
A: Firm, round, and straight apples are best. Granny Smith, Fuji, Honeycrisp, or Gala work well. They maintain their structure when processed and baked.
Q2: Can I eat apple spirals raw?
A: Yes, absolutely! Toss raw spirals with a light lemon vinaigrette for a crunchy salad, or add them raw to yogurt or oatmeal for a fresh crunch.
Q3: How do I store leftover apple spirals?
A: Store cooled, baked spirals in an airtight container in the refrigerator for up to 3 days. Reheat them gently in the microwave or a warm skillet.
Q4: What if I don’t have a spiralizer?
A: You can use a julienne peeler to create thin, matchstick-like strands, or use a mandoline set to a very thin slice (use the guard, please!) and cut those slices into ribbons.
Q5: Will the thin strands burn easily in the oven?
A: They cook quickly, but they won’t burn if you keep the oven temperature below 400°F. The sugar and butter help them caramelize, not incinerate. Watch them closely during the last 5 minutes!
Q6: Do I need to remove the seeds before spiralizing?
A: The spiralizer automatically leaves the core/seeds behind on the machine’s spike. Just discard the core piece when you finish spiraling the apple.
Q7: Can I use this method with other fruits?
A: Yes! This method works beautifully with firm pears or even pineapple. Just ensure the fruit is firm and not too watery.
Final Thoughts: Dessert is Solved
You just elevated a basic fruit into an elegant, caramelized dessert masterpiece. You mastered Apple Spirals! Go ahead and enjoy that warm, spiced goodness, and revel in the fact that your dessert routine just got a serious upgrade. What other fruits can you turn into noodles?

