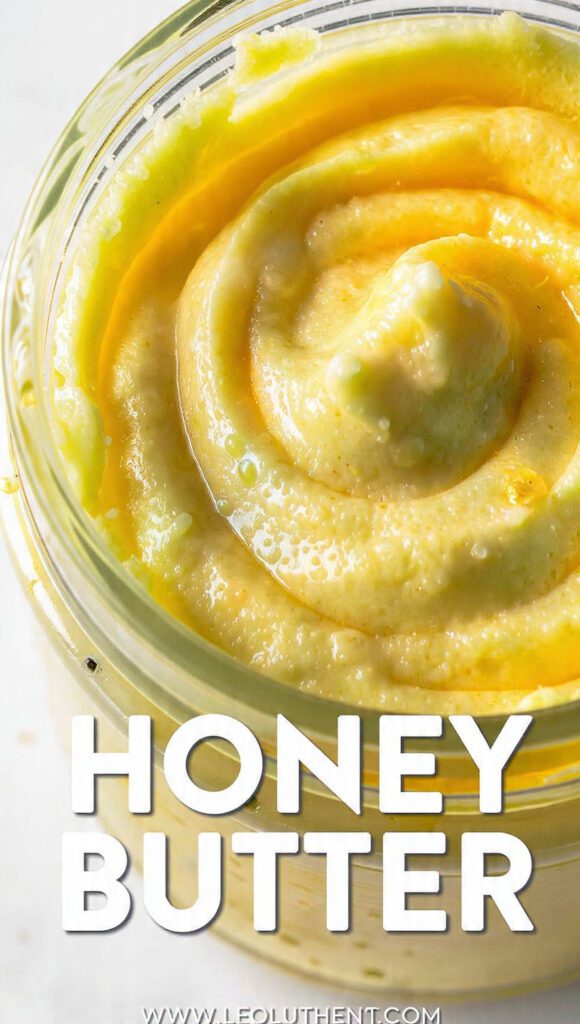
The Ultimate Liquid Gold: How to Make Honey Butter That Will Ruin Your Life
We have all been there: you are sitting at a fancy steakhouse or a rustic southern kitchen, and they bring out a basket of warm bread with a side of shimmering, pale-gold spread. You take a bite and suddenly, your mortgage stress and that weird clicking noise in your car just… vanish. You realize you have been eating “regular” butter like a peasant for years. Today, we are ending that tragedy by learning how to make honey butter that is so good, it should probably be illegal in at least forty-seven states.

Seriously, why do we settle for plain butter when we could be eating something that tastes like a cloud gave a hug to a beehive? I once watched a friend try to replicate this by just pouring honey over a cold stick of butter—spoiler alert: it was a sticky, lumpy disaster. If you want that whipped, velvety texture that makes people question their loyalty to all other condiments, you need a plan. Are you ready to stop being basic and start being a butter artisan?
Why This Recipe is Awesome
Why should you bother learning how to make honey butter when you can buy a tub of “honey-flavored spread” at the store? Because that store-bought stuff contains ingredients you can’t pronounce and usually tastes like plastic and regret. This version uses three ingredients, takes five minutes, and makes you look like a culinary genius.
The flavor is the definition of “elite.” You get the creamy, salty richness of high-quality butter perfectly balanced by the floral sweetness of raw honey. It is basically a science experiment where every variable leads to happiness. Plus, it impresses guests like nothing else. Imagine pulling a jar of this out at brunch—people will assume you spent the morning foraging in a meadow.
Our Top Pick

Papier Herb Garden Recipe Journal - Hardback Design
Capture your culinary ideas and favorite memories with this beautifully designed recipe journal. Organized sections for breakfast, lunch, dinner, and treats make it easy to record recipes, ratings, dietary notes, and cooking tips, along with measurement and conversion guides. Extra pages let you list favorite restaurants, shops, and places to try. Crafted with a premium hardback cover, luxurious 100gsm paper, and a gold foil accent, it’s both durable and stylish. Thoughtfully designed to suit any kitchen, it makes a practical, timeless gift for family, friends, or yourself.
Best of all, it is a high-reward, low-effort situation. Once you master the whipping technique, you can put this on everything: toast, biscuits, corn on the cob, or even just a spoon (no judgment here). TBH, it is the most efficient way to feel like a sophisticated adult while eating what is essentially a pile of sweet fat. 🙂
Ingredients
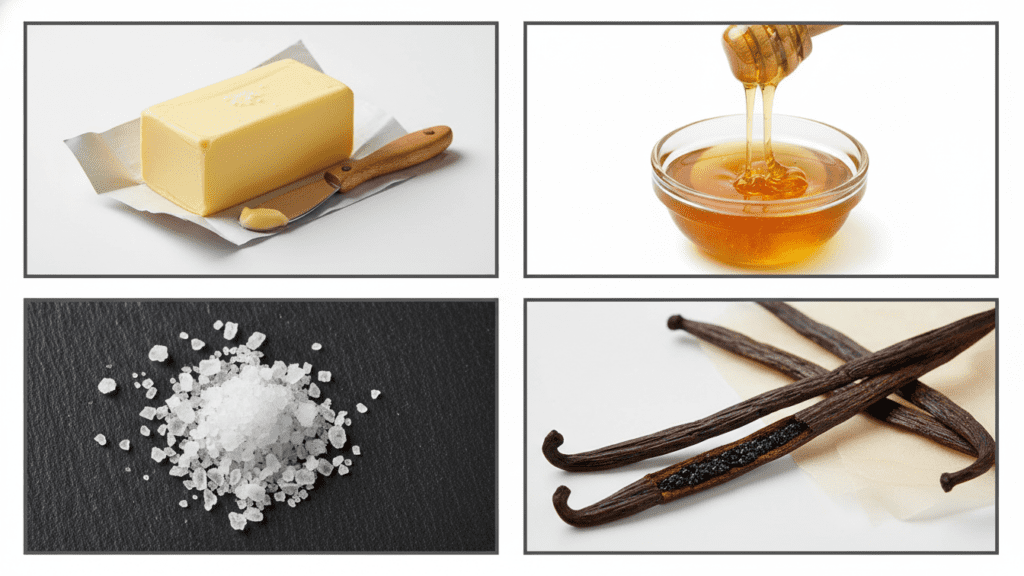
Gather your supplies, but keep it high-quality. If you use that “butter” that comes in a plastic tub and looks like yellow wax, I can’t help you.
- 1 cup Unsalted Butter (High-fat European style is the GOAT here)
- 1/4 cup Raw Honey (Local honey makes you feel superior, but any liquid honey works)
- 1/4 teaspoon Sea Salt (Flaky salt is best for those tiny pops of flavor)
- Optional: 1/2 teaspoon Vanilla Extract (If you want it to taste like a birthday cake)
- Optional: 1/4 teaspoon Cinnamon (For those cozy “I own a fireplace” vibes)
Tools & Kitchen Gadgets Used
You don’t need a commercial laboratory, but a few specific tools make the process feel like a professional operation rather than a chaotic mess.
- Stand Mixer or Hand Mixer – Essential for achieving that “whipped into a frenzy” texture.
- Silicone Spatula – To scrape every last drop of gold out of the bowl.
- Glass Mason Jars – For storage; honey butter deserves to be seen, not hidden in Tupperware.
- Digital Kitchen Scale – For the nerds who want the perfect honey-to-butter ratio every time.
- Microplane – If you decide to get wild and add some orange zest (highly recommended).
Step-by-Step Instructions
Alright, let’s get to the “prep.” It is so simple a caffeinated squirrel could do it.
Step 1: The Soften Situation
Take your butter out of the fridge at least an hour before you start. If you try to whip cold butter, you will break your mixer and your spirit. It needs to be soft enough that you can leave a fingerprint, but not so melted that it looks like a puddle.
Step 2: The Initial Whip
Place the softened butter in your mixing bowl. Turn the mixer on medium-high and whip it for a full 2 minutes. You want the butter to turn pale, almost white, and look incredibly fluffy. This is the foundation of your future happiness.
Step 3: The Honey Drizzle
Turn the mixer down to low (unless you want a honey-splattered kitchen). Slowly pour in the honey and the sea salt. If you are adding vanilla or cinnamon, toss them in now. TBH, watching the honey swirl into the white butter is better than most Netflix shows.
Step 4: The Final Frenzy
Turn the mixer back up to high and whip for another 2-3 minutes. You are looking for a texture that resembles frosting. If it looks like something you could put on a cupcake, you have reached the Promised Land.
Our Top Pick

LuBudingJoy Blank Recipe Book
B5 Blank Recipe Book – Create and organize your favorite recipes in one beautiful place. This hardcover recipe book (10" × 7.3") features 150 blank pages and includes DIY category stickers. Designed with conversion charts, content tables, and a back pocket for loose notes.
Step 5: The Taste Test
Grab a piece of bread (or a finger, I’m not the butter police). Taste it. Does it need more salt? More honey? This is your masterpiece, so adjust accordingly. FYI, the salt is what actually makes the honey flavor “pop,” so don’t skip it.
Step 6: Storage and Glory
Scrape the butter into your glass jars. You can serve it immediately at room temperature, or keep it in the fridge. If you refrigerate it, just remember it will harden up again—let it sit out for 15 minutes before you try to spread it, or you will just rip a hole in your bread.
Calories & Nutritional Info
For the folks who like to know exactly what they’re doing to their bodies, here is the breakdown for a 1-tablespoon serving. Remember: we aren’t counting calories; we are counting memories.
- Calories: ~110 kcal (Mostly from pure, unadulterated joy).
- Fats: 11g (The “happy” kind of fats, right?).
- Sugars: 4g (Nature’s nectar).
- Vitamin A: A nice little boost for your eyes.
- Notes: This is naturally gluten-free and vegetarian. IMO, it is a nutritional powerhouse if you count “emotional stability” as a nutrient.
Common Mistakes to Avoid
Don’t let your golden spread become a tragedy. Avoid these classic face-palms:
- The Microwave Meltdown: Never “soften” butter in the microwave. It melts unevenly and ruins the emulsion. Plan ahead and use the counter.
- Using Salted Butter + Extra Salt: If you start with salted butter and add more sea salt, you will be eating a salt lick. Stick to unsalted butter so you control the levels.
- Under-Whipping: If you only mix for thirty seconds, it’s just honey-butter-chunks. Whip it for the full five minutes for that cloud-like feel.
- Cold Honey: If your honey is crystallized or cold, it won’t blend. Warm the honey jar in some warm water first if it’s acting stubborn.
- The “Too Much Honey” Trap: If you add too much honey, the butter will “break” and separate into a greasy mess. Follow the ratios.
Variations & Customizations
Once you master the base, the world is your botanical garden.
- The Spicy Southern: Add a pinch of cayenne pepper or a teaspoon of hot sauce. It is the ultimate topping for fried chicken or corn bread.
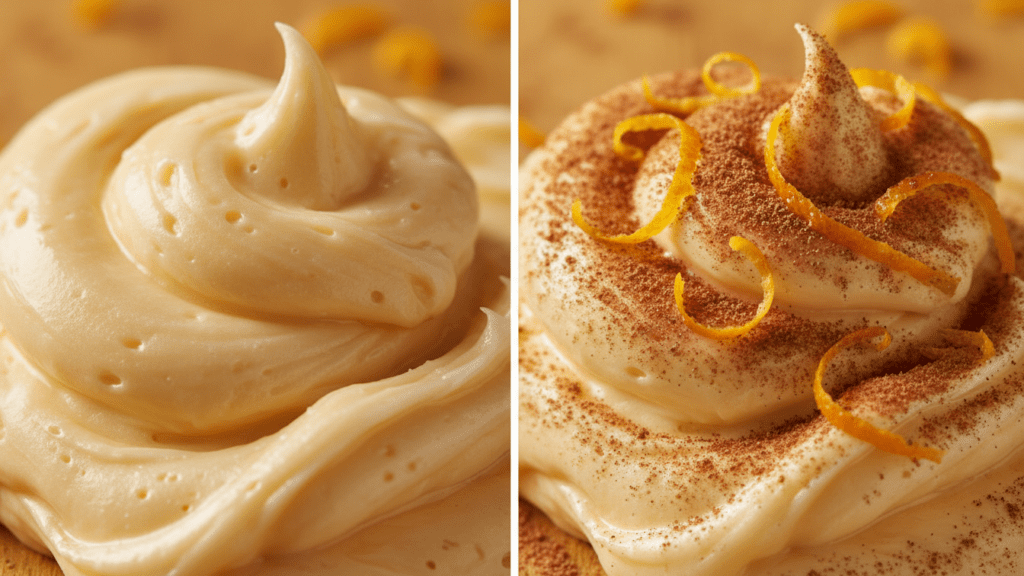
- The Citrus Bloom: Add the zest of one orange and a tiny bit of ginger. It makes the honey taste like a tropical vacation.
- The Vegan Flip: Use a high-quality plant-based butter and agave nectar. It’s not “honey” butter anymore, but it’s still delicious enough to make you forget the difference.
FAQ Section
How long does homemade honey butter last? In the fridge, it is good for 2-3 weeks. But let’s be real—it will be gone in three days once you realize it goes on everything.
Does honey butter need to be refrigerated? Yes, because of the honey and the moisture, it is safer in the fridge. Just take it out 15 minutes before you need it so it’s spreadable. 🙂
Can I use maple syrup instead of honey? Absolutely! Maple butter is a fantastic alternative, especially for fall. Just use a slightly higher maple-to-butter ratio as it’s thinner than honey.
Why is my honey butter grainy? This usually means your sugar or honey was crystallized. Use liquid honey and make sure your butter is perfectly smooth before adding the sweets.
Can I freeze honey butter? Yes! You can freeze it in airtight jars for up to 3 months. It’s a great way to prep for holiday brunches in advance.
Is honey butter healthy? It’s butter and honey, guys. It’s “healthy” for your mental health. Moderation is key, but a little bit of high-quality fat and raw honey is better than processed margarine!
What is the best thing to eat with honey butter? The answer is “yes.” But specifically: warm biscuits, cornbread, pancakes, and sweet potatoes are the elite tier pairings.
Final Thoughts
There you have it—the guide on how to make honey butter that will officially make you the most popular person at the potluck. It’s sweet, it’s salty, and it takes less time to make than it does to find a matching pair of socks. Once you get used to that signature velvety zing, you’ll never look at a plain stick of butter the same way again.
Go ahead, whip up a batch and enjoy the smug satisfaction of a healthy choice for your soul. Just try not to act too surprised when your friends start asking for your “secret” recipe. Ready to ruin “regular” bread for yourself forever? Happy whipping!
Would you like me to find a great biscuit recipe to go with this?