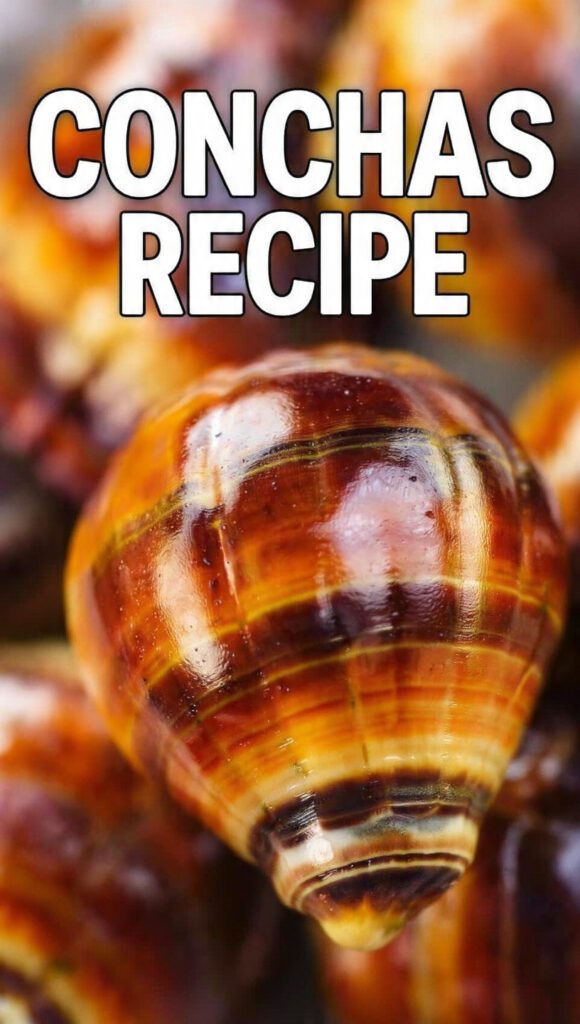
The Ultimate Authentic Conchas Recipe: Stop Settling for Grocery Store Cardboard
We’ve all walked into a Mexican bakery, or Panadería, and been seduced by the siren song of the conchas recipe. Those beautiful, shell-patterned sweet breads sit there looking like colorful, sugary clouds. You buy a half-dozen, take one home, and—crunch—it has the structural integrity of a tanned brick. Why do we keep doing this to ourselves? If you want a concha so soft it feels like a buttery hug from a grandmother you never had, you have to make it yourself.
I once served “supermarket” conchas at a brunch, and I’m pretty sure my Mexican friends started a group chat just to mock my lack of effort. That was the day I swore off the plastic-wrapped disappointment forever. If you want a crumb so light it practically floats and a topping that shatters like a glass slipper, you’re in the right place. Are you ready to reclaim your brunch crown and show those dry, dusty pucks who’s boss?
Why This Recipe Is the Undisputed GOAT
Why should you bother waiting for dough to rise when you could just eat a donut? Because this recipe is a total sensory flex. It combines the rich, brioche-like softness of an enriched dough with a crunchy, cookie-style topping. It isn’t just bread; it’s a cultural masterpiece that makes your kitchen smell like a boutique bakery in Mexico City.
Beyond the ego boost of pulling a tray of vibrant, “seashell” masterpieces out of the oven, this dish is incredibly satisfying to make. It impresses guests every single time, primarily because it looks impossible to create, but secrets out: it’s mostly just patience. IMO, it’s the only way to justify eating what is essentially a cookie-topped bread roll for breakfast. Ready to ruin store-bought pan dulce for your entire social circle?
The Ingredients: The Sweet Bread Squad
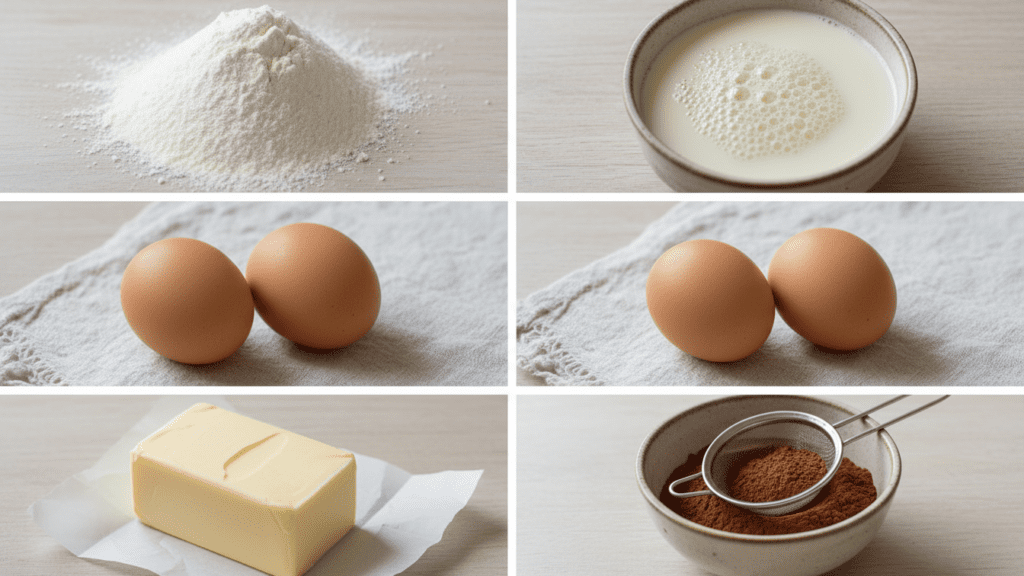
Keep it simple, but keep it high-quality. We are making an enriched dough, which means we need the “happy” ingredients.
The Dough (The Softness)
- 4 cups Bread Flour: You need that gluten strength for the lift. All-purpose is okay, but bread flour is better.
- 1/2 cup Granulated Sugar: Just enough sweetness to keep things interesting.
- 1 packet (2 1/4 tsp) Active Dry Yeast: Check the date; dead yeast is a holiday buzzkill.
- 1/2 cup Whole Milk: Warm it up, but don’t boil the life out of it.
- 1/2 cup Unsalted Butter: Softened to room temperature, please!
- 3 Large Eggs: Plus one extra for the egg wash.
- 1 tsp Vanilla Extract: Because we aren’t savages.
- 1/2 tsp Salt: To balance the sugary madness.
The Topping (The Crunch)
- 1 cup Powdered Sugar: Sifted, unless you like lumps of sadness.
- 1 cup All-Purpose Flour: The structure for the “cookie.”
- 1/2 cup Vegetable Shortening: Or butter, but shortening stays whiter and “snaps” better.
- 1 tbsp Cocoa Powder: For the classic chocolate shells.
- 1 tsp Cinnamon: For the white/cinnamon shells.
The Arsenal: Tools & Kitchen Gadgets
You don’t need a professional panadería, but a few specific tools make this process less of a high-stakes gamble. If your current whisk looks like it survived a war, hit up Amazon for these upgrades.
- Stand Mixer with Dough Hook: Your arms will literally fall off if you try to knead this much butter by hand.
- Large Mixing Bowl: For the “nap time” rise.
- Digital Kitchen Scale: Baking is a science, not a suggestion. Stop “eyeballing” the flour.
- Concha Cutter (Stamp): Optional, but makes you look like a pro. A sharp knife works too!
- Silicone Baking Mats: Essential! If they stick to the pan, the bottom crust gets ruined.
Step-by-Step Instructions: The Path to Fluffy Glory
Step 1: Wake Up The Yeast
Start by whisking your yeast and a teaspoon of sugar into the warm milk. Let it sit for about 10 minutes until it looks like a frothy, beige cappuccino. If it doesn’t bubble, your yeast is probably expired, and you should start over before you waste the expensive butter. FYI, yeast is a living thing—treat it with respect.
Step 2: The Dough Build
In your stand mixer bowl, combine the flour, remaining sugar, and salt. Pour in that fragrant milk mixture, the eggs, and the vanilla. Turn the mixer on low and let the dough hook work its magic. Once it looks shaggy, add the softened butter one tablespoon at a time. TBH, this part looks like a greasy mess until it suddenly turns into silk.
Step 3: The First Nap
Move the dough to a greased bowl, cover it with a damp cloth, and find it a warm, draft-free home. Let it rise for about 1.5 to 2 hours or until it doubles in size. This is the perfect time to hide the “good” snacks from your roommates or research why you didn’t start a bakery years ago.
Step 4: The Topping Sorcery
While the dough is sleeping, mix the powdered sugar, flour, and shortening into a thick paste. Divide it in half. Mix cocoa into one half and cinnamon into the other. Roll them into 12 small balls. Bold move: don’t overwork the topping or it’ll get oily.
Step 5: The Shaping Ritual
Gently deflate the dough and divide it into 12 even pieces. Roll them into smooth balls and place them on your baking sheet. Flatten your topping balls into thin discs and press one firmly onto each dough ball. Use your concha cutter or a knife to score the shell pattern.
Step 6: The Golden Bake
Let the shaped conchas rise for another 45 minutes. Slide the tray into a preheated 350°F oven. Bake for 18-22 minutes until the bottoms are golden. Let them cool on a wire rack for at least 15 minutes before tearing into them like a hungry wolf.
Calories & Nutritional Info
I’m going to be honest with you: this is a buttery, sugary treat. It’s high in joy, but we aren’t counting the calories today.
- Calories: ~320 kcal per concha.
- Protein: 6g (Thanks, bread flour!).
- Total Fat: 14g (The butter is the hero here).
- Carbohydrates: 42g.
- Sugar: 18g (It’s a treat, remember?).
Common Mistakes to Avoid (The Cheeky Guide)
- Murdering the Yeast: If your milk is hotter than a hot tub, you will kill the yeast. Always use lukewarm liquid.
- The Flour Trap: If the dough is sticky, don’t just dump in more flour! You’ll end up with a brick. Keep kneading; the gluten will find its way.
- Pressing Too Lightly: If you don’t press the topping firmly into the dough, it will slide off in the oven like a bad wig. Commit to the press!
- Peeking Early: Opening the oven door lets the heat out and can deflate your clouds. Trust the timer.
Variations & Customizations
Feeling a bit adventurous with your shells? Try these three spins:
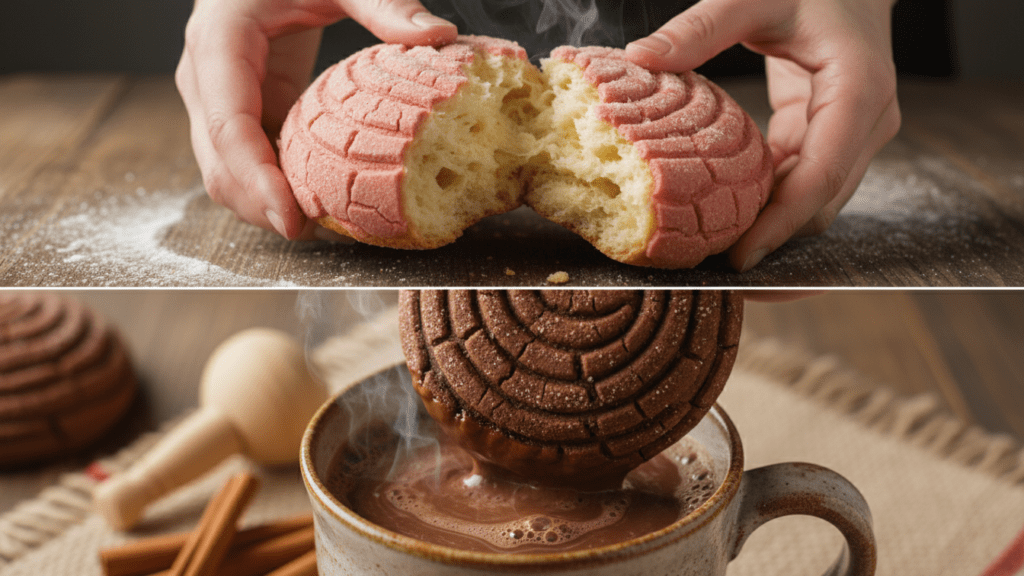
- The “Pink” Shell: Add a drop of red food coloring and strawberry extract to the topping for that iconic strawberry concha vibe.
- The Chocoholic Version: Fold 1/2 cup of mini chocolate chips into the dough during the final knead. Because too much chocolate is never enough.
- The Keto-ish Swap: Replace the sugar with monk fruit and use almond flour/xanthan gum for the topping. FYI, it won’t be as fluffy, but it’ll satisfy the craving.
FAQ: Your Burning Concha Questions
Why is it called a Concha?
“Concha” means shell in Spanish. The name comes from the patterned sugar topping that resembles a seashell.
Can I make these ahead of time?
Absolutely. You can do the first rise in the fridge overnight. This actually develops a deeper flavor. Just let it come to room temperature before shaping.
Why are my conchas heavy?
You likely didn’t let them rise long enough or your yeast was a bit tired. Patience is a virtue, especially when pan dulce is involved!
Can I use all-purpose flour?
You could, but the buns won’t have that iconic chewy, bouncy texture. Bread flour has more protein, which is what gives the bun its “muscles.”
What is the best way to eat them?
Sliced in half and dipped into a cup of thick Mexican hot chocolate or coffee. IMO, dipping is mandatory.
How do I store leftovers?
Keep them in an airtight container for up to 2 days. If they get a bit firm, a 10-second zap in the microwave will bring them back to life.
Can I freeze them?
Yes! They freeze beautifully. Just wrap them individually in plastic wrap and thaw at room temperature when the craving hits.
Final Thoughts
There you have it—a conchas recipe that will make you the star of the brunch scene. It’s a bit of a process, sure, but the smell of that vanilla-scented dough baking in your oven is worth every minute of kneading.
Go ahead, invite your friends over, put the kettle on, and enjoy the best pan dulce of your life. Just don’t blame me when you can never go back to the store-bought version again. Happy baking! 🙂