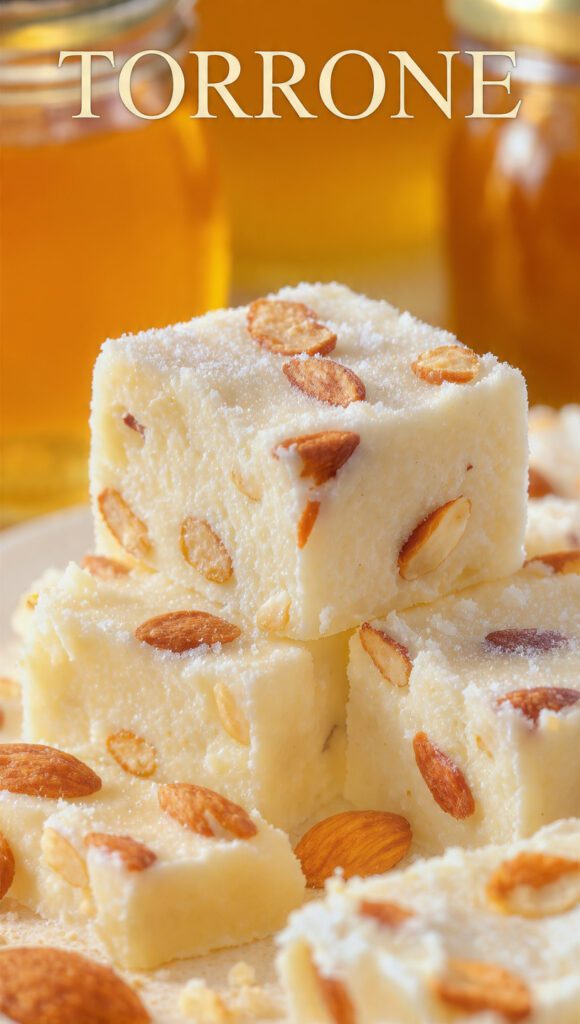
The Ultimate Authentic Italian Torrone Recipe: A Sweet, Nutty Obsession
You know that fancy, gold-wrapped box of Italian candy that sits in the back of your grandma’s pantry for three years until it reaches the structural integrity of a sidewalk brick? That, my friend, is a tragedy. We are here to talk about real torrone, the soft, chewy, honey-scented nougat that actually tastes like heaven instead of dental work. If you have never tasted a fresh piece of homemade Italian nougat, have you even lived?

I once tried to make this during a heatwave in a kitchen with no air conditioning. Let’s just say I ended up with a honey-flavored puddle and a very sticky floor. But after years of trial and error (and many ruined spatulas), I have cracked the code. Ready to make a dessert that looks like it belongs in a high-end Milanese pastry shop?
Why This Recipe Is the Ultimate Kitchen Flex
Why should you spend forty minutes hovering over a stand mixer when you could just buy a bag of gummies? Because torrone is the ultimate culinary status symbol. It tells the world, “Yes, I understand the relationship between honey and egg whites, and I am not afraid of a candy thermometer.” It’s basically a science experiment you can eat.

Beyond the ego boost, the flavor is incomparable. We are talking about deep, floral honey notes paired with toasted nuts and a hint of citrus. It’s naturally gluten-free, stays fresh for weeks, and makes you look like a total pro. Plus, it’s the perfect gift for people you want to impress—or people you want to distract while you steal the last piece of cake. Ready to reclaim your kitchen glory?
The Ingredients: Only the Good Stuff

Don’t go cheap here. Since we only use a handful of items, the quality of your honey and nuts will determine if this is a masterpiece or a “meh” moment.
- 2 cups Whole Almonds and Hazelnuts: Toast these until they smell like a dream. You can also use pistachios if you’re feeling extra fancy.
- 1 cup High-Quality Honey: Use a floral honey like orange blossom or clover. Avoid the stuff that comes in a plastic bear; we need the real deal.
- 1 1/2 cups Granulated Sugar: To give the nougat its structure.
- 1/2 cup Light Corn Syrup: This prevents the sugar from crystallizing and ruining your life.
- 2 Large Egg Whites: Bring them to room temperature so they whip into a cloud.
- 1 tsp Vanilla Paste or Bean: Extract is fine, but the little flecks of vanilla bean look gorgeous.
- 1/2 tsp Grated Orange Zest: This adds that “what is that amazing flavor?” mystery.
- Edible Wafer Paper (Rice Paper): This keeps the sticky nougat from fusing to your fingers. IMO, it’s a non-negotiable.
The Arsenal: Tools & Kitchen Gadgets
You cannot “eyeball” candy making. Unless you want to end up with a bowl of honey-flavored cement, you need these tools. If your kitchen drawer is looking a bit pathetic, you might want to hit up Amazon.
- Heavy-Duty Stand Mixer: Your hand mixer will literally smoke and die if you try to use it for this. You need a powerhouse.
- Candy Thermometer: Precision is everything. If you are off by five degrees, your candy will be either a puddle or a rock.
- Heavy-Bottomed Saucepan: This ensures even heating so you don’t burn the sugar.
- Silicone Spatulas: Get the sturdy ones. This mixture gets incredibly thick and sticky.
- 8×8 Square Baking Pan: To mold your masterpiece.
- Sharp Chef’s Knife: For those clean, satisfying cuts once it sets.
Step-By-Step: The Path to Nougat Glory
Step 1: Prep the Nuts and Pan
Start by toasting your nuts at 350°F for about 8-10 minutes. Keep them warm in the oven! If you add cold nuts to hot syrup, the candy will seize up faster than you can say “Mamma Mia.” Line your baking pan with parchment paper and place a sheet of wafer paper on the bottom.
Step 2: The Sugar Transformation
In your heavy saucepan, combine the honey, sugar, and corn syrup. Stir over medium heat until the sugar dissolves. Once it starts boiling, stop stirring! Attach your candy thermometer and let it reach 280°F (soft-crack stage). This takes patience—don’t try to rush it by cranking the heat unless you enjoy the scent of burnt honey.
Step 3: Cloud Building
While the syrup is climbing in temperature, put your egg whites in the stand mixer. Use the whisk attachment and beat them until they reach stiff peaks. They should look like a glossy white mountain range. If they look dry or grainy, you’ve gone too far!
Step 4: The Great Convergence
Once the syrup hits 280°F, turn your mixer to low. Very carefully, in a thin stream, pour the hot syrup into the egg whites. Do not pour it directly onto the whisk, or you will have sugar-coated wires and a mess. Once all the syrup is in, turn the mixer to medium-high and beat for about 10-15 minutes.
Step 5: The Finishing Touches
The mixture should become very thick, white, and shiny. It will eventually start to pull away from the sides of the bowl. Add your vanilla, orange zest, and those warm, toasted nuts. Fold them in quickly by hand with a sturdy spatula. TBH, this is a serious arm workout.
Step 6: The Set
Scrape the mixture into your prepared pan. It will be incredibly sticky, so wet your hands slightly to press it down flat. Place another sheet of wafer paper on top. Let it sit at room temperature for at least 8 hours or overnight. Do not put it in the fridge! Moisture is the enemy of candy.
Calories & Nutritional Info
I’m going to be honest with you: this is basically a bar of honey and nuts. It’s not a kale salad, but it’s worth every bite.
- Calories: Approximately 180 kcal per 1-inch square.
- Protein: 3g (Thanks, nuts!).
- Fats: 8g (Mostly the healthy kind from the almonds).
- Carbs: 25g (Sugar and honey—don’t think about it too much).
- Vitamins: You get a nice hit of Vitamin E and Magnesium from the hazels and almonds.
Common Mistakes to Avoid
- Using a Hand Mixer: I mentioned this, but seriously. Do not use a hand mixer. You will break it, and then you’ll be sad and candy-less.
- Incorrect Temperature: If you don’t hit 280°F, the torrone will never set and you’ll have to eat it with a spoon (which is still delicious, but not the goal).
- Humidity: Never make candy on a rainy or super humid day. The sugar will pull moisture from the air and turn into a sticky mess.
- Cold Nuts: If the nuts are cold, the syrup cools down too fast and you won’t be able to mix them in properly. Keep them warm!
Variations & Customizations
Once you master the base, you can get creative:
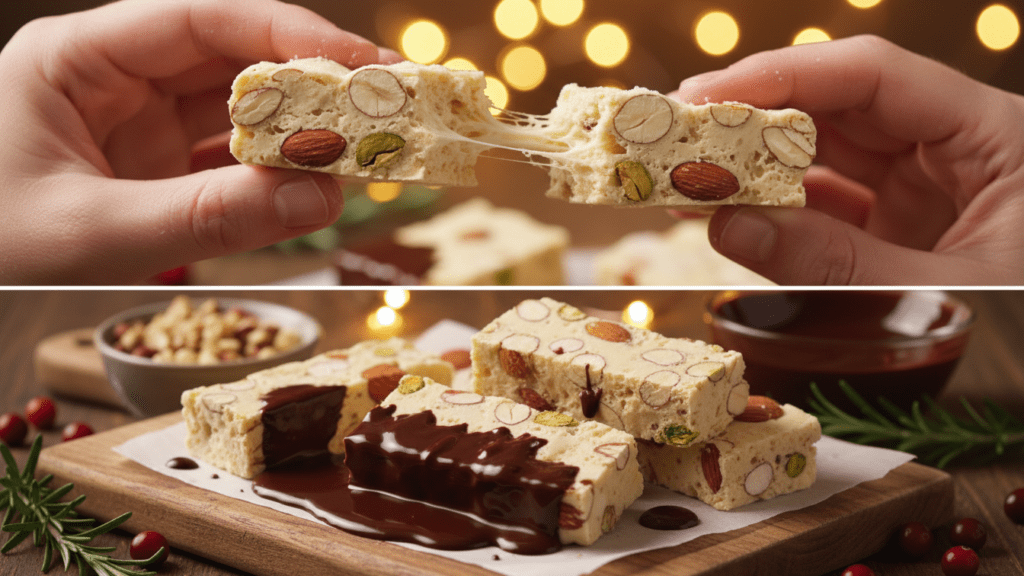
- The Chocolate Drizzle: Once the candy is set and cut, dip one side into melted dark chocolate. It’s a game-changer.
- The Pistachio & Cranberry: Use bright green pistachios and dried cranberries for a beautiful Christmas-themed version.
- The Spicy Honey: Use a “hot honey” or add a tiny pinch of cayenne to the syrup for a modern, spicy kick.
FAQ: Everything You’re Dying to Know
Is torrone supposed to be hard or soft?
There are two types: friabile (hard) and morbido (soft). This recipe is for the soft, chewy version. Hard torrone requires cooking the syrup to a higher temperature (about 300°F) and longer mixing.
Can I make this without wafer paper?
You can, but you will regret it. The wafer paper provides a non-sticky surface to hold onto. Without it, you’ll be peeling the candy off your fingers for an hour.
How long does homemade torrone last?
If stored in an airtight container in a cool, dry place, it can last for up to 3 weeks. FYI, it actually tastes better after a day or two!
Why is my torrone grainy?
Graininess usually happens if the sugar wasn’t fully dissolved before the syrup started boiling, or if you stirred the syrup too much while it was heating.
Can I use maple syrup instead of honey?
Technically yes, but it won’t be traditional Italian torrone. The honey flavor is the backbone of this recipe.
Why did my candy thermometer give a wrong reading?
Make sure the bulb of the thermometer isn’t touching the bottom of the pan! It should be submerged in the liquid only.
Can I freeze torrone?
I wouldn’t recommend it. Freezing and thawing can change the texture and make the sugar bloom or become sticky.
Final Thoughts
There you have it—a torrone recipe that will make you the star of every holiday party and dinner event. It takes a little bit of patience and a very strong stand mixer, but the result is a world-class treat that puts those grocery store boxes to shame.
Give it a try, and don’t be afraid of the sticky mess—it’s part of the process! Share a photo of your glossy white nougat and let me know if you went for the chocolate dip or the classic nut mix. Happy whisking! 🙂