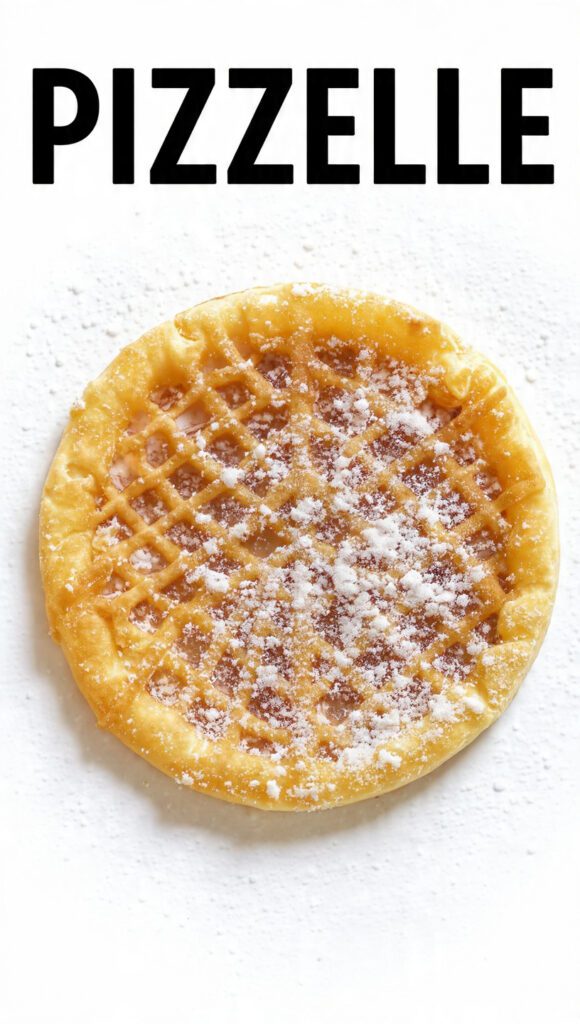
The Ultimate Crispy Pizzelle Recipe: Better Than Nonna’s? (Don’t Tell Her)
If you grew up in an Italian household, you know the sound. It’s a rhythmic click-clack followed by the scent of anise wafting through the house, signaling that someone has finally unearthed the iron to make a batch of pizzelle. If you didn’t grow up with this tradition, welcome to the cult of the world’s most beautiful cookie. These snowflake-patterned wafers are so thin they basically count as air, right?
I once watched my aunt speed-run a batch of a hundred of these for a wedding while gossiping about the neighbors. She didn’t look at the clock once. She just knew. For the rest of us mortals who haven’t developed “cookie intuition,” we need a foolproof plan. Are you ready to make a cookie that looks like it belongs in a Victorian lace museum but tastes like a sweet, crunchy hug?
Why This Recipe Is Actually Awesome

Why should you bother with a specialized iron when you could just buy a bag of Oreos? Because these cookies are the ultimate culinary flex. They look incredibly intricate and difficult to make, but they actually require less effort than a standard chocolate chip cookie. No chilling the dough, no rolling balls, and no waiting 12 minutes for a tray to bake.
Plus, the texture is unparalleled. We are talking about a snap so crisp it’s audible from the next room. They impress guests instantly, they store for weeks, and they make your kitchen smell like a boutique bakery in Abruzzo. TBH, once you master the timing, you’ll feel like a total kitchen wizard. Ready to ditch the store-bought cardboard versions?
The Cleanest Ingredient List Ever
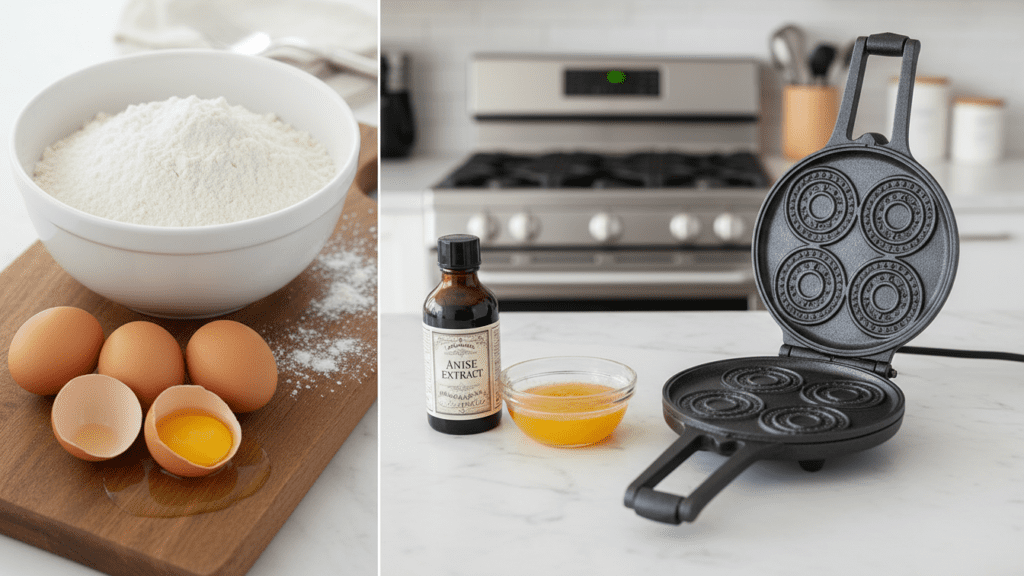
Don’t panic—the list is short. You probably have most of this in your pantry, unless you’re the type of person who considers “takeout menus” a pantry staple.
- 3 Large Eggs: Bring these to room temperature so they incorporate properly.
- 3/4 cup Granulated Sugar: Just enough to be sweet, but not “dentist’s nightmare” sweet.
- 1/2 cup Unsalted Butter: Melt this and let it cool slightly. Don’t scramble the eggs with hot butter, please.
- 1 tablespoon Anise Extract: The classic flavor. If you hate licorice, swap this for vanilla or lemon.
- 1 3/4 cups All-Purpose Flour: Sift it if you’re feeling extra, but a good whisking usually does the trick.
- 2 teaspoons Baking Powder: This gives the cookie that light, airy crispness.
The Arsenal: Tools & Kitchen Gadgets
You cannot make these on a flat griddle or in an oven. You need the specialized gear. If you don’t own these, your Amazon cart is about to get very exciting.
- Electric Pizzelle Iron: This is the heart and soul of the operation. Non-stick is your best friend here.
- Large Mixing Bowl: You need plenty of space to whisk without decorating your walls with flour.
- Hand Mixer or Whisk: For getting those eggs and sugar perfectly frothy.
- Silicone Spatula: Great for scraping every last drop of batter.
- Wire Cooling Rack: Essential! If they cool on a plate, they’ll get soggy from the steam.
- Measuring Spoons and Cups: Because “eyeballing it” is how we end up with cookie-flavored bricks.
Step-by-Step Instructions: The Art of the Snap
Step 1: Prep the Battery
Whisk your eggs and sugar together in a large bowl. You want them to look pale and slightly frothy. Pour in your melted (and cooled!) butter and the anise extract. Give it another good mix. If it smells like a fancy Italian pharmacy, you’re doing it right.
Step 2: The Dry Stuff
Sift or whisk your flour and baking powder together. Gradually add this to your wet ingredients. Do not overmix. Just stir until the flour disappears. The batter should be thick and slightly tacky—somewhere between a cake batter and a soft dough.
Step 3: Heat the Iron
Plug in your pizzelle iron and let it heat up. Most irons have a light that turns off when it’s ready. If yours is older than the internet, wait about five minutes. Lightly grease the iron with a tiny bit of oil or baking spray for the first batch, even if it claims to be non-stick.
Step 4: The Drop
Drop a rounded tablespoon of batter onto the center of each patterned circle. Do not put too much. If you do, the batter will ooze out the sides like a sugary volcano, and cleaning an iron is a special kind of hell. Close the lid and lock it if your iron has a latch.
Step 5: The Golden Window
Bake for about 30 to 45 seconds. This is the danger zone! Open the lid slightly to check the color. You want a light golden brown. If they look white, they’ll be soft; if they look dark brown, they’ll taste like regret.
Step 6: The Cool Down
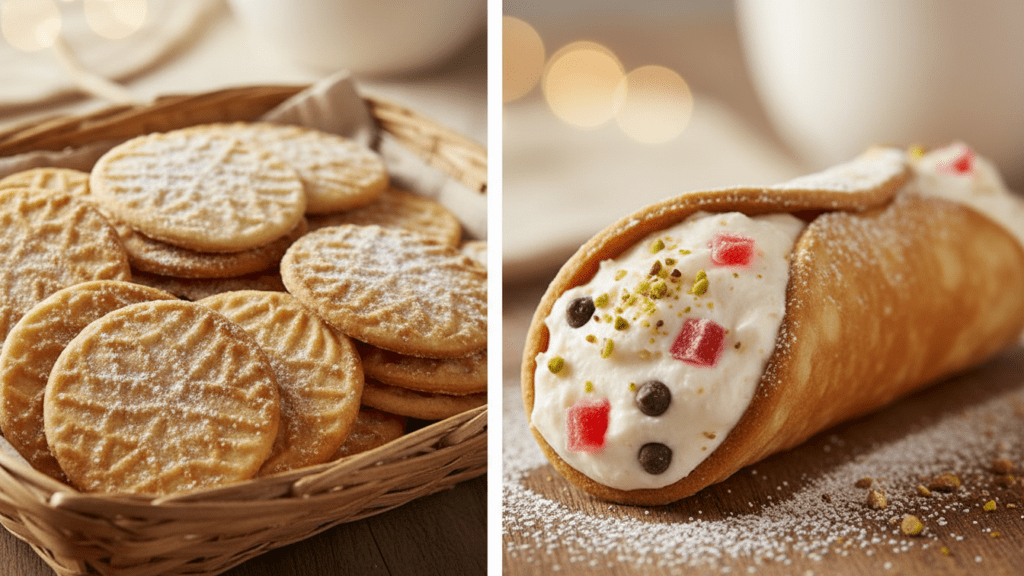
Carefully peel the cookies off the iron with a fork or a small spatula. Place them immediately on a flat wire rack. They stay soft for about ten seconds, so if you want to roll them into cannoli shells or bowls, do it now! Once they hit the air, they’ll harden into crispy perfection.
Calories & Nutritional Info
Since these are mostly air and lace, we can pretend they have no calories, right? No? Fine. Here is the reality check for one cookie (this recipe makes about 30):
- Calories: ~85 kcal
- Total Fat: 4g
- Carbohydrates: 11g
- Protein: 1.5g
- Sugar: 5g
- Fun Fact: Anise is technically good for digestion, so these are basically a health supplement. (Note: This is a joke, please don’t quote me to your doctor).
Common Mistakes to Avoid (The Cheeky Guide)
- The Ooze: Putting the batter too far forward or using too much. Center it slightly behind the middle of the pattern, as the lid pushes the batter forward.
- The Steam Burn: Keep your hands away from the sides when you close the lid. That steam is hotter than a summer in Sicily.
- Stacking While Warm: If you stack these before they are 100% cool, the steam will turn your crispy cookies into limp pancakes. Spread them out on the rack.
- Fear of the Anise: If you think you hate anise, try using just a half teaspoon first. Or don’t, and live a life of vanilla-flavored boredom. Your choice.
Variations & Customizations
Want to break tradition? Try these three tweaks:
- The Chocolate Addict: Replace 1/4 cup of the flour with dark cocoa powder and swap the anise for vanilla. It’s like a sophisticated Oreo wafer.
- The Lemon Zest: Skip the anise and add 2 tablespoons of fresh lemon zest and 1 teaspoon of lemon extract. It’s incredibly refreshing and perfect for summer.
- The Keto Swap: Use almond flour and a sugar-free sweetener like Erythritol. They won’t be quite as “snappy,” but they’ll satisfy the craving without the carb crash.
FAQ: Everything You’re Dying to Know
Why are my pizzelle soft instead of crispy?
You probably didn’t bake them long enough, or you stacked them while they were still warm. Ensure they are golden brown before removing them and let them cool individually on a rack.
Can I make these without a pizzelle iron?
No. That’s like asking if you can make a waffle in a toaster. You need the iron for the pattern and the specific compression that makes them thin.
How do I store these?
Keep them in an airtight container at room temperature. If they lose their crunch, pop them in a 300°F oven for a minute to crisp back up. FYI, they last for weeks!
My cookies are sticking to the iron! Help!
Your iron might not be hot enough, or your batter needs a tiny bit more flour. Also, try a very light coating of oil between every 3-4 batches.
Can I freeze the batter?
I wouldn’t recommend it. The baking powder will lose its “oomph.” The cookies themselves freeze beautifully, though!
Why is the first cookie always ugly?
It’s a law of physics. The first one is a sacrificial lamb that seasons the iron. Eat it immediately and move on.
Can I use margarine instead of butter?
You could, but why would you? Butter provides the flavor and the crispness that margarine just can’t replicate. IMO, real butter is non-negotiable here.
Final Thoughts
There you go—you are now officially ready to start your own Italian cookie dynasty. Pizzelle are the perfect combination of “low effort” and “high reward.” They look like you spent hours on them, but you really just sat there clicking an iron shut while watching Netflix.
Go ahead, make a batch and hide half of them, because they will disappear faster than you can say “Ciao.” And hey, if they aren’t perfectly round, just tell people they’re “artisanal.” Happy baking! 🙂