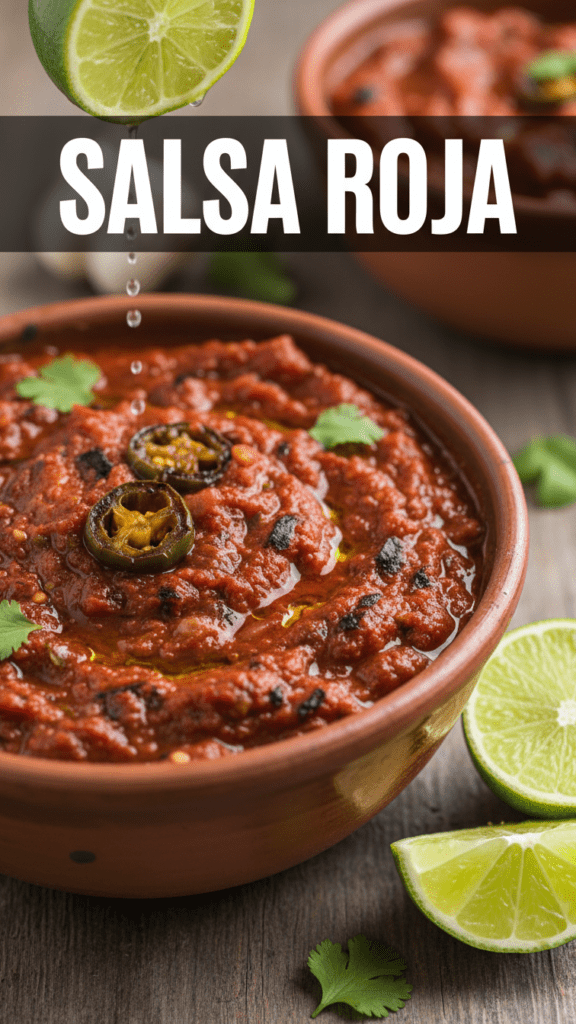
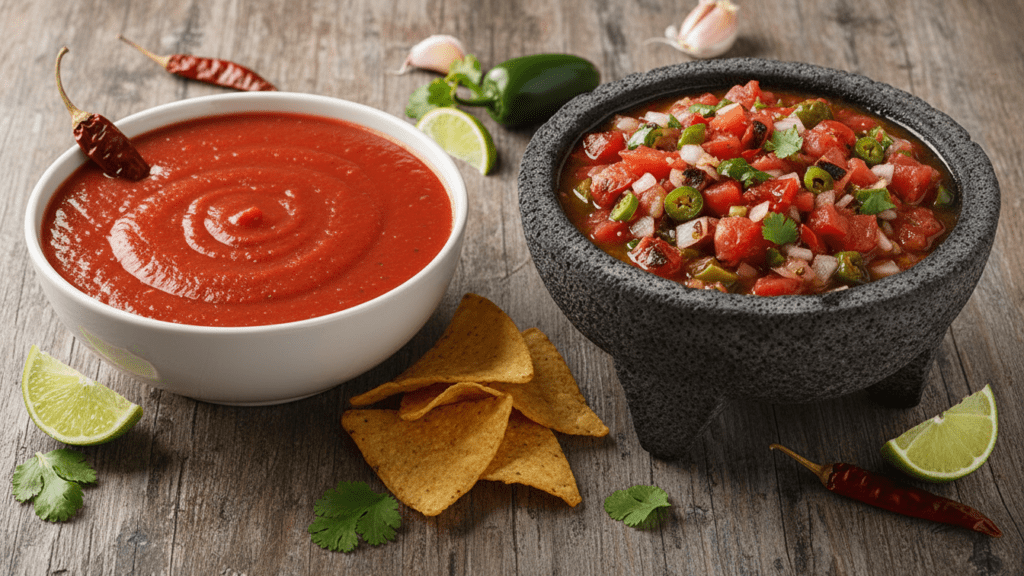
🍅 The “I Can’t Believe It’s Not Jarred” Miracle: Mastering Authentic Salsa Roja
Let’s be brutally honest: if your only experience with “salsa” involves opening a jar that’s shelf-stable until the year 2045, you’ve been living a lie. We’ve all seen it—that watery, vinegar-soaked mush that tastes more like a chemistry experiment than a garden. It’s a culinary tragedy! But then, you take a bite of real, smoky, vibrant salsa roja, and suddenly your taste buds wake up from a decade-long coma.
I once brought a mason jar of this to a potluck where the host had put out a sad tub of store-bought “medium” salsa. By the time the chips were halfway gone, the store-bought tub was still full, and people were literally scraping the bottom of my jar with their bare fingers. That, my friends, is the power of roasted tomatoes and toasted chilies. Are you ready to stop settling for lukewarm, preserved sludge and start building a legendary Mexican masterpiece?
🏆 Why This Salsa Roja is the Actual GOAT

Why should you bother roasting vegetables when you could just twist a lid? Because salsa roja is the ultimate “low-effort, high-reward” flex. It relies on the magic of fire—whether from a broiler or a cast-iron skillet—to transform raw produce into a sophisticated, smoky elixir that actually tastes like… well, food.
This recipe is awesome because it hits the “Holy Trinity” of flavors: sweet charred tomatoes, sharp garlic, and a smoky creeping heat. It impresses guests because it looks incredibly rustic and artisanal on the table, even though it costs about three dollars to make. Plus, it’s the ultimate secret weapon for elevating everything from morning eggs to late-night tacos. It’s the crown jewel of red salsas, IMO.
🌶️ The “Produce-Aisle-Elite” Ingredient List
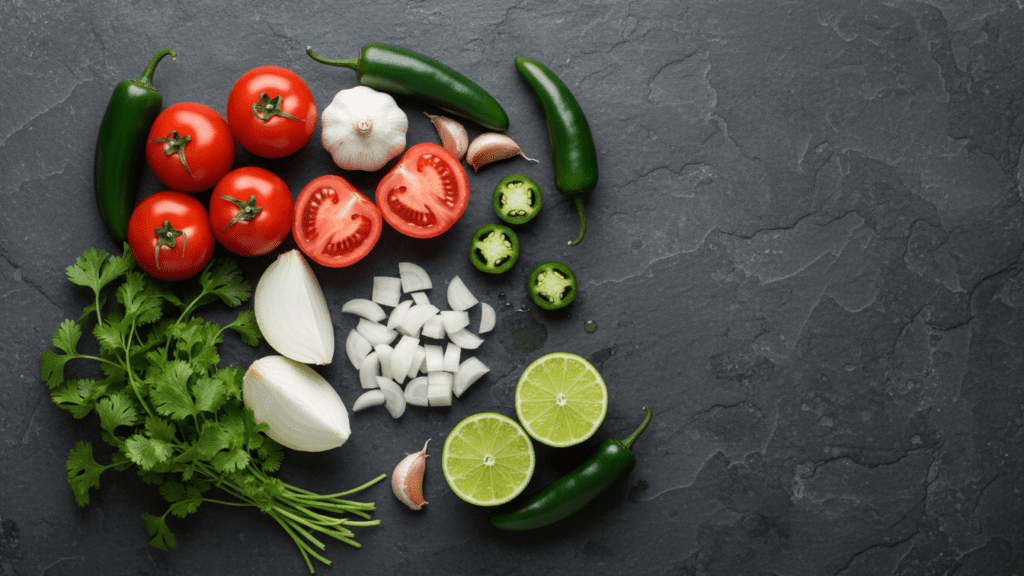
Success depends entirely on your ability to pick a tomato that doesn’t feel like a tennis ball. Quality is everything here.
- 5 Large Roma Tomatoes: These are the VIPs because they have less water and more “meat” than other varieties.
- 2 Fresh Jalapeños: Or Serrano peppers if you want to see through time.
- ½ Medium White Onion: White onion provides that specific, sharp Mexican bite.
- 3 Cloves Garlic: Leave the skins on for the roasting phase—trust me on this.
- 1 Handful Fresh Cilantro: Roughly chopped (unless you have the “soap gene”).
- 1 Tablespoon Lime Juice: MANDATORY. Acid is the secret to life.
- 1 Teaspoon Sea Salt: To make the flavors actually introduce themselves.
- Optional: A splash of water to adjust the “dip-ability.”
Key Substitutions
- Tomato Swap: If Romas are missing, use vine-ripened tomatoes, just drain a little excess juice after blending.
- Heat Swap: Swap jalapeños for dried Guajillo or Arbol chilies for a deeper, brick-red smoky color.
- Onion Swap: Red onion works for a milder, sweeter crunch, but white is the traditional king.
🔪 Tools & Kitchen Gadgets Used
You don’t need a high-tech lab, but a blender is the difference between a salsa and a salad.
- Professional Blender or Food Processor: CRUCIAL. To achieve that perfect, slightly chunky consistency. Check out top-rated blenders here!
- Cast Iron Skillet (Comal): The absolute best way to char your veggies without them sticking. Grab a pre-seasoned one here!
- Tongs: To flip your blistering peppers without losing a finger. Get sturdy tongs here!
- Citrus Squeezer: Because manually squeezing limes is for people with too much free time. Get a reliable squeezer here!
- Mason Jars: For that “I’m an artisanal chef” storage vibe. Check out glass jars here!
👩🍳 Step-by-Step Instructions: The Path to Smoky Glory
Follow these steps precisely. Salsa is about the “char,” not the rush.
1. The Great Char
Place your tomatoes, jalapeños, onion, and garlic (with skins on!) in your dry cast iron skillet over medium-high heat. TBH, the smell at this stage is better than any candle. Turn them occasionally until the skins are blackened and blistered. You want them to look a little “ruined”—that’s where the flavor lives.
2. The Garlic Reveal
Remove the garlic cloves once they are soft. Peel off the charred papery skin to reveal the golden, roasted treasure inside. Do not burn the garlic until it’s black inside, or your salsa will taste like a burnt tire.
3. The Stem Strike
Pull the stems off your blistered jalapeños. If you’re a coward, scrape out the seeds; if you’re a warrior, leave them in. Toss the peppers, tomatoes, garlic, and onion into your blender.
4. The Flavor Marriage
Add your fresh lime juice and sea salt. Pulse the blender 5–7 times. STOP. Do not turn this into a smoothie. We want texture, not V8 juice. 🙂
5. The Cilantro Infusion
Add the cilantro and pulse twice more. This keeps the herbs bright and green instead of turning your red salsa into a murky brown mess.
6. The Zen Rest (The Secret Step)
Pour the salsa roja into a bowl. STOP! Do not eat it yet. Let it sit at room temperature for at least 20 minutes. This allows the salt to draw out the sweetness of the roasted tomatoes. FYI, salsa actually tastes better the next day, so if you have the self-control of a saint, wait until tomorrow.
📊 Calories & Nutritional Info (The Guilt-Free Breakdown)
Since this is literally just roasted vegetables, you can technically classify this as a superfood.
- Estimated Calories Per Serving (2 tbsp): $\approx$ 15–20 kcal.
- Vitamin C: Off the charts thanks to the peppers and lime.
- Lycopene: High levels from the roasted tomatoes for heart health.
- Fat Content: Zero. Zilch. Nada.
- Mood: Scientifically proven to improve by 100% after the first chip.
🚨 Common Mistakes to Avoid (The Salsa Sins)
Avoid these if you want people to actually keep talking to you at the party.
- Using Raw Garlic: Raw garlic is too aggressive for this roasted style. Roast it in the skin!
- Over-Blending: Unless you want to drink it through a straw, keep it chunky.
- Skipping the Salt: Tomatoes are naturally bland. Don’t be a coward with the salt.
- Using Cold Veggies: Cold tomatoes don’t char well. Start with room temp produce. 🙂
✨ Variations & Customizations
Make it yours, you kitchen rebel.
1. The Keto-Friendly “Bacon” Twist
Stir in some crumbled, crispy bacon at the end. The salt and fat turn this into a low-carb dream that pairs perfectly with pork rinds.
2. The “Fire-Breather” Version
Add two dried Chiles de Arbol to the skillet for 30 seconds before blending. It adds a fruity, volcanic heat that will challenge even the bravest souls.
3. The Meaty “Salsa de Mesa”
Thin it out with a little extra water and add a teaspoon of chicken bouillon. It gives it that savory, “addictive” restaurant flavor that keeps you reaching for the chip basket.
❓ FAQ Section: Your Red Salsa Queries Solved
What is the difference between Salsa Roja and Salsa Verde?
Salsa Roja uses red tomatoes, giving it a sweet, smoky base. Salsa Verde uses tomatillos, making it tart, tangy, and bright. Both are essential for your survival.
Can I make this with canned tomatoes?
Yes, IMO, fire-roasted canned tomatoes are a great backup in winter. Just drain the liquid so it doesn’t get too soupy.
How long does homemade salsa roja last?
In the fridge, it stays good for about 5–7 days. After that, the cilantro starts to get grumpy and the flavor fades.
Is salsa roja supposed to be hot or cold?
Most people serve it room temperature or chilled, but in central Mexico, it’s often served warm over grilled meats. Try both!
Why is my salsa bitter?
You probably over-charred the garlic or used tomatoes that weren’t ripe. Add a tiny pinch of sugar to balance the bitterness.
Is salsa roja gluten-free?
Yes! It is naturally gluten-free, vegan, and dairy-free. It’s the ultimate “safe” food for any dietary restriction.
What can I serve this with?
Beyond chips, try it on steak, grilled fish, or inside a breakfast burrito. It’s the Swiss Army knife of condiments.
🥂 Final Thoughts: Go Forth and Char!
You’ve done it. You’ve successfully navigated the world of roasted Mexican produce without having a public breakdown. You are now a master of the salsa roja and a hero of the appetizer table. Go ahead, have that second bowl—it’s basically a multivitamin, right? Just don’t tell me if you used a jar of pre-made salsa to “stretch” it; I have a reputation to maintain. 🙂