
The Ultimate Gluten-Free Pie Crust: A Flaky Miracle for the Wheat-Weary
Let’s be brutally honest for a second: we’ve all been there. You decide to host Thanksgiving or a random Tuesday pie night, and you attempt a “healthy” alternative that ends up having the structural integrity of wet sand and the flavor profile of a dusty attic. You take a bite of that “wheat-free” masterpiece, and suddenly you’re coughing up clouds of dry rice flour while searching for a gallon of water. It’s a culinary betrayal of the highest order. But what if I told you that a gluten-free pie crust actually exists that is buttery, shatteringly flaky, and—dare I say—better than the “real” thing?

I first mastered this recipe after a disastrous Christmas where my pie crust was so hard we had to use a literal hacksaw to get through the bottom layer. After a few tears and a lot of butter-smeared research, I cracked the code. This isn’t just a compromise; it’s a revelation. Ready to reclaim your dessert glory without the bloating or the heartbreak? Let’s get into the dough.
Why This Pie Crust is the G.O.A.T. of Gluten-Free Living
Why should you bother chilling butter and dusting counters when the grocery store sells frozen discs of sadness? Because your taste buds have standards, that’s why. First off, this recipe achieves the “holy grail” of baking: the flaky-yet-tender balance. We aren’t making a giant cracker here; we’re making an architectural wonder that carries pumpkin, apple, or chocolate silk like a dream.

Secondly, it is surprisingly easy to handle. Usually, GF dough is as moody as a teenager on a Monday morning, but this version actually rolls out without shattering into a million pieces. It impresses guests every single time—especially when they realize there isn’t a single grain of wheat in the building. IMO, it’s the most empowering recipe in any allergy-friendly arsenal. Ready to become the neighborhood pastry legend?
The Grocery List: No Weird Lab Chemicals Allowed
Don’t overcomplicate your life by searching for rare starches harvested under a blue moon. We are using powerhouse pantry staples that actually work together to create magic.
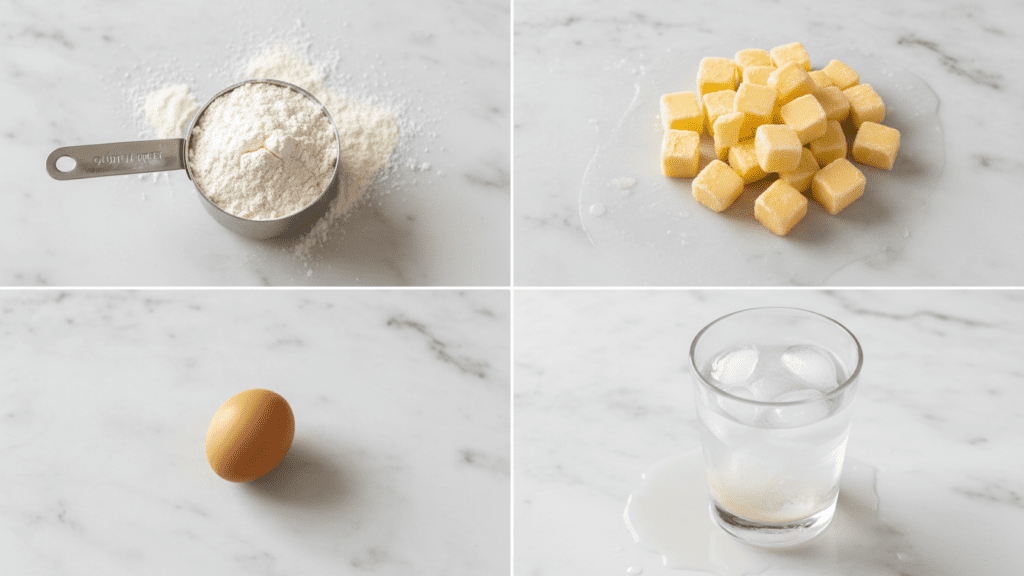
- Gluten-Free All-Purpose Flour Blend: Look for a high-quality blend that includes Xanthan Gum. (Substitute: If yours doesn’t have it, add 1/2 teaspoon yourself).
- Unsalted Butter: One cup (two sticks), frozen and cubed. Fat is flavor, and cold fat is flakiness.
- Granulated Sugar: Just a tablespoon. We want a golden hue, not a sugar rush.
- Sea Salt: Because flavorless pastry is a culinary felony.
- Ice Water: 4-6 tablespoons. It must be shivering cold.
- Apple Cider Vinegar: One teaspoon. This is the secret hack to keep the dough tender.
- Egg: One large egg. This provides the “glue” that gluten usually handles.
Tools & Kitchen Gadgets Used
To make this the smoothest process of your life, snag these basics. I’ve linked my favorites so you can treat your kitchen to the upgrades it deserves!
- Food Processor: The MVP for cutting in butter without melting it with your warm hands. Check out this top-rated Cuisinart on Amazon.
- A Solid Rolling Pin: To get that even thickness without the struggle. Grab this French rolling pin here.
- Silicone Baking Mat: Your best friend for preventing the “dough-stuck-to-counter” tragedy. These mats are a total game-changer.
- 9-inch Pie Dish: The stage for your masterpiece. Try this ceramic dish for even browning.
- Pastry Cutter: If you prefer the old-school hand method. Get a sturdy one here.
Step-by-Step Instructions: The Path to Flaky Glory
Follow these steps precisely. TBH, the temperature of your kitchen matters almost as much as the ingredients.
1. The Cold Front
In your food processor, pulse the gluten-free flour, sugar, and salt until combined. Add the frozen, cubed butter. Pulse in short bursts until the mixture looks like coarse crumbs with some pea-sized chunks of butter still visible. FYI: those chunks are what create the steam pockets for flakiness.
2. The Liquid Marriage
In a small bowl, whisk the ice water, egg, and apple cider vinegar. While pulsing the food processor, slowly pour the liquid in. Stop pulsing the second the dough starts to clump together. If it looks like a smooth ball, you’ve gone too far.
3. The Big Chill
Dump the shaggy dough onto plastic wrap. Divide it into two discs, wrap them tightly, and shove them in the fridge for at least one hour. Do not skip this. The flour needs to hydrate, and the butter needs to re-solidify. Go watch a show; the dough needs its beauty sleep.
4. The Roll Out
Place a disc of dough between two sheets of parchment paper or on a floured silicone mat. Roll from the center outward, rotating as you go. Aim for about 1/8 inch thickness. If the edges crack, just pinch them back together like a plastic surgeon. GF dough is forgiving!
5. The Architecture
Carefully flip the dough into your pie dish. Don’t stretch it, or it will shrink in the oven like a cheap t-shirt. Trim the edges and crimp them with a fork or your fingers. If you’re making a double-crust pie, repeat with the second disc.
6. The Big Bake
For a pre-baked crust, prick the bottom with a fork, line with parchment, and fill with pie weights. Bake at 375°F (190°C) for 15 minutes, remove weights, and bake for another 10 until golden. If you’re filling it, follow your specific pie recipe instructions.
Calories & Nutritional Info

For those of you who track your stats like a part-time job, here is the lowdown per serving (based on 8 slices per crust):
- Calories: ~180 kcal
- Carbs: ~22g (pure energy, baby!)
- Protein: ~2g (thanks, egg!)
- Fat: ~12g (the price of being buttery)
- Fiber: ~1g (depends on your flour blend)
Common Mistakes to Avoid: Don’t Be That Person
Even a recipe this simple can go sideways if you get cocky. Avoid these blunders to keep your dignity.
- Using Warm Butter: If the butter melts before it hits the oven, you’re making a cookie, not a crust. Keep it frozen.
- Over-mixing the Dough: Every pulse develops toughness. Stop while it’s shaggy.
- Skipping the Vinegar: The acid prevents the dough from becoming a starchy brick. Use the ACV.
- Rolling Too Thin: GF dough needs a little more “heft” than wheat dough. Keep it 1/8 inch thick.
- Forgetting the Xanthan Gum: If your flour blend doesn’t have it and you don’t add it, your crust will literally disintegrate into dust. Check the label!
Variations & Customizations
Feeling adventurous? Here are three ways to flip the script on this gluten-free pie crust:
The Savory Herb Twist
Add a teaspoon of dried thyme and cracked black pepper to the flour. It turns your crust into a sophisticated base for a chicken (or vegetarian) pot pie.
The Keto-Ish Swap
Replace 1/2 cup of the AP flour with super-fine almond flour. It adds a nutty richness and makes the edges even crispier, though it’ll be a bit more delicate.
The Sweet Cinnamon Soul
Mix a teaspoon of cinnamon into the sugar before blending. It’s a total game-changer for apple or pumpkin pies. 🙂
FAQ Section: You Asked, I Answered
Why is my gluten-free pie crust crumbling? Usually, this means it’s too dry or lacks a binder. Ensure your flour has Xanthan Gum and don’t be afraid to add one extra tablespoon of ice water if the dough won’t stay together.
Can I make this dough ahead of time? Yes! You can keep the discs in the fridge for 3 days or the freezer for up to 3 months. It’s the ultimate meal-prep hack for holiday baking.
Do I have to use a food processor? Nope. You can use a pastry cutter or two forks. It just takes more “elbow grease” and you have to work fast so the butter doesn’t melt.
Which GF flour blend is the best? I swear by King Arthur Measure for Measure or Cup4Cup. They are engineered to behave like wheat flour so you don’t have to think too hard.
Can I make this vegan? You can swap the butter for vegan butter sticks (not the tub kind!) and the egg for a flax egg. The crust will be slightly less flaky, but still delicious.
Why did my crust shrink in the oven? You probably stretched the dough when putting it in the pan. Gently drape it and let it fall into the corners. Also, chilling the dough in the pan for 15 minutes before baking helps.
Does this work for galettes too? Absolutely. This dough is sturdy enough to be folded over fruit on a flat baking sheet. It’s actually my favorite way to use it!
Final Thoughts
There you have it. A gluten-free pie crust that actually respects your time and your taste buds. It’s buttery, it’s flaky, and it’s the only recipe that makes me feel like I’m winning at adulthood on a Friday night. Once you master this bake, you’ll realize that the store-bought versions have been lying to you for years. Go forth, chill that butter, and enjoy the crunch. Just don’t be surprised when your “wheat-eating” friends start stealing your slices. 🙂

