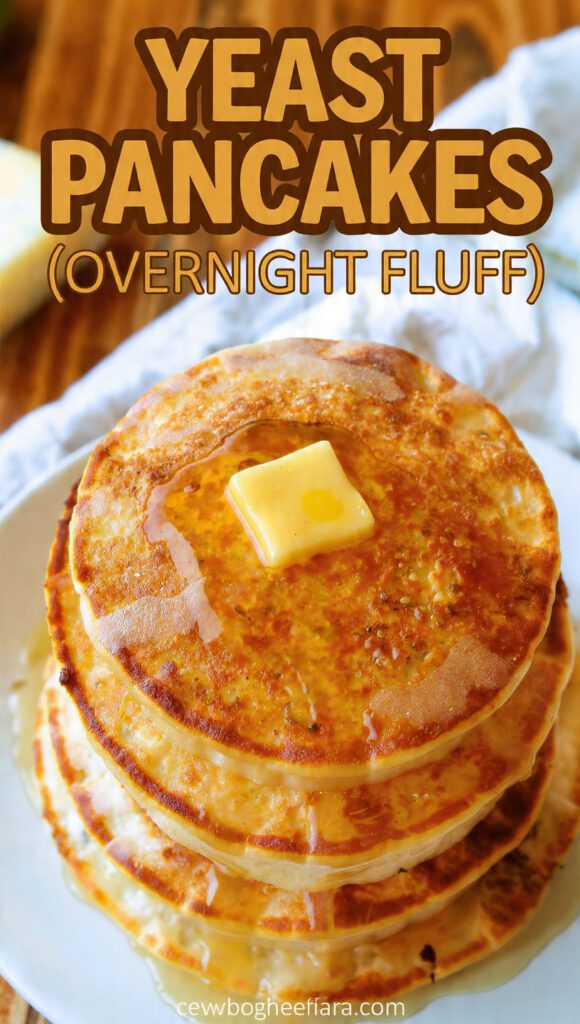
🥞 The Overnight Secret: Ultimate Light and Tangy Yeast Pancakes
Let’s be honest, the standard baking powder pancake is fine. It gets the job done. But “fine” isn’t what we aim for on the weekends, right? We aim for extraordinary. If you want pancakes that are impossibly light, deeply flavorful, and boast a subtle, almost sourdough-like tanginess, you need to meet the magical world of yeast pancakes. This recipe takes a tiny bit of planning (we’re talking overnight chilling—the true secret to flavor!), but the payoff is a stack of fluffy, lacy-edged perfection that will make you feel like you opened a Parisian crêperie in your own kitchen. Seriously, this changes the whole breakfast game.
Why This Recipe is Your New Breakfast Obsession

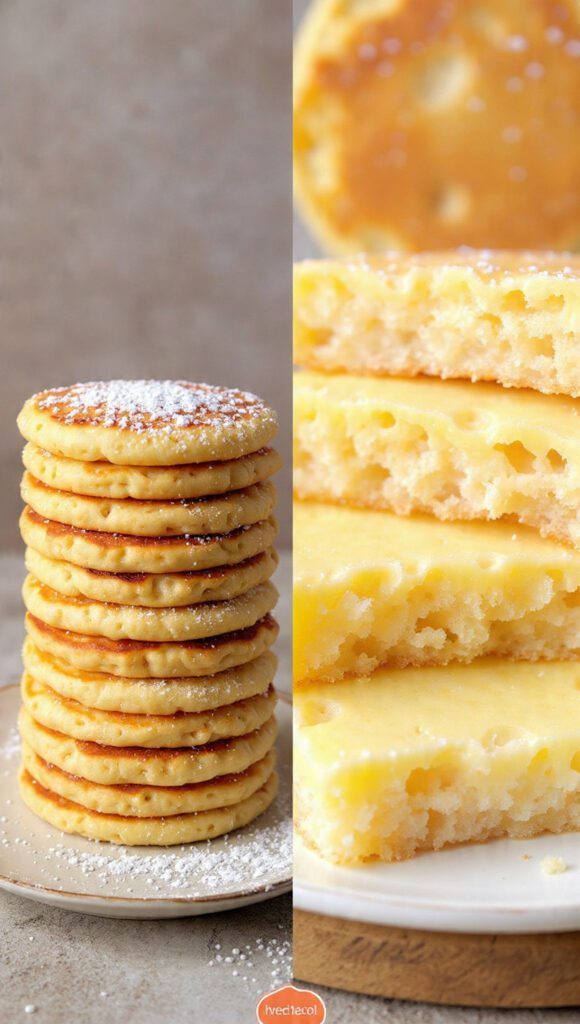
Standard pancakes rely on a chemical reaction for lift; these rely on yeast, giving them a completely different, superior structure. The slow overnight fermentation develops a complex, slightly sour, nutty flavor that you simply cannot replicate with baking powder alone. They are lighter, fluffier, and boast gorgeous, delicate lacy edges when cooked correctly.
You need to master this recipe because it makes Sunday morning incredibly easy. You mix the batter the night before (5 minutes of work!), and in the morning, you just give it a quick stir and start cooking. Minimal morning prep for maximum breakfast impact. Does it get any better than that?
It’s impressive, it’s unique, and it’s the perfect excuse to finally use that jar of active dry yeast sitting neglected in your pantry. Are you ready to ditch the blandness and embrace the flavor depth that only a little natural fermentation can provide? Trust me, this is the way forward.
Essential Ingredients for Tangy Fluff
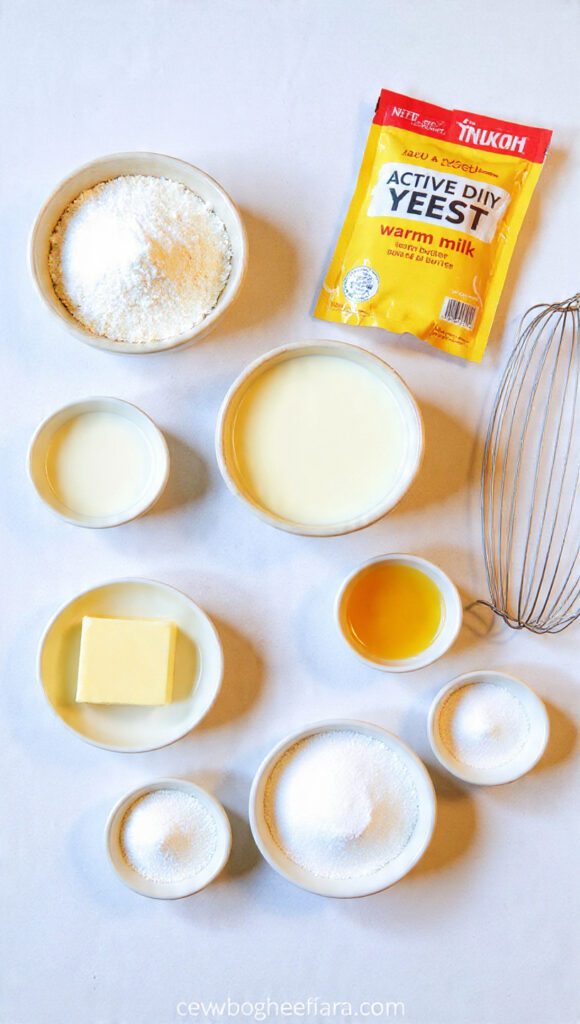
Yeast pancakes are simple, but the key is the temperature of the liquid and the ratio of flour to milk for that perfect batter consistency.
- 2 cups All-Purpose Flour: The main structure.
- 2 tbsp Granulated Sugar: Feeds the yeast.
- 1 tsp Salt: Essential for flavor control.
- 1 packet Active Dry Yeast (2 1/4 tsp): The fluffy secret weapon!
- 2 cups Milk: Whole milk works best for richness. Warm it gently!
- 1 Large Egg: Room temperature.
- 2 tbsp Unsalted Butter: Melted and cooled slightly.
- 1/2 tsp Baking Soda: Added right before cooking to boost the final fluff and neutralize excess tang.
Key Substitutions:
- Milk: Any dairy or non-dairy milk (almond, oat) works. Ensure it is warmed.
- Active Dry Yeast: Instant yeast works, too, but ensure you still let the batter rise overnight for flavor development.
- Sugar: Substitute with maple syrup or honey, but the ratio of liquid might need a slight adjustment.
- Butter: Use vegetable oil or melted coconut oil, but butter adds better flavor.
Tools & Kitchen Gadgets Used
You don’t need much, but a good griddle makes the process enjoyable.
- Large Mixing Bowl (with a lid or plastic wrap): Essential for the overnight rise. The batter expands significantly!
- Whisk: For combining the dry and wet ingredients.
- Small Saucepan: For gently warming the milk.
- Large Flat Griddle or Skillet (Cast Iron is Great): For achieving that perfect, even golden color.
- Spatula: Wide and flat, for easy, confident flipping.
- 1/4-cup Measuring Cup or Ladle: For scooping uniform pancakes.
Step-by-Step Instructions: The Overnight Magic Trick
We work backward here: mixing the night before, and cooking quickly in the morning.
H3 Night Before: The Fermentation Fiesta
- Warm the Milk: Gently warm the 2 cups of milk in the saucepan until it reaches about 105°F–115°F (40°C–46°C). It should feel warm to the touch, but not hot. Too hot kills the yeast!
- Mix the Dry Base: In your large bowl, whisk together the flour, sugar, salt, and active dry yeast.
- Mix the Wet Base: Add the warmed milk, the egg, and the melted butter to the dry mixture. Whisk until just combined. The batter will be thick and smooth. Do not over-whisk.
- The Overnight Rest: Cover the bowl loosely with plastic wrap or a lid. Place it in the refrigerator overnight (8–12 hours). The yeast works slowly in the cold, developing the signature tangy flavor and making the batter slightly puffy.
H3 Morning: The Final Prep and Cook
- Add the Finishing Touch: The next morning, the batter will be very thick and bubbly. Add the 1/2 teaspoon of baking soda (dissolved in 1 tablespoon of water, if desired) to the batter and stir gently until just incorporated. Do not overmix! The baking soda gives the final lift and neutralizes some of the tang.
- Heat the Griddle: Heat your griddle or skillet over medium-low heat. You want it hot enough to sizzle, but low enough to cook slowly. Lightly grease the griddle with butter or oil.
- Scoop and Cook: Scoop the batter using a 1/4-cup measure onto the hot griddle.
- Watch the Edges: Cook for 2–4 minutes until the bottoms are golden brown and bubbles form across the surface and pop, leaving small “craters” on the pancake surface.
- The Flip: Flip the pancakes and cook for another 1–2 minutes until golden brown and cooked through. Serve the yeast pancakes immediately!
Calories & Nutritional Info (The Flavorful Facts)
These are rich pancakes, but the flavor is worth the caloric density! Estimates are per 3 medium pancakes, without syrup.
- Estimated Calories Per Serving (3 Pancakes): Approximately 300–380 calories.
- Protein: Moderate, around 9–12g per serving.
- Carbohydrates: High, from the flour and sugar. Around 50–65g per serving.
- Fat: Moderate, mostly from the butter and milk.
- Key Nutritional Note: Contains active yeast cultures and yeast-derived B vitamins. FYI, your gut health will thank you (sort of).
Common Mistakes to Avoid (Pancake Pitfalls)
Master the yeast rules for success!
- Overheating the Milk: Too-hot milk kills the yeast. Use a thermometer or ensure the milk is warm but comfortable to the touch (max $115^\circ\text{F}$).
- Not Resting Overnight: Skipping the overnight rest sacrifices the signature tangy flavor and the tender, light texture. The long, cold ferment is essential.
- Overmixing the Batter (The Morning Stir): The batter should be mixed very gently in the morning after adding the baking soda. Aggressive stirring deflates the yeast bubbles, resulting in flat, dense pancakes.
- Cooking on High Heat: High heat burns the outside before the center is cooked, yielding a doughy middle. Use medium-low heat for slow, even cooking and beautiful golden color.
Variations & Customizations
Bored of plain? Impossible! But here are ways to tweak the flavor.
H3 Lemon Poppy Seed Tang
Add 1 tbsp of poppy seeds and the zest of one lemon to the dry ingredients before the overnight rest. Serve with a quick lemon glaze (powdered sugar + lemon juice) instead of syrup for extra tang.
H3 Hearty Buckwheat Blend
Substitute 1/2 cup of all-purpose flour with buckwheat flour. This adds a complex, earthy, slightly nutty flavor that complements the yeast tang perfectly. You may need a splash of extra milk as buckwheat absorbs more liquid.
H3 Savory Cheddar Scallion
Omit the sugar and add 1/2 tsp of garlic powder and 1/4 cup of chopped scallions to the batter. Serve topped with shredded sharp cheddar cheese and a dollop of sour cream instead of syrup. Perfect for brunch!
FAQ Section: Yeast Wonders Explained
You’ve got questions about this unconventional flapjack.
1. Why use yeast instead of baking powder?
Yeast provides a slower, natural rise, which develops a deeper, slightly tangy, bready flavor and a lighter, springier texture compared to the instantaneous, neutral rise of baking powder.
2. Can I skip the overnight rest?
You can, but you sacrifice the best part—the tangy fermented flavor. If you must rush, let the batter rise in a warm place for 1 hour until puffy, then stir in the baking soda and cook.
3. What makes the edges lacy?
The lacy edges come from the soft batter consistency and the slow cooking over medium-low heat. The bubbles break gently and crisp up as they cook slowly.
4. Can I use this batter for waffles?
Yes! Yeast pancakes batter makes excellent, light, and crisp waffles. Use a little extra butter/oil on your waffle iron, and reduce the milk slightly if you want a thicker batter.
5. How do I store leftover yeast pancake batter?
You can store the prepared batter in an airtight container in the refrigerator for up to 3 days. You might need to stir in a splash of milk and another pinch of baking soda before cooking the next day.
6. How do I keep the pancakes warm while cooking the rest?
Place the cooked pancakes on a wire rack on a baking sheet and keep them in a low oven (200°F or 95°C) while you finish the batch. The rack prevents the bottom pancake from getting soggy.
7. Why does my batter smell sour in the morning?
That’s the yeast working! That slightly sour, fermented smell is the tang you’re aiming for. The baking soda you add in the morning will neutralize it slightly and make it delicious.
Final Thoughts
You just pulled off the breakfast equivalent of a slow-cooked masterpiece. You mastered the gentle fold, the overnight chill, and achieved a stack of perfect, tangy yeast pancakes. Go ahead and enjoy that incredible texture and flavor. You’ll never look at baking powder the same way again.