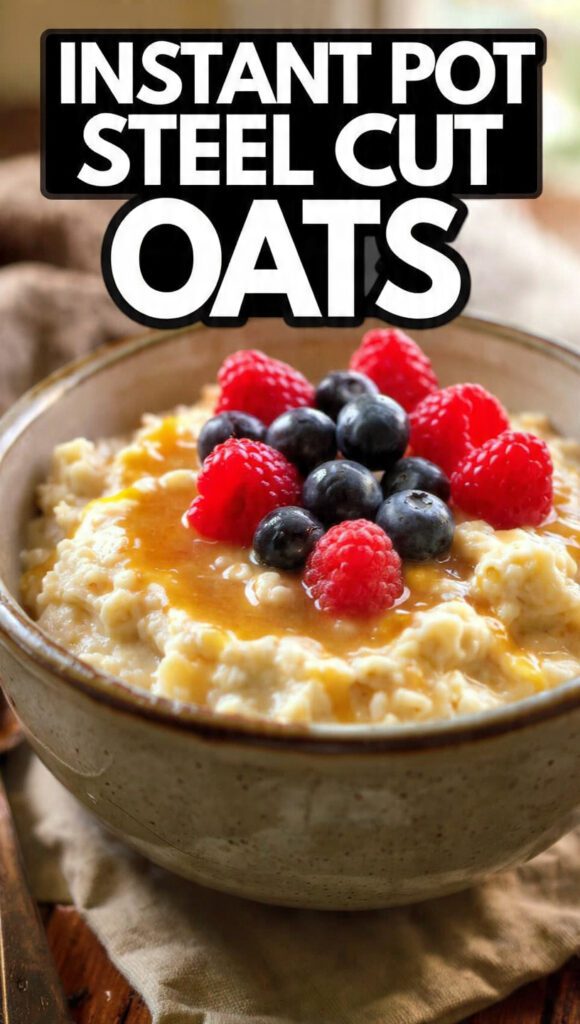
Instant Pot Steel Cut Oats: Stop Stirring and Start Eating Breakfast Bliss
Let’s be honest, making real steel cut oats the old-fashioned way is a noble but completely unrealistic dream for a Tuesday morning. It takes 40 minutes of simmering, stirring, and scraping the sticky bottom of the pot. Who has time for that pre-coffee commitment? Certainly not me.

Well, fire up your pressure cooker because the Instant Pot steel cut oats method is here to rescue your breakfast routine. This genius hack achieves the perfectly chewy, creamy texture of slow-cooked oats in a fraction of the time, with absolutely zero stirring required. You dump, you press a button, and you walk away. Get ready for cozy, comforting, high-fiber breakfast perfection without the domestic servitude.
Why Instant Pot Steel Cut Oats Are Awesome (Set It and Forget It)
The pressure cooker method isn’t just about saving time; it’s about achieving a superior texture effortlessly.
First, Unbelievable Hands-Off Convenience. This is a true “set it and forget it” meal. You literally throw the oats and water into the pot, seal it, and go shower, check your emails, or contemplate the meaning of life. The Instant Pot does all the work. Why babysit a pot when you can delegate?
Second, The Perfect Chewy Texture. Stovetop oats often end up either watery or mushy. The high-pressure environment of the Instant Pot forces liquid into the dense steel cut oats evenly, resulting in a perfectly creamy, yet delightfully chewy bite every single time. IMO, this is the only way to cook steel cut oats.
Third, The Cleanup Victory. Since you don’t stir, the oats don’t stick and burn to the bottom of the pot. We use the Pot-in-Pot (PIP) method for even easier cleanup, meaning you only wash a small inner bowl, not the main pot. TBH, minimal scrubbing is the best motivation for cooking.
The Goods: Ingredients You Need
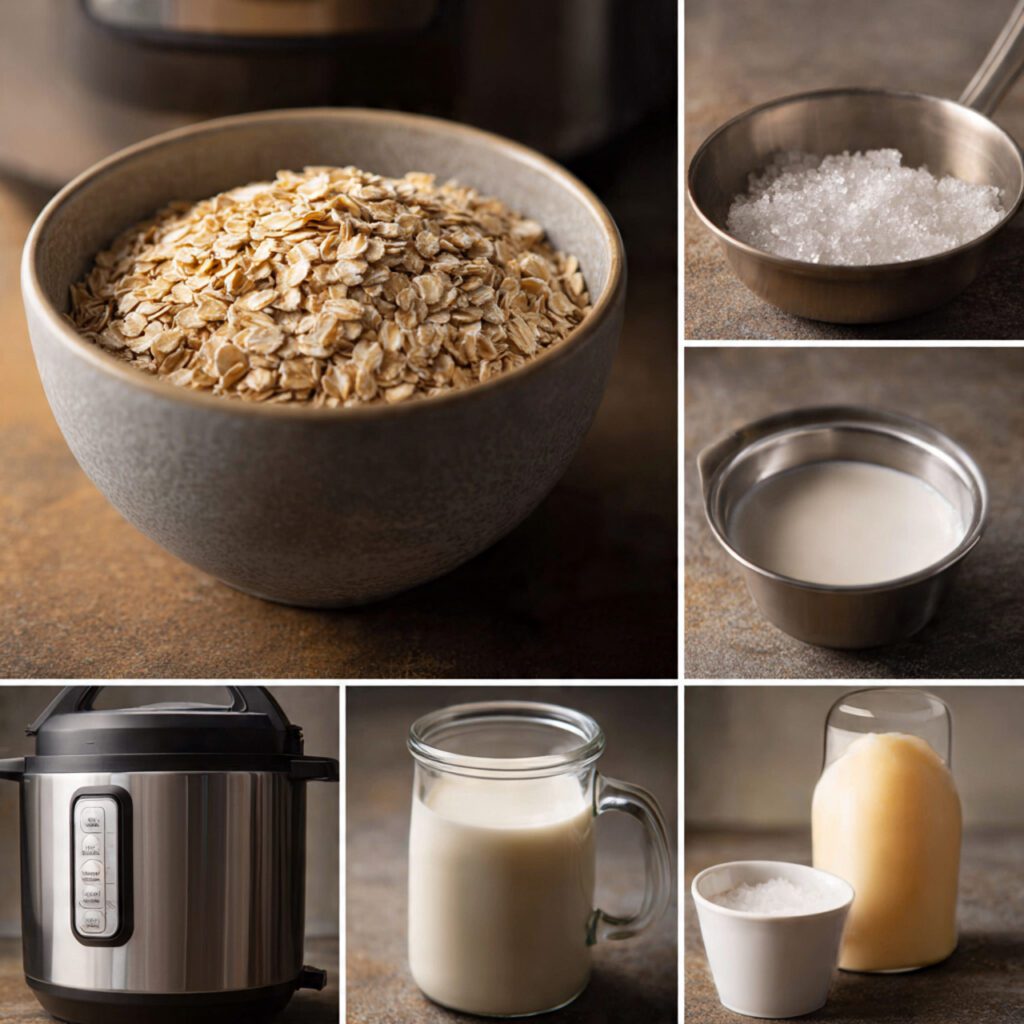
This recipe is simple, but the liquid-to-oat ratio is crucial for pressure cooking success.
- The Core:
- 1 cup Steel Cut Oats (not rolled or quick oats!).
- 3 cups Water (or a blend of water and milk).
- 1/4 teaspoon Salt (mandatory, even for sweet oats—it balances flavor).
- The Flavor Boosters (Added Before Cooking):
- 1 teaspoon Vanilla Extract (optional, but adds great depth).
- 1 tablespoon Maple Syrup or Brown Sugar (optional, sweetens the base).
H3 Key Substitutions (The Mix-Up)
- Liquid Swap: Use nut milk, dairy milk, or even coconut milk for a richer, creamier flavor. If using dairy milk, you must use the Pot-in-Pot (PIP) method to prevent scorching on the bottom of the main pot.
- Sweetener Substitute: Use honey, coconut sugar, or a sugar substitute (like Stevia or Monk Fruit) in the same ratio.
- Spice Boost: Add 1/2 teaspoon of ground cinnamon or pumpkin pie spice before cooking for a warming flavor infusion.
Tools & Kitchen Gadgets Used (Pressure Cooker Power)
You only need one main appliance, but we use a specialized accessory for guaranteed non-stick results.
- Electric Pressure Cooker (Instant Pot is preferred): The essential cooking vessel.
- Small Metal Bowl or Ceramic Ramekin: This is the Pot-in-Pot (PIP) vessel if you choose that method (highly recommended for easy cleanup). Must be oven-safe/heat-safe.
- Trivet/Steamer Rack: Necessary for setting the PIP bowl inside the Instant Pot liner.
- Measuring Cups: The liquid-to-oat ratio (3:1) is precise in pressure cooking.
- Wooden Spoon: For stirring the finished oats.
- Airtight Containers: For storing the massive batch of leftovers (meal prep!).
Step-by-Step Instructions (Seal, Set, and Release)
We are using the easiest method: direct cooking in the inner pot (if only using water) or the guaranteed no-burn Pot-in-Pot (PIP) method.
H3 Step 1: Prep the Oats (The Dump)
- If using the direct method (water only): Pour the oats, water, and salt directly into the inner pot of the Instant Pot.
- If using the Pot-in-Pot (PIP) method (recommended for milk or easier cleanup): Combine the oats, liquid, and salt in the small metal bowl. Place the trivet inside the Instant Pot liner. Pour 1 cup of water into the Instant Pot liner (this water creates the steam/pressure). Carefully place the bowl with the oat mixture on the trivet.
H3 Step 2: Seal and Cook (The Magic Pressure)
- Secure the lid on the Instant Pot. Turn the valve to the Sealing position.
- Press the Manual/Pressure Cook button and set the time to 4 minutes on High Pressure.
H3 Step 3: Natural Pressure Release (The Secret to Creaminess)
- Once the cooking time finishes, the Instant Pot will beep. DO NOT touch the valve! Allow the pressure to release naturally (NPR) for 15–20 minutes.
- After 15-20 minutes of NPR, carefully turn the valve to the Venting position to release any remaining pressure (Quick Release/QR). Be cautious of steam!
- Open the lid. If using PIP, carefully lift the bowl out using oven mitts.
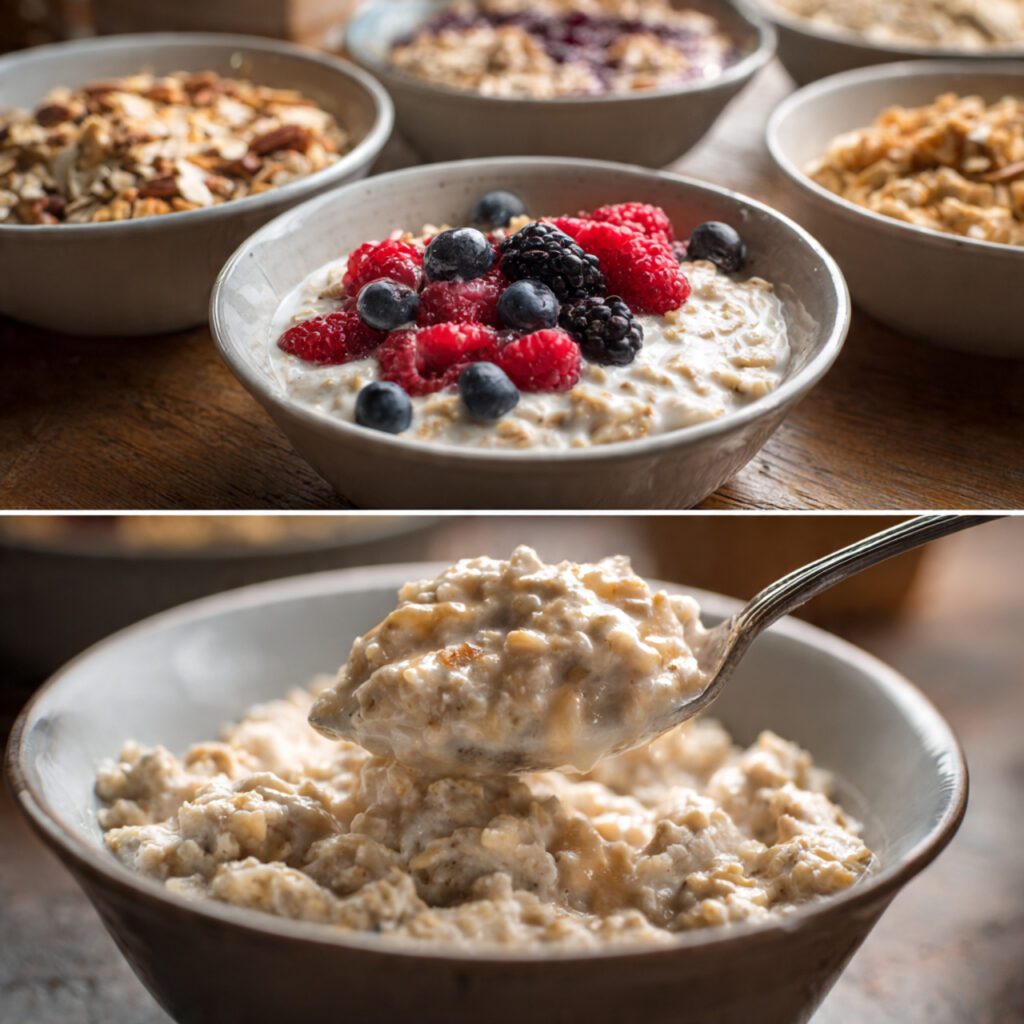
H3 Step 4: Stir and Serve
- The oats will look quite liquidy at first—that’s normal! Stir the oats vigorously for 1 minute. This agitation releases the starch and transforms the liquid into that perfect, thick, creamy porridge texture.
- Add any flavor boosters (vanilla, maple syrup). Serve hot with your favorite toppings!
Calories & Nutritional Info (Fiber Powerhouse)
Steel cut oats are a fantastic source of whole grains and complex carbohydrates, providing sustained energy. This estimate is for one serving (1/4 of the recipe base).
- Estimated Calories Per Serving (1/4 cup dry oats): ~180–250 calories (without toppings).
- High in Fiber: Excellent source of soluble fiber, which aids digestion and promotes heart health.
- Low Glycemic Index: Provides sustained energy release, making it great for blood sugar control.
- Protein Content: Contains a good amount of plant-based protein.
- Vegan & Gluten-Free: Naturally vegan (if using water/nut milk) and gluten-free (if using certified GF oats).
Common Mistakes to Avoid (Pressure Cooker Pitfalls)
Pressure cooking is safe, but precise technique is necessary for oats to prevent the dreaded “foam eruption.”
- Quick Release (QR): Never Quick Release the pressure on oats! Oats foam and sputter aggressively. Using Natural Pressure Release (NPR) prevents the oatmeal from spraying out the steam valve.
- Ignoring the PIP Rule (for Milk): If you use milk instead of water and cook it directly on the bottom, the milk sugars will scorch and burn the base of the pot. Use the Pot-in-Pot method when using dairy or any ingredient prone to scorching.
- Incorrect Water Ratio: Too much water results in soupy oats; too little causes burning. Stick to the 3:1 liquid-to-oats ratio for perfectly cooked, chewy oats.
- Over Stirring After Cooking: Wait until after the pressure release to stir! Stirring while under pressure is impossible, and stirring too early can break the grains too much.
Variations & Customizations (Flavor Infusion)
Since you make a big batch, pre-portion the cooked oats and customize the flavor profile throughout the week!
- Chai Spice Infusion: Add 1 tablespoon of fresh ginger chunks and 1/2 teaspoon of cardamom and cinnamon to the liquid before cooking. Remove the ginger pieces before serving. Finish with a drizzle of honey.
- Keto/Low-Sugar Oatmeal: Skip the oats entirely (oats are carbs!). Use this technique with a blend of mashed cauliflower and shredded unsweetened coconut (substituting 1:1 for oats) and use heavy cream/nut milk. Season with cinnamon and liquid stevia. (Technically not oats, but a keto porridge).
- Savory Cheesy Oats (Vegetarian Swap): Replace the water with vegetable broth. Add 1/2 teaspoon of dried rosemary and a pinch of black pepper before cooking. Stir in 1/4 cup of grated sharp cheddar cheese and dried herbs after cooking. Top with a fried egg.
FAQ Section (The Pressure Cooker Q&A)
Get ready for the most common questions about pressure cooking oats.
- Q: Why do I need to let the pressure release naturally?
- A: Oats create a lot of starch foam. Natural Pressure Release (NPR) allows that foam to subside slowly, preventing the mixture from clogging and spraying out of the steam valve during the release.
- Q: Can I use quick oats or rolled oats in the Instant Pot?
- A: No! Quick and rolled oats cook too fast and turn into a mushy, unappetizing paste under pressure. Stick to steel cut oats only.
- Q: How long does this batch last for meal prepping?
- A: The cooked oats store beautifully in airtight containers in the refrigerator for 5–7 days. Reheat with a splash of milk or water for creaminess.
- Q: My oats are too thick after freezing. Help!
- A: This is normal! The oats continue to absorb liquid upon chilling. When reheating, add 1-2 tablespoons of milk or water per serving and stir well to restore the creamy consistency.
- Q: Can I cook this overnight?
- A: Yes! Use the Delay Start function. Add the cold ingredients to the pot (using the PIP method for milk) and set the delayed cooking time. The oats will be ready when you wake up.
- Q: Is the Pot-in-Pot (PIP) method mandatory?
- A: It is mandatory if you use milk/cream to prevent burning. If you only use water, direct cooking is fine, but PIP makes cleanup infinitely easier.
- Q: Can I double the recipe?
- A: Yes, you can double the ingredients, but keep the cook time the same (4 minutes). You only need the pressure time to be 4 minutes; the extra volume simply increases the time it takes to reach and release pressure.
Final Thoughts (The Cozy Connoisseur)
You conquered the pressure, banished the sticky mess, and mastered the Instant Pot steel cut oats. That creamy, chewy bowl of perfection is proof that you can have a gourmet, healthy breakfast even on the busiest of mornings. You are officially a breakfast delegator.
Go ahead, enjoy that perfectly textured scoop. Did you realize morning cooking could be this stress-free? I bet you’ll never buy a packet of instant oatmeal again. Now, are you going to use cinnamon or maple syrup tomorrow?