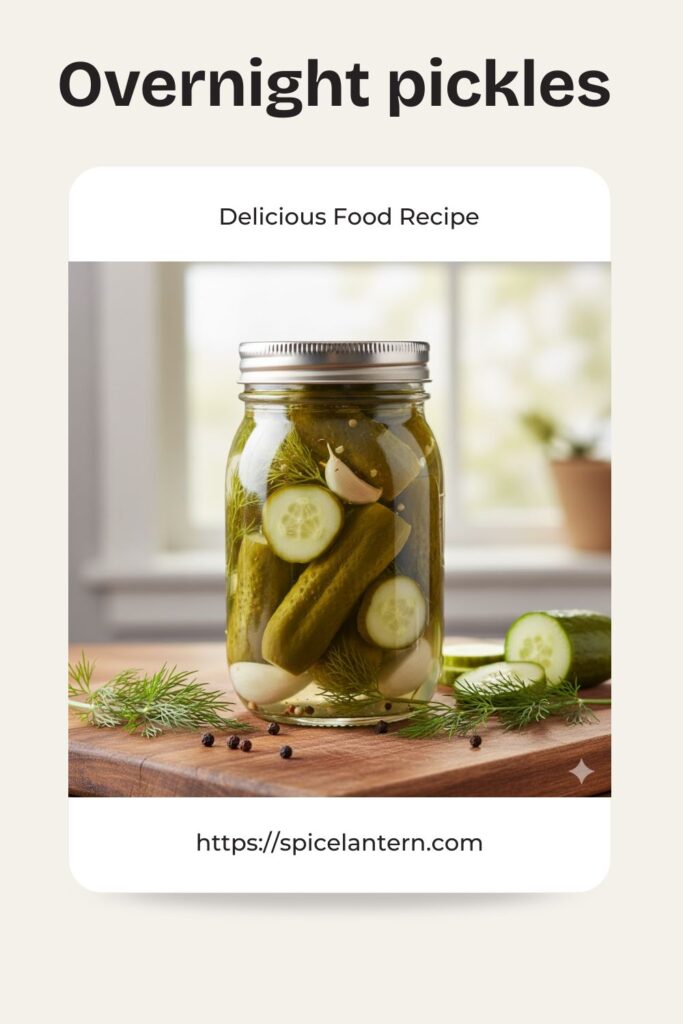
Forget Store-Bought! The Easiest Overnight Pickles Recipe You’ll Ever Make
Let’s be honest: good pickles are a culinary superpower. They transform a boring sandwich into a masterpiece, cut through the richness of BBQ, and offer that satisfying crunch that just makes everything better. But buying those fancy artisanal pickles? Oof, your wallet feels that one. And making “real” pickles, with all the canning and sterilizing, feels like a science experiment only grandma could ace. Enter the glorious, ridiculously simple world of overnight pickles! This isn’t your grandma’s 3-day canning project; this is pure, unadulterated pickling gratification, ready for your face by morning. Get ready to impress yourself (and maybe a few discerning friends) with minimal effort.
Why This Overnight Pickles Recipe Will Make You a Pickling Pro
Why bother making pickles when you can just grab a jar from the store? Because this recipe is awesome, that’s why. It delivers that perfect balance of tangy, salty, and subtly sweet flavor with an irresistible crunch that store-bought just can’t match.

First, the flavor is customizable and fresh. You control the herbs and spices, resulting in a vibrant taste that’s far superior to shelf-stable versions. Second, it’s ridiculously easy – seriously, you just chop, mix, and chill. Third, you get that satisfying “I made this myself!” glow without actually, you know, making much. Plus, think of how much better your burgers, hot dogs, and charcuterie boards will look (and taste!). Who doesn’t want to be the person who casually brings out homemade pickles? You’re basically a culinary wizard now.
Ingredients: The Brine & The Bites
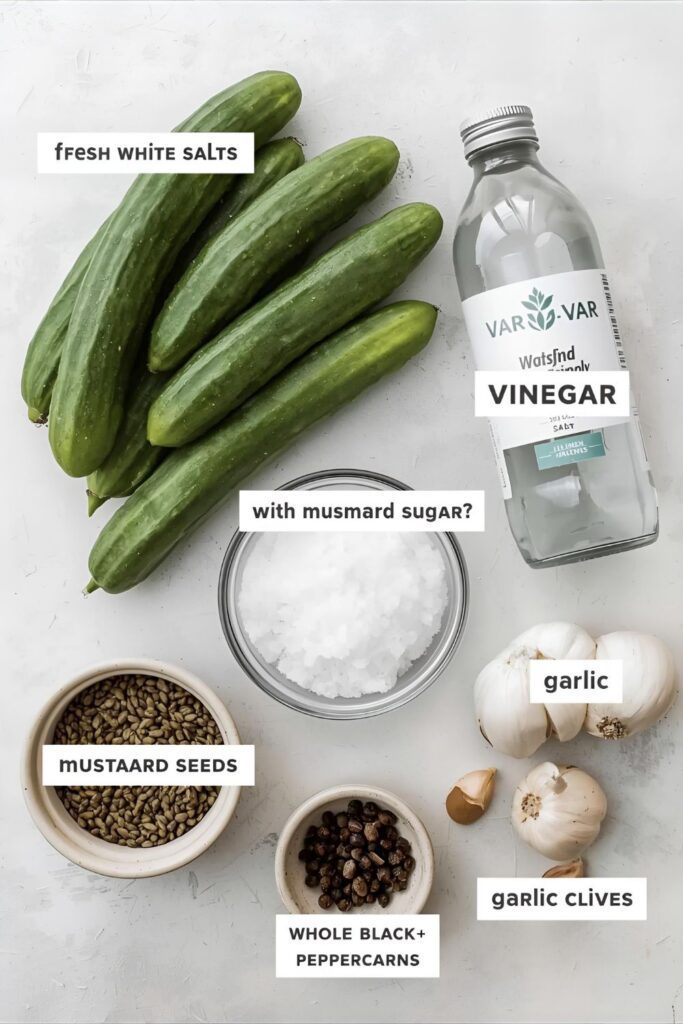
You only need a few basic pantry staples and some fresh cucumbers to start your pickling journey.
H3: For the Perfect Brine
- 1 ½ cups Water: Filtered water is always best if your tap water is funky.
- 1 ½ cups White Vinegar: Distilled white vinegar is classic. Apple cider vinegar can be used for a slightly mellower, fruitier tang.
- 1 tablespoon Kosher Salt: Crucial for flavor and crispness! Do NOT use iodized table salt; it can make your brine cloudy and add a metallic taste.
- 1 tablespoon Granulated Sugar: Balances the acidity and enhances flavor.
- 1 teaspoon Mustard Seeds: Adds that signature pickle pungency.
- ½ teaspoon Dill Seeds (or 1-2 sprigs fresh Dill): Essential for classic dill pickle flavor.
- ½ teaspoon Whole Black Peppercorns: For a subtle peppery bite.
- 2-3 cloves Garlic: Smashed or thinly sliced. More garlic = more garlicky goodness, IMO.
H3: For the Crunchy Cucumbers
- 1 ½ lbs Pickling Cucumbers (about 4-5 medium): Look for small, firm, unwaxed cucumbers. Kirby cucumbers or Persian cucumbers are ideal.
- Optional: ½ small Yellow Onion, thinly sliced: Adds another layer of subtle sweetness and bite.
Key Substitutions:
- Cucumber Swap: You can use English cucumbers, but their higher water content can make them slightly less crunchy. Avoid regular slicing cucumbers if possible, as they are often waxed and have large seeds.
- Vinegar Swap: While white vinegar is classic, you can experiment with apple cider vinegar for a milder, slightly sweeter pickle. Just avoid anything too strong or flavored.
- Spice Mix: Don’t have all the individual spices? Use 2-3 tablespoons of a good quality pickling spice blend instead.
Tools & Kitchen Gadgets Used: Your Pickling Power Kit
You won’t need a pressure canner, but a sturdy jar and a good pot are key.
- Medium Saucepan: For heating the brine.
- Whisk: For dissolving salt and sugar.
- Large Mason Jar (Quart size or 2 Pint jars): Essential for storing your pickles! Make sure it’s clean and has a tight-fitting lid.
- Cutting Board & Sharp Knife: For slicing those cucumbers.
- Measuring Cups and Spoons: For brine accuracy.
Step-by-Step Instructions: Pickling Like a Pro (Almost)
This is seriously so easy, you’ll wonder why you ever bought a jar. The main “cooking” happens overnight!
H3: Step 1: Prep Your Veggies (The Slice & Dice)
First, wash your pickling cucumbers thoroughly. Trim off both ends. You can slice them into rounds, spears, or even thin coins – whatever makes your pickle-loving heart sing! I usually go for spears for sandwiches and rounds for snacking. If using, thinly slice your yellow onion. Smash your garlic cloves (no need to mince).
H3: Step 2: Pack the Jar (The Pretty Part)
Neatly (or not-so-neatly, I’m not judging) pack the sliced cucumbers, garlic cloves, and sliced onion (if using) into your clean Mason jar(s). Try to pack them in tightly but don’t smash them. This ensures maximum pickle-to-brine contact.
H3: Step 3: Brew the Brine (The Flavor Starter)
In your medium saucepan, combine the water, white vinegar, kosher salt, and granulated sugar. Add the mustard seeds, dill seeds, and black peppercorns. Bring the mixture to a rolling boil over medium-high heat, stirring constantly, until the salt and sugar are completely dissolved. This should take about 3-5 minutes. Once dissolved, remove the brine from the heat.
H3: Step 4: Pour & Seal (The Waiting Game)
Carefully pour the hot brine over the cucumbers in the jar. Make sure the brine completely covers all the vegetables. If it doesn’t, quickly whip up a half-batch of extra brine. Tap the jar gently on the counter to release any trapped air bubbles. If necessary, add more brine to ensure everything is submerged.
H3: Step 5: Chill Out (The Overnight Magic)
Let the jar cool on the counter for about 15-20 minutes until it’s just warm to the touch. Then, secure the lid tightly and transfer the jar to the refrigerator. Let the pickles chill and do their thing for at least 12-24 hours. This overnight rest is where the magic happens and the flavors fully develop. Patience is a virtue, especially when pickles are involved!
H3: Step 6: Enjoy Your Hard Work (Sort Of)
After their overnight slumber, your overnight pickles are ready! Grab one, take a bite, and bask in the glory of your homemade pickling prowess. Serve them with everything and anything. They’re amazing!
Calories & Nutritional Info: The Tangy Tidbits
Pickles are generally low in calories, but full of flavor! These estimates are approximate per ½ cup serving.
- Estimated Calories per serving (½ cup): 10-20 calories
- Fat: 0g
- Carbohydrates: 2-4g (mostly from sugar in brine, very little from cucumber)
- Sugar: 1-3g
- Sodium: 200-300mg (varies depending on how much brine you consume)
- Fiber: 1g
- Vitamins/Minerals: Small amounts of Vitamin K from cucumbers.
- The Bottom Line: Pretty guilt-free, unless you eat the whole jar. Which, let’s be real, is tempting.
Common Mistakes to Avoid: Don’t Pickle Your Problems!
Pickles are forgiving, but avoid these common slip-ups for perfect crunch and flavor.
- Using Waxed Cucumbers: Many supermarket cucumbers have a wax coating that prevents the brine from penetrating. Always look for unwaxed pickling cucumbers (Kirby or Persian are great) for the best results.
- Not Using Kosher Salt: Iodized table salt contains anti-caking agents and iodine that can affect the flavor and clarity of your brine. Stick to pure kosher salt or pickling salt.
- Rushing the Chill Time: This is overnight pickles, not instant pickles! The magic happens during that long chill. Don’t open the jar before 12 hours; the flavors won’t have fully developed.
- Forgetting to Trim the Ends: The ends of cucumbers contain enzymes that can make your pickles soft. Trim both ends to maximize crispness!
- Using a Plastic Container: While convenient, a glass Mason jar is ideal. It’s non-reactive and creates a good seal for storage.
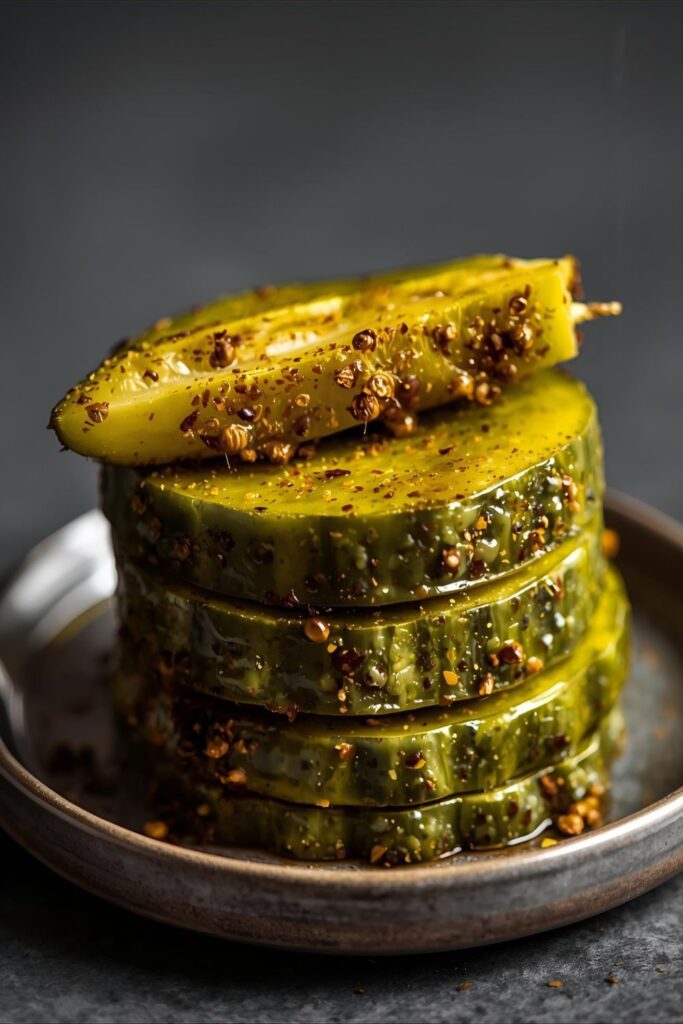
Variations & Customizations: Your Pickle Playground
Once you master the basic dill, the pickling world is your oyster… or, well, your cucumber!
- Spicy Garlic Dill Pickles: Add ½ teaspoon of red pepper flakes and an extra 2-3 smashed garlic cloves to the jar for a fiery kick. A few thin slices of fresh jalapeño also work wonders!
- Sweet & Tangy Bread and Butter Pickles: Increase the sugar to ¼ cup and add ¼ teaspoon of turmeric powder (for color and flavor) and ½ teaspoon of celery seeds to the brine. Slice your cucumbers into thinner coins.
- Pickled Red Onions (Not Cucumbers, but same brine!): Thinly slice 2-3 red onions and pack them into a jar. Use this exact same brine recipe for vibrant, tangy pickled onions that are amazing on tacos, salads, and burgers. IMO, a game-changer!
- Herby Fresh Pickles: Swap dill seeds for fresh dill fronds and add a few sprigs of fresh tarragon or a bay leaf to the jar for different aromatic notes.
FAQ Section: Answering Your Brine-y Questions
You’ve got questions about these quick pickles. I’ve got answers!
H3: Q1: How long do overnight pickles last in the refrigerator?
A1: Homemade overnight pickles typically last for 2-3 weeks in the refrigerator. Always store them in a tightly sealed jar.
H3: Q2: Can I reuse the brine for another batch of pickles?
A2: Technically, you could, but it’s not recommended for food safety or optimal flavor. The brine weakens with each use, and previous vegetables might leave behind bacteria. Best to make a fresh batch!
H3: Q3: What kind of cucumbers are best for pickling?
A3: Pickling cucumbers, also known as Kirby or Persian cucumbers, are best. They are small, firm, and have thin skins that absorb the brine well.
H3: Q4: My pickles aren’t crunchy. What went wrong?
A4: Common culprits for soft pickles include using old cucumbers, not trimming the ends, or using iodized salt. Ensure your cucumbers are fresh and firm, and always use kosher or pickling salt.
H3: Q5: Can I make these without sugar?
A5: Yes, you can omit the sugar entirely for a purely sour pickle. The sugar helps balance the acidity, but they’ll still pickle without it.
H3: Q6: Is this a safe canning recipe?
A6: No, this is NOT a canning recipe. These are “refrigerator pickles” or “quick pickles.” They are not shelf-stable and require continuous refrigeration. Do not attempt to seal and store them at room temperature.
H3: Q7: Can I use other vegetables for overnight pickling?
A7: Absolutely! This brine recipe works wonderfully for carrots, green beans, bell peppers, asparagus, or cauliflower florets. Just slice them to fit your jar and ensure they are submerged.
Final Thoughts: Welcome to the Pickle Party!
You did it! You’ve unlocked the glorious, crunchy, tangy world of homemade overnight pickles with minimal effort and maximum flavor. Go ahead, grab one and make that satisfying crunch. Doesn’t it taste exactly like the artisanal pickles you used to pay way too much for? I knew it would. You’re now a pickling superstar. Are you ever going back to those dull, lifeless store-bought jars again? I highly doubt it. Enjoy your crunchy, tangy victory!