Eat It All! The Ultimate Edible Cookie Dough Recipe (No Eggs, No Regrets)
Let’s be honest. Who among us hasn’t, at some point, ignored all rational thought, shoved a spoon into a bowl of raw cookie dough, and declared, “YOLO!”? Don’t lie. We’ve all done it. Because the truth is, sometimes the cookie dough is better than the actual cookie. The gooey, sugary, chocolate-chip-studded goodness is pure bliss. But then that tiny voice in your head (or your mom) whispers about raw eggs and uncooked flour. Well, tell that voice to take a hike! Because I have the ultimate edible cookie dough recipe that lets you eat it all, safely and deliciously, without a single regret.
Why This Edible Cookie Dough Is Pure Genius

Why make edible cookie dough when you could just risk it with the raw stuff? Because this recipe is awesome, that’s why. It delivers all the nostalgic flavor and irresistible texture of traditional cookie dough, but it’s 100% safe to eat raw. No food poisoning worries here, folks!
First, it’s ridiculously easy to whip up. We’re talking minutes, not hours. Second, it’s perfectly customizable—mix in whatever your heart desires. Third, it’s the ultimate comfort food for a movie night, a bad day, or, let’s be real, any day. You get that rich, buttery, sugary goodness without the bake time, the potential salmonella, or the judgmental stares. It’s pure, unadulterated bliss in a bowl.
Ingredients: The Safe-to-Eat Dream Team
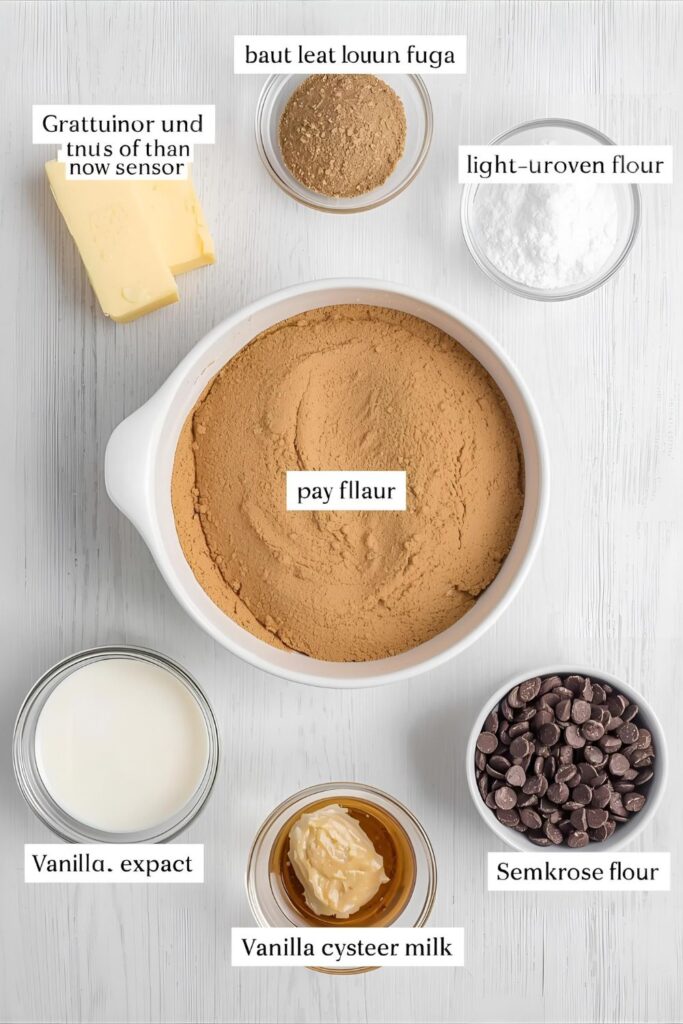

We’re ditching the risky stuff and focusing on safe, delicious ingredients that create that iconic cookie dough flavor.
H3: The Base for Your Cookie Dough Dreams
- ½ cup Unsalted Butter: Softened to room temperature. This is the flavor foundation.
- ¼ cup Granulated Sugar: For classic sweetness.
- ½ cup Packed Light Brown Sugar: Adds moisture, chewiness, and that deep, caramel-y flavor.
- 1 teaspoon Vanilla Extract: Use good quality vanilla! It makes a difference.
- 2 tablespoons Milk (any kind): Or heavy cream, for moisture and binding.
- 1 cup All-Purpose Flour: Crucially, heat-treated. More on this below!
- ½ teaspoon Salt: Balances the sweetness.
H3: The Fun Stuff (Mix-Ins!)
- ½ cup Chocolate Chips: Semi-sweet, milk chocolate, dark—your call!
- Optional: Mini chocolate chips, sprinkles, M&Ms, chopped nuts, pretzels, etc.
Key Substitutions:
- Butter Swap: Use a quality vegan butter stick for a dairy-free version.
- Milk Swap: Any dairy-free milk (almond, oat) works perfectly for a vegan option.
- Flour Swap: Use gluten-free 1:1 baking flour (ensure it’s also heat-treated!).
- Sugar Swap: You can use a sugar substitute for a lower-carb version, but the texture will be slightly different.
- Mix-ins: Seriously, the sky’s the limit! Get creative.
Tools & Kitchen Gadgets Used: Your Edible Dough HQ
You don’t need much, which is part of the beauty.
- Large Microwave-Safe Bowl: For heat-treating the flour.
- Baking Sheet: For spreading the flour to heat-treat.
- Electric Mixer (Stand or Handheld): Highly recommended! Makes creaming the butter and sugar a breeze for a super smooth dough.
- Mixing Bowls (medium and large): For combining ingredients.
- Rubber Spatula: For scraping down bowls and folding in mix-ins.
- Measuring Cups and Spoons: Accuracy leads to perfection.
Step-by-Step Instructions: Whip Up Your Wildest Dreams
This process is so fast, you might question if you did it right. You did. Trust the process.
H3: Step 1: Heat-Treat the Flour (No Raw Flour Worries!)
This is the most crucial step! Raw flour can contain bacteria. Spread the 1 cup of all-purpose flour evenly on a microwave-safe plate or baking sheet. Microwave on high power for 1 minute and 15 seconds, stirring halfway through. The internal temperature should reach $160^{\circ}\text{F}$ ($71^{\circ}\text{C}$). Let it cool completely. Alternatively, bake the flour on a baking sheet at $300^{\circ}\text{F}$ ($150^{\circ}\text{C}$) for 10-12 minutes, stirring halfway, until it reaches the same temperature. Let it cool fully before proceeding. TBH, don’t skip this.
H3: Step 2: Cream the Butter and Sugars
In a large mixing bowl, beat the softened butter, granulated sugar, and light brown sugar together with an electric mixer on medium speed until the mixture is light and fluffy. This takes about 2-3 minutes. Scrape down the sides of the bowl as needed. This step incorporates air, making the dough softer.
H3: Step 3: Add the Wet Goodness
Beat in the vanilla extract and milk until just combined. Don’t overmix here; we just want to incorporate the liquids.
H3: Step 4: Fold in the Dry (Treated!) Flour
Add the cooled, heat-treated flour and salt to the wet ingredients. Mix on low speed (or fold by hand with a spatula) until just combined and a thick dough forms. Do not overmix! Overmixing develops gluten, which makes the dough tough, and we want soft and gooey.
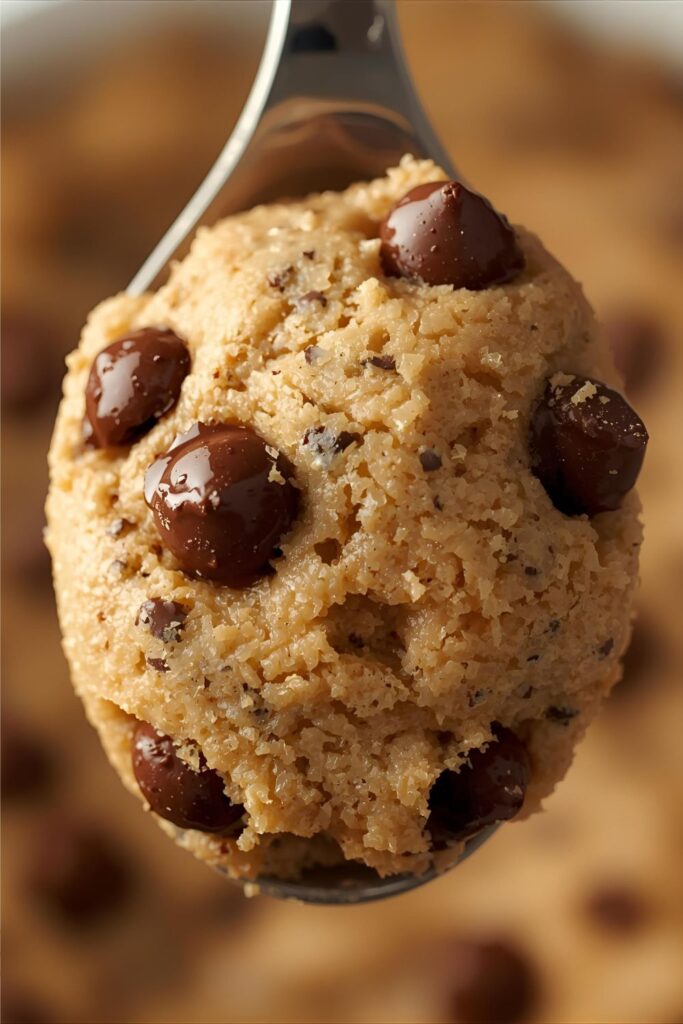
H3: Step 5: The Fun Part! Mix-Ins!
Now for the best part! Fold in your chocolate chips and any other desired mix-ins. If you want, save a few to sprinkle on top for extra visual appeal.
H3: Step 6: Chill (Optional, but Recommended)
For the best, firmest texture, cover the bowl and refrigerate the edible cookie dough for at least 30 minutes. This allows the flavors to meld and the dough to firm up slightly, making it even more scoopable. Or just grab a spoon and dig in immediately, I won’t judge.
Calories & Nutritional Info: The Sweet, Sweet Truth
Look, this is dessert. It’s glorious. Don’t come here looking for kale. These estimates are approximate per ¼ cup serving.
- Estimated Calories per serving (¼ cup): 250-300 calories
- Fat: 15-20g (butter, chocolate chips)
- Carbohydrates: 30-40g (sugar, flour, chocolate)
- Protein: 2-3g
- Note on Sugar: This is a sugary treat. Embrace it. Life is short, eat the dough!
- No Raw Eggs: That’s a win for peace of mind, IMO!
Common Mistakes to Avoid: Do Not Make Sad Dough!
Even edible cookie dough has rules. Break them at your own delicious peril.
- Skipping Heat-Treating the Flour: Seriously, this is non-negotiable for safety. Raw flour can contain harmful bacteria. Don’t be a hero; heat-treat it!
- Using Cold Butter: Cold butter doesn’t cream properly with the sugar, leading to a lumpy, less smooth dough. Ensure your butter is truly softened to room temperature.
- Overmixing the Flour: Once you add the flour, mix only until just combined. Overmixing develops gluten, resulting in a tougher, chewier dough when you want soft, melt-in-your-mouth goodness.
- Forgetting the Salt: Salt balances the intense sweetness. Don’t skip it, even if it seems small. It makes the flavors pop!
Variations & Customizations: Your Dough, Your Rules
This base is a blank canvas for your wildest cookie dough fantasies. Go nuts (literally)!
- Oreo Overload Dough: Fold in crushed Oreo cookies and a handful of white chocolate chips. Drizzle with a little melted cream cheese for a Cookies & Cream dream!
- Peanut Butter Explosion Dough: Add ½ cup of creamy peanut butter to the butter and sugar creaming step. Then, fold in peanut butter chips and mini Reese’s Pieces. Boom!
- Birthday Cake Dough: Mix in sprinkles (lots of them!) and white chocolate chips. A tiny dash of almond extract (¼ teaspoon) can give it a “cake batter” flavor. Who needs cake when you have dough?
FAQ Section: Your Most Pressing Dough Dilemmas Solved
You’ve got questions about this glorious, safe-to-eat treat. I’ve got answers.
H3: Q1: Is it really safe to eat this cookie dough raw?
A1: Yes! We eliminate the two primary concerns with raw cookie dough: raw eggs (by omitting them) and raw flour (by heat-treating it). So, go wild!
H3: Q2: How long does edible cookie dough last?
A2: Store your edible cookie dough in an airtight container in the refrigerator for up to 1 week. It can also be frozen for up to 3 months.
H3: Q3: Can I freeze edible cookie dough?
A3: Absolutely! Roll it into small balls, place them on a parchment-lined baking sheet, and freeze until solid. Then transfer to a freezer-safe bag or container. Thaw slightly before eating for the best texture.
H3: Q4: My dough is too crumbly/too wet. What happened?
A4: Too crumbly? Your butter might have been too cold, or you over-measured the flour. Add an extra teaspoon of milk. Too wet? Your butter might have been too soft/melted, or you under-measured the flour. Add a tablespoon of extra heat-treated flour.
H3: Q5: Can I bake this edible cookie dough into cookies?
A5: No, not successfully. This recipe lacks leavening agents (baking soda/powder) and eggs, which are crucial for cookies to rise and spread. It will just melt into a flat, greasy puddle. It’s for eating raw only!
H3: Q6: What’s the best way to heat-treat flour without a microwave?
A6: Spread the flour thinly on a baking sheet and bake at $300^{\circ}\text{F}$ ($150^{\circ}\text{C}$) for 10-12 minutes, stirring halfway through. Use a food thermometer to ensure it reaches $160^{\circ}\text{F}$ ($71^{\circ}\text{C}$). Let it cool completely.
H3: Q7: Can I use brown sugar only, or white sugar only?
A7: You can, but the combination of both sugars gives the best flavor and texture. Brown sugar adds moisture and chewiness, while white sugar adds crispness and sweetness. IMO, stick to the combo!
Final Thoughts: Spoon-Worthy Bliss, No Apologies
You’ve done it! You’ve unlocked the secret to safe, utterly delicious, edible Cookie dough. No more furtive glances over your shoulder, no more salmonella paranoia. Just pure, unadulterated, spoon-worthy bliss. Go ahead, dive in face first. You’ve earned it, you magnificent dough-devourer!