

The Ultimate Eggnog Cheesecake That Will Win The Holidays
Let’s be honest. Eggnog is a… polarizing holiday beverage. You either love its creamy, spiced goodness, or you think it tastes like a festive candle. I get it. But what if I told you there’s a way to capture all that holiday magic in a dessert so divine it could bring world peace? Okay, maybe not world peace, but it will definitely silence your critical relatives. This is the ultimate Eggnog Cheesecake recipe, a dessert so decadent and perfectly spiced, it turns eggnog haters into believers.

Tired of bringing the same old boring cookies to the holiday party? Do you want to be the undisputed dessert champion this year? This cheesecake is your secret weapon. It’s the perfect marriage of creamy, tangy cheesecake and the warm, nutmeg-spiced flavor of eggnog. Plus, it looks absolutely stunning without requiring a degree in pastry arts. I promise.
Why This Eggnog Cheesecake Recipe is a Holiday Miracle
So, why should you ditch your other dessert plans and make this cheesecake? First, the flavor is out of this world. We’re talking a crunchy gingersnap crust, a velvety smooth eggnog-infused filling, and a hint of rum that makes everything merry and bright. It’s basically Christmas in every single bite.

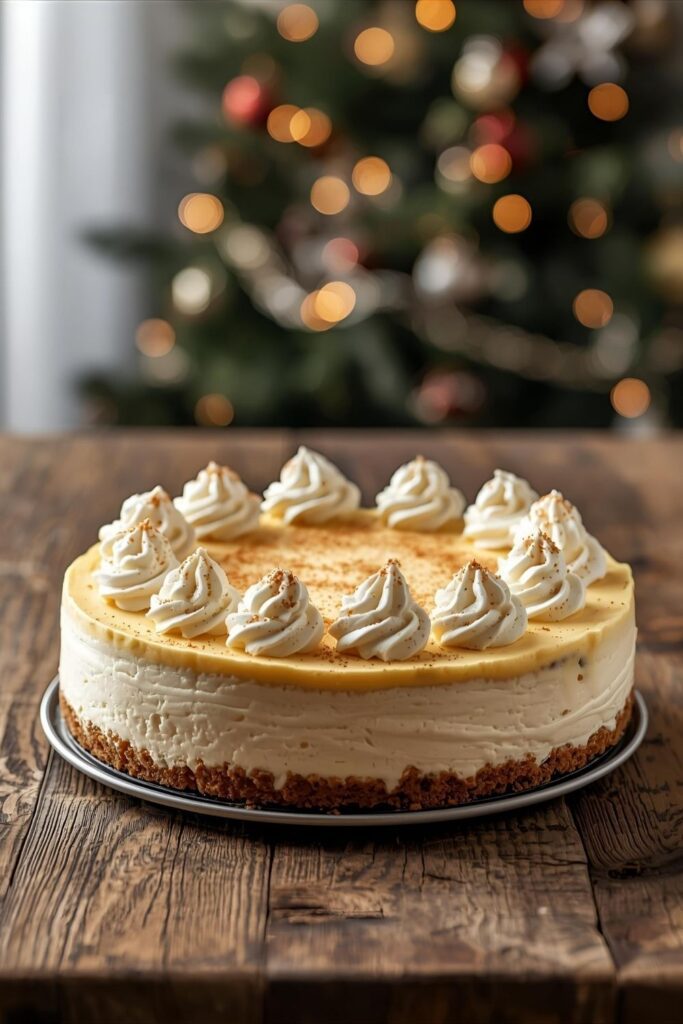
Second, it’s a showstopper. Imagine placing this beauty on the dessert table. The oohs and aahs you’ll get will be music to your ears. People will think you slaved away for days, but we’ll know the truth. It’s surprisingly straightforward to make.
Finally, you can make it ahead of time! The holidays are chaotic enough without worrying about last-minute baking. This cheesecake actually tastes better after a day or two in the fridge, giving the flavors time to meld. Less stress, more impressing? Sign me up.
Ingredients You’ll Need
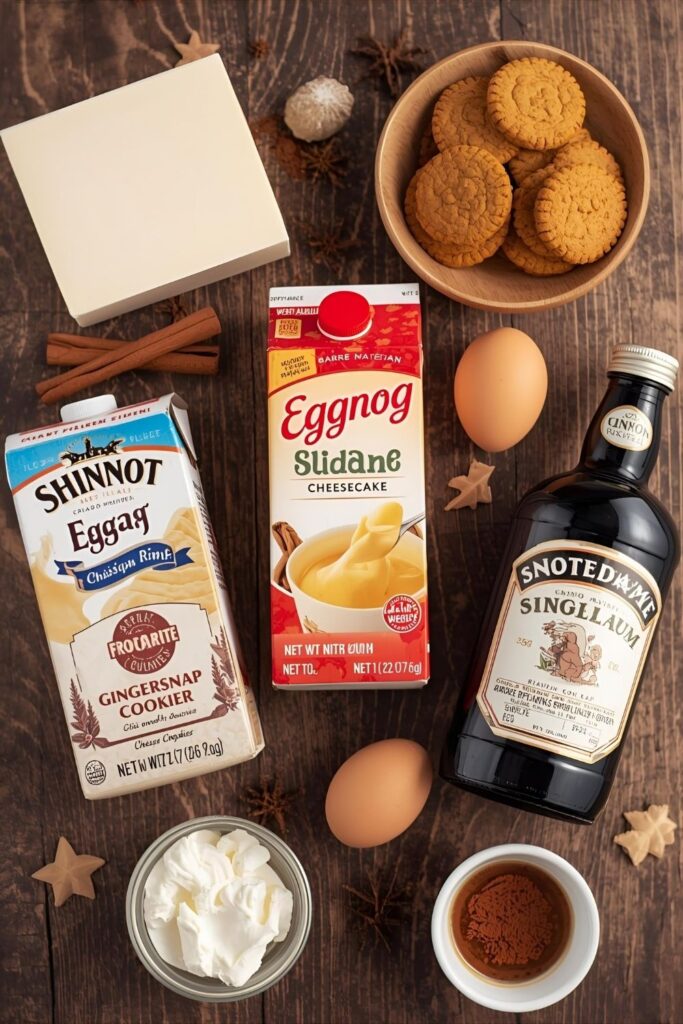
Let’s gather our festive arsenal. No weird, impossible-to-find ingredients here, I promise.
For the Gingersnap Crust:
- 2 cups gingersnap cookie crumbs (about 40-50 cookies)
- 6 tablespoons unsalted butter, melted
- 2 tablespoons brown sugar
For the Cheesecake Filling:
- 32 ounces (four 8-ounce blocks) full-fat cream cheese, softened to room temperature. This is non-negotiable!
- 1 ½ cups granulated sugar
- 4 large eggs, at room temperature
- 1 cup full-fat eggnog
- 1/4 cup heavy cream
- 1/4 cup dark rum or bourbon (optional, but highly recommended)
- 2 teaspoons vanilla extract
- 1 teaspoon ground nutmeg
- ½ teaspoon ground cinnamon
Substitutions Corner:
- No gingersnaps? You can use Biscoff cookies or even a classic graham cracker crust.
- Alcohol-free? Just omit the rum or bourbon. No biggie! You can add 1 teaspoon of rum extract for a similar flavor profile.
- Cream Cheese: Please, for the love of all that is holy, use full-fat, block-style cream cheese. The stuff in a tub will not work and will result in a soupy, sad cheesecake.
Tools & Kitchen Gadgets Used
Having the right tools makes baking a breeze. Here’s what I used to whip up this masterpiece.
- 9-inch springform pan: The key to getting that cheesecake out without a disaster.
- Food processor: For pulverizing those gingersnaps into a fine crumb. You can also use a ziplock bag and a rolling pin for a little holiday stress relief.
- Electric stand mixer or hand mixer: Essential for achieving that silky-smooth filling.
- Large mixing bowls: You’ll need a few for mixing the crust and filling.
- Rubber spatula: For scraping down the bowl. No cheesecake left behind!
- Measuring cups and spoons: Accuracy is your friend in baking.
- Large roasting pan: For the water bath (our secret to a crack-free cheesecake).
- Aluminum foil: To wrap your springform pan and keep the water out.
Step-by-Step Instructions to Cheesecake Glory
Ready to bake? Let’s do this. Follow these steps, and you’ll have a perfect cheesecake.
Step 1: Prep Your Pan and Oven
First things first, preheat your oven to 350°F (175°C). Grab your 9-inch springform pan. To make life easier later, I like to lightly grease the pan and line the bottom with a circle of parchment paper.
Step 2: Make the Gingersnap Crust
In your food processor, blitz the gingersnap cookies until they are fine crumbs. If you’re going the manual route, put them in a sealed bag and smash away with a rolling pin. In a medium bowl, mix the cookie crumbs, melted butter, and brown sugar until it looks like wet sand. Press this mixture firmly and evenly into the bottom and slightly up the sides of your prepared springform pan. Pop it in the oven and bake for 10 minutes. Once done, set it aside to cool.
Step 3: Create the Silky Eggnog Filling
While the crust cools, turn your oven down to 325°F (165°C). In the bowl of your stand mixer (or a large bowl with a hand mixer), beat the room temperature cream cheese on medium speed until it’s completely smooth and creamy. This is a crucial step to avoid lumps! Scrape down the sides and bottom of the bowl often.
Add the granulated sugar and beat until smooth. Then, add the eggs one at a time, mixing on low speed until just combined after each addition. Do not overmix the eggs! This is a primary cause of cracked cheesecakes.
Step 4: Add the Festive Flavors
With the mixer still on low, gently pour in the eggnog, heavy cream, rum (if using), and vanilla extract. Add the nutmeg and cinnamon. Mix until everything is just barely combined and the batter is smooth. One final scrape of the bowl to make sure it’s all incorporated, and you’re golden.
Step 5: Assemble and Prepare the Water Bath
Pour the glorious filling over your cooled crust. Now, for the water bath—the secret to a creamy, crack-free cheesecake. Tightly wrap the outside of your springform pan with a couple of layers of heavy-duty aluminum foil. Place the wrapped pan inside a larger roasting pan.
Carefully pour boiling water into the roasting pan until it comes about halfway up the sides of your springform pan. Be careful not to splash any water into the cheesecake!
Step 6: Bake to Perfection
Very carefully place the entire setup into the preheated oven. Bake for 60-70 minutes. The cheesecake is done when the edges are set, but the center still has a slight wobble to it. Don’t worry, it will continue to set as it cools.
Step 7: The Slow Cool Down
Turn off the oven, but leave the cheesecake inside. Prop the oven door open slightly with a wooden spoon and let the cheesecake cool slowly in the oven for about an hour. This gradual temperature change is another key to preventing cracks. After an hour, remove the cheesecake from the water bath, take off the foil, and let it cool completely on a wire rack.
Step 8: Chill Out
Once it’s at room temperature, cover the cheesecake with plastic wrap and transfer it to the refrigerator. Let it chill for at least 6 hours, but preferably overnight. Patience is a virtue, my friend.
Calories & Nutritional Info
Let’s just call this a holiday indulgence, shall we? This is not health food, and that’s okay. 🙂
- Serving Size: 1 slice (1/12th of the cake)
- Calories: Approximately 450-500 kcal
- Fat: Around 35g
- Carbohydrates: Roughly 30g
- Sugar: About 25g
- Protein: Approximately 8g
Disclaimer: These are estimates. The actual nutritional content will vary based on the specific ingredients you use.
Common Mistakes to Avoid (You Can Thank Me Later)
- Using Cold Ingredients: This is the #1 sin of cheesecake making. If your cream cheese and eggs are cold, your batter will be lumpy. Let them sit on the counter for at least 2 hours before you start.
- Overmixing the Batter: Especially after adding the eggs. Overmixing incorporates too much air, which causes the cheesecake to puff up and then crack as it cools. Mix on low and only until just combined.
- Skipping the Water Bath: I know it seems like a hassle, but it’s the magic trick. The steam creates a humid environment, which helps the cheesecake bake gently and evenly, preventing cracks and ensuring a creamy texture. Don’t skip it!
- Opening the Oven Door: Don’t peek! Every time you open the oven, the temperature drops dramatically, which can lead to a sad, sunken cheesecake.
- Slicing It Too Soon: A warm cheesecake is a fragile cheesecake. You absolutely must let it chill completely, preferably overnight, for clean slices and the best flavor.
Variations & Customizations
Want to put your own spin on it? I fully support this decision.
- Chocolate Gingersnap Crust: Swap regular gingersnaps for chocolate ones, or add a couple of tablespoons of cocoa powder to your crust mixture for a rich, chocolatey base.
- Boozy Whipped Cream Topping: Before serving, whip 1 cup of heavy cream with 2 tablespoons of powdered sugar and a splash of bourbon or rum until stiff peaks form. Dollop generously on top of each slice.
- Caramel Drizzle: Elevate your cheesecake by drizzling it with a quality caramel sauce and a sprinkle of sea salt before serving. The sweet and salty combo is pure perfection.
FAQ Section: Your Cheesecake Questions, Answered
Why did my cheesecake crack?
The most common culprits are overmixing the batter (especially the eggs), not using a water bath, or cooling the cheesecake too quickly. Follow the slow cool-down method in the instructions for best results!
Can I make this eggnog cheesecake ahead of time?
Absolutely! In fact, I recommend it. It needs to chill for at least 6 hours, but it’s even better after 24 hours. You can make it up to 3 days in advance.
Can I freeze this cheesecake?
Yes, you can! Once fully chilled, you can freeze the whole cheesecake or individual slices. Wrap it tightly in plastic wrap and then foil. It will keep for up to a month. Thaw it in the refrigerator overnight before serving.
Do I have to use a springform pan?
It is highly, highly recommended. A springform pan allows you to remove the sides, making it easy to get the cheesecake out without destroying it. If you don’t have one, you could try a deep-dish pie plate, but you’ll have to serve it directly from the dish.
Can I use homemade eggnog?
For sure! If you have a favorite homemade eggnog recipe, feel free to use it. Just make sure it’s nice and thick for the best flavor and texture.
What’s the best way to get clean slices?
Run a large, sharp knife under hot water and wipe it dry before each cut. This will melt any cheesecake residue on the blade and give you those perfect, bakery-worthy slices.
Is the rum/bourbon necessary?
Nope, it’s totally optional. It adds a lovely depth of flavor and warmth, but the cheesecake will still be delicious without it. You can use rum extract as a substitute if you like.
Final Thoughts
You did it! You faced the holiday dessert rush head-on and emerged victorious with a stunning, creamy, and ridiculously delicious Eggnog Cheesecake. Your friends and family will be begging you for the recipe, but whether you share your secrets is entirely up to you. 😉
Seriously, once you try this, you’ll wonder why you ever bothered with store-bought desserts. So go ahead, pour yourself a glass of eggnog (or not), and enjoy a slice of your incredible creation. You’ve earned it.

