

The Ultimate Peppermint Bark Recipe (Way Better Than the Fancy Tin!)
You know the one. That iconic, ridiculously overpriced tin of peppermint bark that appears in fancy stores every holiday season. You stare at it, you want it, but your wallet gently weeps at the thought of paying that much for chocolate and crushed candy. What if I told you that you could make a version that’s even more delicious, right in your own kitchen, with minimal effort? This is that peppermint bark recipe. Forget everything you thought you knew about complicated candy making. We are about to embark on a journey so simple, so satisfying, that you’ll become the official peppermint bark supplier for everyone you know. Prepare for your friends and family to be seriously impressed.
Why This Peppermint Bark Recipe Rules

Still on the fence? Let me convince you why you absolutely need this recipe in your holiday arsenal. It’s more than just a treat; it’s a game-changer.
It Tastes Luxuriously Gourmet
The secret to incredible peppermint bark is using good quality chocolate. We’re talking a rich, snappy dark chocolate base, a creamy, high-quality white chocolate middle, and a refreshing burst of real peppermint. The flavor is clean, intense, and a million times better than any mass-produced version.
Seriously, It’s SO Easy

This is the perfect recipe for when you want maximum holiday cheer with minimum kitchen chaos. There’s no oven required, no mixer, no weird techniques. You just melt, spread, sprinkle, and chill. It’s the epitome of a low-effort, high-reward dessert.
It’s the Perfect Homemade Gift
Nothing says “I care about you” quite like a homemade treat. Breaking this beautiful bark into rustic pieces and packaging it in a clear bag with a ribbon makes for a stunning and thoughtful gift. People will think you’re a chocolatier. Let them.
The High-Quality Ingredients You’ll Need
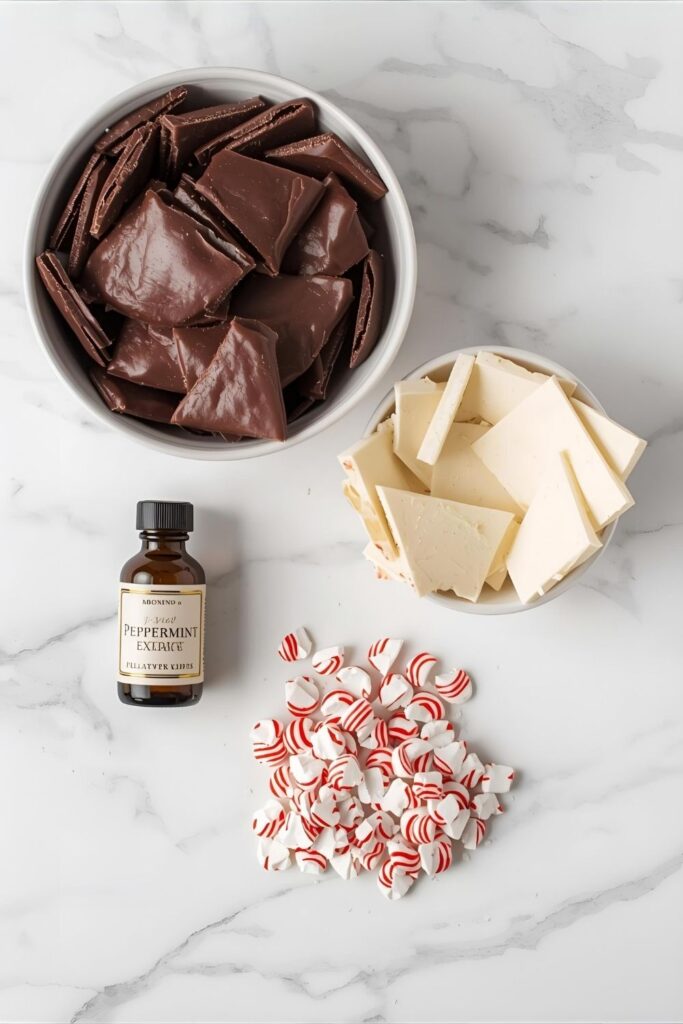
The key to epic bark is epic ingredients. Don’t skimp here!
- Good Quality Dark or Semisweet Chocolate: 12 ounces (340g), finely chopped. Look for a chocolate with 60-70% cacao for a deep, rich flavor that balances the sweetness.
- Good Quality White Chocolate: 12 ounces (340g), finely chopped. Crucial tip: Make sure it’s made with real cocoa butter! Avoid “white baking chips” or “vanilla morsels,” as they won’t melt as smoothly.
- Pure Peppermint Extract: 1 teaspoon, divided. This gives the bark its signature minty flavor.
- Peppermint Candies or Candy Canes: 1 cup (about 6 ounces or 170g), crushed. For that essential festive crunch.
- Vegetable Oil or Coconut Oil (Optional): 1 teaspoon, divided. A tiny bit added to each chocolate can help it melt smoother and give the finished bark a lovely shine.
The Simple Tools & Kitchen Gadgets
No fancy equipment is needed to become a bark-making master.
- Baking Sheet: A standard 10×15 inch rimmed baking sheet is ideal.
- Parchment Paper or Silicone Baking Mat: This is your best friend for easy removal and cleanup. Do not skip this!
- Microwave-Safe Bowls: You’ll need two, one for each type of chocolate.
- Offset Spatula: This makes spreading the chocolate into a thin, even layer incredibly easy. A regular silicone spatula works too, but an offset one is a game-changer.
- Heavy-Duty Ziplock Bag & a Rolling Pin: The best way to crush your candies without sending shards flying across the kitchen.
Step-by-Step Instructions: Let’s Make Bark!
Ready to create some holiday magic? Follow these simple steps.
Step 1: Prep Your Station
First things first. Line your baking sheet with parchment paper, making sure it fits snugly. Now for the fun part: place your peppermint candies or candy canes into a ziplock bag and give them a good whack with a rolling pin. You’re aiming for a mix of fine pieces and some larger, crunchy bits for texture. Set this aside.
Step 2: Melt the Dark Chocolate Layer
Place your chopped dark chocolate in a microwave-safe bowl (add 1/2 tsp of oil here, if using). Microwave in 30-second intervals, stirring thoroughly after each one. When it’s about 90% melted, stop microwaving and just stir until the last few bits dissolve. Stir in 1/2 teaspoon of peppermint extract.
Step 3: Spread and Set
Pour the glorious melted dark chocolate onto your prepared baking sheet. Use an offset spatula to spread it into a thin, even rectangle. Pop it into the fridge for about 20 minutes. You want it to be firm to the touch, but not rock-hard and freezing cold.
Step 4: Melt the White Chocolate Layer
While the dark layer sets, place your chopped white chocolate in a clean, dry bowl (with the other 1/2 tsp of oil, if using). White chocolate is more delicate, so microwave it in 20-second intervals, stirring each time. Once it’s smooth, stir in the remaining 1/2 teaspoon of peppermint extract.
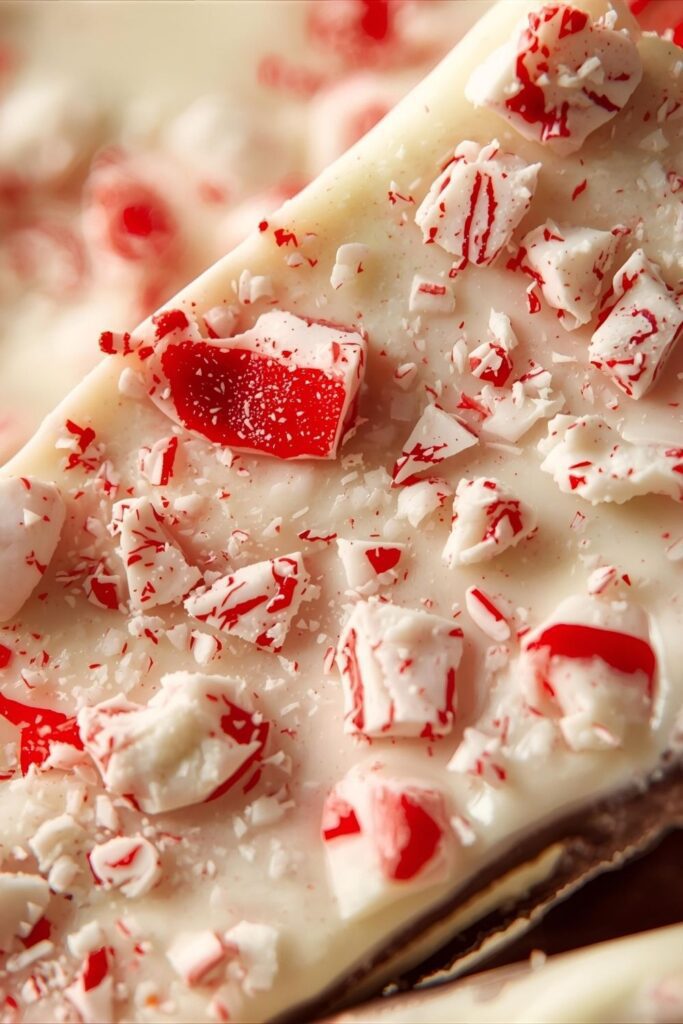
Step 5: Layer and Sprinkle
Remove the baking sheet from the fridge. Pour the melted white chocolate over the set dark chocolate layer. Working quickly, spread it to cover the dark chocolate completely. Immediately sprinkle the crushed peppermint candies evenly over the wet white chocolate. Gently press them down with your hand to ensure they stick.
Step 6: The Final Chill
Place the baking sheet back in the fridge and let it chill for at least 30-60 minutes, or until it’s completely firm all the way through.
Step 7: Break It Into Pieces
Once solid, lift the entire sheet of bark out of the pan using the parchment paper. Now, you can either use a large knife to cut it into neat squares, or do it the fun way: break it apart with your hands into rustic, beautiful shards. Done!
Calories & Nutritional Info
Here’s the scoop on this festive treat. Enjoy in moderation… or not. 😉
- Serving Size: 1 ounce (approx. a 2×2 inch piece)
- Calories: ~150 kcal
- Fat: ~9g
- Carbohydrates: ~17g
- Sugar: ~16g
- Protein: ~2g (Disclaimer: This is an approximation. Your mileage may vary depending on the exact ingredients you use.)
Common Mistakes to Avoid (Trust Me on These)
It’s an easy recipe, but a few things can go wrong. Let’s avoid them.
- Using Fake White Chocolate: I said it before, but it’s the most important rule. If the package says “white morsels” or “vanilla chips” and doesn’t list cocoa butter as an ingredient, step away. It will melt into a gloopy, weirdly textured mess. Use real white chocolate.
- Getting Separated Layers: If your dark chocolate layer is too cold when you add the hot white chocolate, the two layers won’t bond and will separate when you break the bark. Let the first layer set until it’s just firm, not frozen solid.
- Creating Peppermint Slush: Don’t mix the crushed peppermints into the melted white chocolate. The moisture from the chocolate can make the candy dissolve and get sticky. Always sprinkle them on top.
- Ignoring Condensation: If you take super-cold bark out into a warm room, it can form condensation, or “sweat.” To avoid this, let it sit on the counter for 10-15 minutes before breaking it.
Variations & Customizations
Think of this as your base recipe. Now, let’s get creative.
1. Swirled Peppermint Bark
Instead of a distinct bottom layer, pour the dark chocolate onto the pan and let it sit for just 5 minutes. Then, dollop the melted white chocolate on top and use a toothpick or skewer to gently drag through the chocolates, creating beautiful swirls before sprinkling with the candy.
2. Triple Chocolate Threat
For the ultimate chocolate lover, add a middle layer. After the dark chocolate sets, add a layer of melted milk chocolate, let that set, and then finish with the white chocolate and peppermint topping.
3. Dark Chocolate Peppermint Bark
Not a fan of white chocolate? No problem! Just make a single, thick layer of high-quality dark or semisweet chocolate, infuse it with peppermint extract, and top it with the crushed candies. It’s intensely rich and delicious.
FAQ Section: All Your Peppermint Bark Queries Answered
What’s the best chocolate to use for peppermint bark?
A high-quality chocolate bar or baking wafers (like Ghirardelli, Guittard, or Callebaut) will give you the best flavor and smoothest melt. Look for white chocolate with cocoa butter and dark chocolate with 60-70% cacao.
How do you store homemade peppermint bark?
Store it in an airtight container in a cool, dry place. It will last for up to 2 weeks at room temperature or for over a month in the refrigerator.
Do I have to temper the chocolate?
Not for this simple recipe! Tempering is a process that gives chocolate a specific snap and shine, but it’s fussy. The quick chill in the fridge sets the chocolate just fine for bark. Just be sure to store it in a cool place.
Can I use peppermint oil instead of extract?
Yes, but be very careful! Peppermint oil is significantly more potent than extract. You would only need a few drops for the entire batch. Start with one drop, taste, and add more if needed.
Why did my chocolate get thick and pasty when I melted it?
This is called “seizing.” It happens when chocolate comes into contact with even a tiny droplet of water, or when it’s overheated. Ensure all your tools are bone dry and melt the chocolate low and slow.
How can I keep the candy canes from getting chewy?
Humidity is the enemy. It can make the crushed candy absorb moisture and get sticky. Store your finished bark in a very well-sealed, airtight container to protect it.
Is peppermint bark the same as candy cane bark?
Pretty much! The terms are often used interchangeably. “Peppermint bark” is the more traditional name for the layered chocolate and peppermint confection.
Final Thoughts
So, will you ever pay $30 for a tin of this stuff again? I highly doubt it. You are now the master of a ridiculously easy, impressively gourmet holiday classic. You hold the power to create joy (and sugar rushes) on demand. Go ahead, make a batch. Keep some for yourself for those “emergency treat” moments—we all have them. Then, package up the rest and become the undisputed champion of holiday gifting. You’ve got this.

