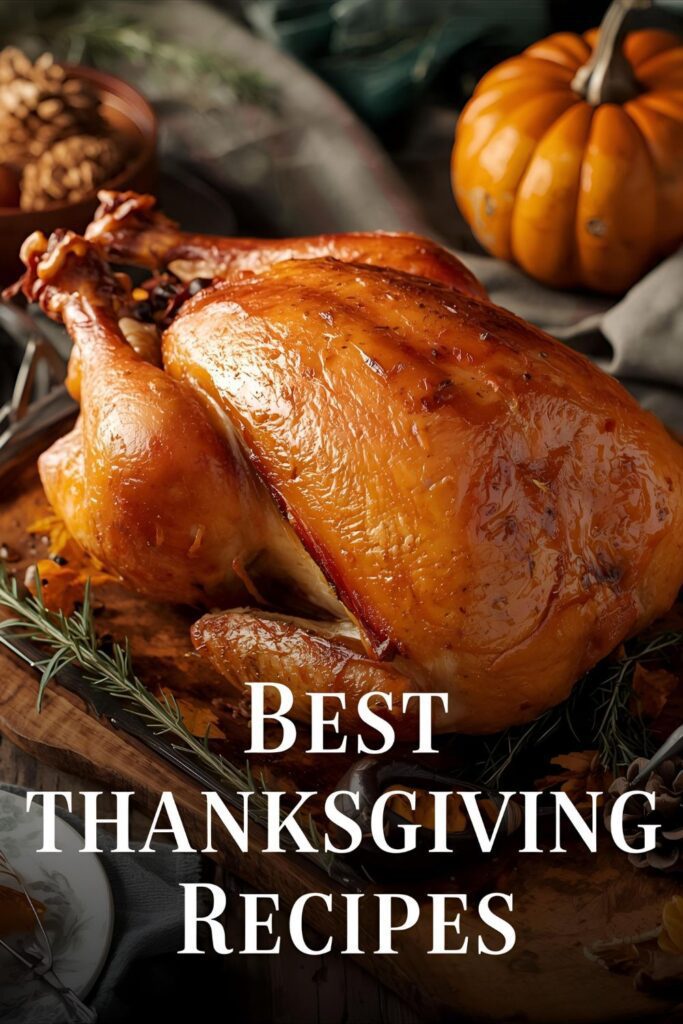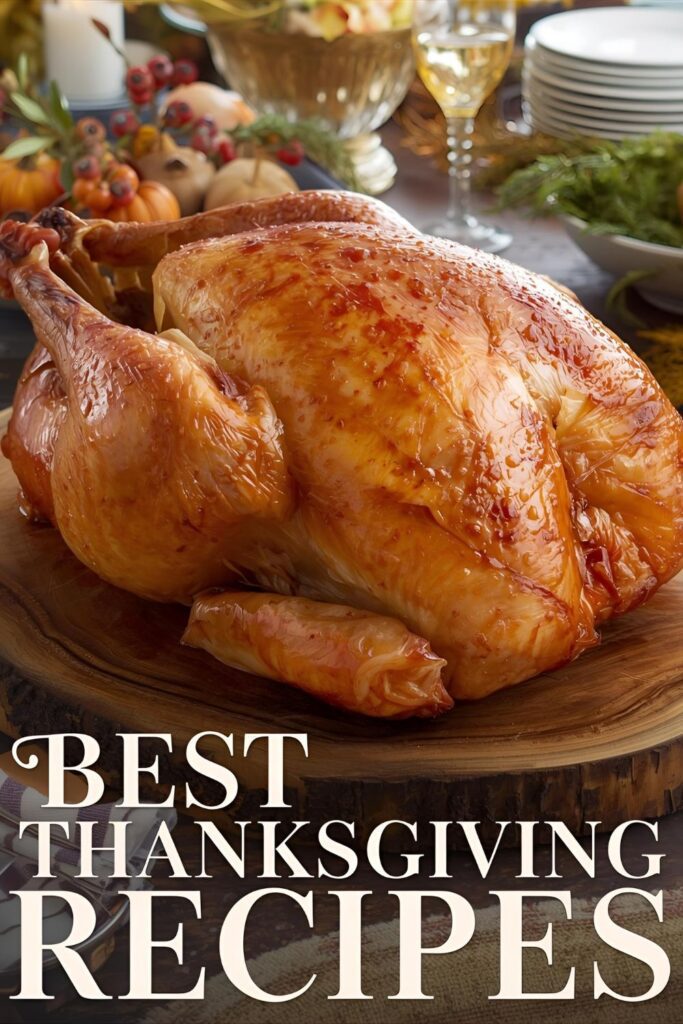
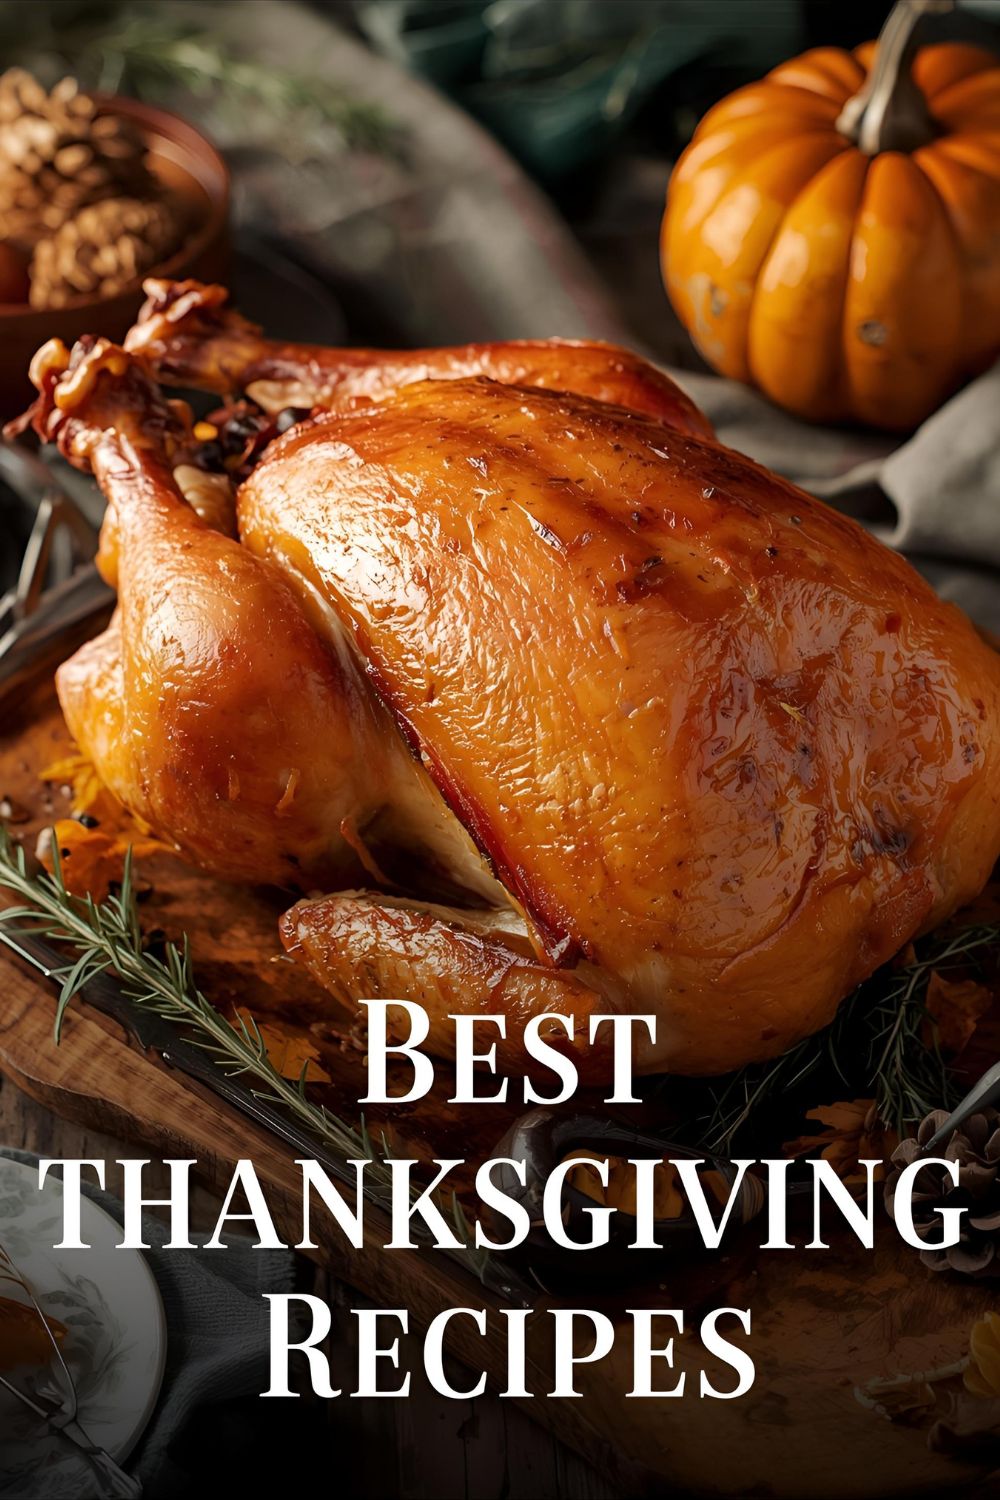
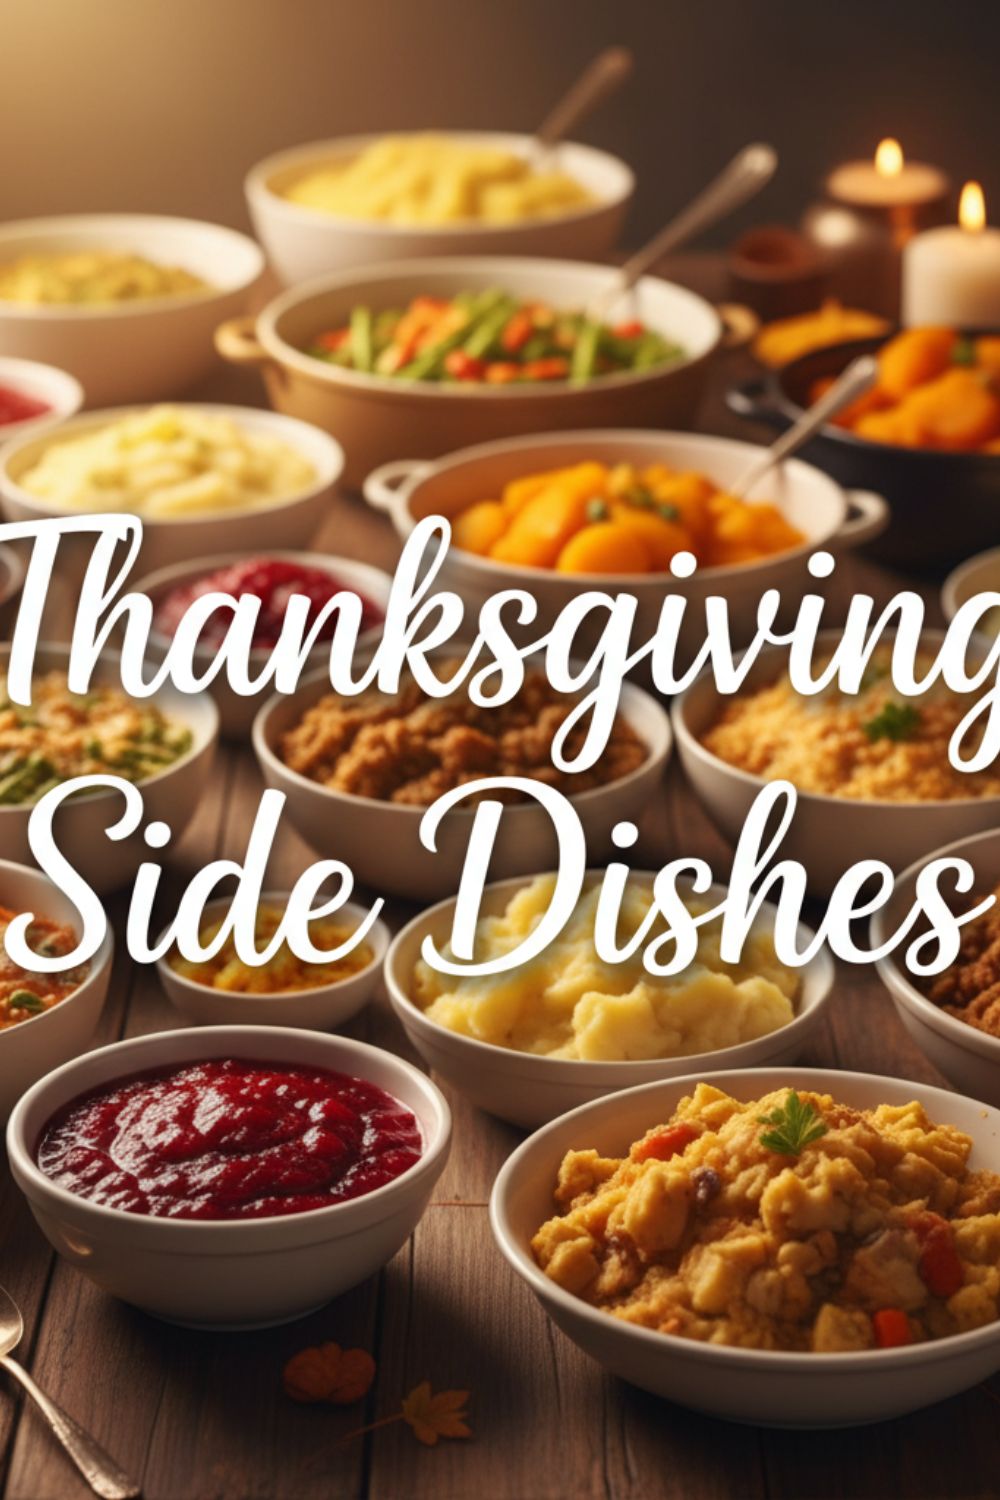
Conquer the Holiday: Your Ultimate Guide to a Flawless Traditional Thanksgiving Menu
Ever had that moment when you’re watching a movie and someone casually pulls a perfect, golden turkey out of the oven, surrounded by glistening sides, and you think, “Is that even real?” Yeah, me too. The truth is, it can be! Creating a traditional Thanksgiving menu doesn’t have to be a one-way ticket to Stressville. We’re skipping the panic attacks and the sad, dry birds this year. We’re talking about a holiday feast that’s not just delicious, but actually achievable. Are you ready to become a Thanksgiving legend? Let’s get cooking!
Why This Menu Is Your Thanksgiving Game-Changer
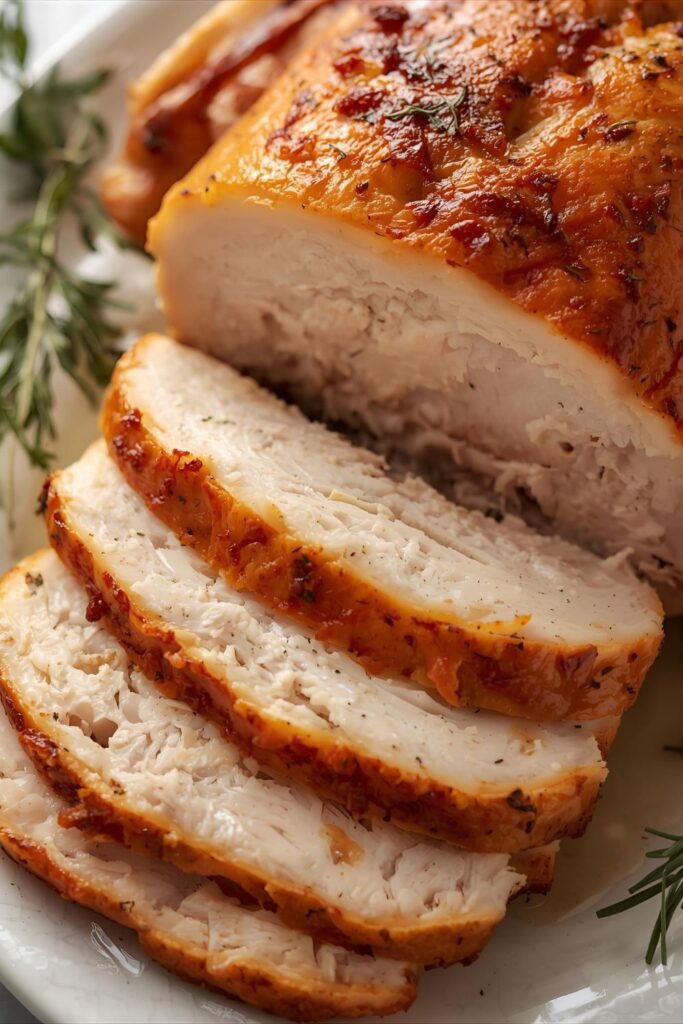
Forget everything you think you know about Thanksgiving being a culinary nightmare. This menu is your secret weapon. We’re focusing on a roast turkey that’s so juicy it practically bastes itself, a classic sage stuffing that’s both savory and moist (a rare combo, TBH), and a luscious, rich gravy that will make you want to drink it straight from the boat. Why is this menu awesome? Because these recipes are classic for a reason, they use simple, honest ingredients, and they’re designed for maximum flavor with minimum fuss. You’ll impress every single person at your table, and you won’t even need a stress ball.
The Grocery List: Ingredients for Your Feast
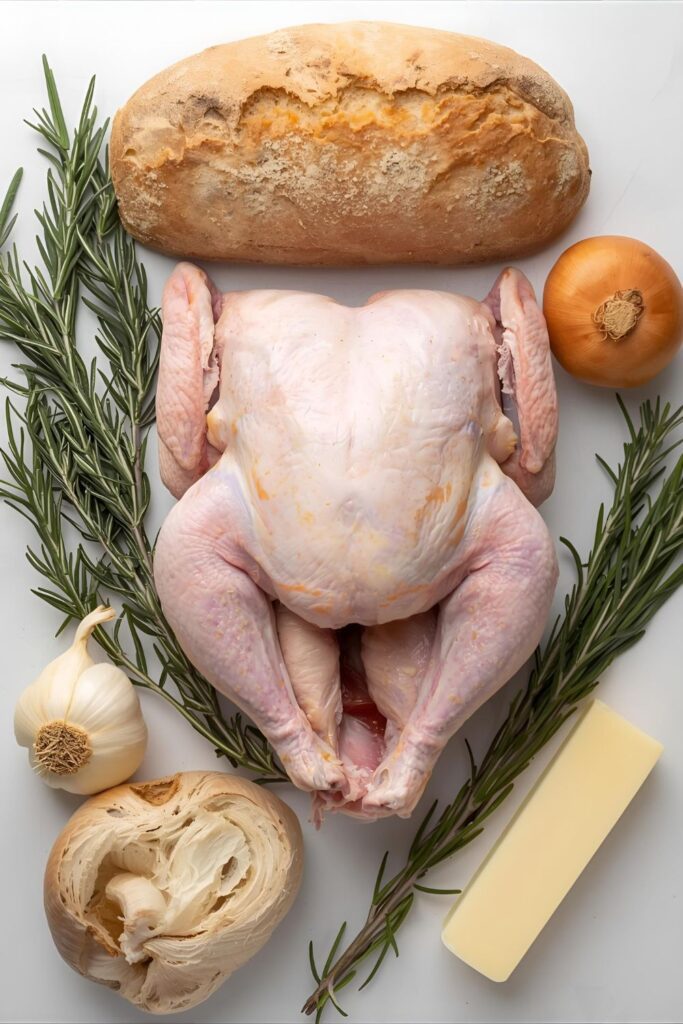
This isn’t a list of obscure, hard-to-find items. Most of this stuff is probably already in your pantry or fridge, or easily found at your local grocery store.
For the Classic Roast Turkey:
- 1 (12-15 lb) whole turkey, thawed
- 1 stick unsalted butter, softened
- 2 tbsp fresh rosemary, chopped
- 2 tbsp fresh thyme, chopped
- 1 large onion, quartered
- 1 head of garlic, halved
- 1 lemon, halved
- 2 cups turkey or chicken broth
- Salt and black pepper
For the Perfect Sage Stuffing:
- 1 large loaf of day-old crusty bread (sourdough or ciabatta works great), cut into 1-inch cubes
- 1/2 cup unsalted butter
- 2 large onions, chopped
- 3 celery stalks, chopped
- 2 cups chicken or turkey broth
- 2 large eggs, lightly beaten
- 1/4 cup fresh parsley, chopped
- 2 tbsp fresh sage, chopped
- 1 tsp salt
- 1/2 tsp black pepper
For the Rich and Velvety Gravy:
- Turkey neck and giblets (from the turkey package)
- 2 tbsp all-purpose flour
- 2 tbsp unsalted butter
- 2 cups turkey drippings or broth
- Salt and black pepper to taste
Substitutions? Of course!
- Turkey: Going smaller? A turkey breast works great, just adjust the cooking time.
- Stuffing: No day-old bread? Toast fresh bread cubes in a 300°F oven for 10-15 minutes. Vegetarian? Use vegetable broth instead of chicken or turkey.
- Gravy: No drippings? Use all turkey or chicken broth and a tablespoon of soy sauce for a deeper, savory flavor.
Your Kitchen Arsenal: Tools & Gadgets
You don’t need a commercial kitchen to pull this off. A few key items will make your life so much easier.
- Large Roasting Pan with a Rack: Crucial for even cooking and for collecting those delicious turkey drippings.
- Chef’s Knife & Cutting Board: For all your chopping needs.
- Meat Thermometer: The single most important tool for a juicy, perfectly cooked turkey. A digital instant-read one is best, FYI.
- Large Mixing Bowl: For your stuffing.
- Large Skillet or Saucepan: For browning your stuffing ingredients and making the gravy.
- Whisk: Essential for a lump-free gravy.
- Baster: For keeping that turkey moist.
- Oven Mitts & Carving Fork: Don’t burn yourself, and don’t let the turkey slip away.
- Spatula or Wooden Spoon: For stirring.
- Measuring Cups and Spoons: Precision is key!
- Wire Rack: To rest the turkey after roasting.
The Playbook: Step-by-Step Instructions for Holiday Glory
Ready to get your hands dirty? Follow these steps, and you’ll have a traditional Thanksgiving menu that looks like it came straight out of a magazine.
The Turkey:
- Prep Your Bird: Take the turkey out of the fridge at least an hour before cooking. Pat the turkey completely dry, inside and out, with paper towels. Seriously, this step is non-negotiable for crispy skin.
- Butter Up: In a small bowl, mix the softened butter with chopped rosemary and thyme. Gently lift the skin over the breast and rub half of the butter mixture directly onto the meat. Rub the remaining butter over the outside of the turkey. Season generously with salt and pepper.
- Stuff It (Sort Of): Place the quartered onion, halved garlic, and lemon halves inside the turkey cavity. This will add moisture and flavor. Don’t actually stuff the turkey with stuffing—cook it separately for safety and a better texture.
- Roast to Perfection: Place the turkey on the rack in your roasting pan. Pour the turkey or chicken broth into the bottom of the pan. Start roasting in a preheated 425°F (220°C) oven for 30 minutes to get that golden skin, then reduce the temperature to 350°F (175°C) for the rest of the cooking time. Baste every 30-45 minutes.
- The Final Countdown: A 12-15 lb turkey will take about 3-4 hours. Check the internal temperature with a meat thermometer. The turkey is done when the thickest part of the thigh reads 165°F (74°C).
- Rest, Rest, Rest: Remove the turkey from the oven and transfer it to a cutting board. Let it rest for at least 20-30 minutes before carving. This is the most important step for a juicy turkey!
The Stuffing:
- Dry Your Bread: Spread the bread cubes on a baking sheet and let them sit out for several hours, or toast them in a low oven until they feel dry.
- Sauté Your Veggies: Melt butter in a large skillet over medium heat. Add the onions and celery and cook until softened, about 8-10 minutes. Stir in the sage and parsley and cook for another minute until fragrant.
- Mix & Bake: In a large bowl, combine the dried bread cubes, sautéed veggies, and seasonings. In a separate bowl, whisk together the broth and eggs. Pour the liquid over the bread mixture and toss gently until everything is evenly moistened. Don’t overmix! Transfer to a greased baking dish.
- Bake It Off: Cover the dish with foil and bake at 350°F (175°C) for 30 minutes. Uncover and bake for another 15-20 minutes until the top is golden and crisp.
The Gravy:
- The Flavor Base: While the turkey rests, pour the liquid from the roasting pan into a measuring cup. Let the fat separate from the drippings.
- Make the Roux: Melt butter in a saucepan over medium heat. Whisk in the flour and cook for 1-2 minutes until it forms a light paste, a “roux.”
- Whisk It In: Slowly whisk the reserved turkey drippings (or broth) into the roux until smooth. Bring to a simmer, whisking continuously, and cook until the gravy thickens.
- Season & Serve: Season with salt and pepper to taste. If it’s too thick, add a little more broth. If it’s too thin, simmer a bit longer. Serve immediately!
The Nutrition Lowdown: A (Very) Rough Estimate
Thanksgiving is a feast, not a diet, but it’s good to know what you’re getting. These are just estimates per serving, assuming 10-12 servings for the whole meal.
Classic Roast Turkey (per serving):
- Calories: ~250-300 kcal (without skin)
- Protein: ~40-50g
- Fat: ~10-15g
- Key Nutrient: Excellent source of lean protein and iron.
Sage Stuffing (per serving):
- Calories: ~200-250 kcal
- Carbohydrates: ~30-40g
- Fat: ~8-12g
- Key Nutrients: A good source of complex carbs and fiber.
Rich and Velvety Gravy (per serving):
- Calories: ~50-80 kcal
- Fat: ~5-8g
- Key Nutrients: Contains protein and flavor!
Avoiding Disasters: Common Mistakes to Sidestep
Even the best cooks have moments of panic. Don’t let these common pitfalls ruin your day!
- Not Thawing the Turkey Fully: A partially frozen turkey takes forever to cook and cooks unevenly. Thaw it in the fridge for several days (one day for every 4 lbs).
- Overcooking the Turkey: Dry turkey is a crime. Use a meat thermometer! Don’t trust the little pop-up timer; it’s a liar. The thigh should be 165°F (74°C).
- Stuffing the Turkey Cavity: It’s a food safety risk and makes the turkey cook unevenly. Cook the stuffing on the side; it’s better that way anyway. Trust me.
- Not Letting the Turkey Rest: If you carve a hot turkey, all the juices will run out, leaving you with dry, sad meat. Let it rest! This is the most important step for a juicy bird.
- Lumpy Gravy: The key to smooth gravy is a good roux and slowly whisking in the liquid. If it gets lumpy, a quick whiz with an immersion blender will save the day.
Mix It Up! Fun Variations & Customizations
Feeling a little rebellious? Here are a few ways to put your own spin on this traditional Thanksgiving menu.
- Spicy Maple Turkey: Mix a little maple syrup and a pinch of cayenne pepper into the softened butter for a sweet and spicy crust. Serve with a sprinkle of red pepper flakes for extra heat.
- Vegetarian “Turkey” Swap: A delicious roasted butternut squash stuffed with wild rice and cranberries can serve as the perfect vegetarian centerpiece. It’s beautiful and totally delicious.
- Keto-Friendly Stuffing: Swap the bread for a combination of roasted cauliflower rice and toasted nuts for a low-carb alternative. You’ll still get all the flavor from the herbs and veggies!
FAQ Section: All Your Burning Questions Answered
Still got questions? We’ve got answers. No question is too silly when you’re preparing for the biggest meal of the year!
Q1: How do I choose the right size turkey?
A: Plan for about 1.5 pounds of turkey per person. This accounts for bone weight and ensures you have some leftovers (the best part!). For a 10-person dinner, a 15-pound turkey is a perfect choice.
Q2: Should I brine the turkey?
A: Brining is a great way to add flavor and moisture. A wet brine involves soaking the turkey in a salt-water solution, while a dry brine is rubbing it with a salt-herb mixture. While not essential for this recipe, a simple dry brine of salt and herbs applied 24 hours in advance can seriously up your turkey game.
Q3: How do I get crispy turkey skin?
A: The keys are a completely dry turkey before seasoning, a high initial roasting temperature, and butter or oil on the skin. Don’t cover it with foil for the first 30 minutes!
Q4: How do I make the gravy ahead of time?
A: You can’t make the gravy fully ahead of time since it relies on the turkey drippings. However, you can make a flavorful turkey or chicken stock in advance using the neck and giblets. Use this as your base and then just whisk in the fresh drippings on Thanksgiving Day.
Q5: Can I freeze the leftover gravy?
A: Yes! Let the gravy cool completely, then transfer it to a freezer-safe bag or container. It can be frozen for up to 3 months. Reheat gently on the stove.
Q6: How do I know if my stuffing is cooked through?
A: The stuffing should reach an internal temperature of 165°F (74°C). The edges should be golden brown and a little crispy, while the inside remains soft and moist.
Q7: What are some good side dishes to go with this traditional menu?
A: Classic choices include cranberry sauce, green bean casserole, mashed potatoes, and roasted vegetables. You can never have too many sides, IMO!
Final Thoughts: Go Forth and Feast!
See? That wasn’t so bad, was it? You’ve got all the tools and knowledge you need to create a magnificent traditional Thanksgiving menu that will make your holiday memorable for all the right reasons. No more stressing, no more dry turkey. Just a table full of amazing food and happy people. Now go forth, conquer that kitchen, and show ’em who’s boss. And honestly, once you make this, you’ll never trust a store-bought turkey dinner again. 😉 Happy cooking!