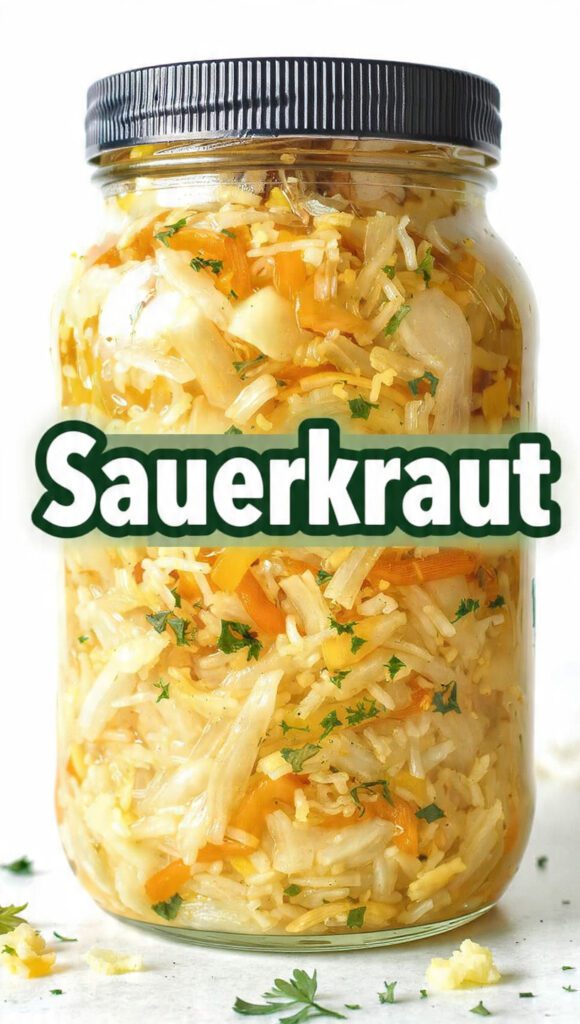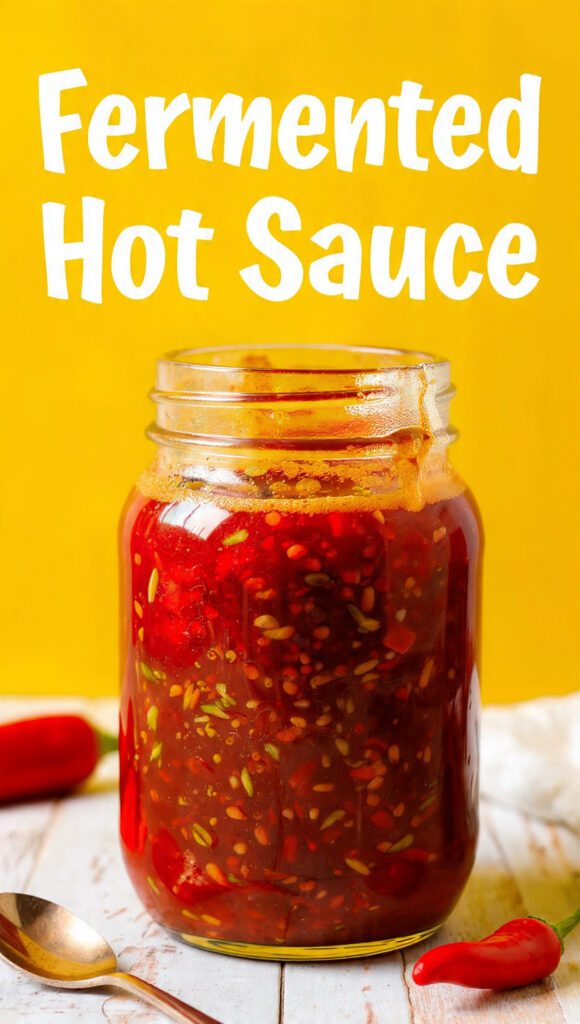
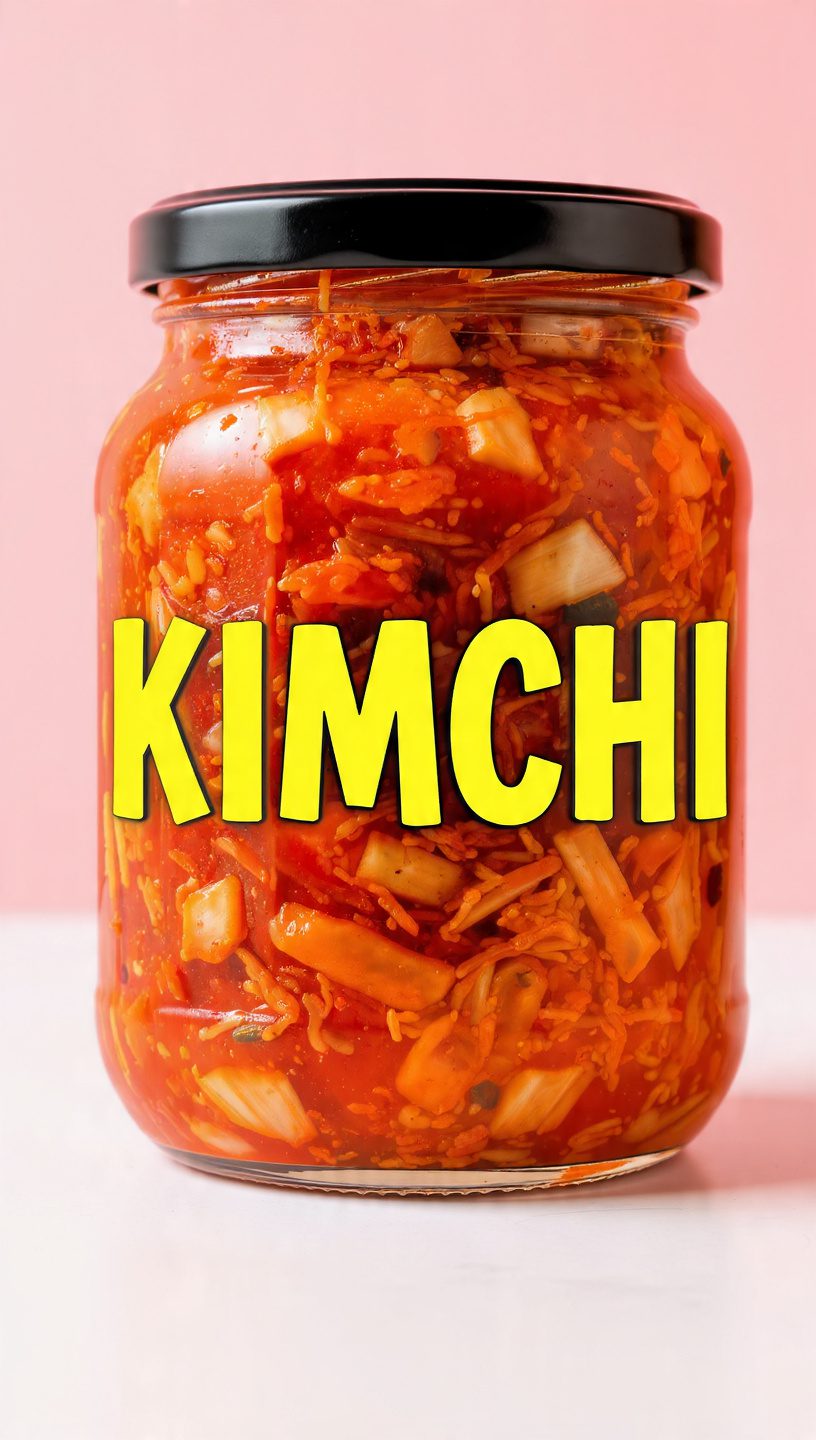
The Ultimate Fermented Hot Sauce Guide: How to Play God with Peppers
We have all been there. You stand in the condiment aisle, staring at a wall of expensive glass bottles with names like “Hellfire’s Regret” or “Screaming Colon,” wondering why you are about to pay twelve dollars for vinegar and chili flakes. You want that deep, funk-driven heat that coats your tongue like a warm, spicy blanket, but your wallet is currently staging a violent protest. What if I told you that you could out-spice the professionals using nothing but a jar, some salt, and a week of looking at a countertop? Enter the world of fermented hot sauce, the undisputed heavyweight champion of the “I’m a culinary wizard” flex.
Honestly, if you aren’t currently bubbling a jar of peppers in your pantry, are you even living your best foodie life? It is the ultimate kitchen experiment. I once convinced a neighbor that my bubbling jar was a high-stakes science project. In reality, I was just letting the bacteria do all the heavy lifting while I binged a true-crime documentary. Ready to stop overpaying for “handcrafted” bottles and start your own spicy empire? Let’s get funky. 🙂
Why This Recipe is Actually Awesome
Why should you bother fermenting your peppers when you can just blend them and call it a day? First off, the flavor profile of fermented hot sauce is a masterclass in complexity. We aren’t just hitting the “burn” button. By inviting billions of Lactobacillus bacteria to the party, we create a zingy, bubbly, and deeply savory depth that raw vinegar simply cannot replicate.
TBH, the ease of cooking—or rather, “non-cooking”—is the real hero here. You don’t even have to turn on the stove for the first phase. You basically chop, submerge, and wait. It impresses guests like crazy because nobody expects you to be an amateur microbiologist in your spare time. Pulling a custom-labeled bottle of your own ferment out of the fridge makes you look like a domestic deity who has mastered the ancient arts of preservation.
Our Top Pick

Papier Herb Garden Recipe Journal - Hardback Design
Capture your culinary ideas and favorite memories with this beautifully designed recipe journal. Organized sections for breakfast, lunch, dinner, and treats make it easy to record recipes, ratings, dietary notes, and cooking tips, along with measurement and conversion guides. Extra pages let you list favorite restaurants, shops, and places to try. Crafted with a premium hardback cover, luxurious 100gsm paper, and a gold foil accent, it’s both durable and stylish. Thoughtfully designed to suit any kitchen, it makes a practical, timeless gift for family, friends, or yourself.
Finally, let’s talk about the health perks. This isn’t just a topping; it’s a probiotic bodyguard for your gut. It is high-flavor, low-calorie, and packs more personality than a whole shelf of store-bought stuff. It’s efficient, it’s flashy, and it makes your kitchen smell like a boutique hot sauce shop in Austin. What else do you want from a vegetable?
The “Heat Wave” Shopping List
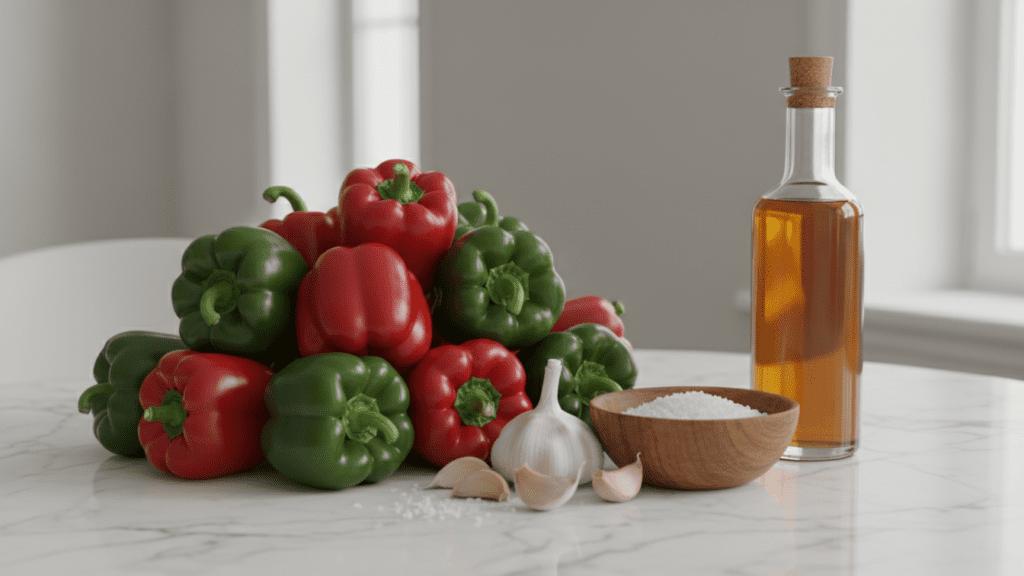
Don’t go trying to make this with those sad, waxy bell peppers. You need the right soldiers for this spicy war.
- Fresh Chilies: Grab one pound of peppers. Mix Jalapeños for mild, Habaneros for fruity fire, or Ghost Peppers if you hate your future self.
- Sea Salt: Use non-iodized salt only. Iodine can turn your brine a weird color and inhibit the “good guys.”
- Filtered Water: Chlorine is the enemy of fermentation. Use filtered or spring water.
- Garlic: Use way more than you think is socially acceptable. Like, six cloves per jar.
- Onion and Carrots: Carrots add natural sugars for the bacteria to eat and a beautiful orange hue.
- Fruit (Optional): Pineapple or mango adds a tropical “chef’s kiss” to the finish.
- White Vinegar: To stabilize the pH at the very end.
Tools & Kitchen Gadgets You’ll Need
To master fermented hot sauce, you need a way to keep things submerged and oxygen-free. If you let the peppers float, you aren’t making sauce; you’re making a biohazard.
- Wide-Mouth Glass Mason Jars: The 1-quart size is the gold standard for home batching.
- Fermentation Weights: Glass discs that keep the veg under the brine. No floaters allowed!
- Fermentation Lids (Airlocks): These let the carbon dioxide escape without letting the mold-loving air in.
- Kitchen Scale: To calculate your 3% salt brine with mathematical precision.
- High-Speed Blender: To turn your fermented chunks into a silky-smooth elixir.
- Fine Mesh Strainer: If you want that professional, thin consistency.
- Glass Woozy Bottles: For that authentic “I could sell this at a farmers’ market” look.
Step-by-Step Instructions
Step 1: The Pepper Prep
First, wash your chilies and remove the green stems. You can leave the seeds in if you want a sauce that fights back, or remove them if you’re a “mild-to-medium” enthusiast. Slice the peppers, onions, and carrots into chunks. FYI, wear gloves during this part unless you enjoy the sensation of your eyeballs burning later when you forget and rub them. :/
Step 2: The Brine Bath
Calculate your brine. The magic ratio is 2 tablespoons of sea salt for every quart of filtered water. Stir until the salt disappears into the water like your motivation on a Monday morning. This salty elixir is what keeps the bad bacteria out while the Lacto bacteria move in.
Step 3: Pack the Jar

Toss your garlic and veg into the jar. Pack them in as tightly as possible. Pour the brine over the top until the vegetables are completely submerged. Crucial info: every piece of veg must be under the liquid. If it touches the air, it will grow “the fuzz” (mold), and we’ll have to start this whole emotional journey over.
Step 4: Weigh and Seal
Place your fermentation weight on top of the vegetables to force them under the brine. Screw on your airlock lid. If you are using a regular lid, don’t tighten it all the way—you need to let the gas escape, or your jar might turn into a spicy grenade in the middle of the night.
Step 5: The Patient Wait
Place the jar in a cool, dark spot on your counter. After 2 or 3 days, you’ll see the brine turn cloudy and tiny bubbles will rise. This is the sound of victory! Let it ferment for 7 to 14 days. Taste the brine; if it’s tangy and funky, you’re ready for the finish line. IMO, day ten is the sweet spot. 🙂
Our Top Pick

LuBudingJoy Blank Recipe Book
B5 Blank Recipe Book – Create and organize your favorite recipes in one beautiful place. This hardcover recipe book (10" × 7.3") features 150 blank pages and includes DIY category stickers. Designed with conversion charts, content tables, and a back pocket for loose notes.
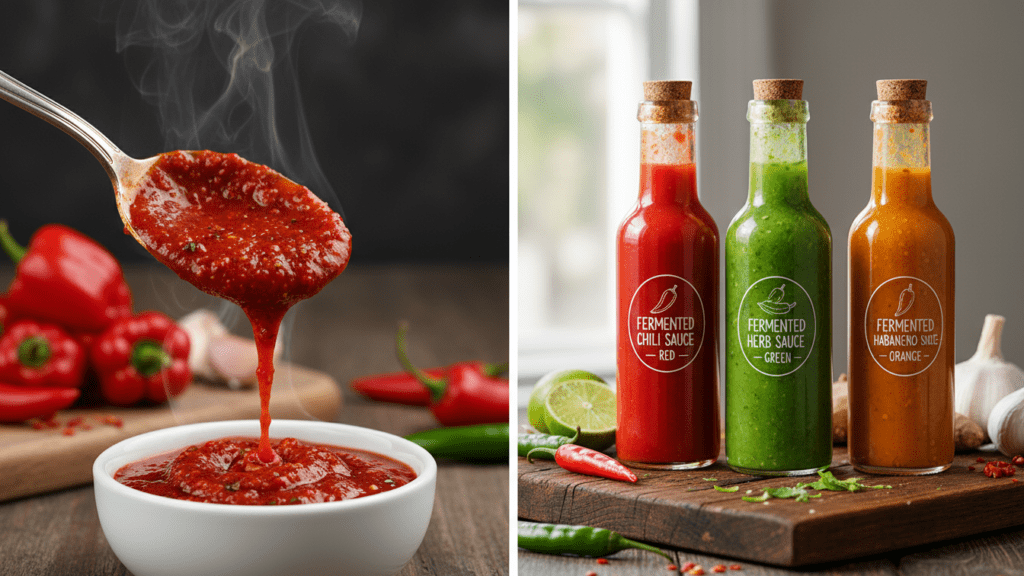
Step 6: The Great Blend
Drain the brine but save a cup of it! Throw the fermented veg into your high-speed blender. Add a splash of the saved brine and a half-cup of white vinegar. Blitz on high until it is smooth enough to make a professional chef cry. If you want it fancy, pour it through a fine-mesh strainer to remove the pulp.
Calories & Nutritional Info
You are eating a nutrient-dense condiment that is basically a probiotic supplement with an attitude.
- Calories: Approximately 5-10 kcal per tablespoon.
- Probiotics: Billions of live cultures for a happy, healthy gut.
- Vitamin C: High levels from the peppers to boost your immunity.
- Capsaicin: Great for boosting metabolism and making you feel alive.
- Sodium: It is high, so maybe don’t drink the whole bottle in one go.
Common Mistakes to Avoid
- Using Chlorinated Water: Chlorine kills bacteria. Use filtered water or your ferment will never start.
- Floaters: If a pepper slice touches the air, mold will find it. Keep it submerged at all costs.
- Wrong Salt: Table salt with iodine can turn the sauce a muddy gray. Stick to sea salt.
- Impatience: If you blend it after two days, it’s just salty peppers. Give it the full week.
- Not Testing pH: If you want it to last in the cupboard, it needs to be acidic. Add vinegar at the end for safety. TBH, better safe than sorry. 🙂
Variations & Customizations
Feeling adventurous? Try these three spins on the base recipe:
The Tropical Ghost
Add half a fresh pineapple to the fermentation jar. The sugar creates a crazy-active ferment and results in a “sweet-heat” sauce that is life-changing on grilled chicken.
The Smoky Chipotle
Add a tablespoon of dried chipotle flakes or one canned adobo pepper to the blender during the final step. It adds a deep, campfire woodiness to the fermented tang.
The Green Goddess
Use only green Jalapeños, Poblanos, and a bunch of fresh cilantro (add cilantro only during blending). It’s bright, zesty, and the perfect companion for tacos.
FAQ Section
Is the white stuff on top mold? Probably not! If it’s a thin, white, translucent film, it’s likely Kahm Yeast. It’s harmless but tastes weird. Scoop it off and carry on. If it’s fuzzy, green, or black—throw the whole jar away.
How long does fermented hot sauce last? Thanks to the salt and the low pH, this stuff stays good in the fridge for up to a year. The flavor will actually continue to mellow and improve over time!
Do I have to cook the sauce after blending? You can simmer it for 10 minutes to stop the fermentation, but this kills the probiotics. If you keep it raw, just make sure to keep it refrigerated so the “active” bubbles don’t make the bottle explode.
Can I make this without an airlock? Yes, but you have to “burp” the jar daily. Just slightly unscrew the lid to let the gas hiss out, then close it again. Don’t forget, or things might get messy.
What is the best salt-to-water ratio? A 3% brine is the gold standard for peppers. It’s salty enough to kill pathogens but gentle enough for the Lactobacillus to thrive.
Why did my sauce separate? Fermented sauces don’t have the stabilizers that store-bought ones do. Just give the bottle a good shake before you use it!
Can I use frozen peppers? You can, but the freezing process often kills the natural bacteria. If using frozen, add a piece of fresh cabbage or carrot to provide the necessary microbes to kickstart the party.
Final Thoughts
There you have it—your roadmap to becoming a hot sauce legend. Making fermented hot sauce isn’t just about food; it’s about reconnecting with an ancient tradition that makes your tacos taste 100% better. It’s cheap, it’s healthy, and it makes you look way more capable than you actually are.
Go ahead, give it a shot. And hey, if you end up naming your jars and talking to your bacteria like I did, don’t worry—it’s a perfectly normal side effect of being a “pepper-head.” Tag me in your photos of your bubbling jars, or just sit in your kitchen and enjoy the sound of carbonation. Happy fermenting!